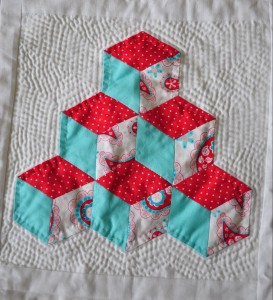
the sampler quilt is finished!

I have finally finished my sampler quilt from the course I followed!

I particularly enjoyed the hand quilting:

I had a lovely time and met some very nice people whom I hope will meet again soon!

I will definitively follow another course with the same teacher as she was very talented, knowledgeable, patient, funny and nice!!

no sew felt bunting and flags


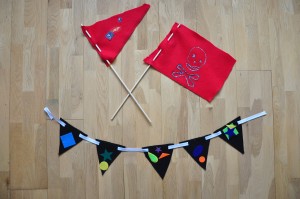
I work for this really great and active association called “les Franglophones”, and you can guess it’s all about France! they have set up a French school for bilingual children, they have a fantastic French mother and toddler group (dads are more than welcome) where they sing, read a story and have a snack (usually it’s home made cake by one -or if we’re lucky two- of the mum), they introduced a book group and they have a familial meeting on every first Saturdays of the month.Those meetings have different themes and are children orientated. The parents volunteer to talk or do activities with children and lead the group. The activities have ranged from dance to dental hygiene!  I thought I would propose to lead a sewing group (no surprise there!) and did so this week end. I had a lovely time and nearly everybody joined in! So here is what we created:

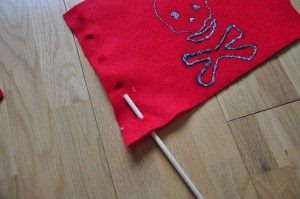
Felt flags: you will need a stick, some felt and anything you fancy to go on your flag

you can cut any shape you want, My eldest wanted a rectangle and my youngest a triangle:
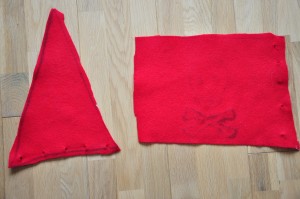
Then half an inch from the border snip the felt with the tip of scissors every inch or so:
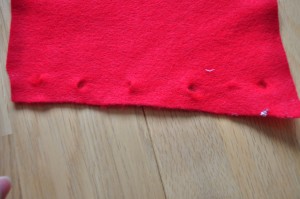
then start decorating: you can sew a button or fussy cut some fabric and glue or sew it on your flag, you can use fabric paint to draw, or use some pre-cut felt shapes, possibilities are endless!
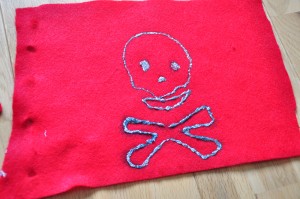
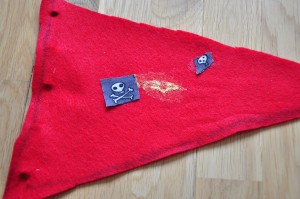
next wrap an elastic band approximately on the middle of your stick, insert the stick in the little snips you have done previously, going over then under etc…
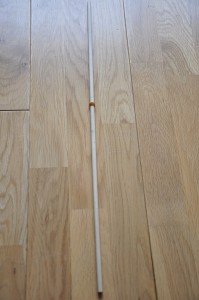
attach another elastic band on top just to hold the top flag in place, and you’re done!
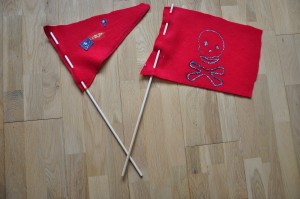
 

for the bunting you will need some felt, pre-cut felt shapes,  bias tape, scissors.

I cut some triangles but one one little girl cut some heart shapes and it turned out lovely!
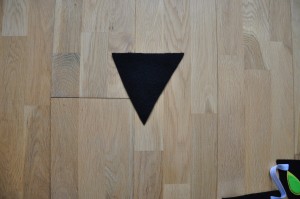
fold the top of your triangle a little bit and snip on each corner to make little dent.
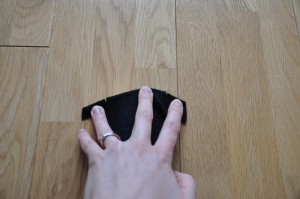
decorate your triangles the way you want it.
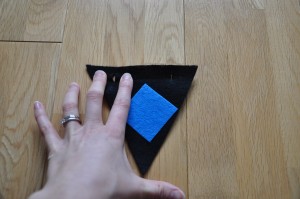
and lace through the triangle your bias tape :
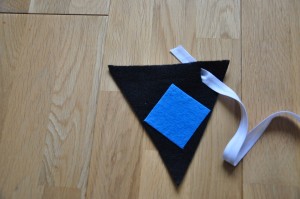
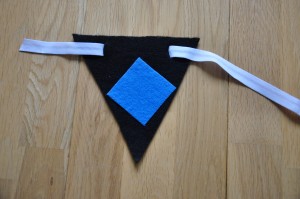
and your are finished!
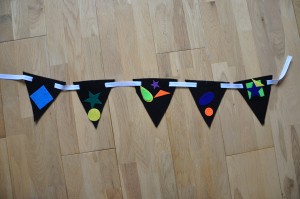
Kids loved doing this (both boys and girls), it’s fairly easy and great for eye/hand coordination!

I have many more ideas, I hope I can join them again soon, especially as there is always some lovely home cooking going on; this time it was crepes!!! yum!

chevron quilt tutorial

I know it’s been a while since I last posted but half term turned out to be horrible as I got the flu and the nasty type! But I’m all better and I’m coming back with a quilt tutorial!
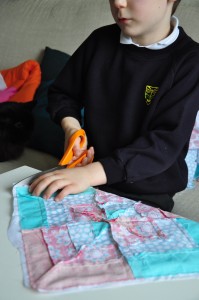
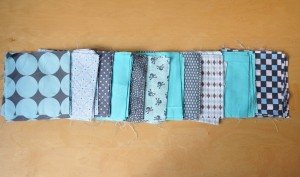
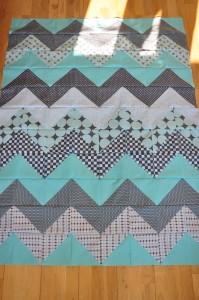
I bought a long time ago this fat quarter bundle and decided I was going to make a chevron quilt for my eldest son. It took me a while to get started but I have finally managed to do it. Now that the weather is warmer you’ll tell me, but better now than never!
So here it is: to start this project you will need:
– 8 different fat quarters (you will have some left over),
– about half a metre of plain fabric to match your fat quarter (if you want to, you can keep using patterned fabric)
-backing fabric,
– 2 fat quarters for the binding,
-quilting thread,
-and all the necessary sewing attire (sewing machine cutting matt, rotary cutter…)

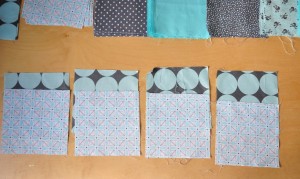
Start by cutting your fat quarters into 5 ½ “ squares, you’ll need 8 of each fat quarter plus 24 of your plain fabric.


Next you need to decide how you are going to arrange your square. Once you’ve decided, keep them in that order until you’ve done the following steps:
Grab 1 square from your first pile and 1 square from your second pile.

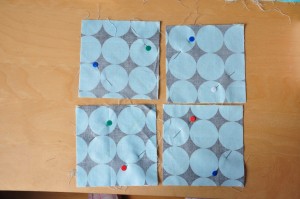
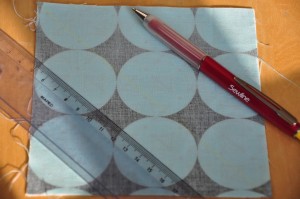
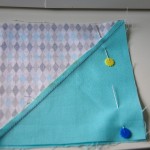
Pin them right sides together draw a line on the diagonal

and sew ¼ of an inch away from your drawn line:

cut on the diagonal drawn line:

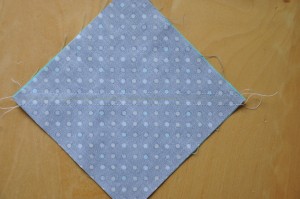
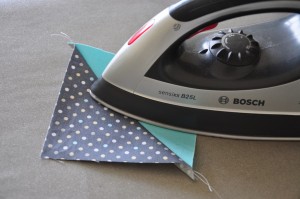
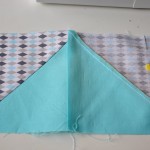
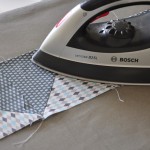
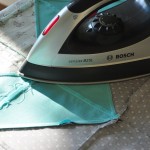
press seam to one side and cut “ears”:

Repeat those steps for 3 other squares of each first and second pile.

Now, grab 4 squares from second pile and 4 squares from third pile, pin them right sides together, draw a diagonal line and sew ¼ of an inch away from that drawn line.
Repeat those steps for all of your squares.
You now have lots of little piles of half square triangles.
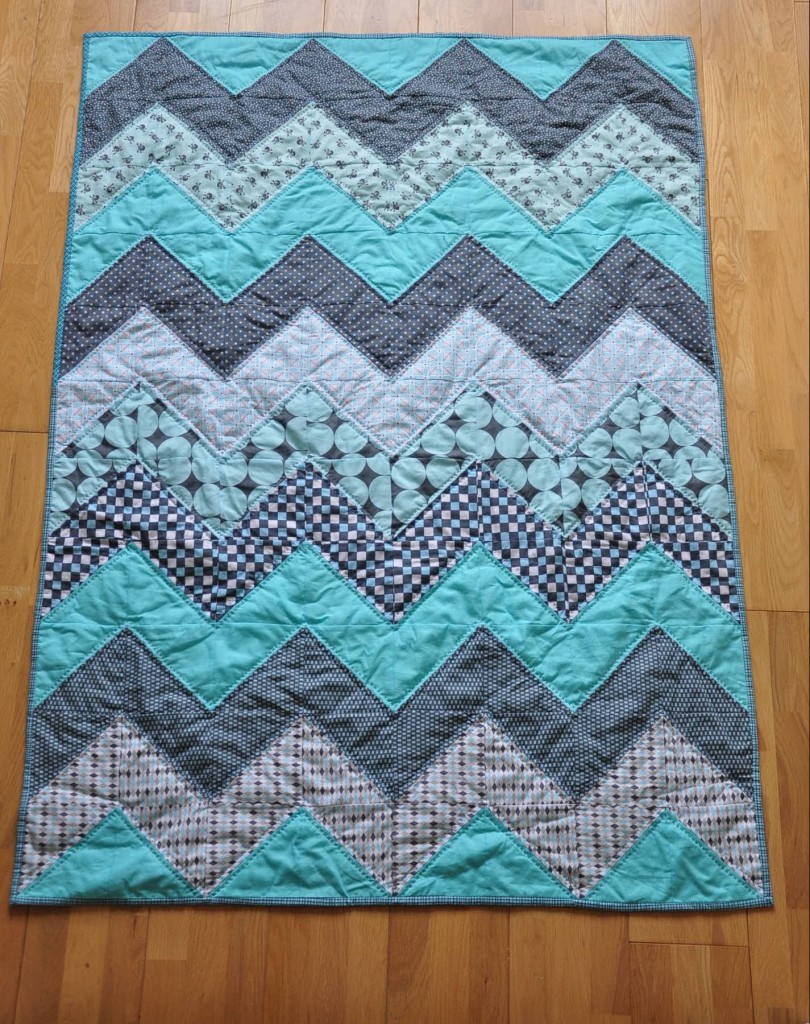
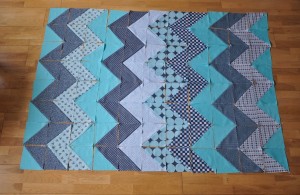
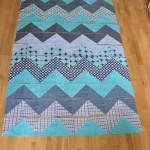
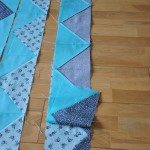
Arrange them on the floor so that they make zigzags.

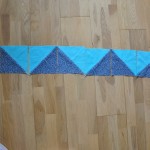
Pin right sides together the first row and sew a quarter of an inch away from the border.


You do the same for all the rows. Then you sew your rows together. Press the seams to one side.


Et voila! You have nice zigzag top quilt.

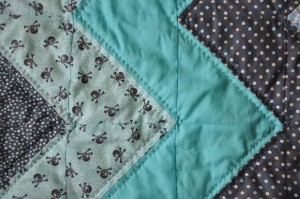
 Sandwich in that order: backing wrong side up, batting, and quilt top right side up. Tack it, or if you’re a bit lazy like me, pin it together with quilter’s safety pins. I hand quilted mine but do whatever tickles your fancy.

Bind it and you’re done!

What’s love got to do with sewing?!

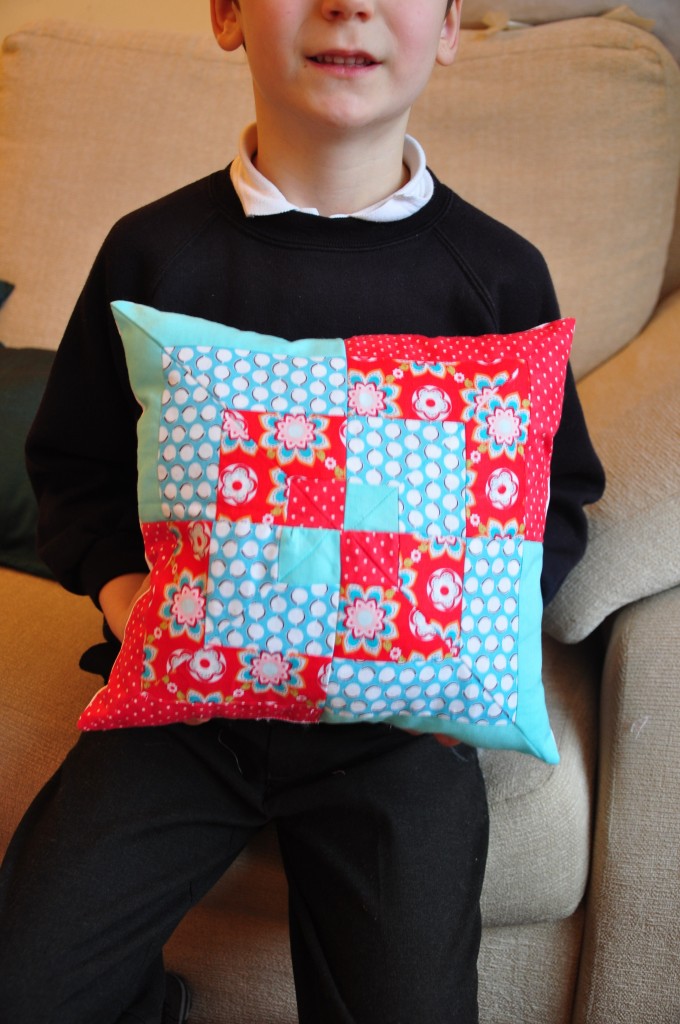
Everything!!!! My eldest boy decided he wanted to sew something for a special little someone at school. I couldn’t resist! It was just too funny/cute/serious to say no to!

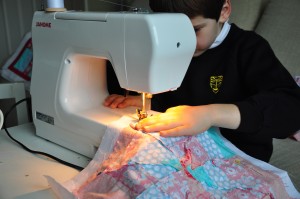
So this afternoon after school we got the sewing machine out, I gave him one of my block that went completely wrong at my sewing course (the middle is pointing upward, something to do with ironing and bias cutting….), he cut some white backing fabric, pined it. Then there was an argument and tears between him and his brother because little one thought it was a great activity and wanted to pin anything incliding his brother (who wasn’t too keen).


Explanations, shouting and cuddles later, it was time for THE SEWING MACHINE. mwahahaha!!!. My boy was scared! But he did it all by himself, listened (which usually never happens) to my instructions, managed to sew fast and slowly.

He’s a natural! We then stuffed it, but they preferred to play with the stuffing pretending to have long beard.

By then He had quite enough (and fair enough) and I stitched the cushion closed.

Et voila! My boy’s in love and it’s too cute not to blog about it!!


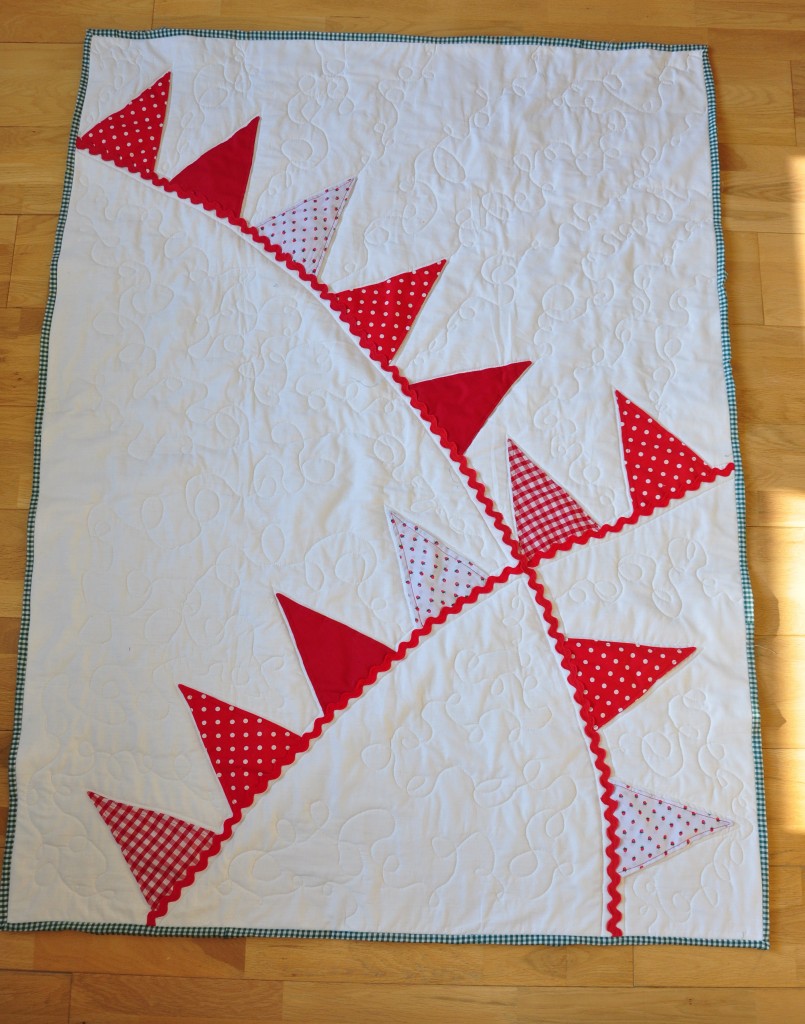
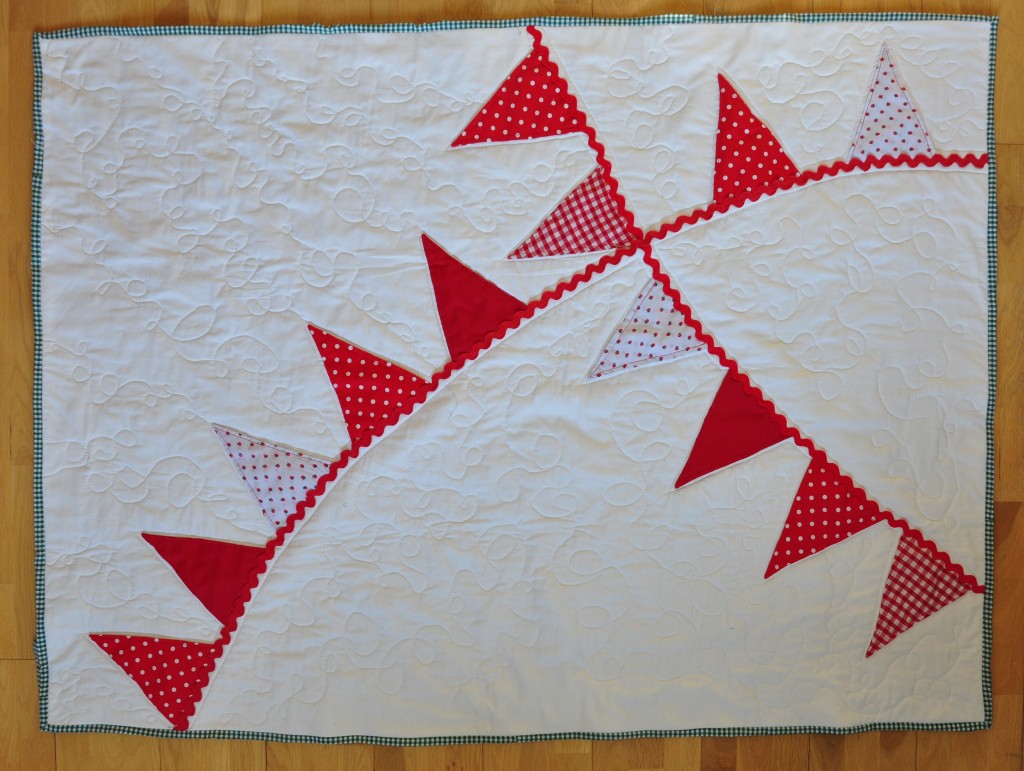
At last the baby bunting quilt is finished!

I know I said I would finish the baby bunting quilt the same week as I started it but I did not manage to find the time to do it… Until now: it’s all finished and it looks fab!! Makes me want to eat strawberry and cream and wishing summer would come sooner!

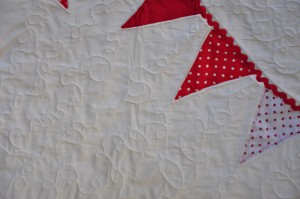
Once I finished all the free motion quilting:

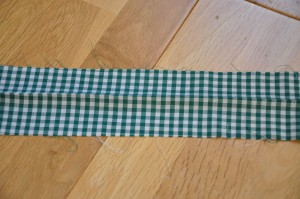
I cut 2”1/2 strips of green fabric sew them together with a diagonal seam:

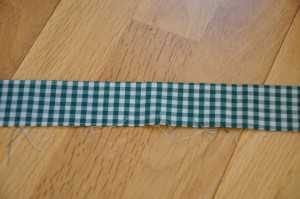
and fold it in half and pressed with the iron. I ended up with a long 1”1/4 strip:

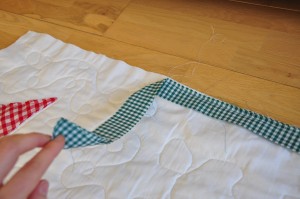
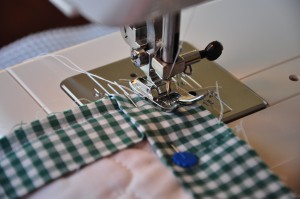
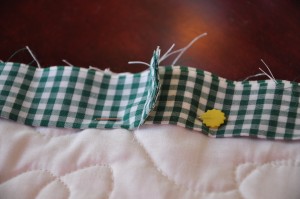
I then pined it in place on the right side of the quilt, on the border starting a bit further away from the corner. I left some fabric a bit loose to start with and you’ll see why later.

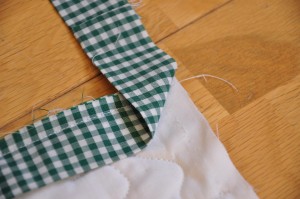
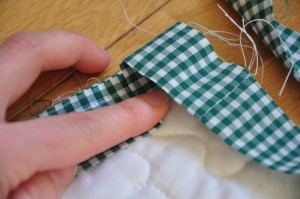
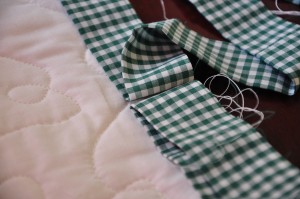
I sew all the way down but stopped a quarter of an inch away from the corner and did a couple of back stitch.

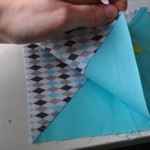
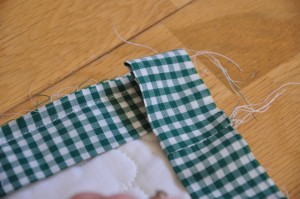
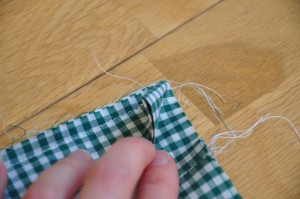
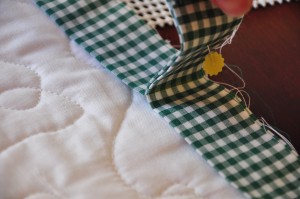
And this is what I did next:

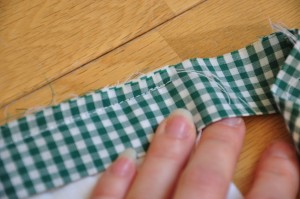
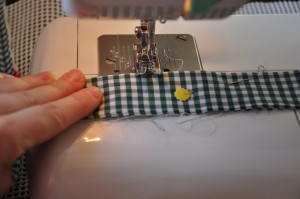
Just repeat for all 4 edges until you arrive at the end. You now need to join the last two strip together, sew and cut excess fabric. Pin in place sew and you’re done!

I usually press with iron and turn it over. I slipstitched the binding on the back of the quilt.

I’m very pleased with the result. It took me a long time to finish it but it’s because life gets in the way!

Easy and quick project, this quilt is now for sale!