Just look what one of my fabulous little pupil got me as a Xmas present!
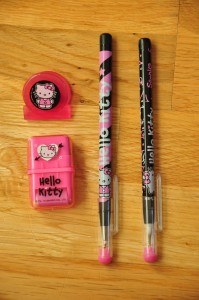
He knows me well!!! (Well his mummy does she’s my very close friend!!) A girlie girl is what I am. Those cute pencils are just indispensable to go with my Hello Kitty wellington boots!

So now, all I am missing is a pencil case to put them into!
All right, I’m a teacher and I don’t have a pencil case… let’s remedy to that and put an end to this atrocious situation.
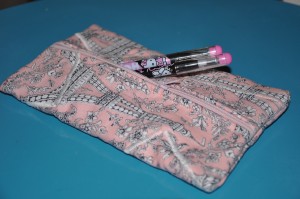
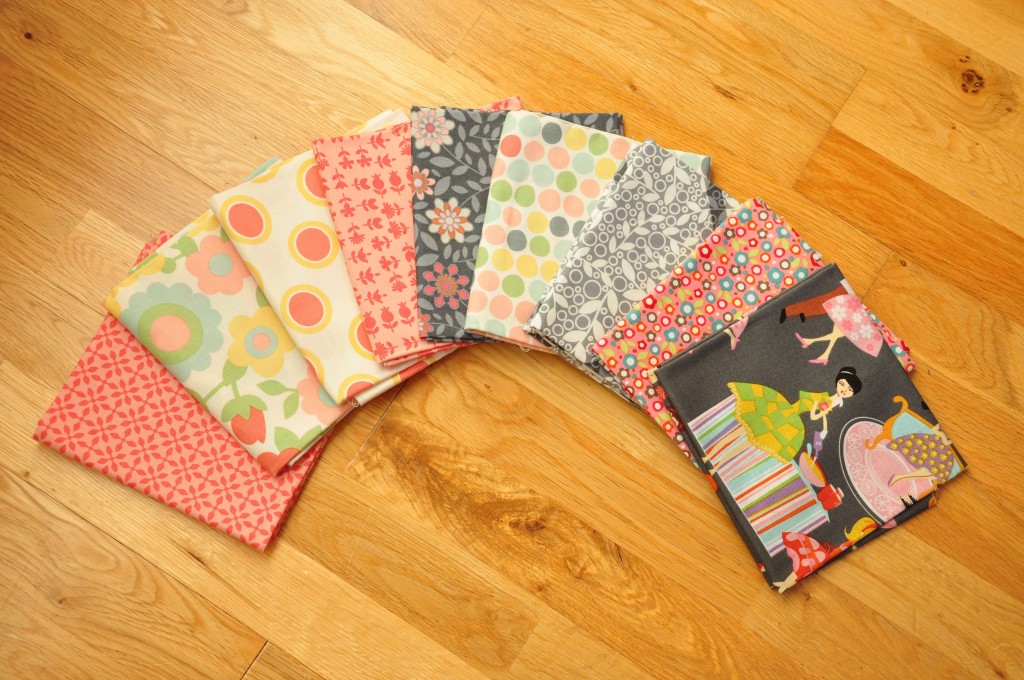
I haven’t done a quilted tutorial in a while and I think we’re due for one. Do you remember my lovely friend got me a lovely little handcrafted bag for Xmas? Well she gave me the rest of the fabric to use!! yeah!I just love it so much! So I will use “la tour Eiffel” fabric for this little project: 2 pencil cases.
You will need thread, quilting thread, batting, outside fabric, inside fabric and a zipper:
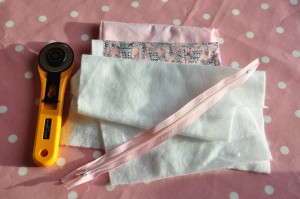
First cut 2 rectangles measuring 8″1/2 x 5″1/2 out of the outside fabric, do the same for the inside fabric and the batting.
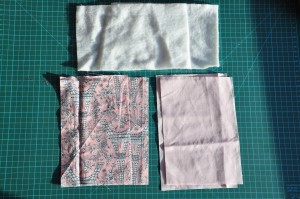
Sandwich in that order: inside fabric (right side down), batting and outside fabric right side up.
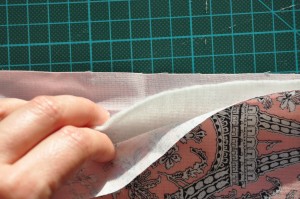
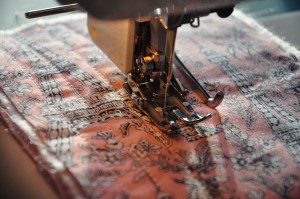
Quilt the sandwich how you prefer, I’m making simple straight line because I’m impatient and want to see the end result quickly! (for the second pencil case I used zigzag stitches in different directions)
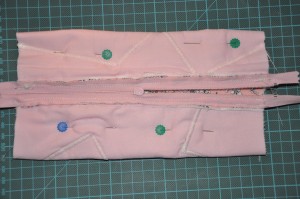
Now insert the zip: take one rectangle right side up and pin the zip facing down on the long edge of your rectangle:
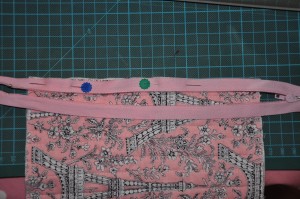
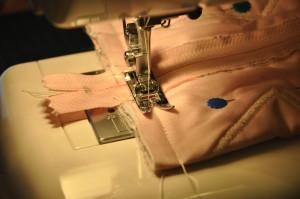
Sew the zip using your your zipper foot on your machine:
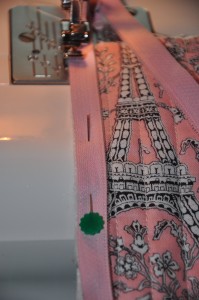 turn the zipper and top stitched :
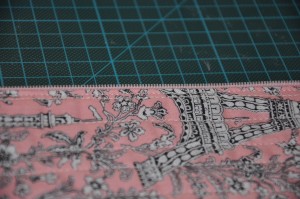 sew the zipper on the other side:
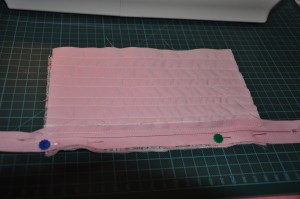 top stitch:
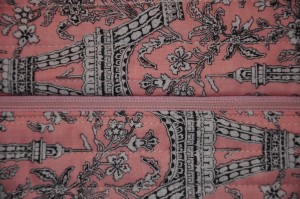 turn the fabrics right sides together and sew all the way round, don’t forget to leave the zip open to turn it inside out, and go over a few times on the zip just to secure it:
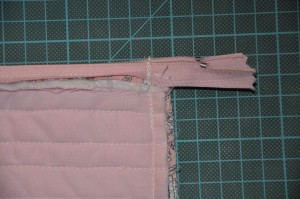 cut off the rest of zip:
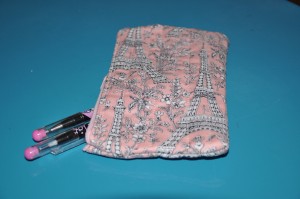
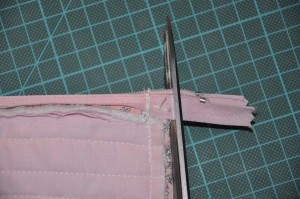 turn it over and you’re done!
I made a different one using the same dimension as the one above and following the few first instructions. Once you’ve sewed on the zip on both sides, sew the long egde at the bottom:
 still right side facing, bring the zip to the line you’ve just sewn pin it in place leaving the zip open. then sew on each side going over twice or more:
 cut off the extra zip and fabrics, turn it over et voila! another pencil case!
