What was I thinking?

That’s what i’m asking myself each time I work on my massively huge quilt project.…. I am enjoying it but it seems like a never ending job!!

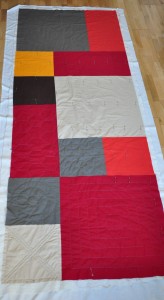
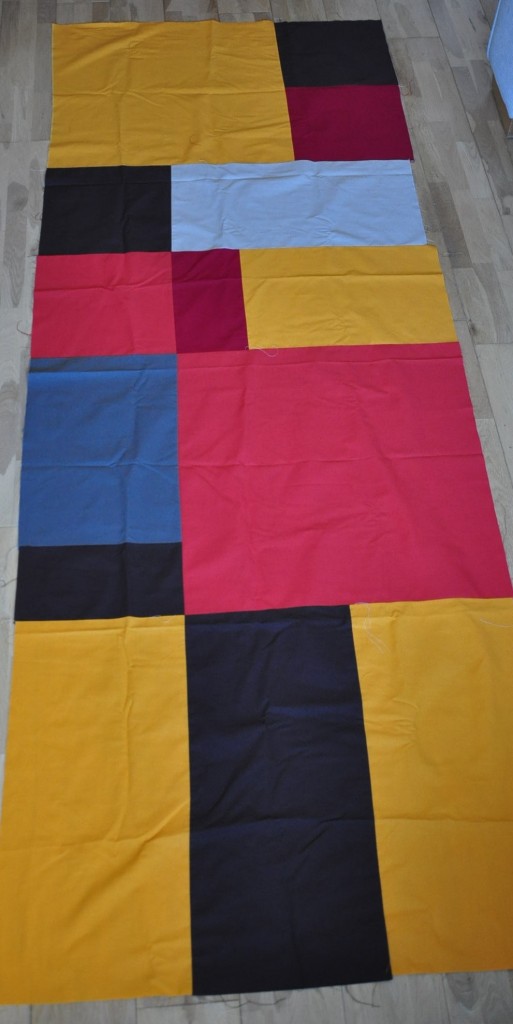
I decided to cut the quilt in 5 so it could actually fit on my living room floor to tack it. I will join it all up when all the parts are quilted.

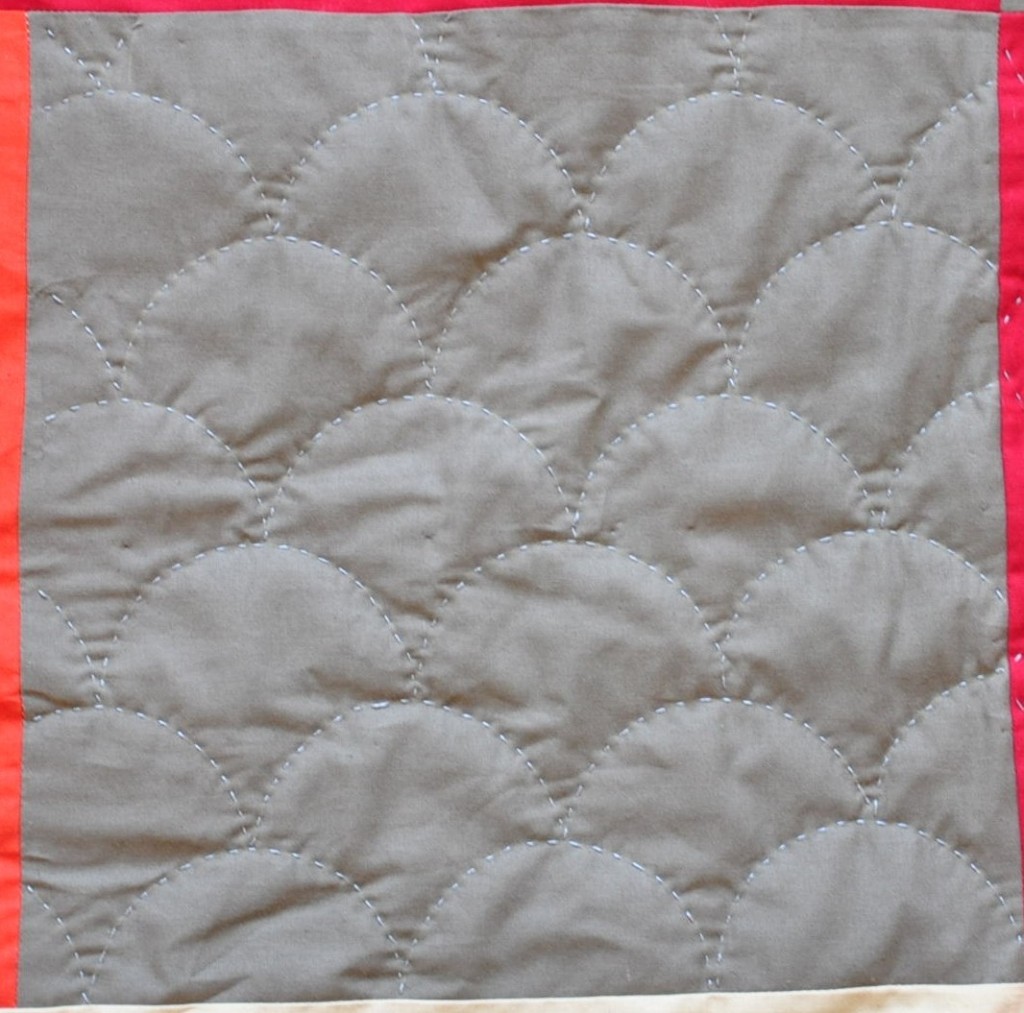
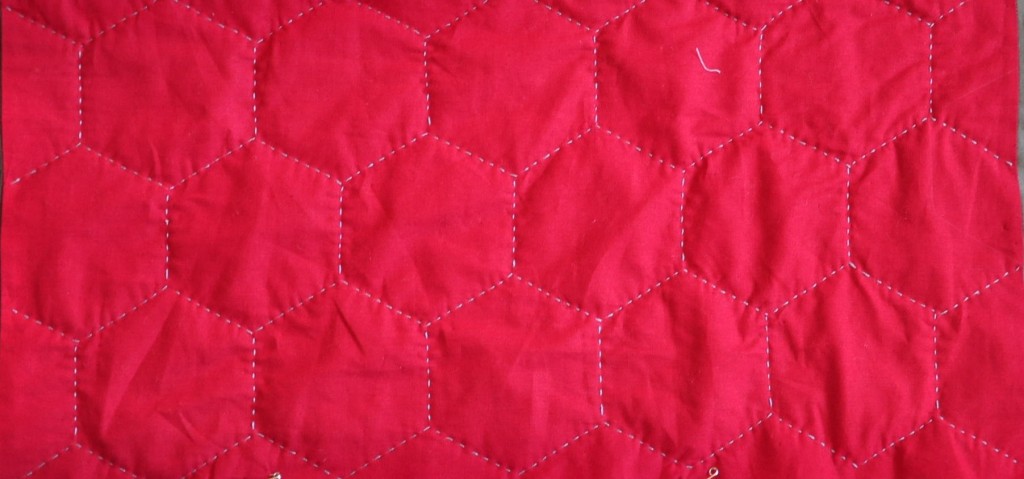
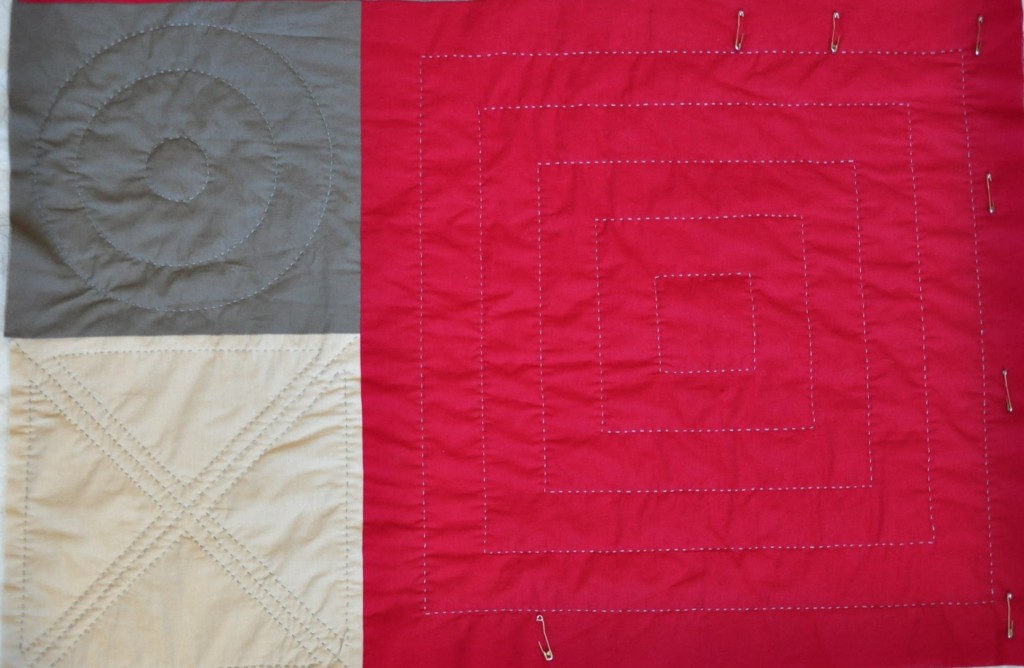
I decided to hand quilt it as it definitively won’t go through my tiny sewing machine whose had enough already of my constant use (I got it 2 years ago, and the service man told me it was used like a ten year old machine….). I have already started the quilting part  using perle and as usual love doing it but I’m running out of ideas…

It needs to be modern quilting as my parents won’t have any flowery stuff (and fair enough!) So I looked into Sashiko pattern and I love it! I will be using them a lot more

.I will also be sewing some geometric art deco pattern as they are  masculine and still quite modern. If you have more ideas I’m all ears and would be happy to learn something new!


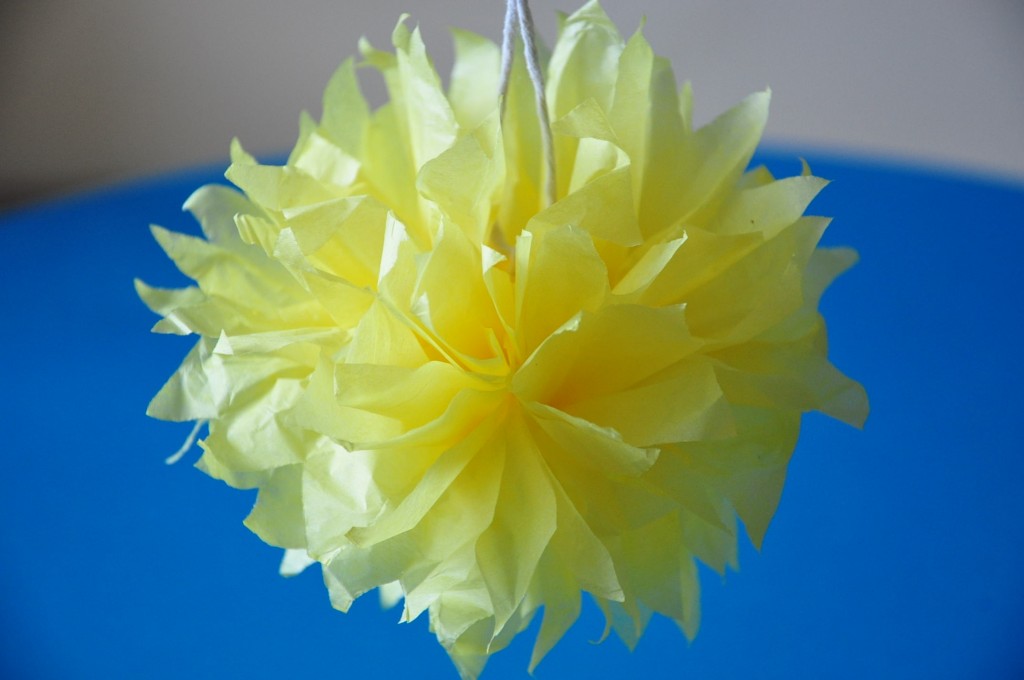
Tissue pompom tutorial

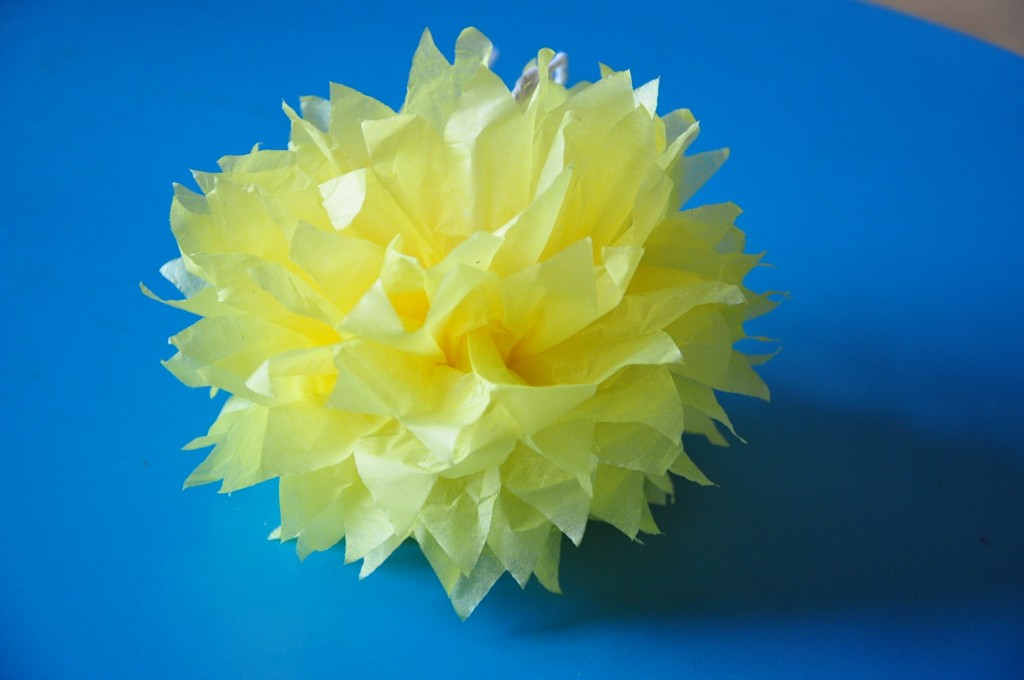
I’m getting my son’s birthday party ready and I’m trying to make all the decorations myself. I have made a few tissue pom pom and wanted to show you how to make them at it’s really simple, effective and cheap.

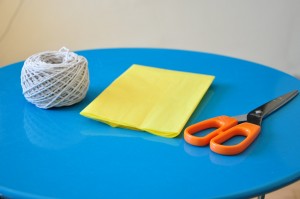
You will need a piece of string or flower wire, some tissue paper, and a pair of scissors.

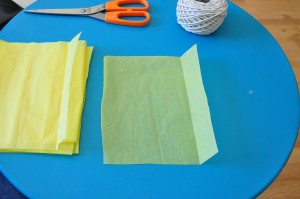
First start by cutting your tissue paper to the desire size. mine is a tinsy one but you can make it as big as you fancy. Just make sure it’s square-ish.. I’ve cut about 9 sheets but you can cut more or less depending on how puffy you want your ball to be.

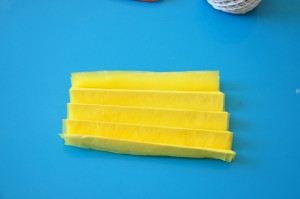
then fold it like a fan :


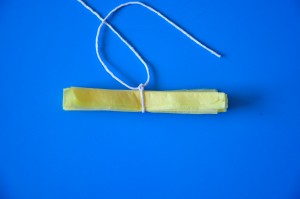
In the middle you tie it with a string or thin wire. I like string because it’s all ready to hang.

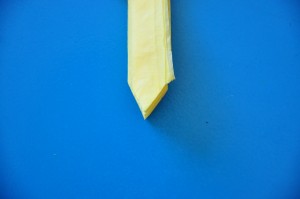
Then cut the end either pointy or round I wanted mine pointy:

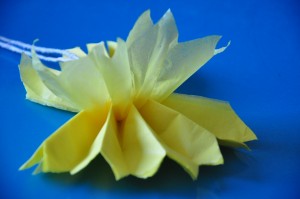
all you need to do is separate the sheets of tissue from one another:

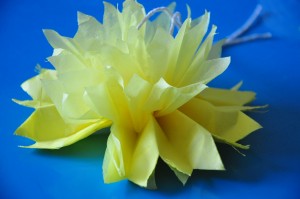
just keep on going:

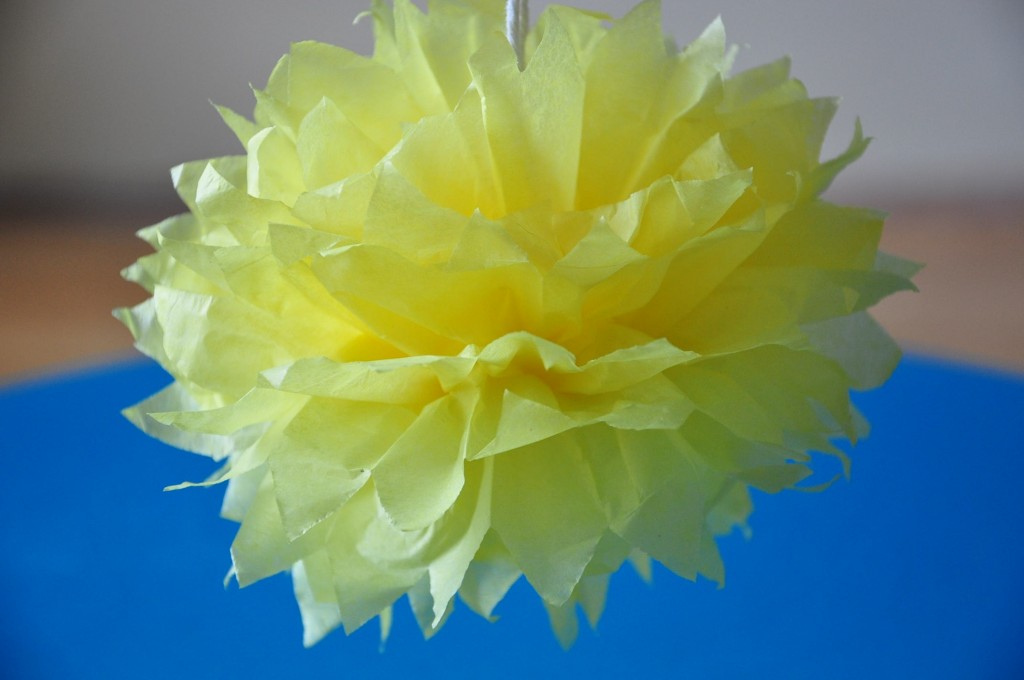
and then you’re done, if you do some more and different sizes it just look amazing!


Lego birthday party

My son last year asked for a Lego birthday party, being a fan it was no surprise, the preceding year we went to Lego land and had a really good time. I thought I would share with you the things that I made and the activities we did together.

The invitation:

You can find so many free printables on the net it’s hard to choose from! We used this invite from Make your own invitations. It was simple but still effective. You can go to the Lego website and they also have some cool ones.

The decor:

I made some Lego man bunting from this lovely ladie’s blog called winks and daisies

I made more Lego bunting from this cool blog: Delia creates. I cut some to stick on the front door.

And added more Lego pictures around the room from this lovely blog: Cleo livin life

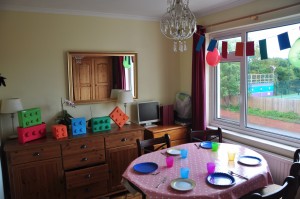
I  also used shoe boxes to make big Lego blocks to decorate the dining room. I wrapped them up in different colored paper and hot gun glued some bottle lids on it.
the cake:

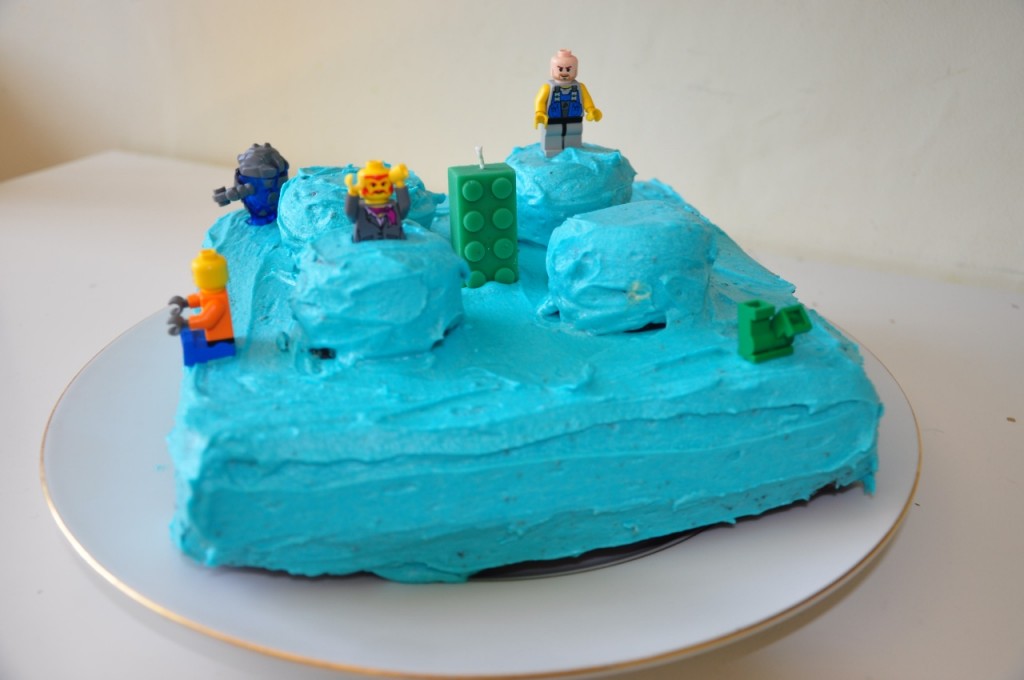
I just made a simple chocolate cake and added some blue frosting. i cooked four cup cakes as well and top them up on the main cake, i frosted the whole thing and added some Lego man on top. I also bought a Lego candle from Amazon.
The children stayed for lunch and my boy wanted to eat sausages and chips, for dessert I made ice cream lollies in a Lego man mold

the games:

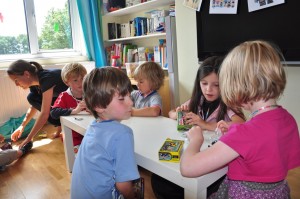
As soon as the children arrived I had a big jar full of Lego Duplos with a label written with the lego font: “Guess how many Legos in a jar”.

I then asked them to decorate some big blank lego head to play pin the head on the Lego man:
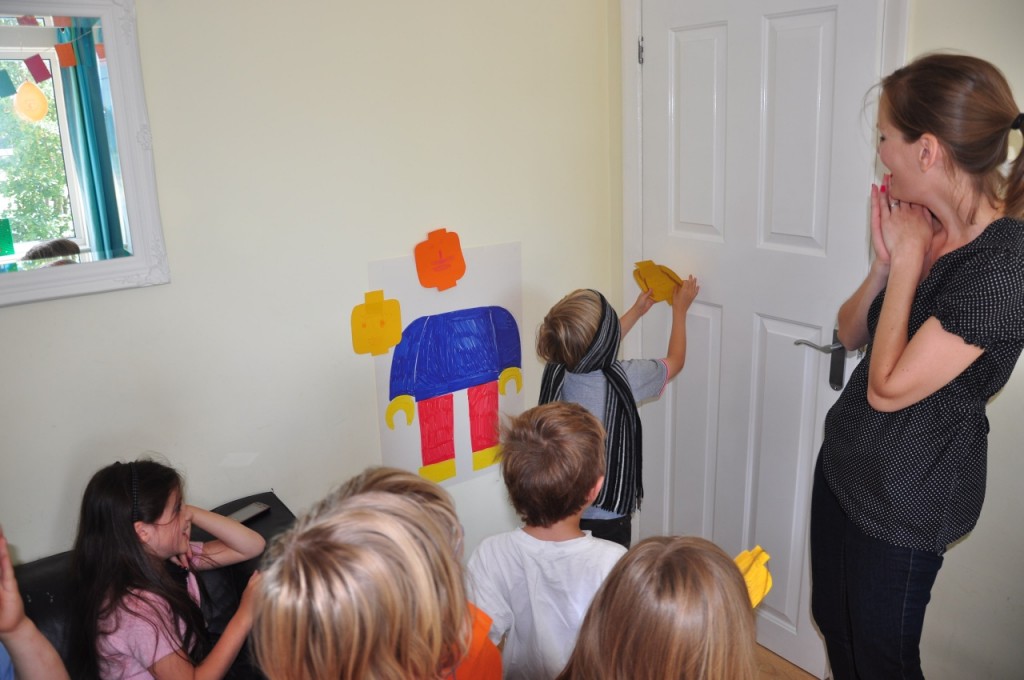
we then played Lego bingo I got from here.

Next we had a race at building some Lego cars i got from Baker Ross

Racing Car Construction Kits

We built the tallest tower made out of Lego Duplos
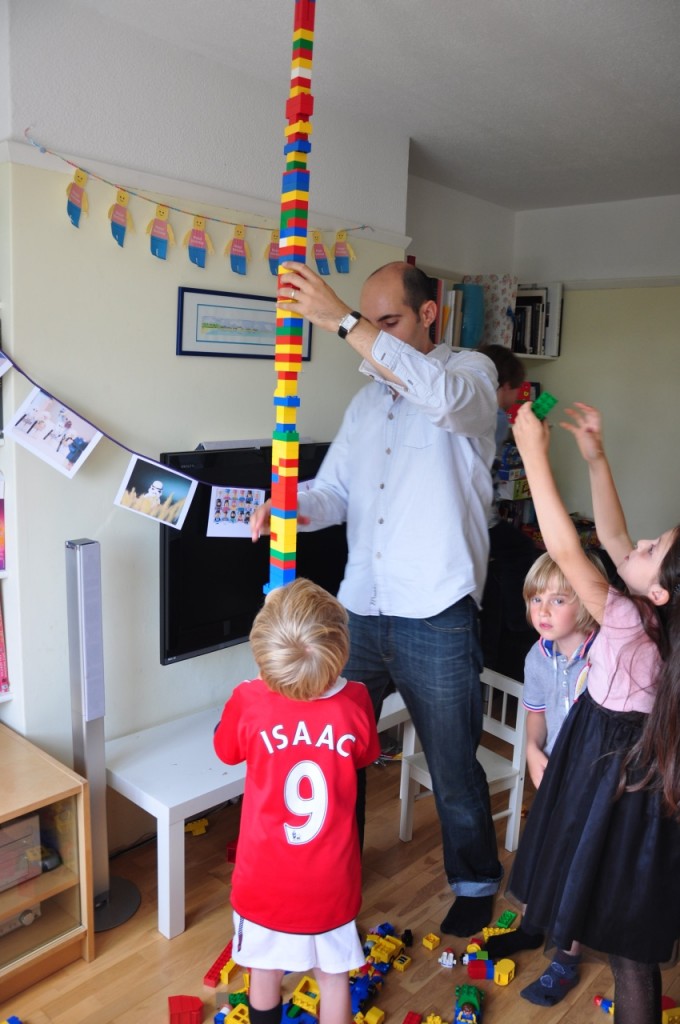
 

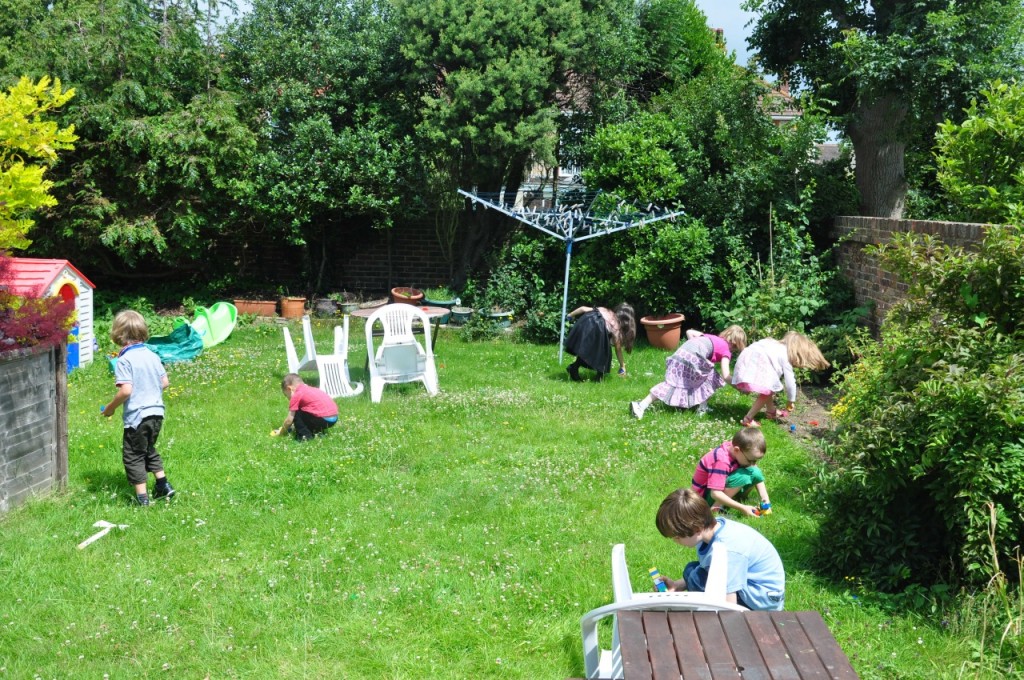
We then had a Lego hunt in the garden. I hid some Lego Duplos in the garden and children had to collect as many as they could.
We then played egg race, duck duck goose, what’s the time Mr wolf and the kids had a great time!

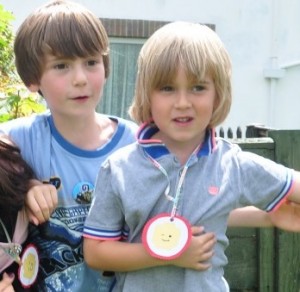
I made some paper medals for the winners. I printed some cool Lego head and glued them to some red card board, punched a hole and tied them with a string. It was nothing but the kids loved it, and were all wearing their medal!
The party bags:

It was then time to go home and I gave the children some party bags. I found in my local party shop some blue paper bags. I just printed the kiddies’s name on Lego font and stapled them to the bags:
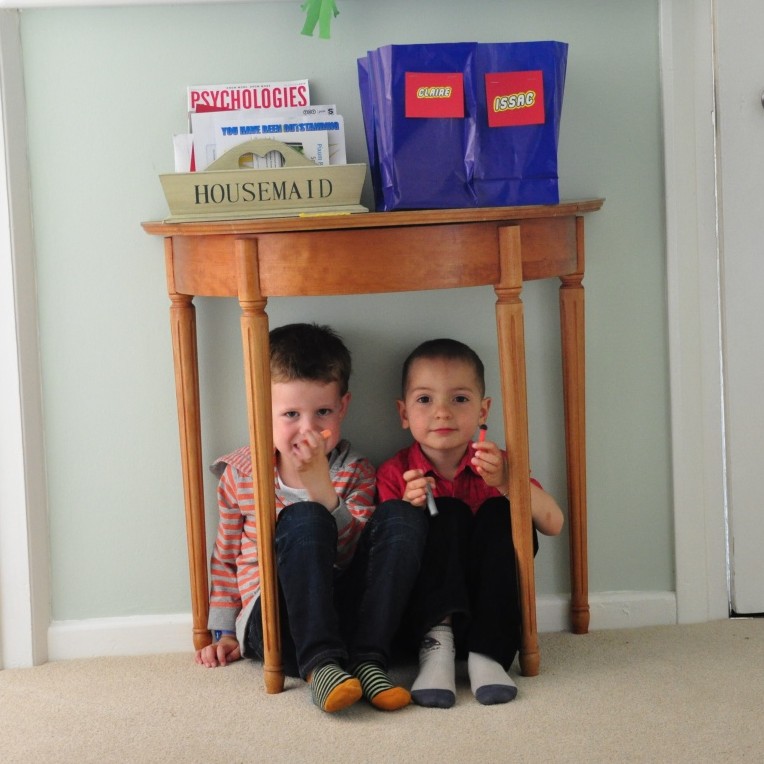
Inside I gave the children some glow sticks, the car they built during the party, their Lego head, I found some cool sweets looking like Legos from Amazon:

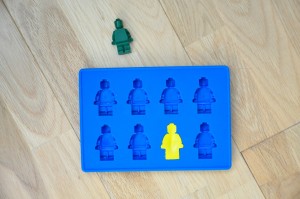
I also collected all the wax crayon I could find in the house and melted them to turn them into little Lego man crayons, using a Lego ice cube mold:
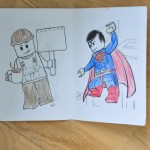
finally I printed those great Lego coloring books from Cleo livin life (really love her blog!)


All in all it was a great party,  the kids had fun and my son had a good time… Well nearly, a few months ago he told me “Yeah and it was a bit a rubbish party, the others took all my Legos during the Lego hunt”… is all he can remember!!


Easter bonnet

As promised I am finally managing to show you the Easter bonnets I made for My boys. The preceding years they made it themselves but were disappointed that they never won. it was always the most complicated Easter bonnet who won and let’s be honest the kiddies never touched it. So i thought this year I would help a little. Having a Lego fan and a dinosaur fan we came up with those ideas:

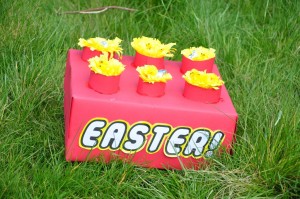
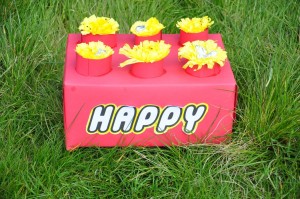
For my Eldest a massive lego hat:

i used a shoe box and covered it with red paper, I then cut 6 strips of red paper to make the little holes on the top. We filled them with crepe paper and glued some chicks on them. We used foil to make some shiny eggs.

I used the Lego font I found  on the net and wrote “happy Easter” on each side of the bonnet.

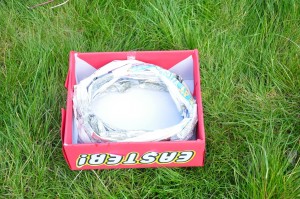
To fit the shoe box on his head I twisted some news paper and taped it to the inside of the box:

That was one happy customer! now For my youngest I had to really rack my brain to finally come up with a dinosaur egg:
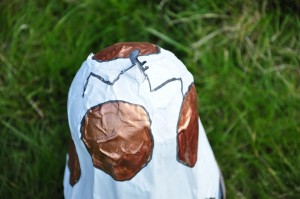
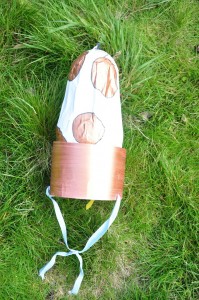
I blew up two small balloons taped them on top of each other. I then mixed PVA glue with a bit of water, tear up some news paper strip and stuck them on the balloons. I let it dry, painted it white and made it spotty.

I draw a crack on the top and stuck a tiny dinosaur through a small hole on the top (not really to scale, but he had to wear it on his head so it coul’d be too heavy!)

I attached a ribbon at the bottom

OK so they didn’t win, but they took part and enjoyed parading their hat at school! maybe next year!

Mod Podge, you’re my new best friend! (or Ikea file makeover)

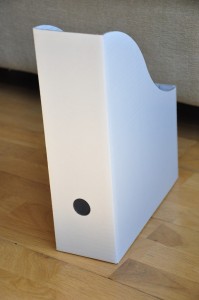
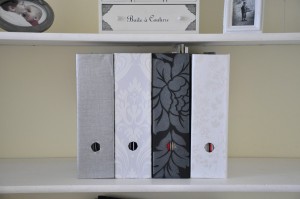
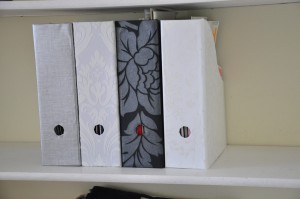
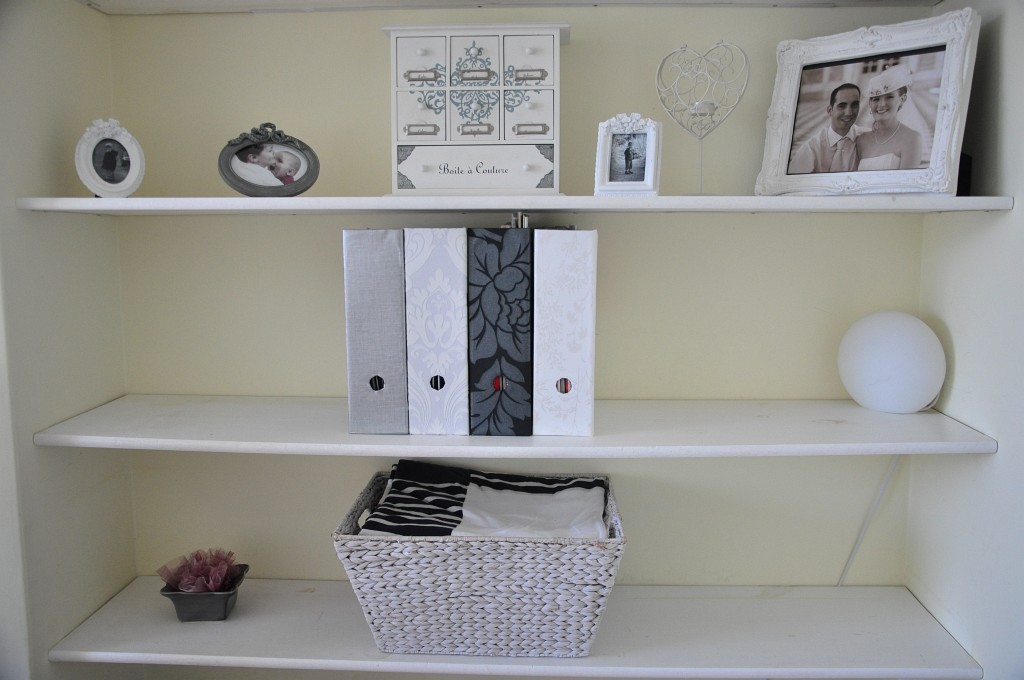
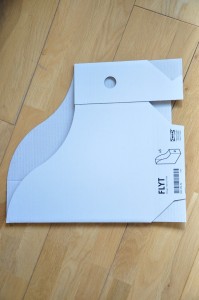
I’ve heard so many things about mod podge and thought you could do nearly everything with it so I gave it a go, I bought a big bottle and turned those very simple and low cost Ikea organisers into something a bit more classy and chic!

I was a bit cheeky and went to a DIY store and got some wall paper swatches that I thought would look good in my new living room. I draw on the wrong side of the wall paper and mod podge the box and the wall paper and this is what it looks like:

I have some more to finish and will pop them on the shelves. I love the end result and absolutely fell in love with Mod Podge. I’m now thinking of Mod Podging everything.