
As we’re off to France for three weeks for the Xmas holidays, we need to pack up a few toys for the boys. The recurrent favourite toy that we must absolutely have to bring with us is Lego. Yes, no surprises there, especially since I have not two but three fans of Lego. So the trouble is to find a way to pack them, find a place to play, and find a way for my not-so-keen-on-tidying-up-such-tiny-pieces-cause-it-takes-forever-mum-please-help-boys to pack it up quick and easily. So I thought of a solution and here is what I done:
you will need some fabric (you may want to use two different fabrics but i used only one in this project), a pair of fabric scissors, a tape measure, some thread, some ribbon or some thin rope and some interfacing.

Start by folding your fabric in 4 and decide how big the radius of your circle should be. Mine I decided would be 14″1/2. Then with a fabric marker trace from the corner outward a little dot every now and then at 14″1/2.


Now you can join the dots together and trace a line. Cut an inch away from that line so you end up with a quarter of a circle:


Unflod it and you now have a circle! you need to cut a second one either from another fabric or the same…
 I wanted the bottom of the pouch to be a bit more sturdy so I ironed in the middle of both circles some interfacing:


measure 1″3/4 away from the border and mark a dot on the fabric you will use for the inside of the pouch. then 3/4″ away from that dot mark another dot:
 repeat this process an inch away from the mark you have just drawn:
 Now that’s the hardest part in the project: making button holes with your machine. Usually everything should be explained very simply and clearly on you sewing machine manual. But if you have troubles with it, just let me know and i will do a tutorial on it.

 now pin your fabrics right sides together:
 Sew 3/4 of an inch away from the border all the way round leaving a 4″ opening:

 Before turning the fabric inside out you must clip the fabric all the way round in order for the circle to look nice and smooth:
 turn your fabric right side out and press:
 top stitch all the way round to close the cirlce:
 mark all around your fabric two dots: one at one inch and the other at 1″3/4:

you must now sew all the way round, an inch away from the border:
 now sew 1″3/4 away from the border:
 and you should have something looking like this:

insert your cord or ribbon inside one button hole (if you use ribbon, insert it with the help of a safety pin attached to it):
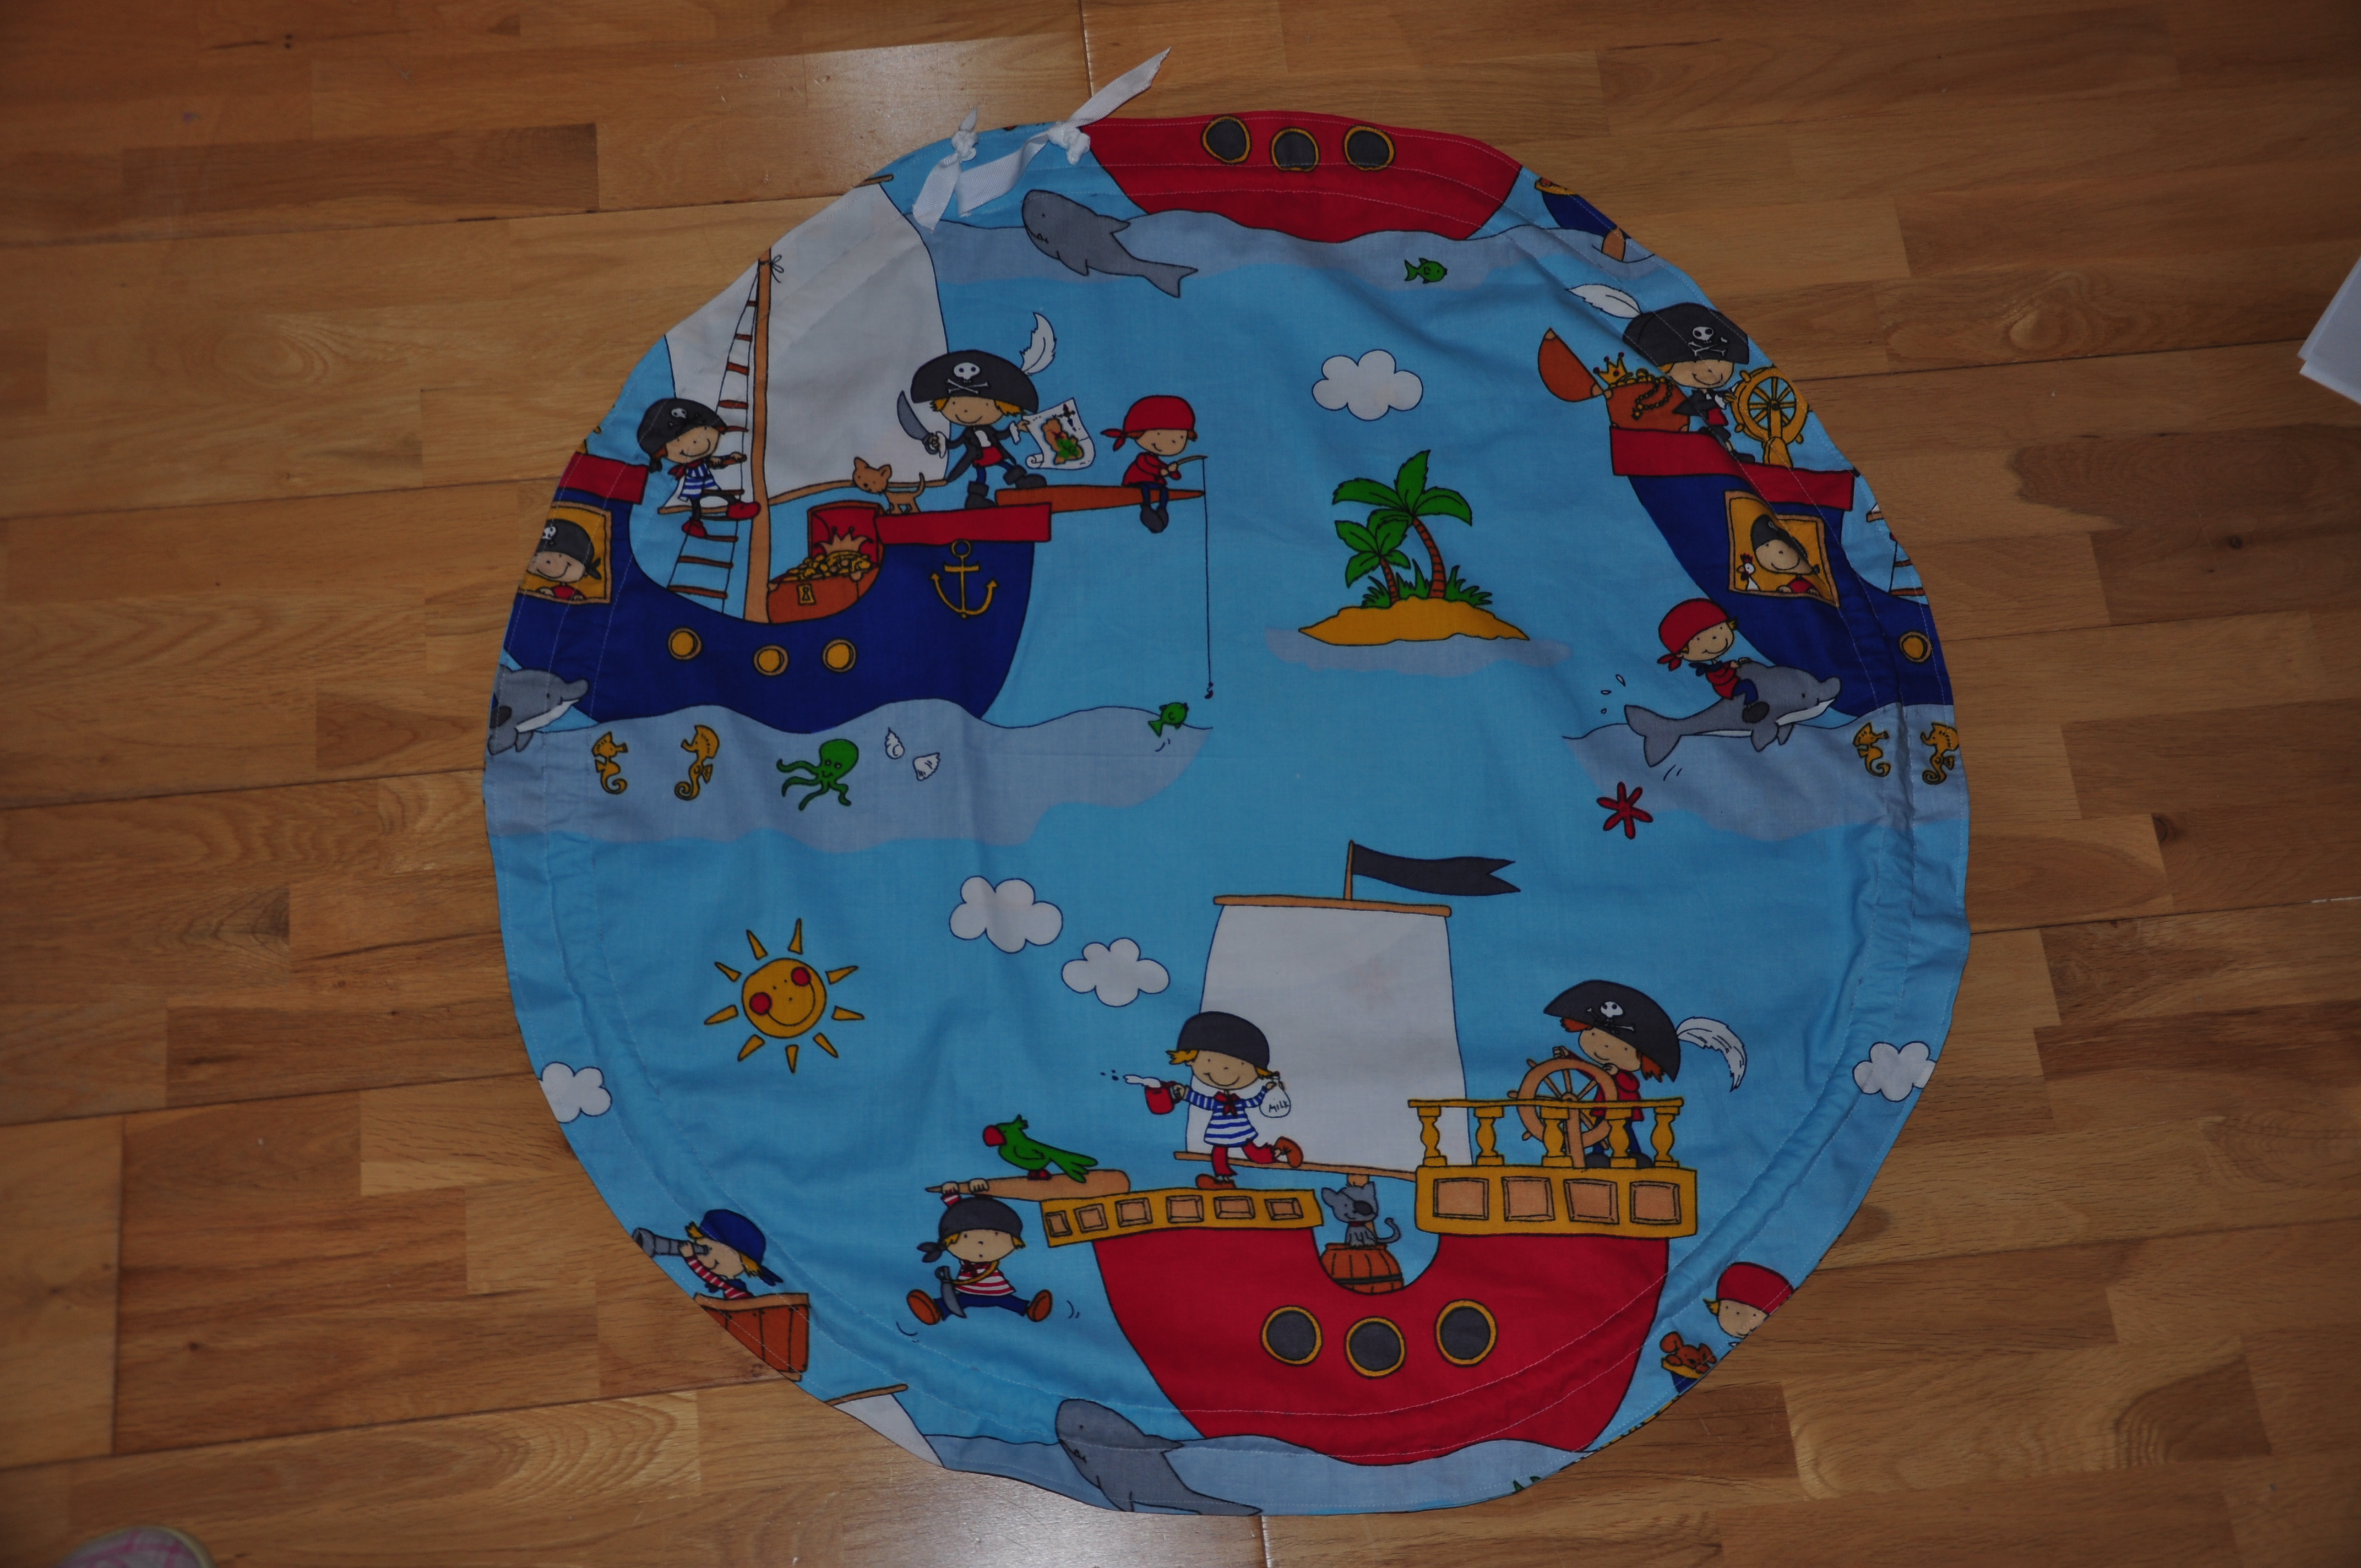
 and there you have it! A lego pouch:


 I used ribbon instead of the cord as it was too thick and would stick to the fabric… so if you want to use cord I recommend the thin silky type as it would slide better between the fabrics.
I just love how it turned out! I am now thinking of making one for each Lego theme my son has. I will find some star wars fabrics for his star wars Lego collection, some aeroplanes fabrics for his airport Lego collection… and try to keep inside each pouch the instructions to go with it.. Hope you’ll have fun making this! any questions you know where to find me!


