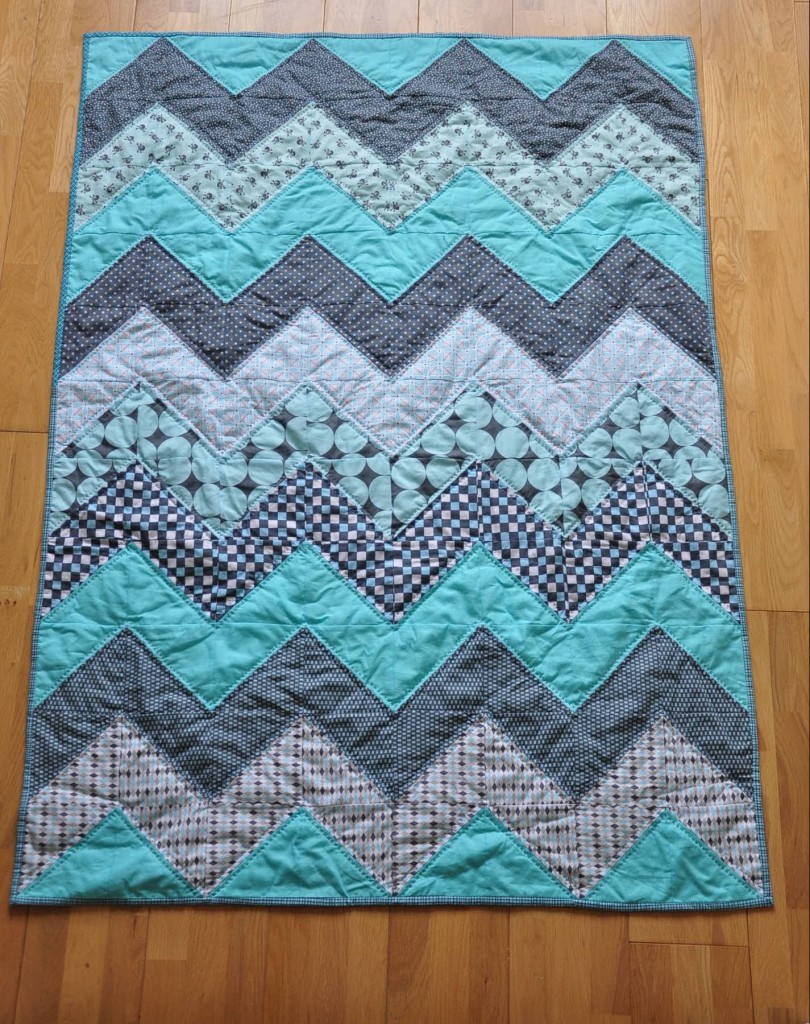
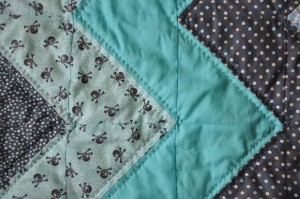
I know it’s been a while since I last posted but half term turned out to be horrible as I got the flu and the nasty type! But I’m all better and I’m coming back with a quilt tutorial!
I bought a long time ago this fat quarter bundle and decided I was going to make a chevron quilt for my eldest son. It took me a while to get started but I have finally managed to do it. Now that the weather is warmer you’ll tell me, but better now than never!
So here it is: to start this project you will need:
– 8 different fat quarters (you will have some left over),
– about half a metre of plain fabric to match your fat quarter (if you want to, you can keep using patterned fabric)
-backing fabric,
– 2 fat quarters for the binding,
-quilting thread,
-and all the necessary sewing attire (sewing machine cutting matt, rotary cutter…)
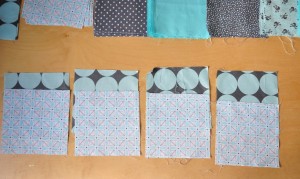
Start by cutting your fat quarters into 5 ½ “ squares, you’ll need 8 of each fat quarter plus 24 of your plain fabric.
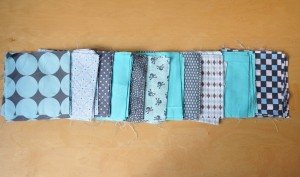
Next you need to decide how you are going to arrange your square. Once you’ve decided, keep them in that order until you’ve done the following steps:
Grab 1 square from your first pile and 1 square from your second pile.
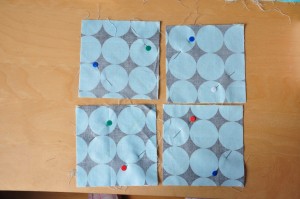
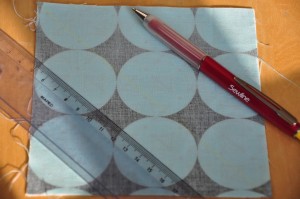
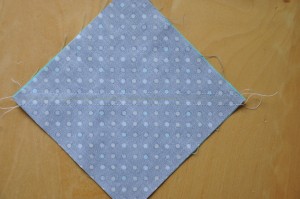
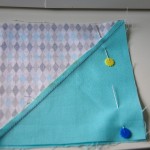
Pin them right sides together draw a line on the diagonal
and sew ¼ of an inch away from your drawn line:
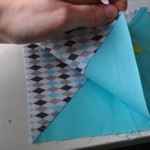
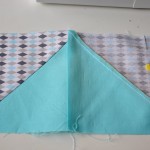
cut on the diagonal drawn line:
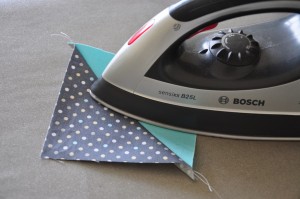
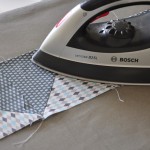
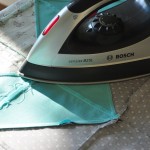
press seam to one side and cut “ears”:
Repeat those steps for 3 other squares of each first and second pile.
Now, grab 4 squares from second pile and 4 squares from third pile, pin them right sides together, draw a diagonal line and sew ¼ of an inch away from that drawn line.
Repeat those steps for all of your squares.
You now have lots of little piles of half square triangles.
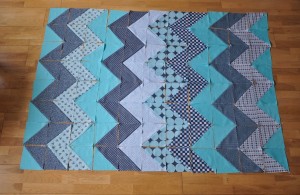
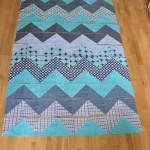
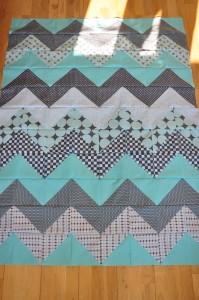
Arrange them on the floor so that they make zigzags.
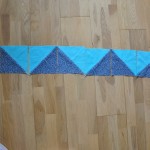
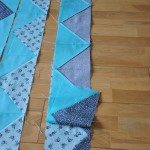
Pin right sides together the first row and sew a quarter of an inch away from the border.
You do the same for all the rows. Then you sew your rows together. Press the seams to one side.
Et voila! You have nice zigzag top quilt.
Sandwich in that order: backing wrong side up, batting, and quilt top right side up. Tack it, or if you’re a bit lazy like me, pin it together with quilter’s safety pins. I hand quilted mine but do whatever tickles your fancy.
Bind it and you’re done!

