Hey! I’m back after a long break, but you know what it’s like! life gets in the way… So, soon to be the holidays, although it doesn’t really feels like it with that weather.
So I thought I’d come back with a triangle tutorial. My eldest chose a long time ago some really cool fabrics and wanted another quilt (greedy) (really I know how he feels!).
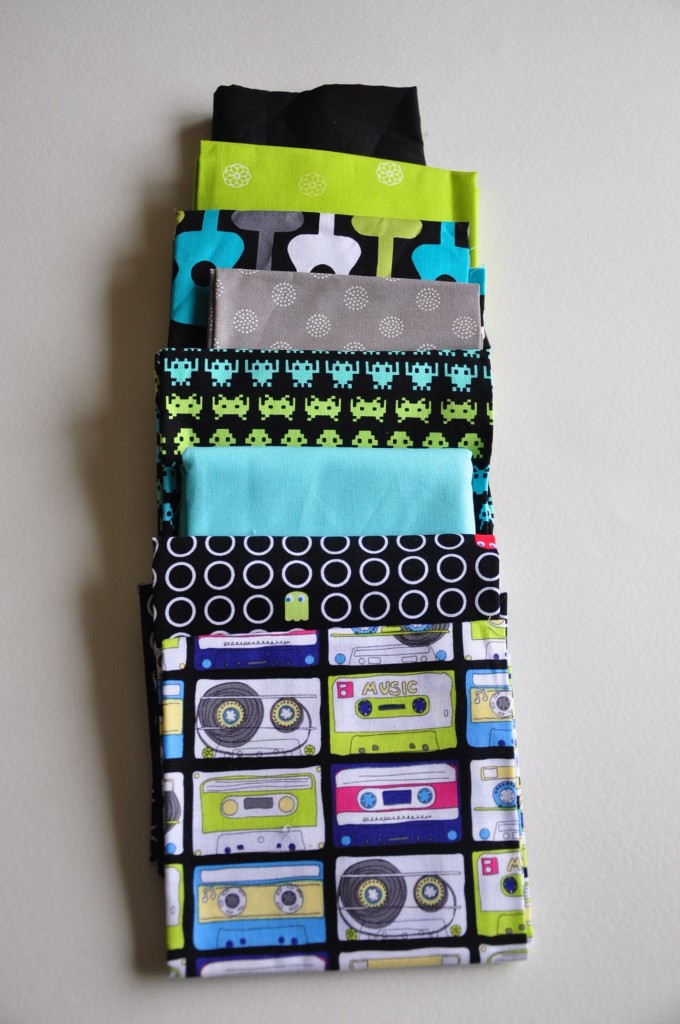 Cool fabrics he!?
So here it is!you will need: 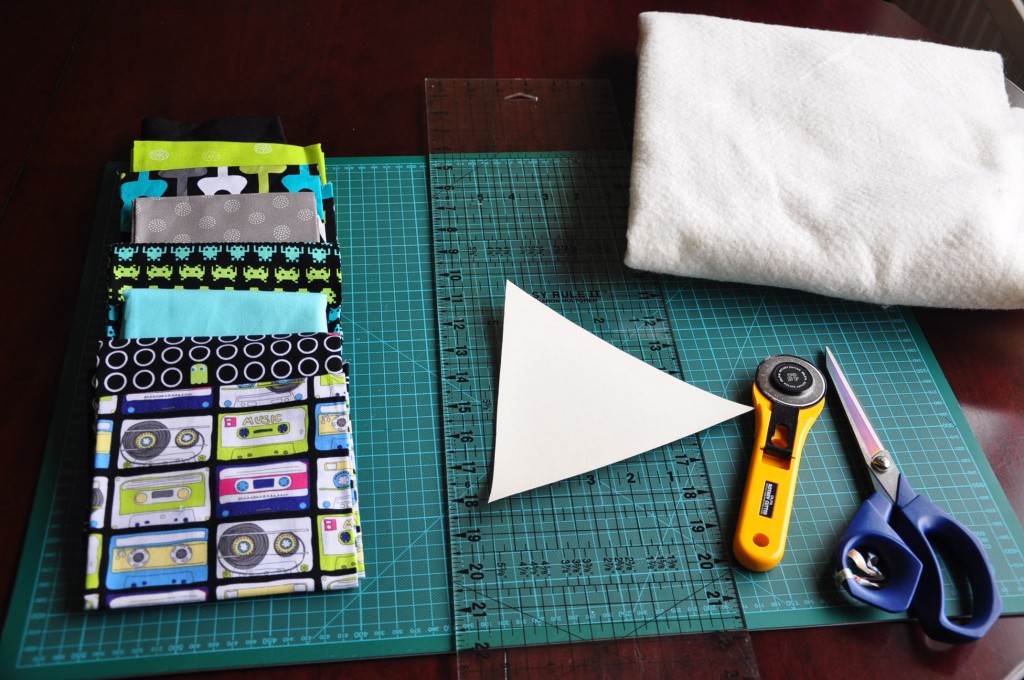
8 fat quarters, a triangle template, back fabric, wadding and the usual sewing paraphernalia.
Start by cutting all your fabrics in triangle (you could use a special ruler for that but I didn’t have one so used a template which took a lot longer than if I had a triangle ruler but hey…)
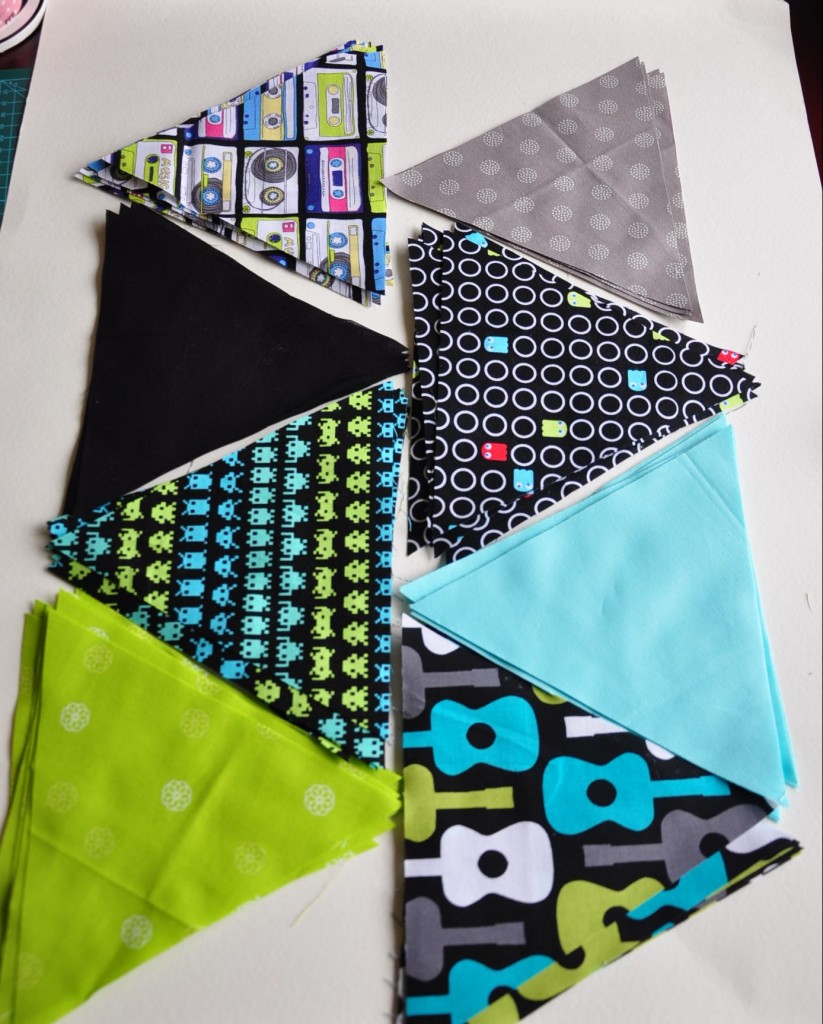 Then place them on your floor in the position you want, I tried to have some patterned fabrics mixed with plain fabrics to relax the eyes a bit, usually I like a lot of white in my quilts so it’s all new to me!
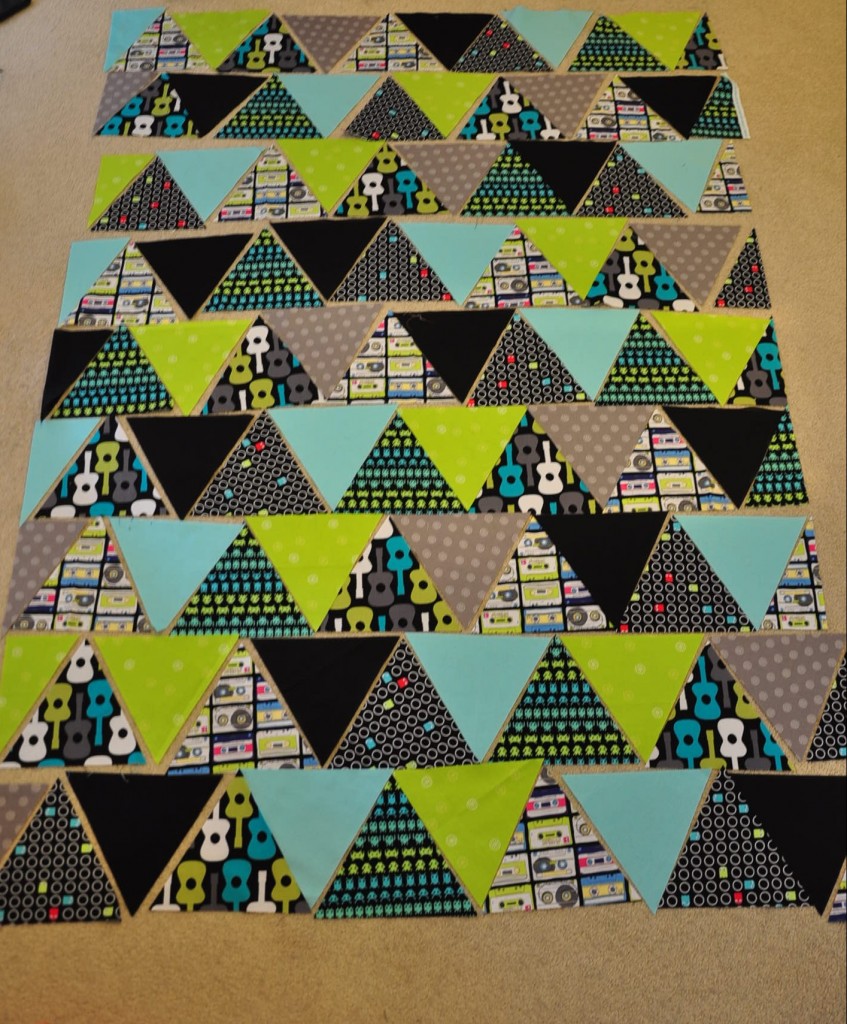
Once you’re happy, start sewing the sides of the triangle together one by one:
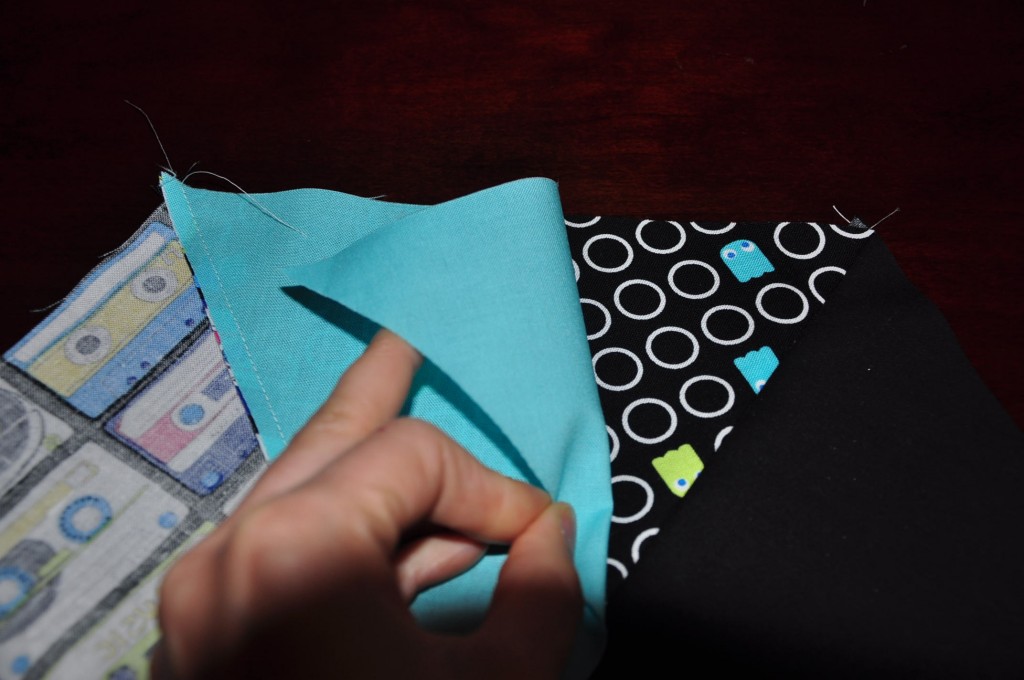
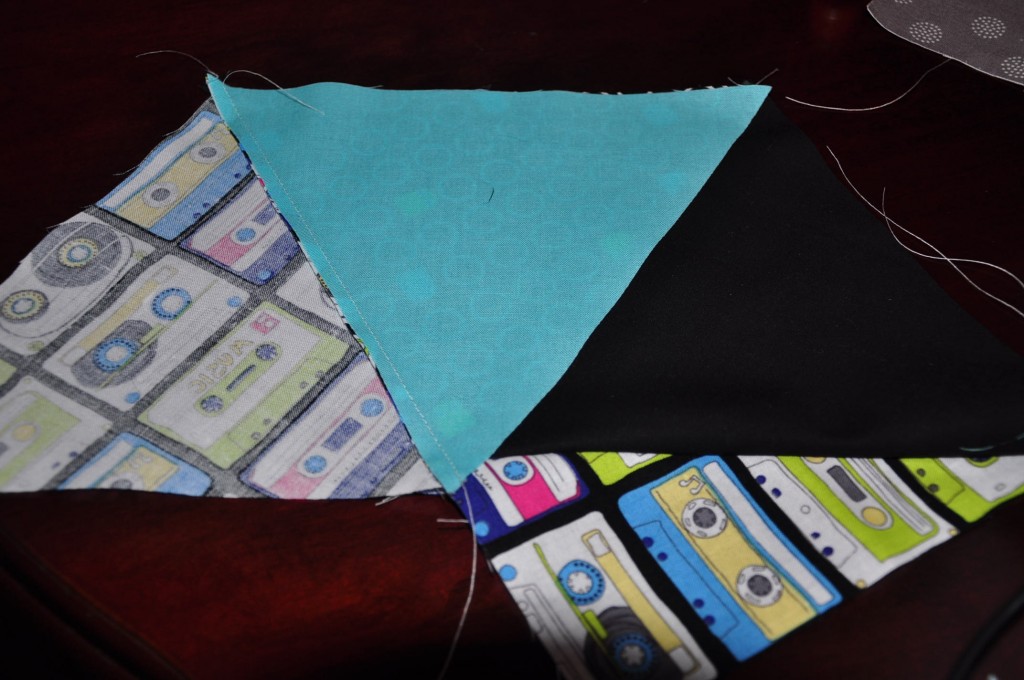 Hhere I have two triangles sewn together: the half cassette one to the black one, I now add the turquoise triangle to the pac- man fabric. it makes a line.
Press with an iron all the seams to one side.
now pin two rows together:
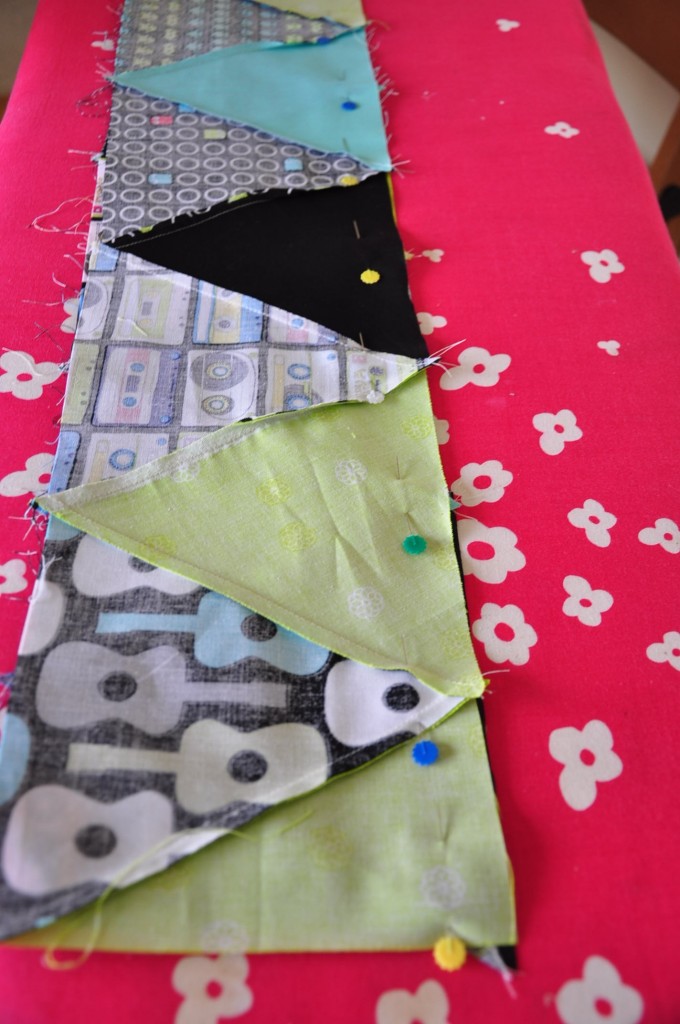 Start sewing a quarter of an inch from the raw edge but make sure you sew just on the tip of the point not under:
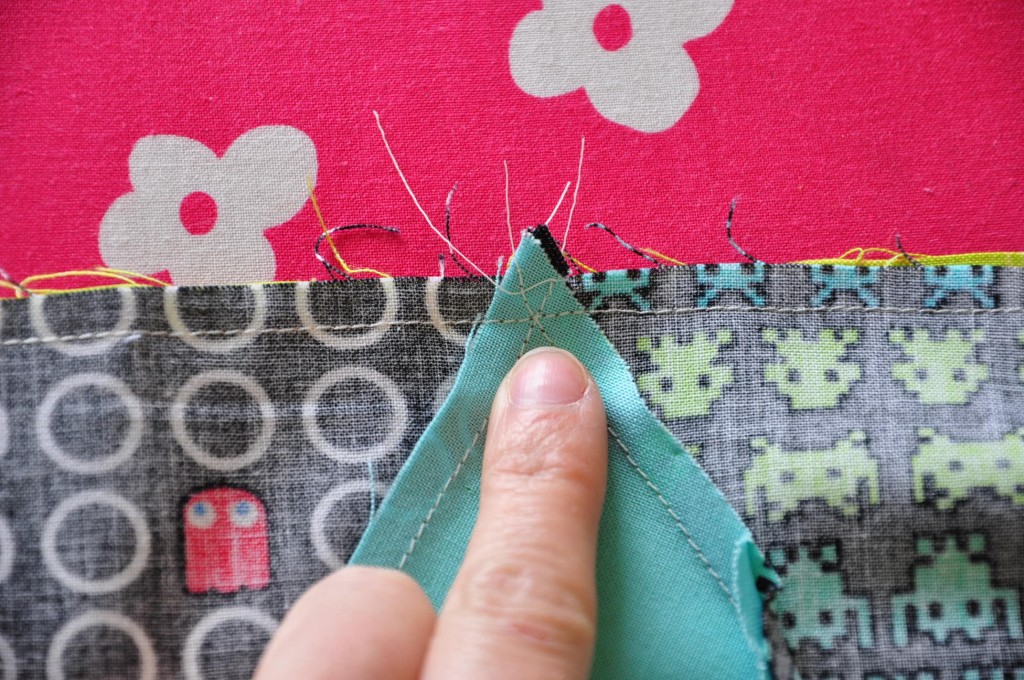 then repeat on all the rows. press open and you are done! I added the rest of the fabrics I had as I don’t like wasting fabrics:
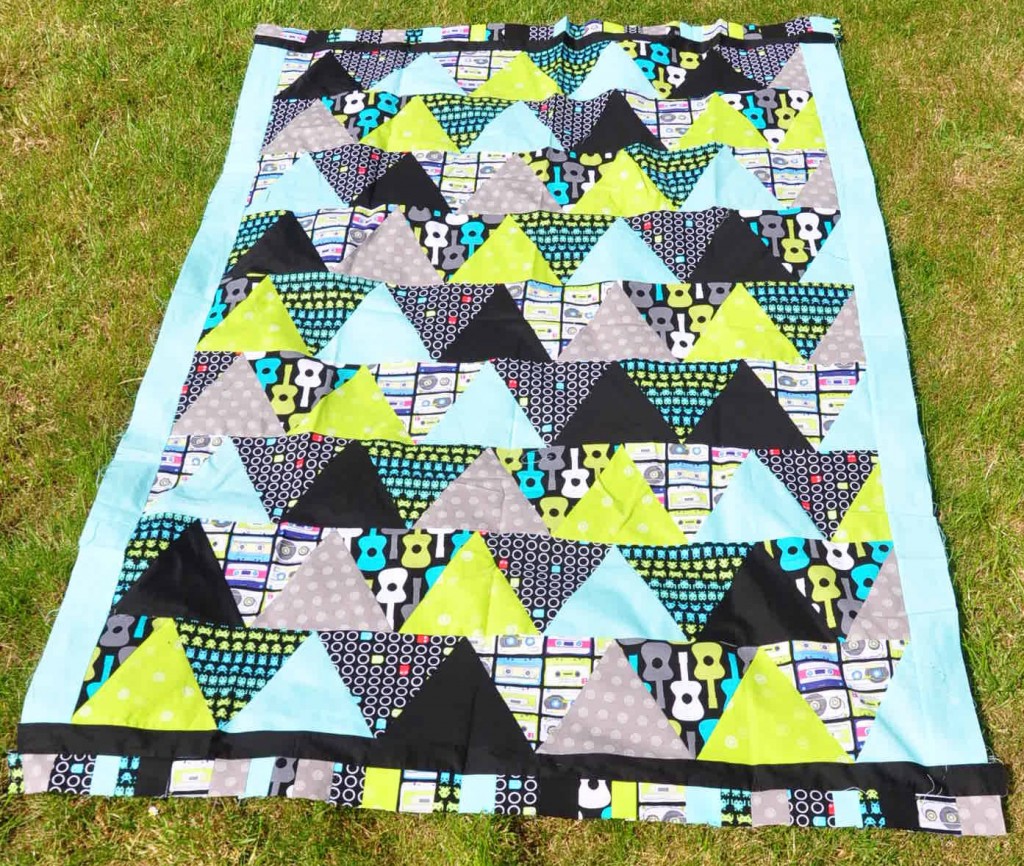 so there you go nice and easy! it takes a bit of time but my son loves it! all you need to do (well What I need to do really!) is quilt it and bind it! et voila!
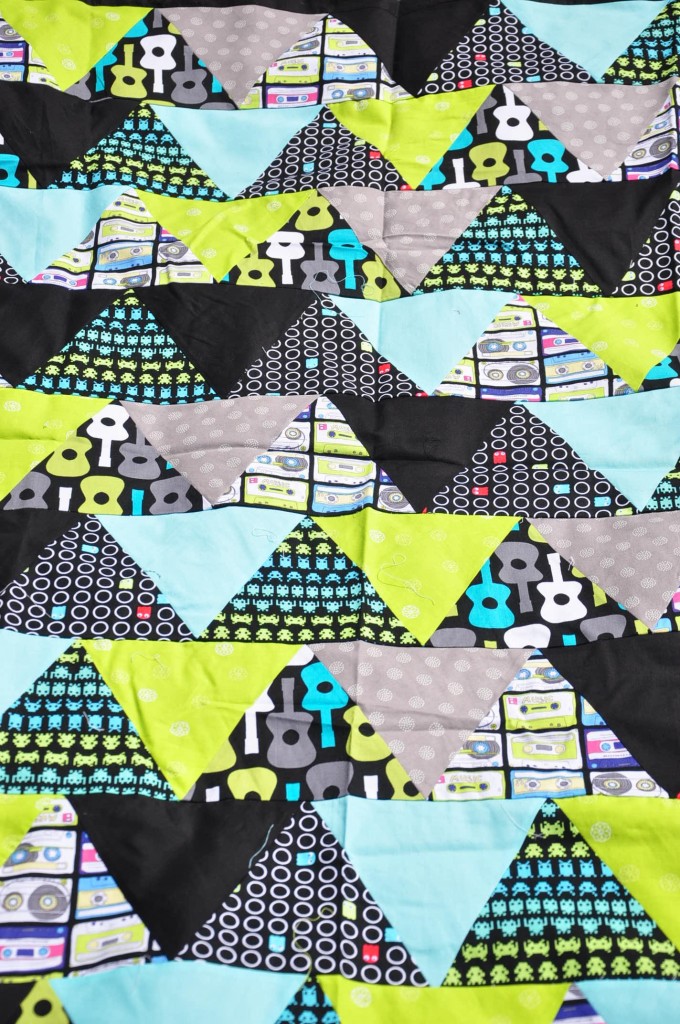 any comments and questions please don’t hesitate!!
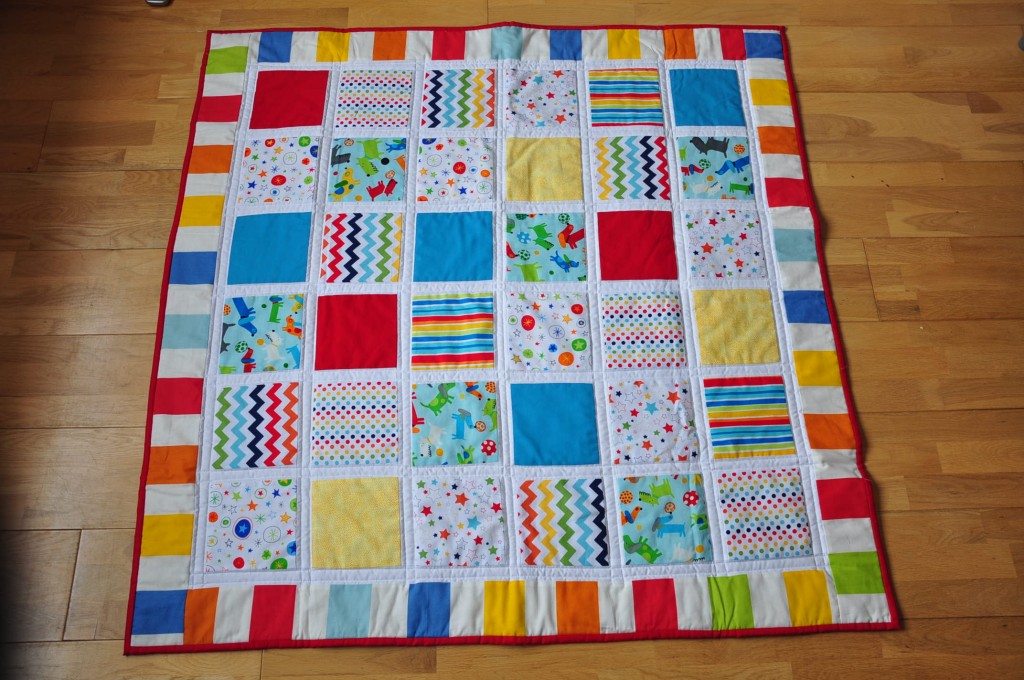 I bought some boy fabrics online. i just love the colours and the different designs! So Bright!
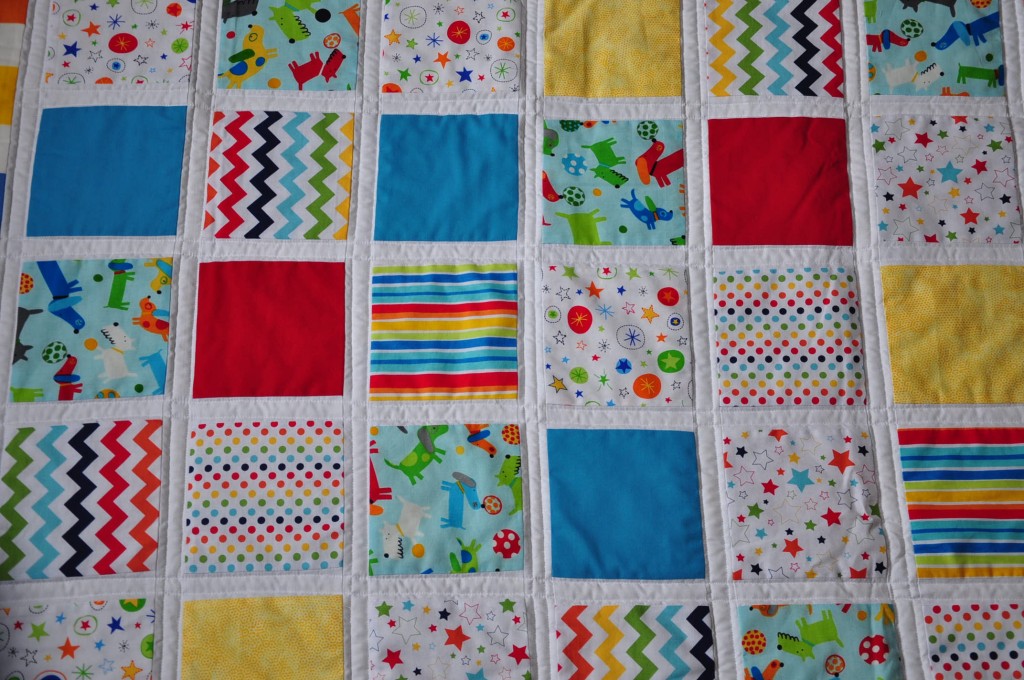 It’s a great present for new borns or for birthdays. So, this is the kind of things I can do for you if you want to offer a quilt or even get one for yourself! I have a new comission to make a bed cover for my colleague, cannot wait to get started!
