Oilcloth wash bag tutorial for charity

My Friend asked me to make a wash bag for our lovely friend whose daughter (aged 6) has TS. She will be having brain surgery next week. It just feels really surreal… And I feel a bit silly making a wash bag as if it will help somehow. I just feel powerless but I wanted her to know that I’m thinking of her, that I’m there for her and her family.

If you wonder what TS is just click here. And if you would like to donate you can do so here. If you like the wash bag but don’t want/have the time/know how to I can make it for you and any profit will go straight to the TS association. It’s a great cause, not really well known but people affected by it have their lives turned upside down. My friend is amazing; she manages to balance work, raising also another really lovely boy and family life on very little sleep for the past 6 years. She deserves a bloody medal! So it’s not much but this tutorial is dedicated to her and her cute daughter.

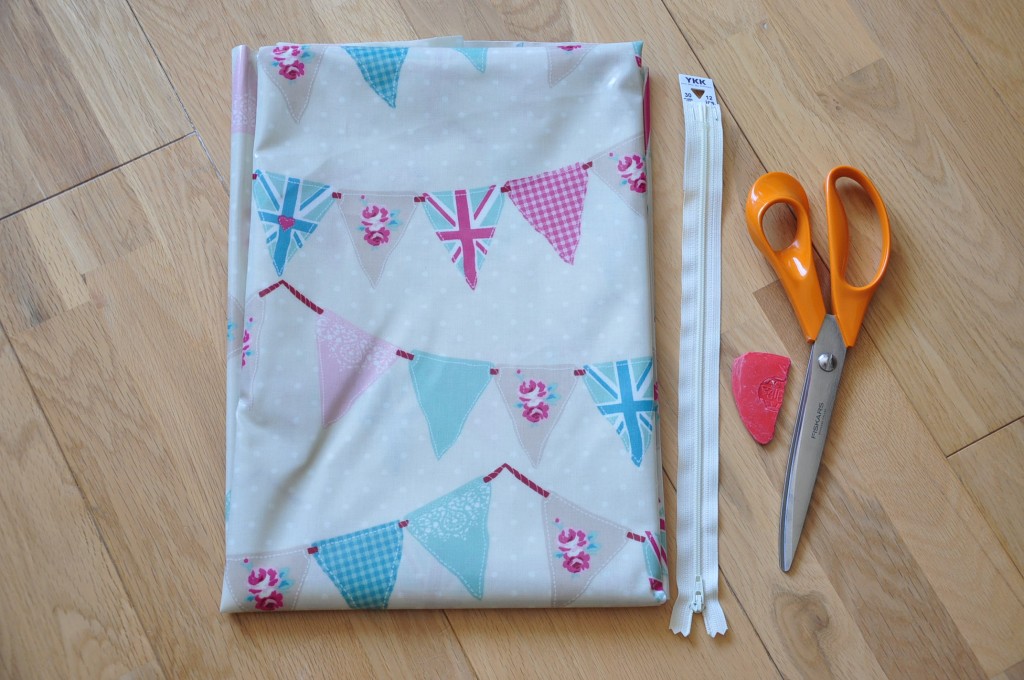
For making this wash bag you will need:

Oilcloth, zip (30 cm), scissors

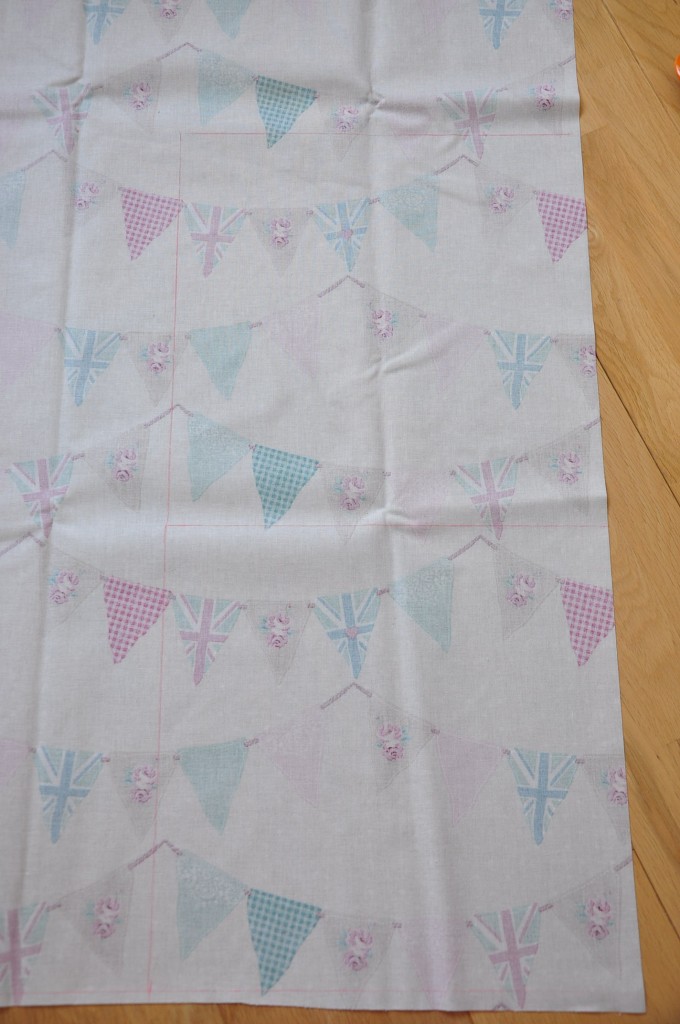
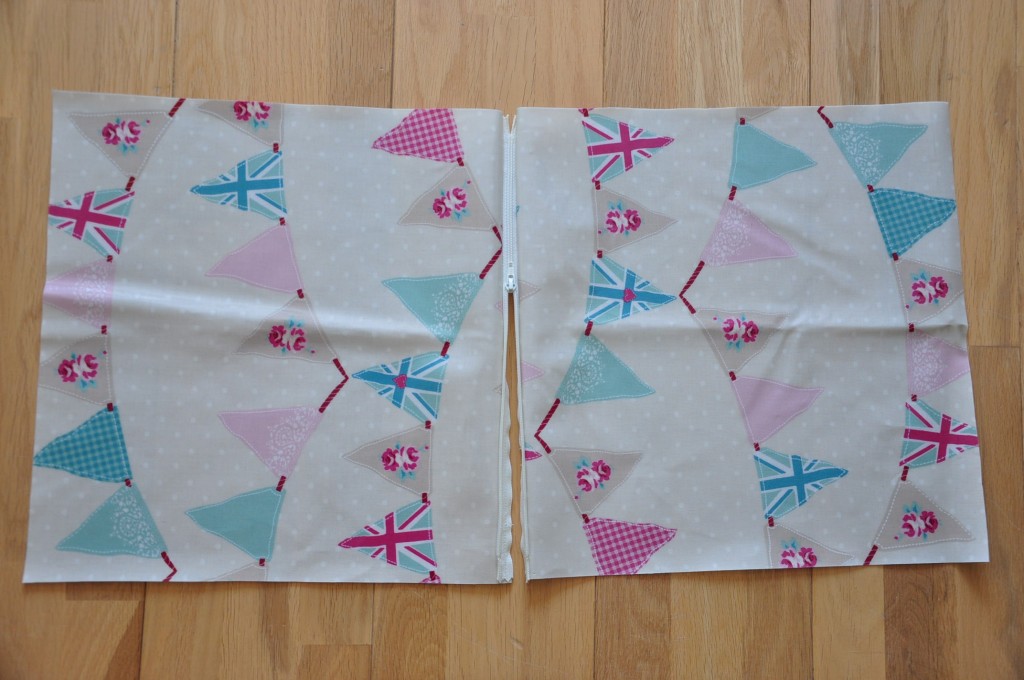
First draw two squares measuring 13”

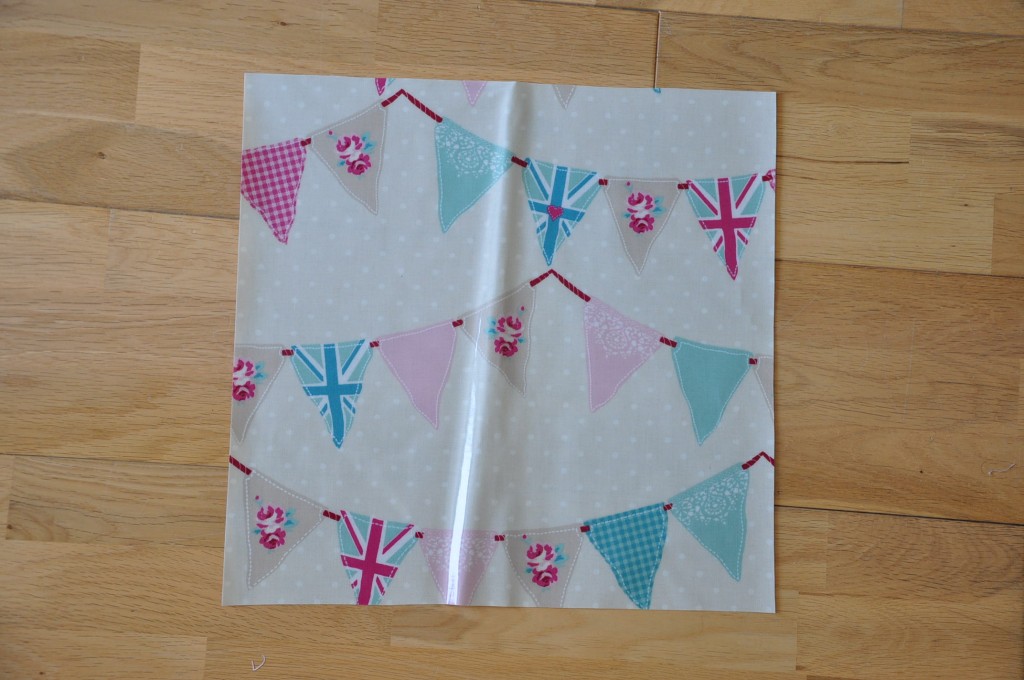
Cut them out

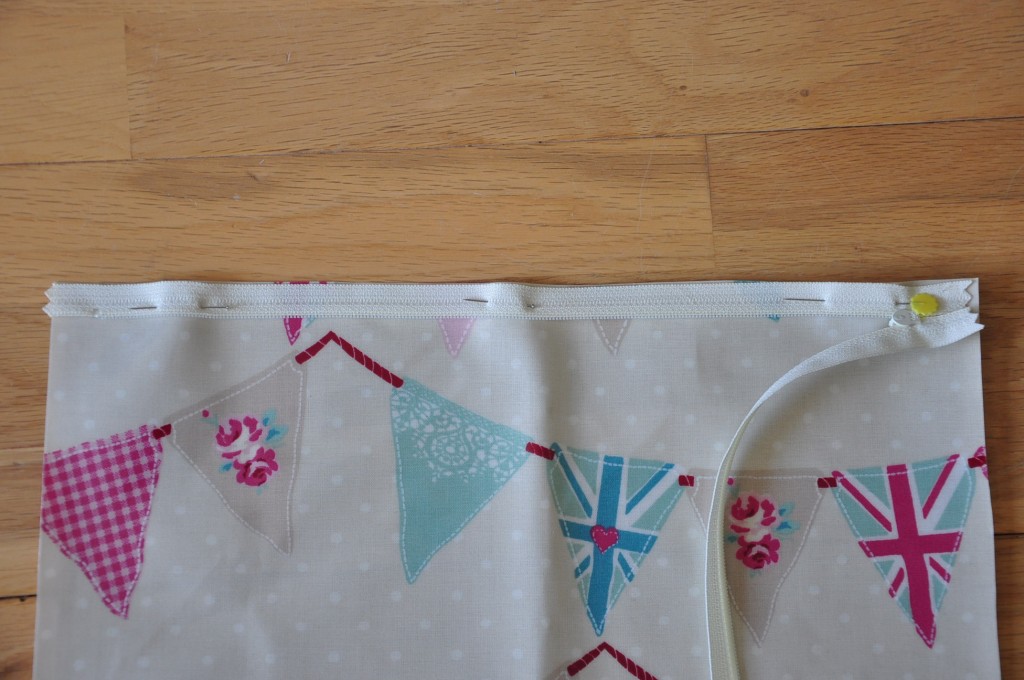
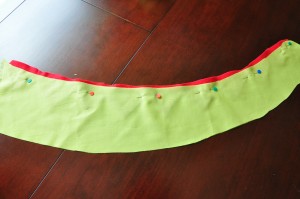
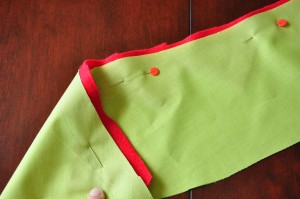
Pin the right side of the zip to the right side of the oilcloth

Using your zip foot sew all the way. Pin the other side of the zip on the second square and sew all the way.

You should end up with something like that:

Now at this point you could top stitch to hold the zip nicely using your zip foot. I didn’t because I didn’t have any greaseproof paper or a Teflon presser foot. (In retrospect it was a bit of a mistake I should have done it…)

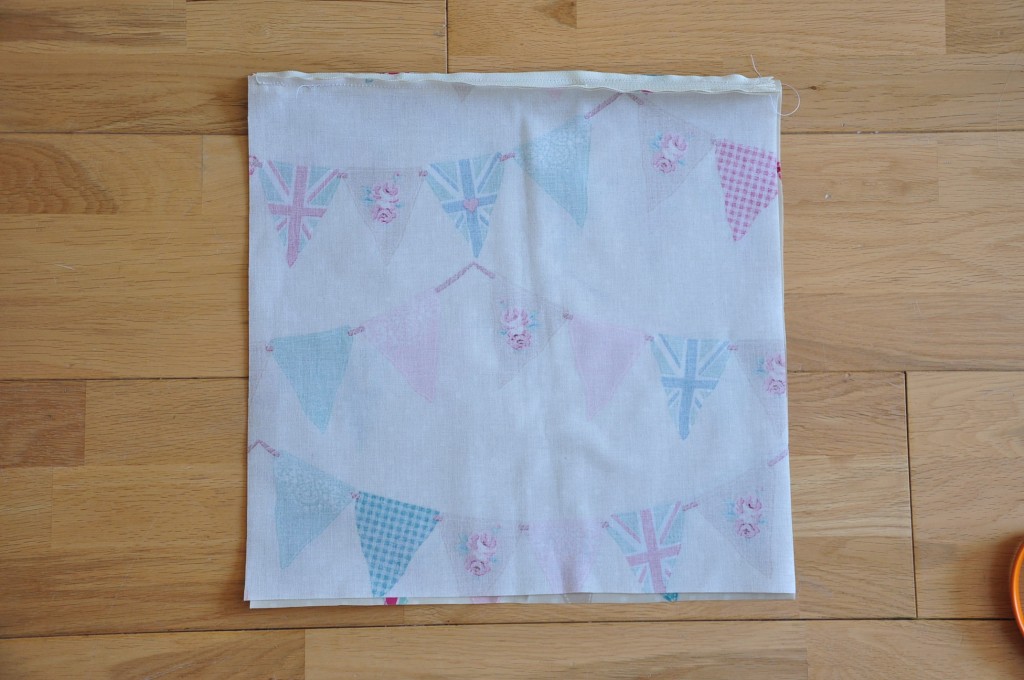
Now place right side of fabric together and pin. You will need to sew just the bottom edge

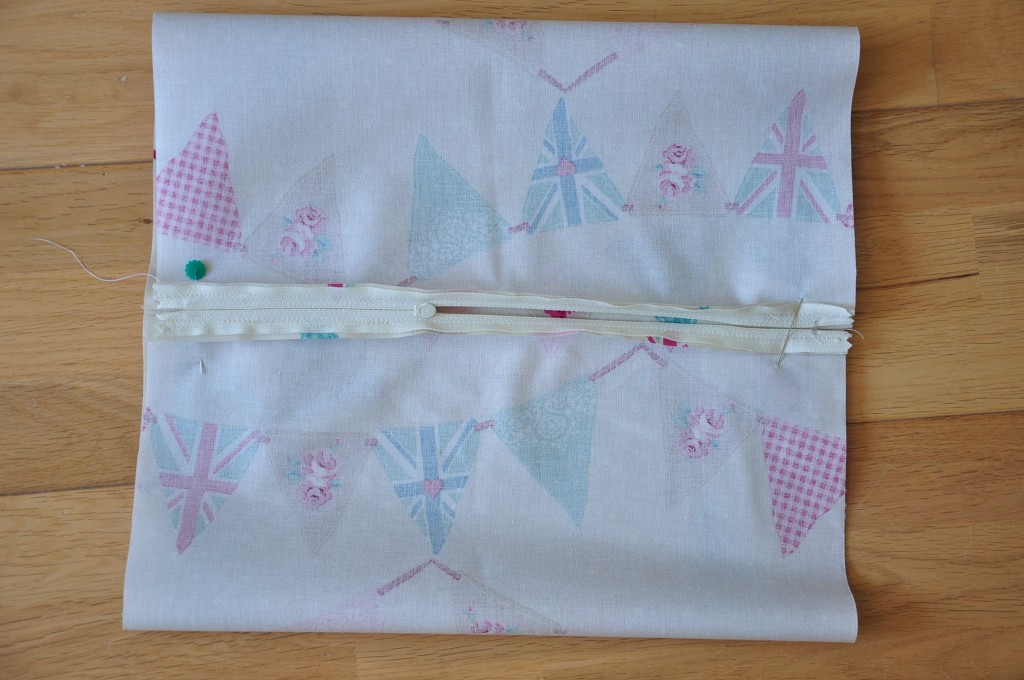
Next match the zip to the bottom line you’ve just sewn. Looking like that:

Pin together and you can now sew the last two edges. REMEMBER to leave the zip open for turning the bag right side out later (yes it happened to me before!)

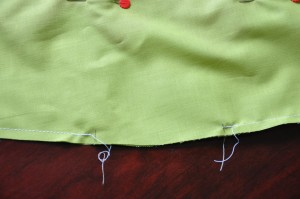
i did a couple of back stitches on the zip

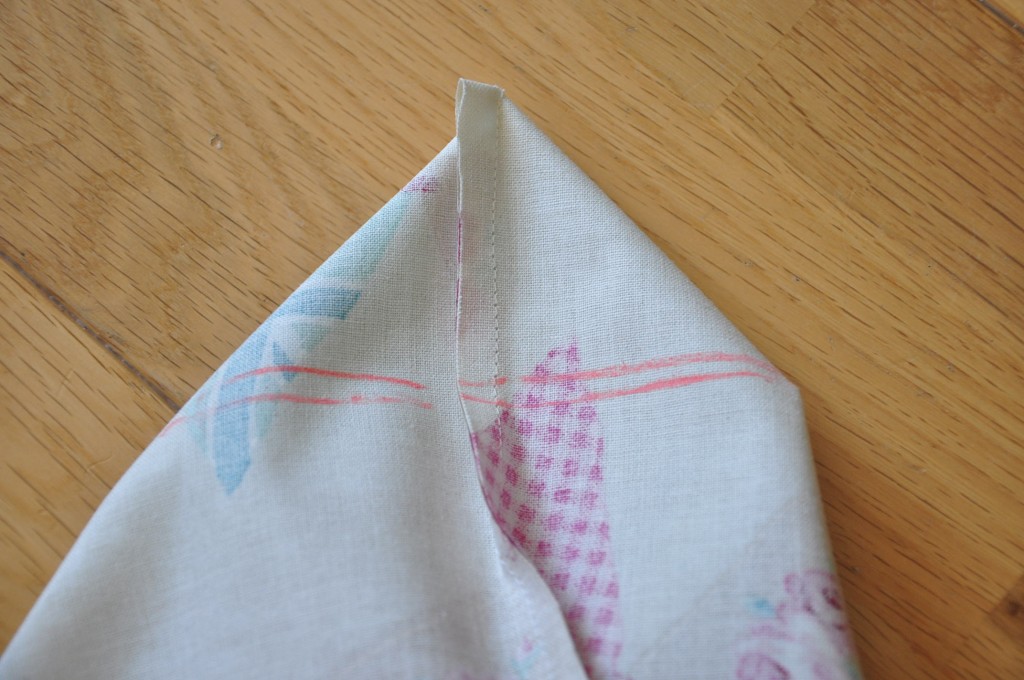
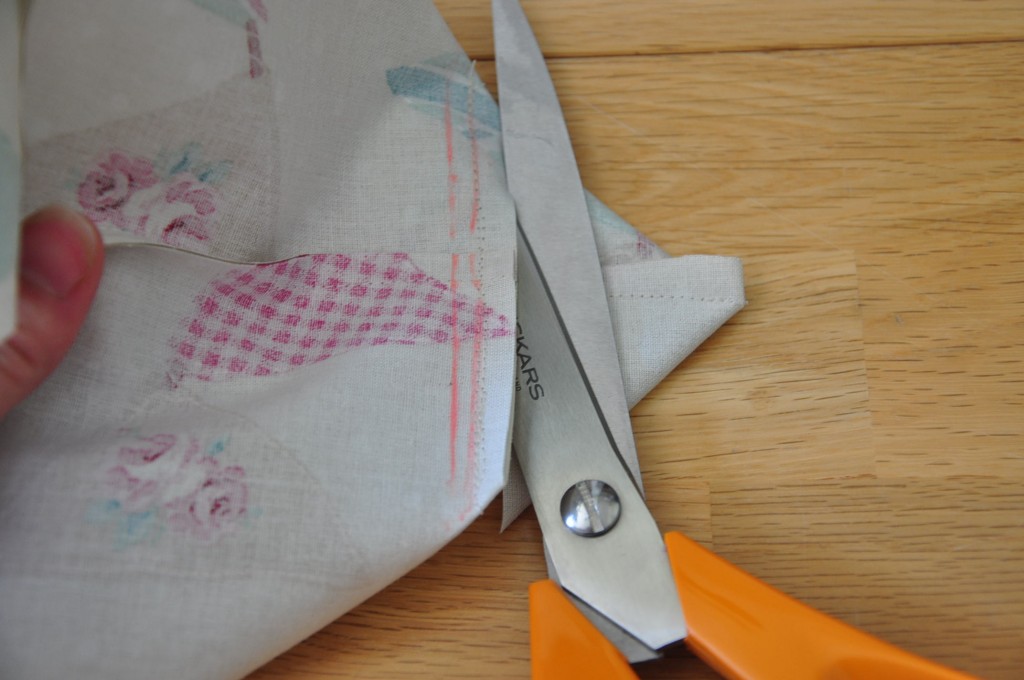
Now that’s the tricky bit: fold the corner to form pointy triangles:

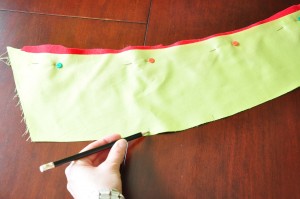
Mark a line from 2” from the top,

Sew on that line and cut the remaining fabric

Do it for all four corners and it should look like that:

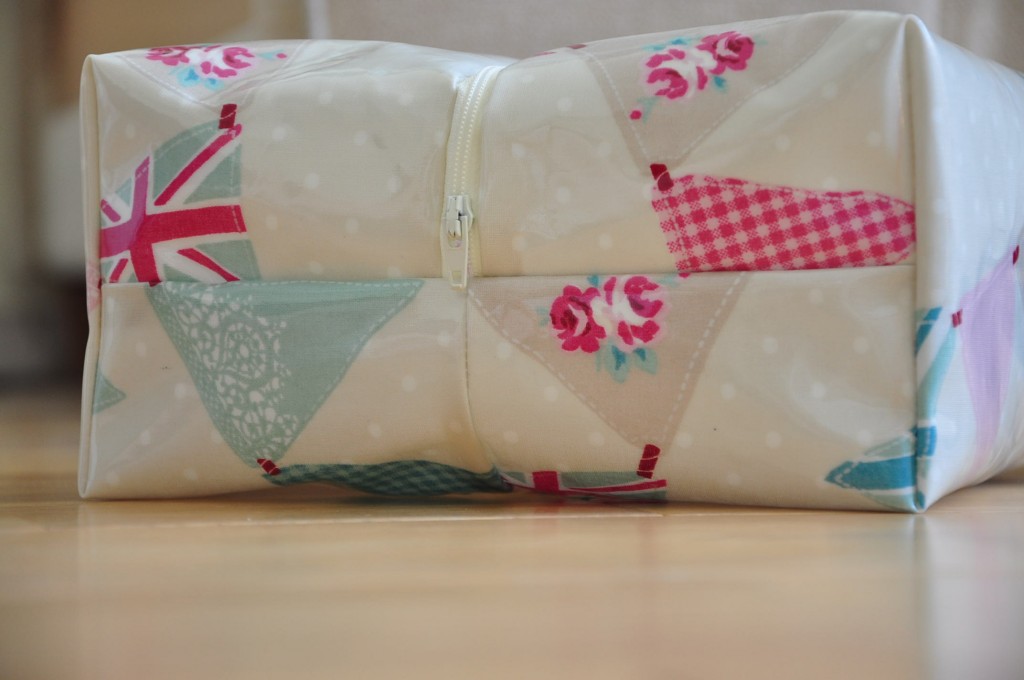
All you need to do is turn your bag right side out et voila! You’re done!

Very easy and useful wash bag!

Next time my friend uses it I hope it’s to go on a nice holiday with her family.

Sending her and family lots of love. XXXX

Zpagetti in Italia

This were I’ve been last week:

Bergamo, Italy

Bergamo North of Italy. It was absolutely magnificent. Not only my eyes were enchanted but my taste buds got a kick in the mouth! I am clearly physically back but my mind is still lost in the little streets of this beautiful medieval town.

I visited most of the museums, churches, restaurants and shops. I got really inspired by some of the roman mosaics and some of the clothes designs. You’ll be sure to find some Italian inspired creations soon!

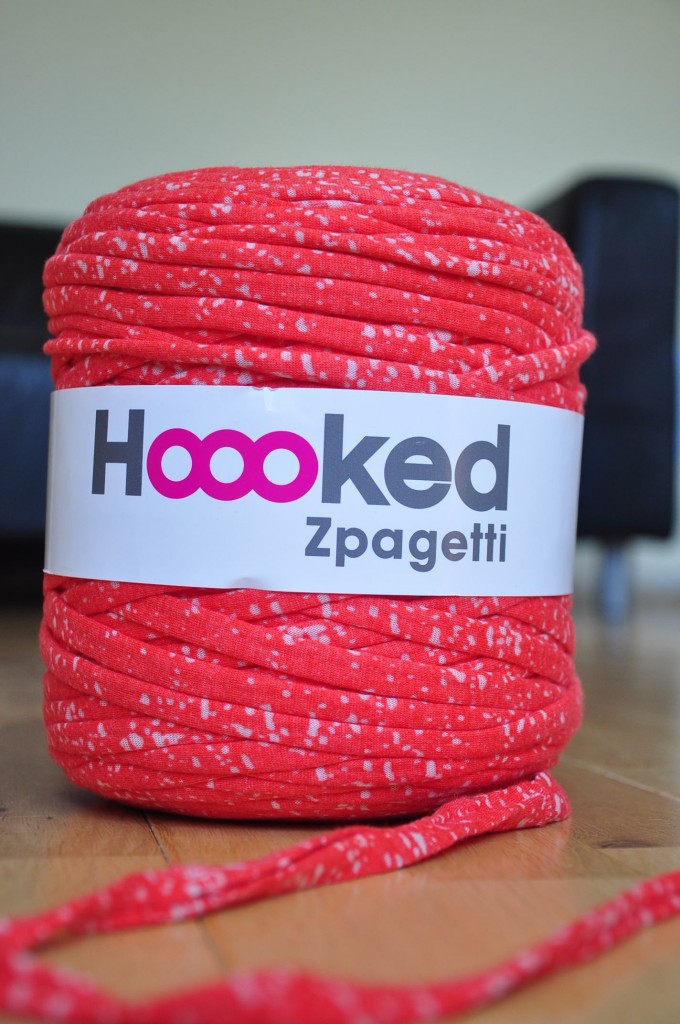
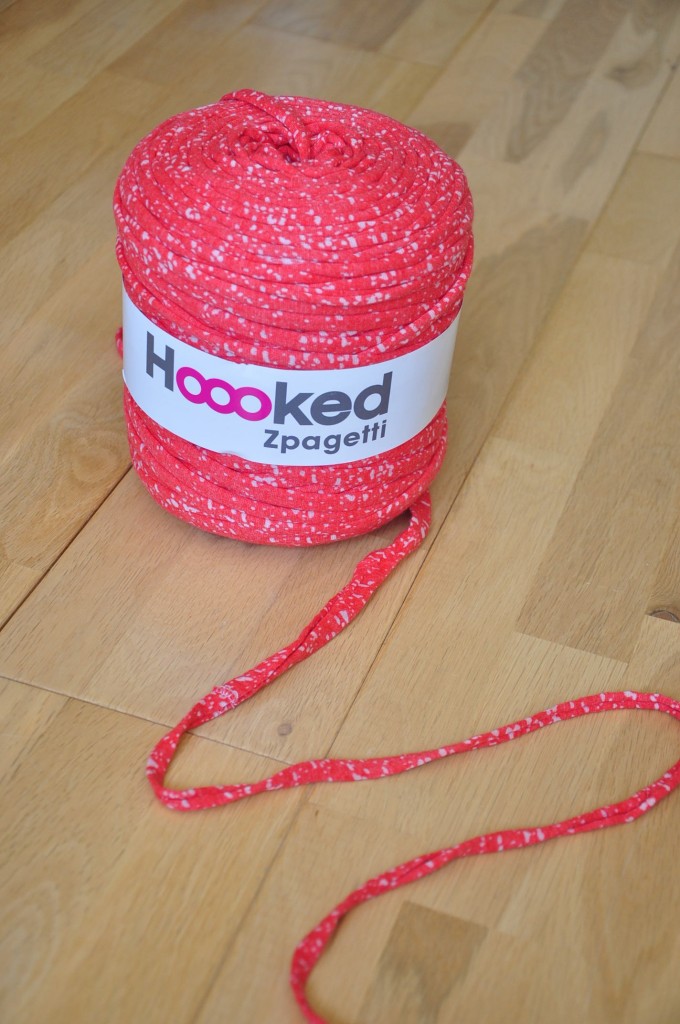
In this little town I was surprised to find a craft shop which was selling a few hooked zpagettti yarns. I fell in love with them! Ideas came flooding my mind, crochet, knitting, finger knitting for my kiddies! You could do so many things with them. It’s a brilliant idea.

It’s basically off cuts of jersey knit that they cut into really long thin strips.

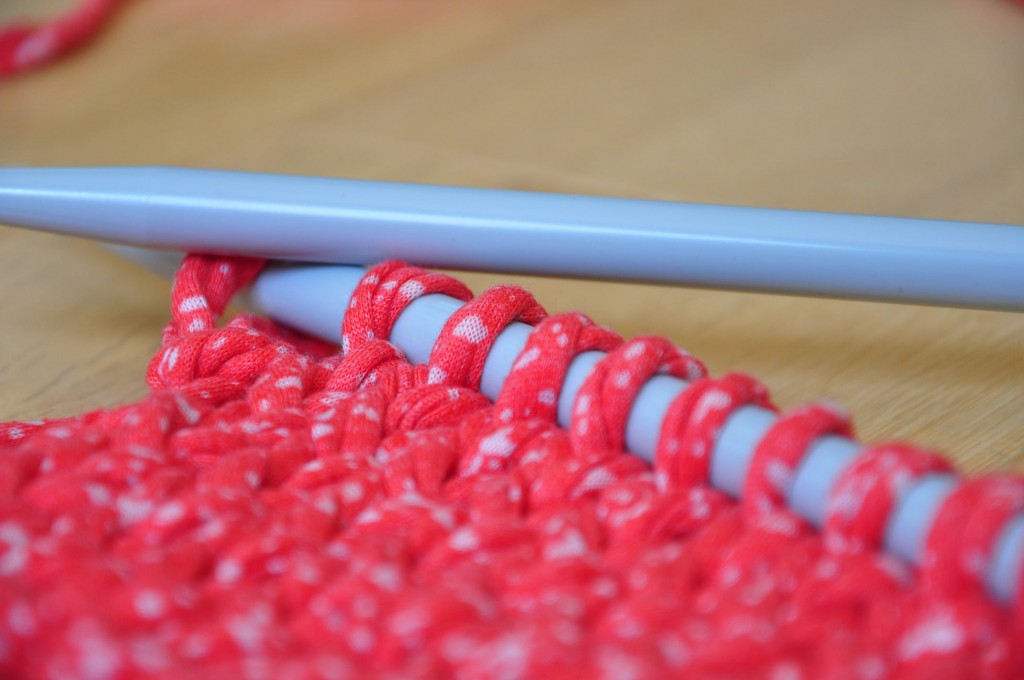
I’ve already started to knit and it looks really interesting.


I’ve nerver crochet in my life so I need to invest in a hook. I’ve already tried to crochet with my fingers and the result was quite impressive. Cannot wait to start with a real hook.

I have decided to make a bag with it. On their website you can download for free a few patterns and I chose this one.

But you could make cushions, scarves, baskets, rugs, wreath… possibilities are endless! (no no, I have not been paid to praise them!)

I will keep you updated on my crochet skills (if any!) and will soon post a tutorial, but first I need to get back into a routine and to reality!


quick little owl costume

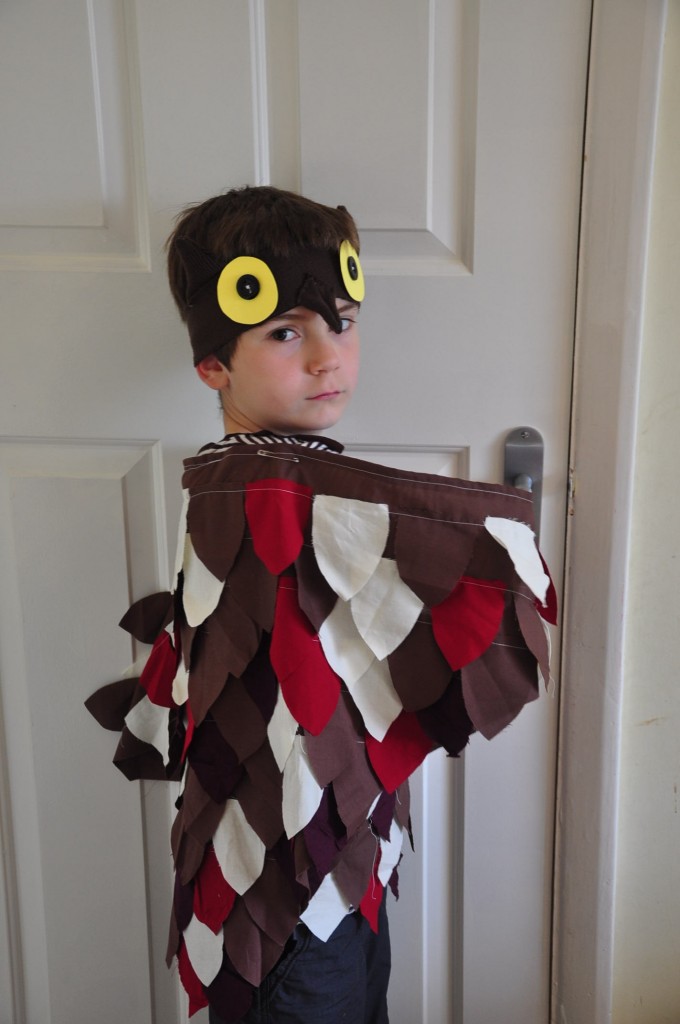
My eldest son had a nocturnal animal day at school and they were asked to come in dressed as a nocturnal animal of their choice. Matteo chose to be an owl. We had to make a poster about owls and we learnt some cool things about them!

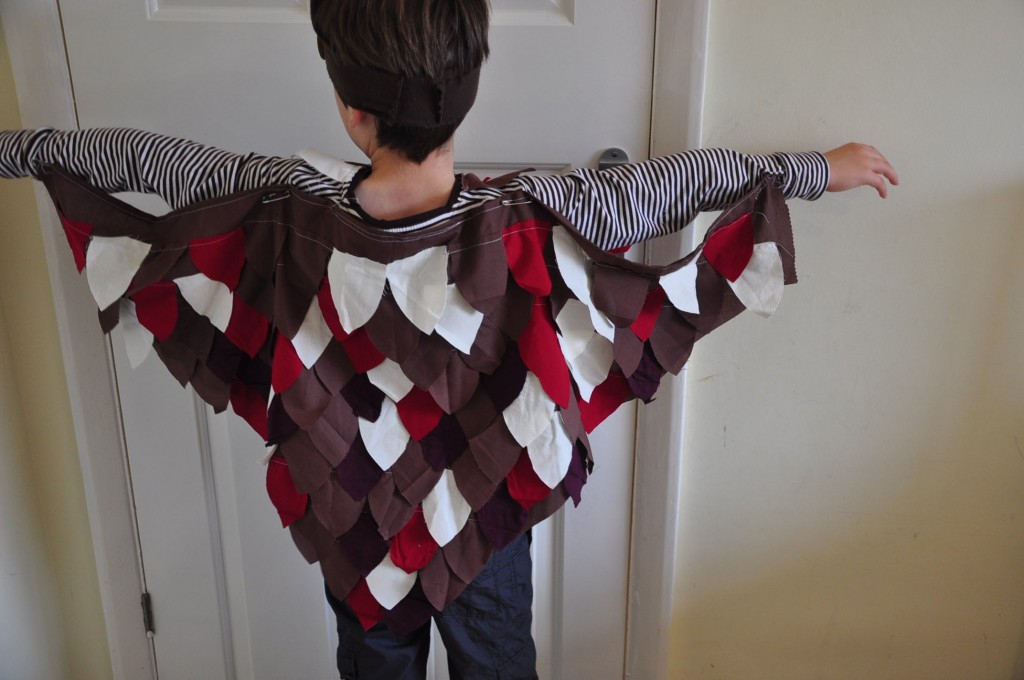
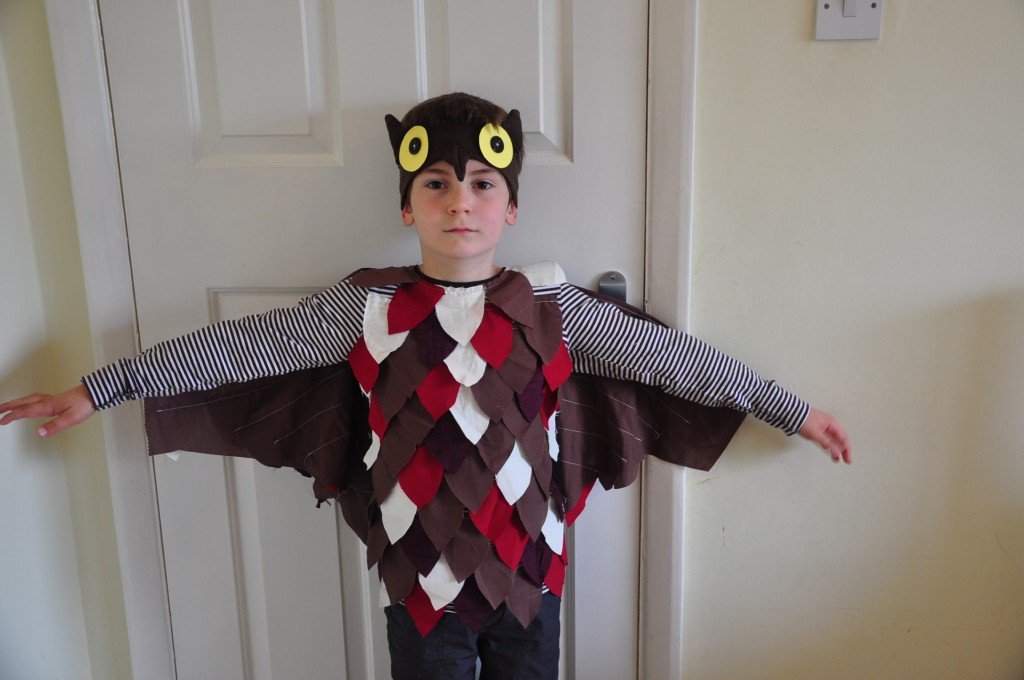
To make the costume I used one of my tee that I wasn’t wearing anymore. I found some old clothes that were brown, red, purple, cream. I cut some shapes (feather looking) out of those and sew them on the tee starting at the bottom all the way up the collar.

For the wings, I cut out from brown fabric a triangle shape that was the size of my son’s back and arm. I sew some more fabrics on the back and sew the wings on the tee. et voila!

For the eyes, ears and beak I cut out a head band from an old jumper. I cut out some small triangles for the ears and beak. For the eye I cut 2 yellow circles out of paper and sew some black button on top.Et voila! a quick owl costume (and cheap!) hope this gave you some ideas!

My son’s dinosaur birthday party

That’s it! he’s five, it’s official… I’m not sad, I’m nostalgic! it just went so fast…. but he’s a great kid and he’s coming up with such funny and interesting things, I cannot wait to see what this year will bring (hopefully less arguing with his brother!). So to celebrate little one’s birthday we had a dinosaur party (obviously!) and I just thought I would share with you the things I did for this party. I tried to do most of the things myself as it can get a bit pricey and got other things on the net. So here it is!

Decorations:

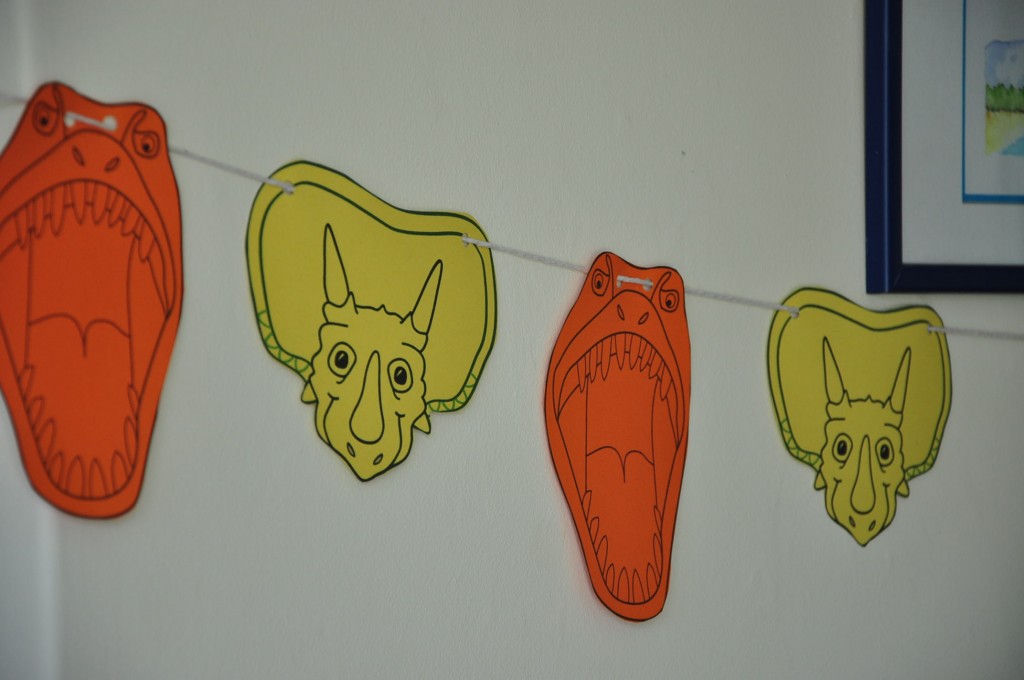
I have found this fabulous website called coolest parties and you can print some dinosaur decorations. I printed the dinosaurs on colored paper and turned them into buntings:
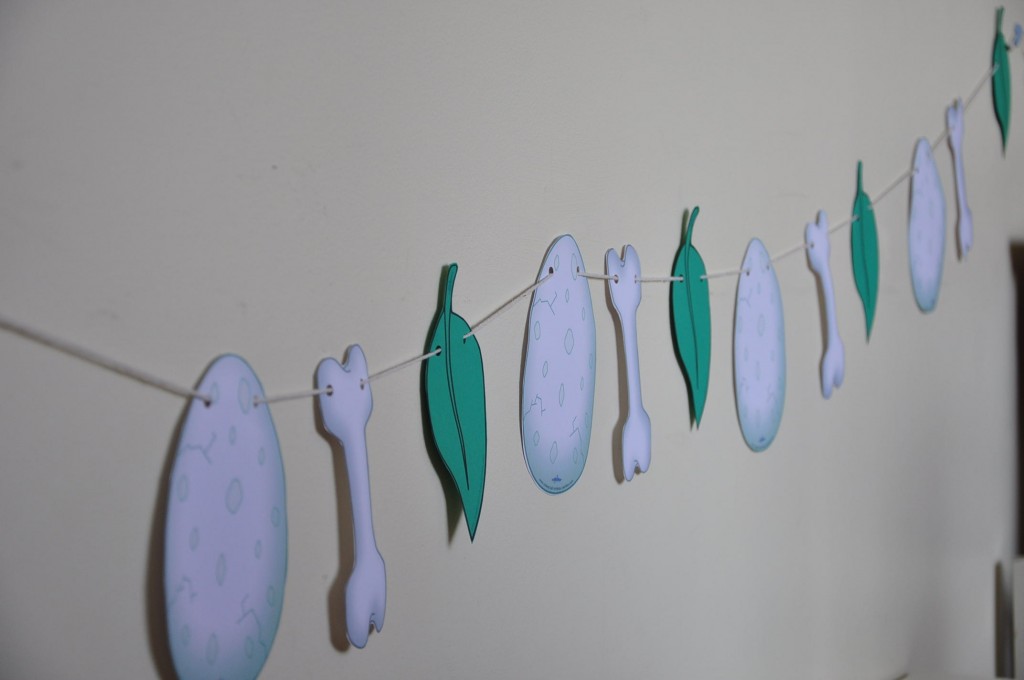
I did the same with the leaves, bones and eggs:
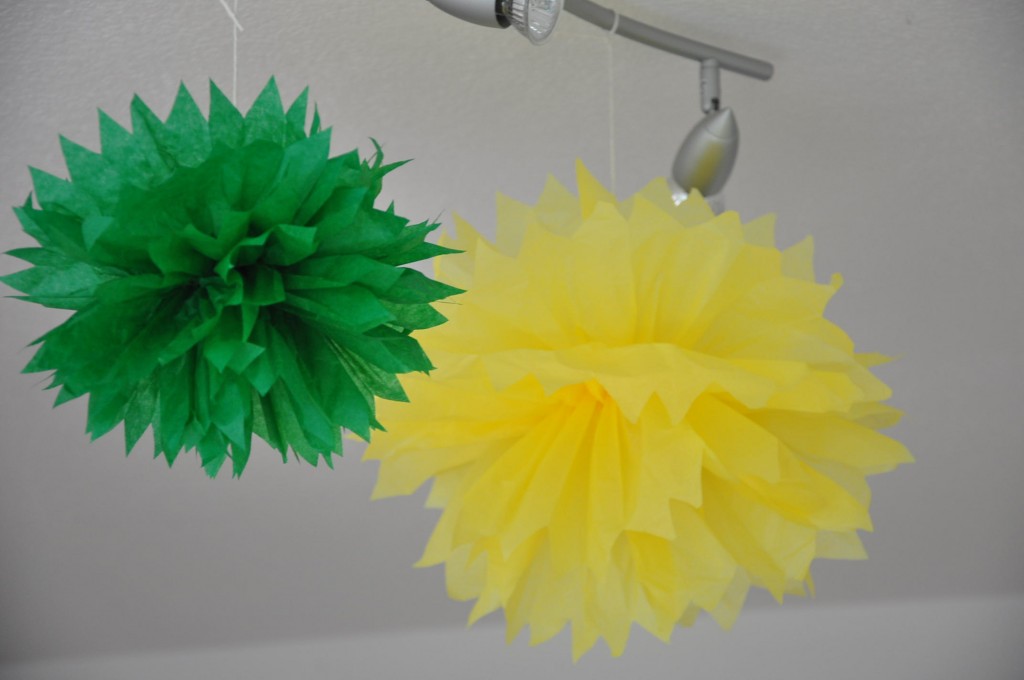
I also made some tissue pompom and you can find a tutorial here. I chose to make them green and yellow to remind the natural colours of a forest. I also made some crepe paper streamer:
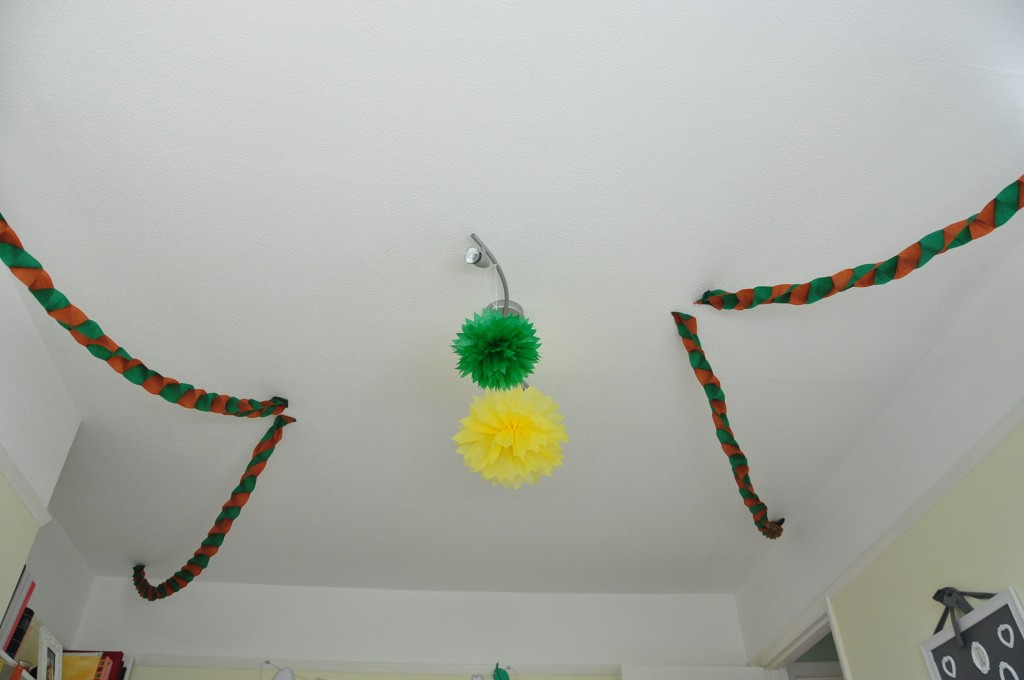
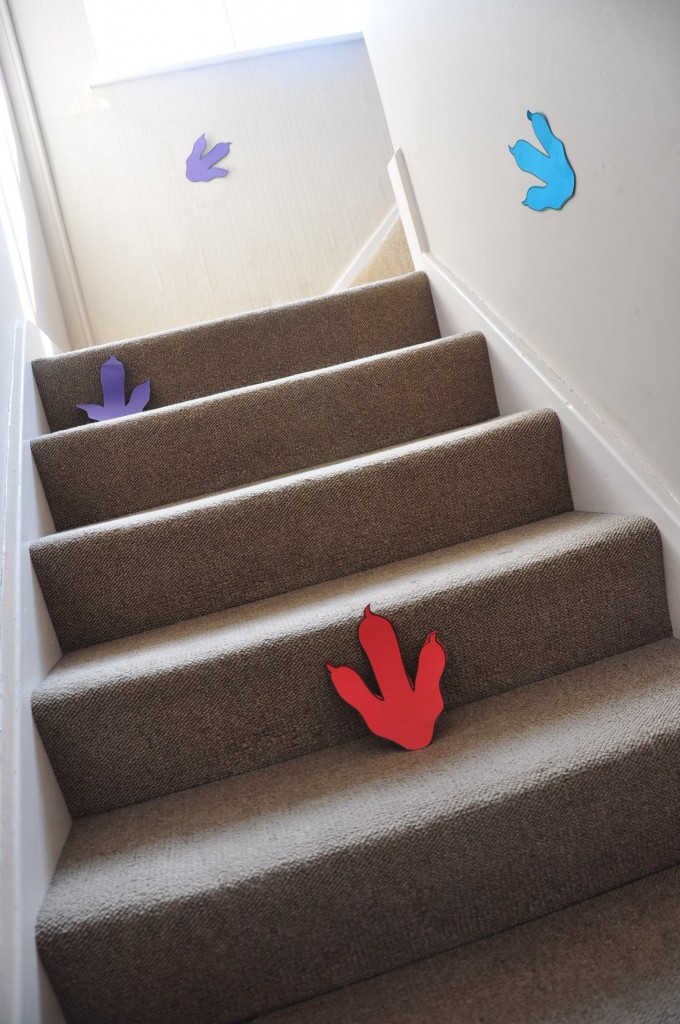
In the stair case I stuck on the wall and steps some T-Rex prints to show the way to the party:
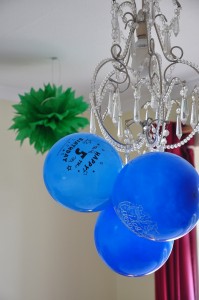
In the dining room I decorated with more pompom and some dino balloons I found in a shop:
Invitation:

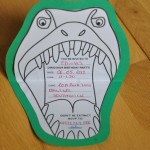
I have found some invitations to print from the same super website coolest parties. The invitations were really well done and with a touch of humour!
Games:

I organised a few games but we did not play all of them as they were quite happy to go and play in the bedroom.

When they first arrived I had set on the living room coffee table some masks that they could colour in. I got the masks from here.

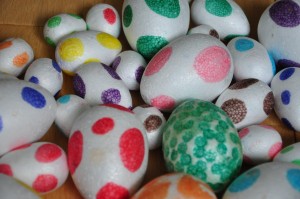
We then played a dinosaur egg hunt. I bought online some polystyrene eggs that I coloured and I hid them around the house. the kids loved it! It was supposed to be an outside activity but since we’re in England and we had our summer in march for a week and it was raining (no kidding?!) we had to do it inside. Never mind I think it was OK, short, but OK.
We then played pass the dinosaur. the children sat in circle and they had to pass a big dinosaur to the dino song. If I had to do it again I would play pass the parcel, because when the music stopped the kid with the dino was out… it was a bit awkward to tell a five year old ” sorry honey but you’re out!”.. But I was really impressed how well they played!

We then played the dinosaur dance. Which is the same as musical statue. They were wearing the dino tails I made. they were cute!

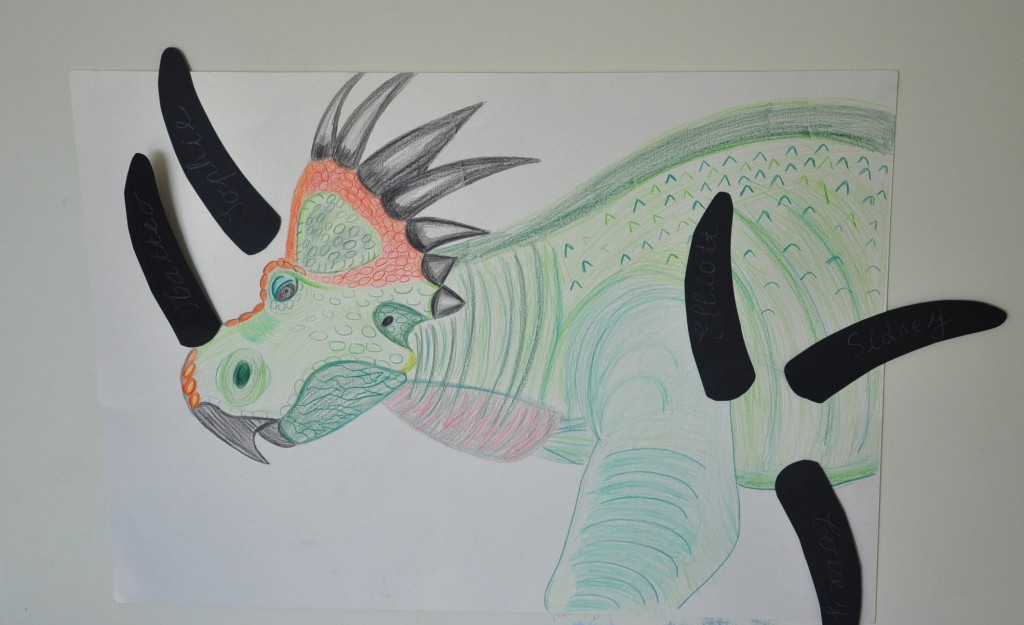
We played pin the horn on the Styracosaurus. I’ve drawn a dinosaur without its front  horn on a big poster and cut out some horn shapes in black paper with the children’s name written on it. It’s my favorite game. It’s so funny ! Some thought it was pin the tail instead, so we had a mix of horns a bit everywhere! (one was actually way off but could not include it in the shot!)
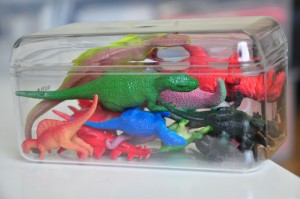
We then guessed quickly how many dinosaur in a box:
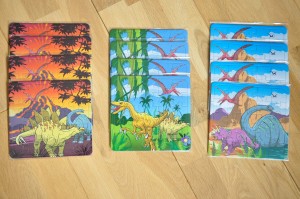
Next we played puzzle race. I bought some dino puzzles online. the children had to finish their puzzle first in order to be the winner. It was really nice and quiet just before we ate. 
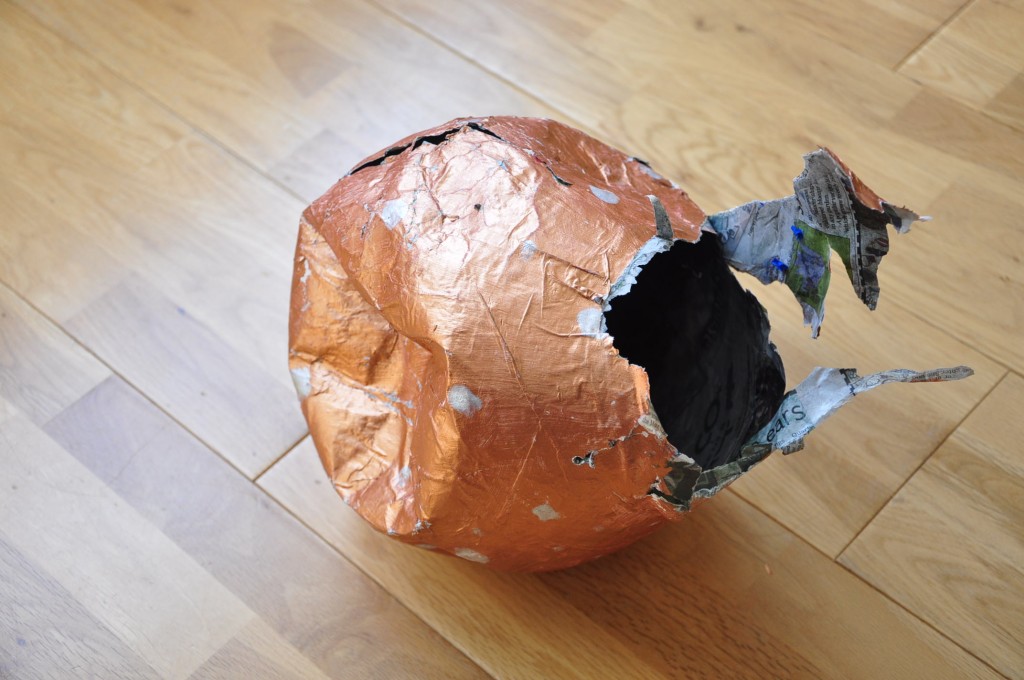
After we ate, we went to the garden to bash the pinata. I made a dinosaur egg pinata by simply blowing a balloon and glued some news paper strips with PVA glue. Once dried I painted it, popped the balloon inside and filled it with stickers, tattoos and mini dino toys that I found online:
I had a dinosaur bingo planned, thump thump roar (like duck duck goose) but by then the children were all playing in the bedroom and were really happy. We just took this opportunity to have a chat and a glass of bubbly!

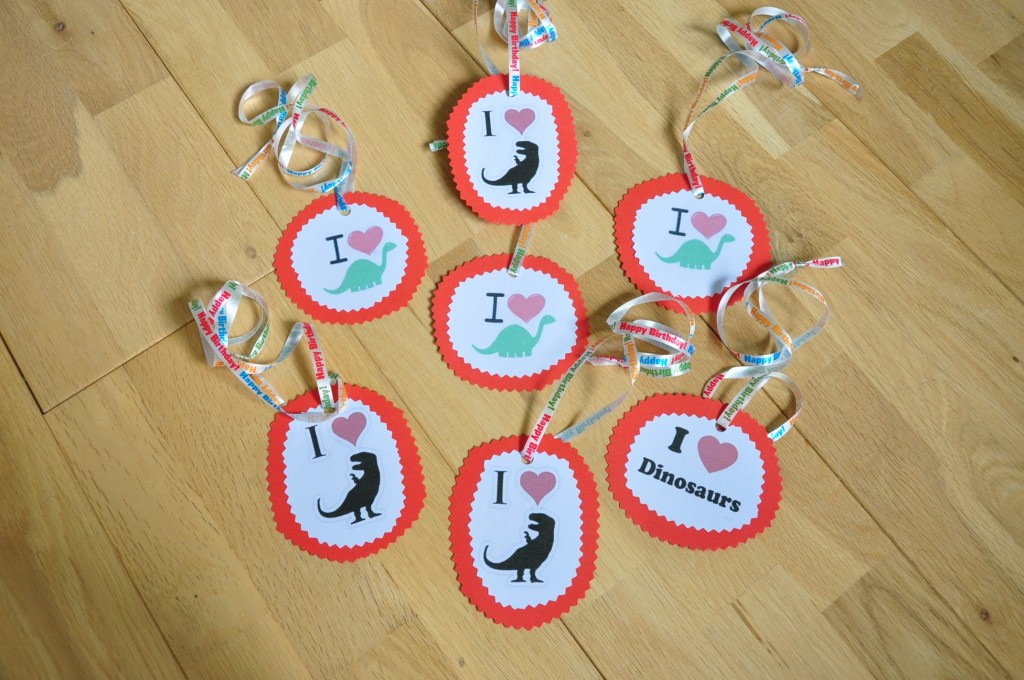
Each time one of the children won a game I gave them a little paper medal I made. It said “I heart dinosaur!”
The cake:

Well it had to be a ….wait for it…. dinosaur cake! I found this template to make it. It was really simple and the kids loved helping making it. It was obviously chocolate with green icing:
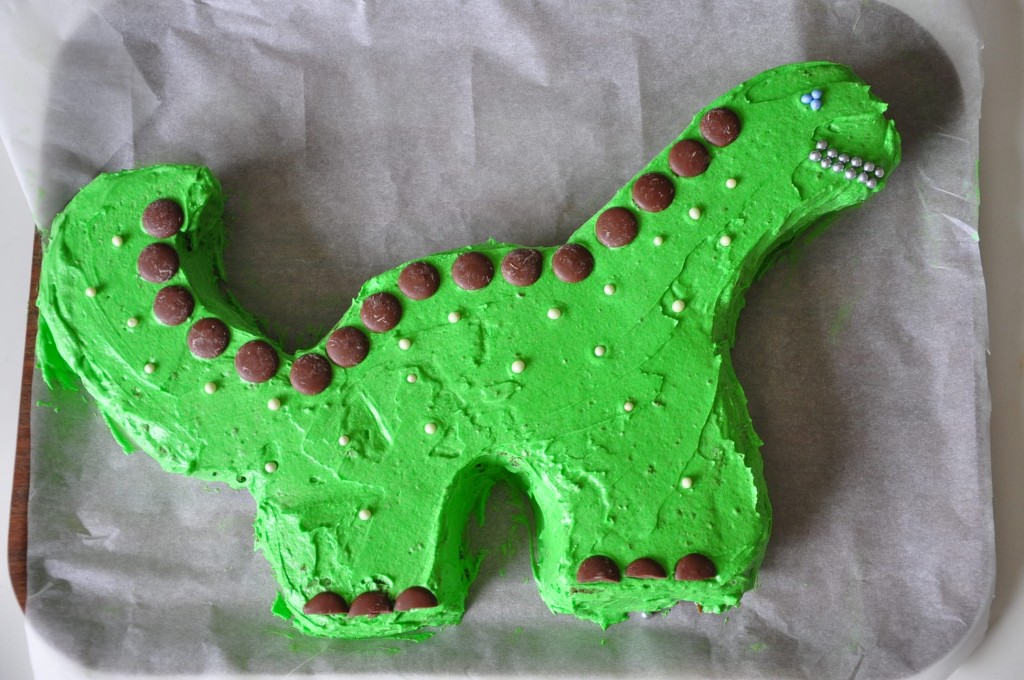
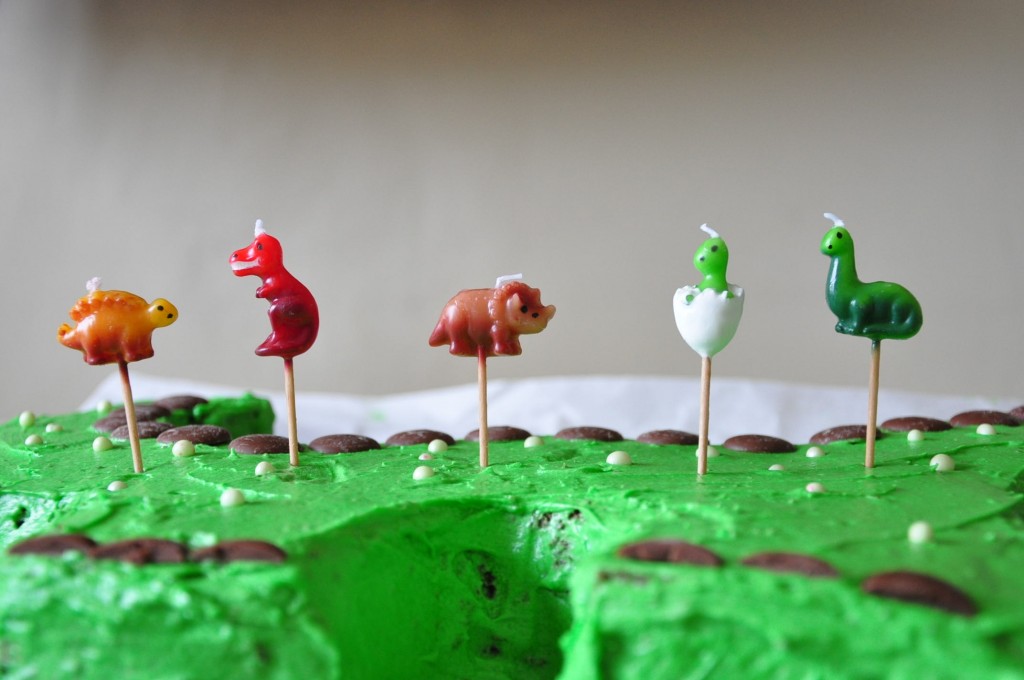
I added some online bought dino candles et voila!
The party bags:

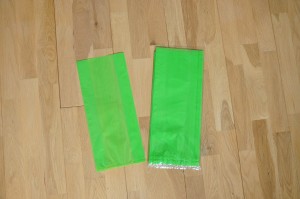
I bought some green plastic party bags:
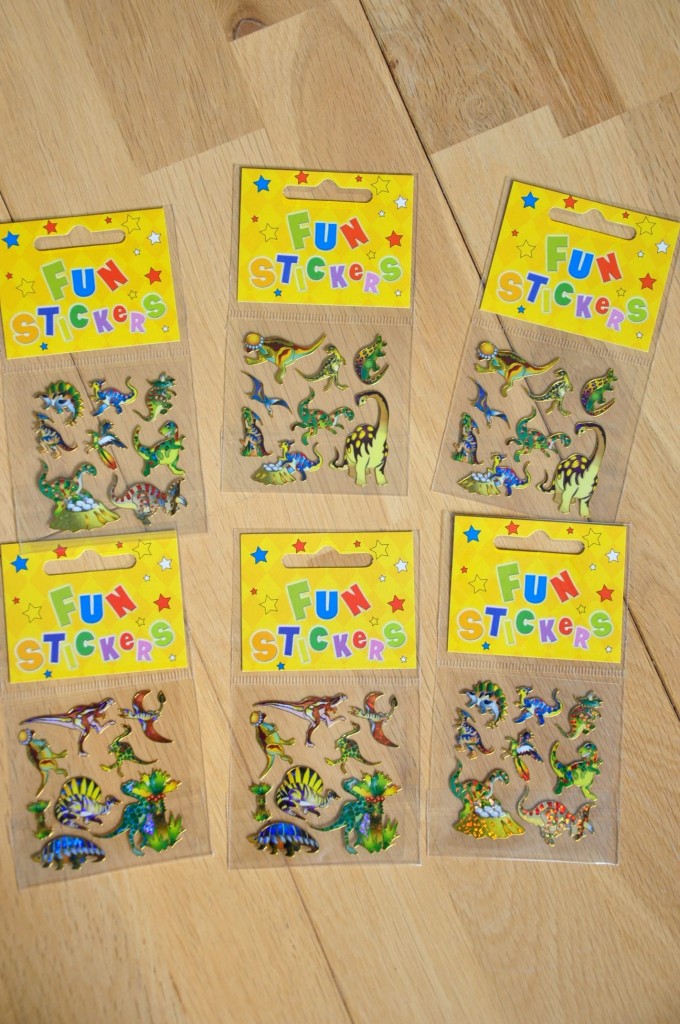
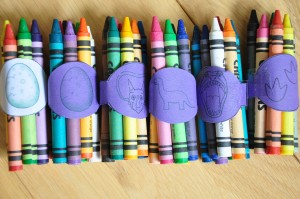
I filled them with the puzzle they made previously, the tattoos, stickers, and mini dino they got from the pinata, the mask they made, some crayons with home made dinosaur colouring books:
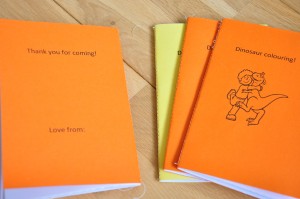
(To make those, I simply got some dino pics from google images and copied them on Word. I then printed them out and sew them together in the middle.)

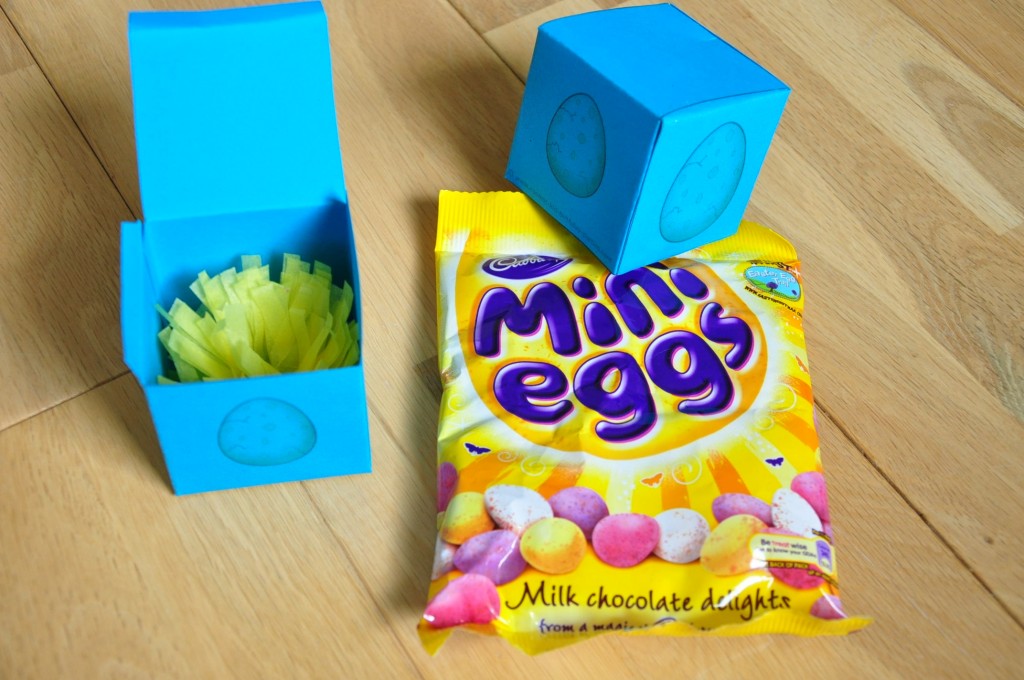
They also got some dinosaur eggs in a tiny box that I printed from coolest parties:
So that was that! I hope you’ll have as much fun as me doing your party. My son really liked it and so did his friends (I think). I’m supposed to get ready to do a Moshi Monsters party for my eldest and really haven’t got a clue what to do… if you have any ideas please let me know!

 

dinosaur tail tutorial

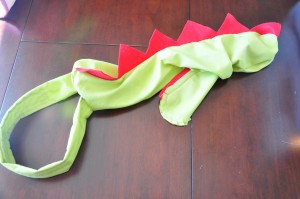
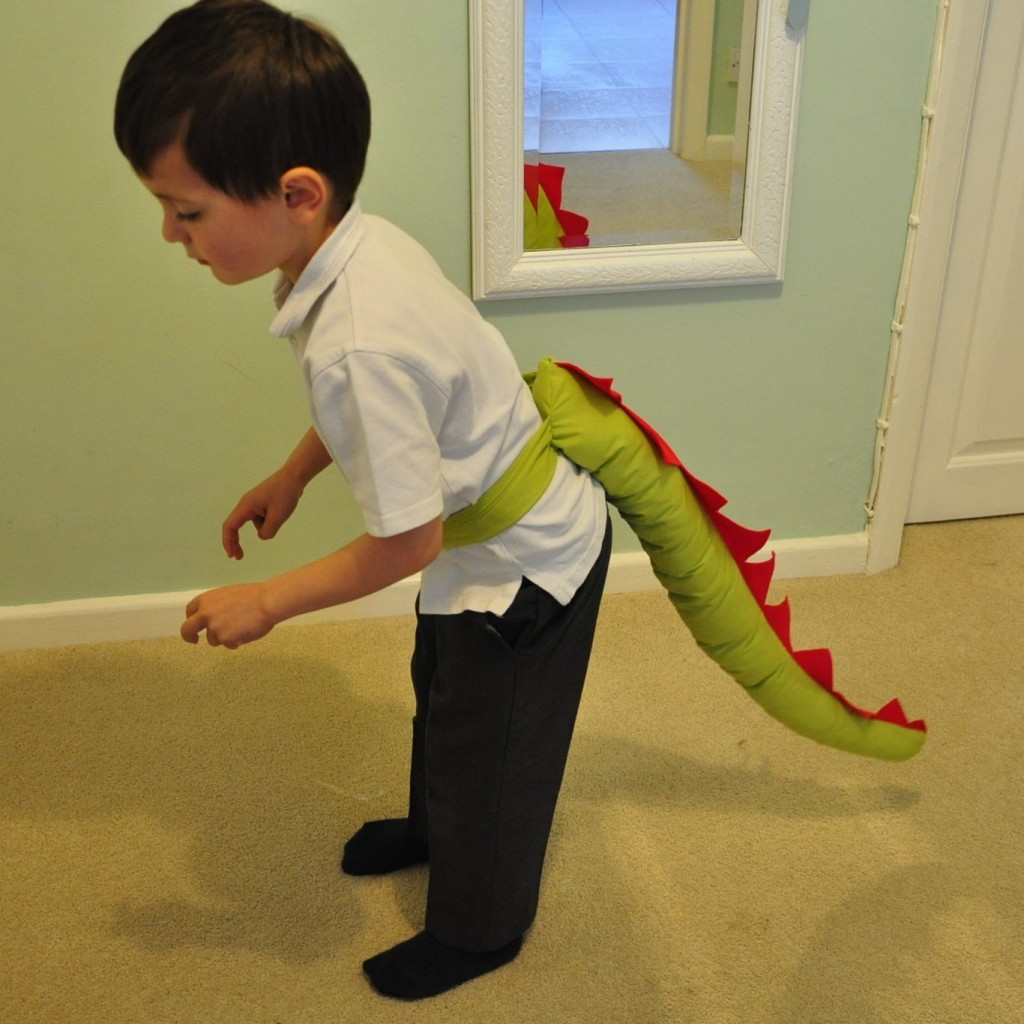
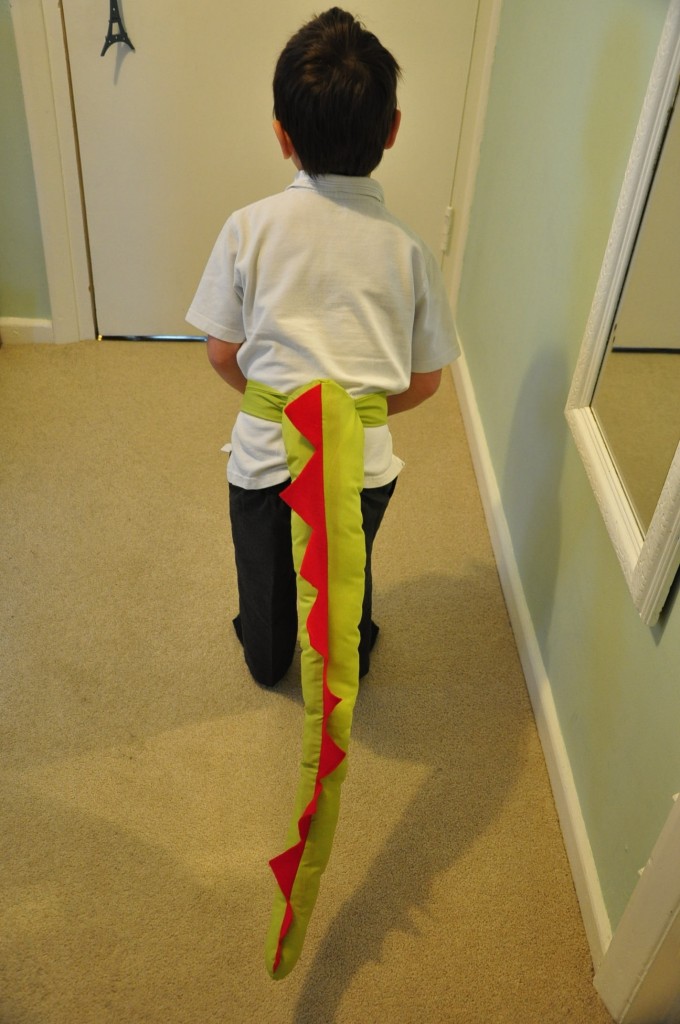
I’m still dealing with dinosaur everything at the minute. As well as getting my youngest’s son’s party on the way the school is having a dinosaur assembly. I proposed to help with a few things and told them I would make some dinosaur tails. I had great fun making them, it was quick and effective! for a little money you can actually make quite a few tails!

So here it is, just bare in mind that I did it quickly (I was on a schedule here!) and the pictures are not of great quality.

You will need: green fabric, red felt, scissors, velcro, threads.

I started by cutting the green fabric:

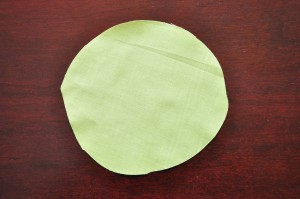
1 circle (there’s no measuring I did it approximately)

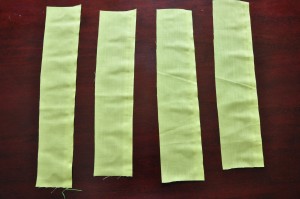
4 long rectangles (the straps to attach the tail around the waist)

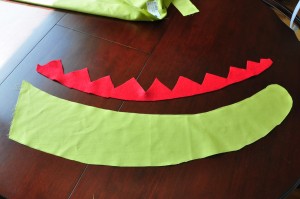
the actual tail. I cut two tail shapes but you can cut two triangles. (again no measurements, I just did it thinking of the size of an average 5 year old).

Than I cut the felt:

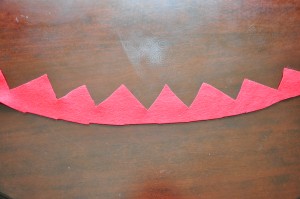
I copied the curve of the green tail and drew on that curve lots of spikes in triangle shapes. and cut.

And finally the Velcro:

I cut it according to the size of the straps.

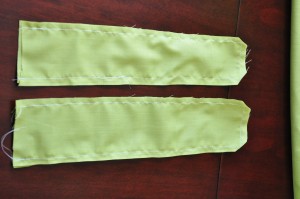
Starts by sewing the straps together leaving one of the smallest edge open:

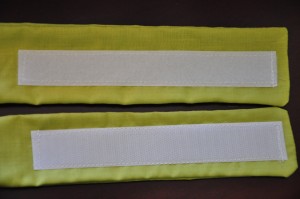
clip the corners and turn inside out. then add the velcro and sew:

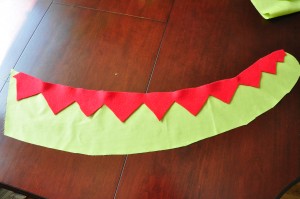
then on one tail lay the red spines that way:

lay the other tail on top and pin together:

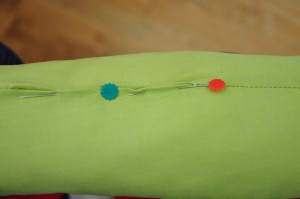
mark two lines where you will leave a gap open to turn the tail inside out:

sew all the way round stopping where you  marked the lines:

stick the Velcro straps together and twist once one strap. Insert it inside the tail:

I sew them on quick so they won’t fiddle for the next part.

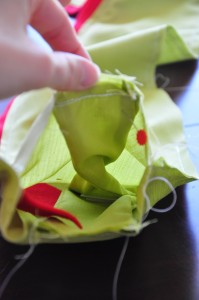
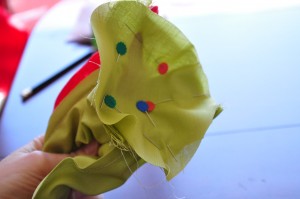
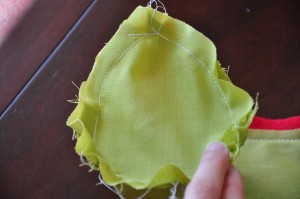
NNext step is a bit tricky, you need to sew your circle on the open end of the tail. start by pinning it all the way round:

sew all the way round. I back-stitched on the straps just to make it more secure.

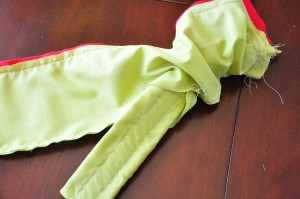
Turn the tail right side out:

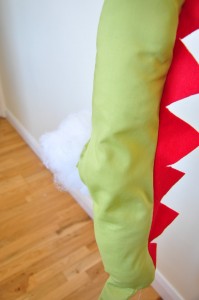
You then need to stuff it:


and stitch the opening closed:

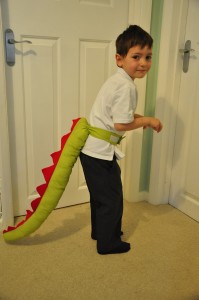
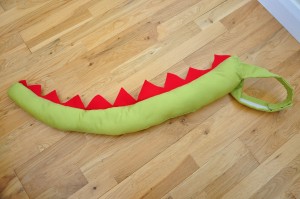
And you are done!!

My son loved it and cannot wait for his birthday party!

His teacher was happy to have some dino tails for the show! I think everyone’s happy !