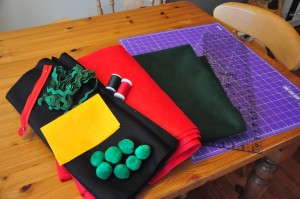
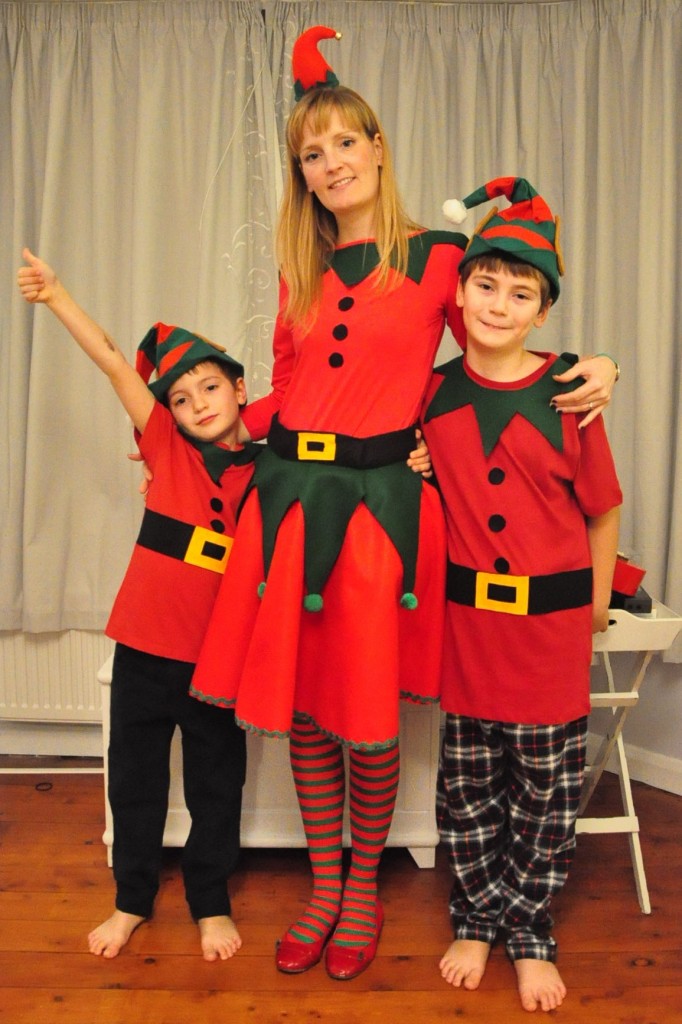
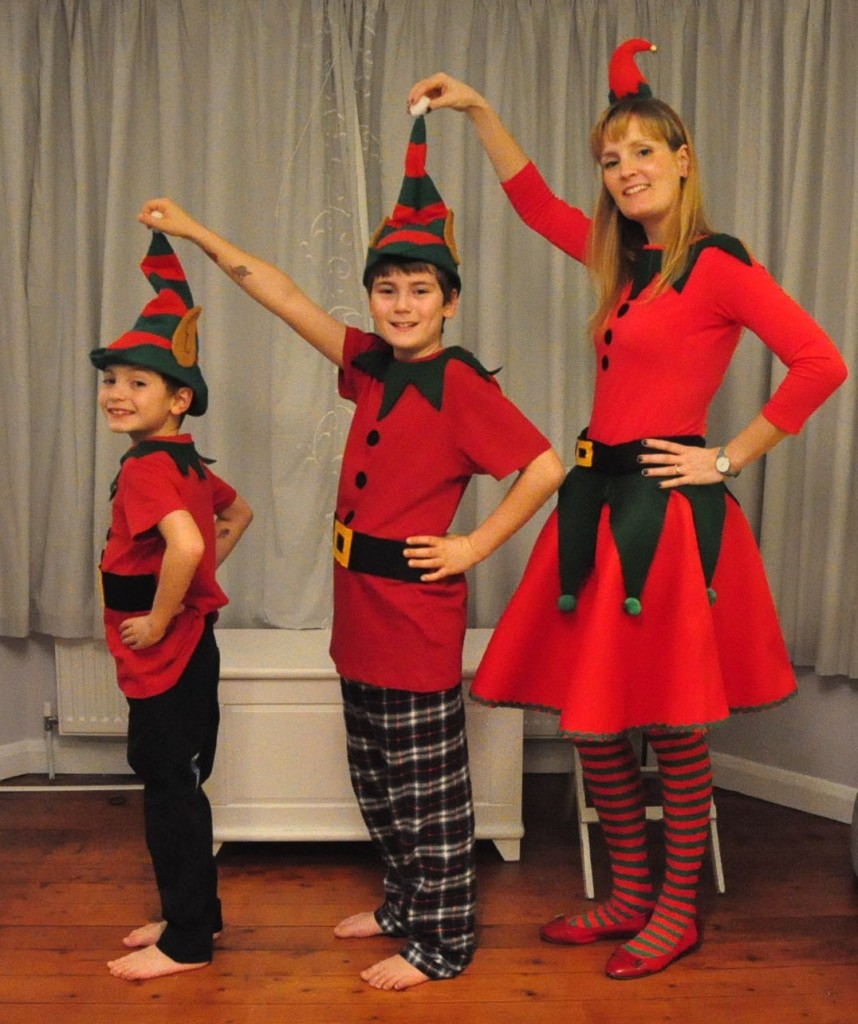
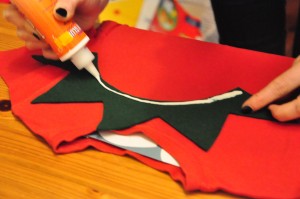
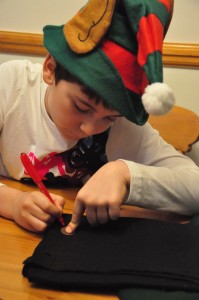
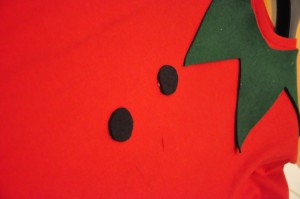
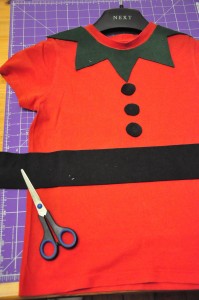
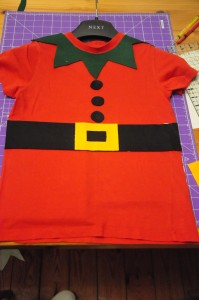
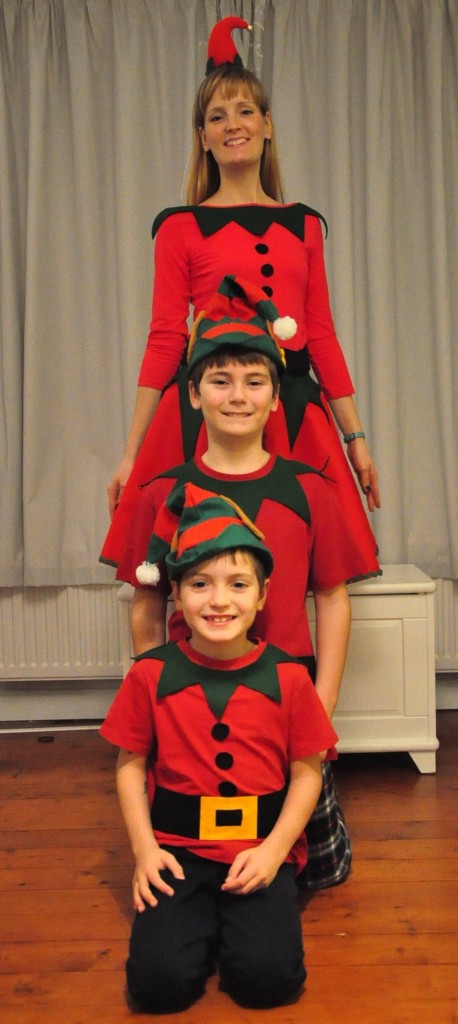
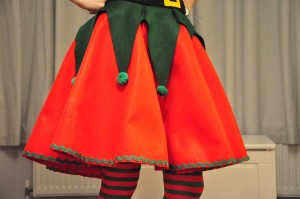
 As promised, here is the felt skirt I made for the elf day at school. I searched on the web but could not find anything related to elf skirts. The web will be much better with a felt elf skirt tutorial, don’t you agree?
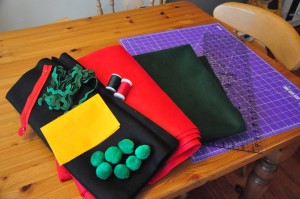
1.50 m of red felt
1 m of green felt
50 cm of black felt
a sheet of yellowish felt
7 or 8 green pompoms (but you can use red or gold)
about 4 m of green ric rac
red thread
green thread
black thread
sewing paraphernalia
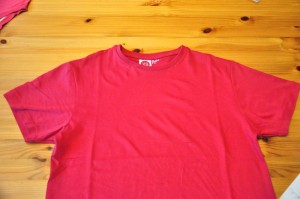
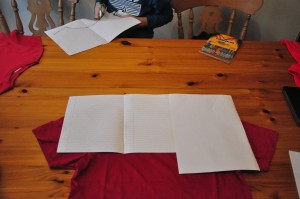
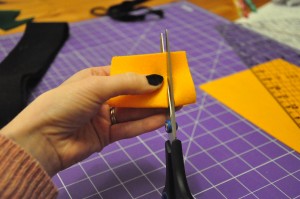
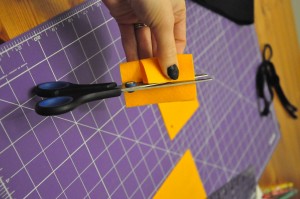
Start by folding your red felt in half and in half again , same with the green felt:

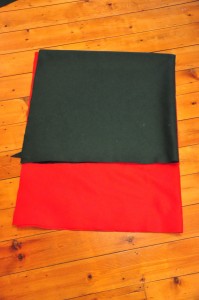 Your green felt is smaller than the red. Measure the desired length. I decided i wanted my skirt to be 19 1/2″. now for the math bit: you need to measure the radius. measure your waist divide it by PI (3.14), divide the result by 2 and you have your radius. Normally with fabric you would round up the radius for comfort but I would say to not round it up or even round it down as felt stretches quite a lot.
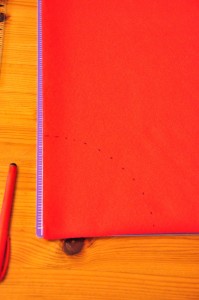
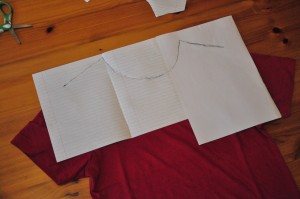
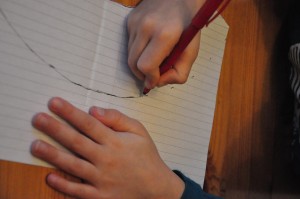
From the folded corner measure the radius and mark from one side to the other:
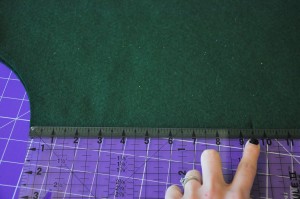
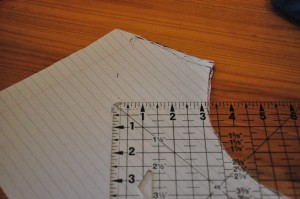
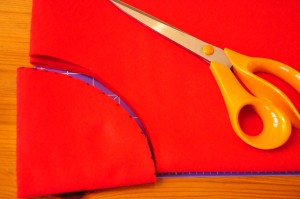 Measure 19 1/2″ from the cut arc all the way round (you cannot see it very well on the pic but I have marked it)
 Now cut it:
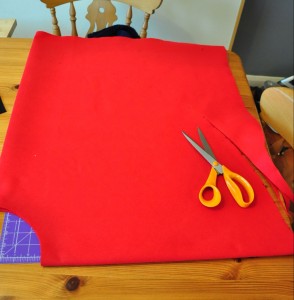 you should have a perfect circle with a hole in the middle, put it aside. repeat the same steps with your green felt for the radius:
 mark 10 1/2″ (I know picture says otherwise but I changed my mind!) from radius all the way round and cut:
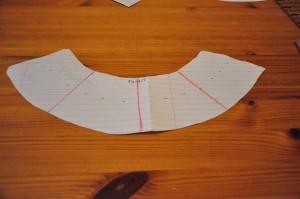
 fold it in half to mark the middle:
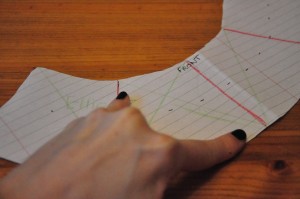
 mark the felt from center to corners:
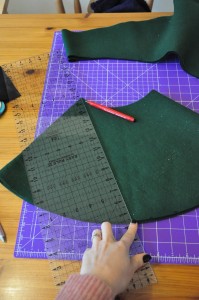
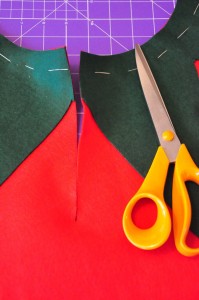
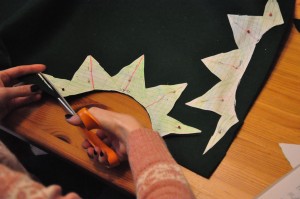
it should look like that: and cut:
 once cut the green felt should look when open like this:
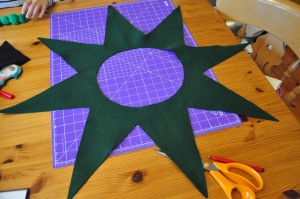 lay it on top of your red skirt, pin and tack:
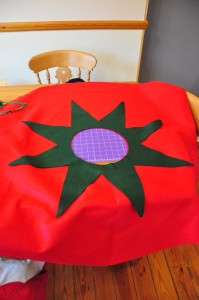
 we’re going to insert the zip. don’t be scared, it’s dead easy! no seam needed as it’s felt!
mark with a pen where the zip end:
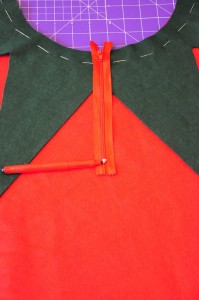 mark a line from those two dots:
insert the zip and pin it:
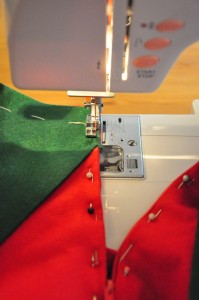
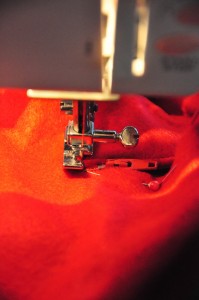
 sew using a zipper foot all the way round:
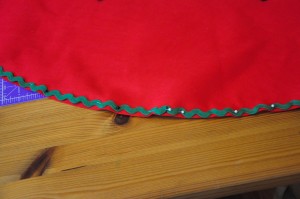
pin the green ric-rac at the bottom of the skirt and sew:
Before I did anything else, I checked if the felt skirt was fitting nicely on my hips and it was a bit too large. This is because felt stretches quite a lot. In order to get your skirt fitting nicely I would try it on and pin some darts on the top of the skirt whilst still wearing the skirt. sew in place and check again if it fits you.
Cut a waist band from the black felt. Measure your waist and add 2″. The extra inches will overlap on the other side of waist band to hold it and make it look nice.
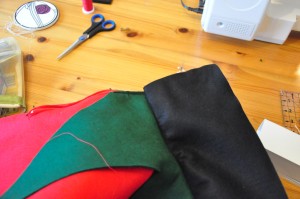
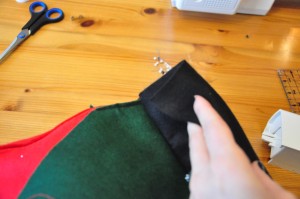
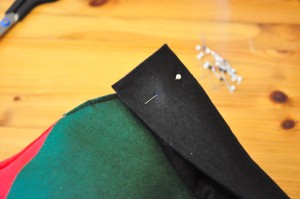
 Here comes the tricky bit… Pin the black waist band on the outside of your skirt and sew all the way round except the extra waist band at the end of strap (just don’t do anything yet)
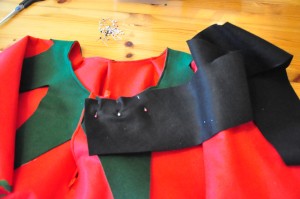
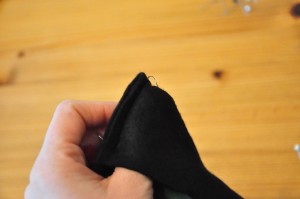
 to close the end of waist band fold it in half length way so that the right side of felt are touching:
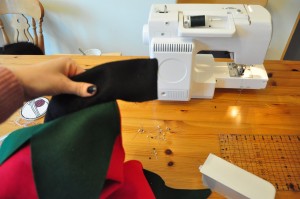
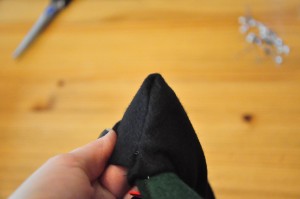 repeat process on the other end of waist band on the flapping bit but sew side and under:
now check that waist band is fitting you well. Again, and because I cut (no choice) the waist band and the stretchy grain of felt it was slightly too big so I had to dart on top of waist band and sew in place.
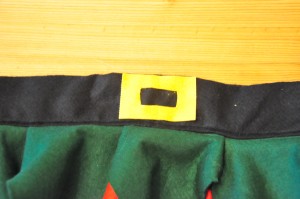
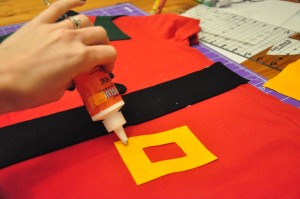
Add decorative felt buckle on the belt, hand sew some pompoms on the green points (I did not add a pompom tho the back green triangle for sitting comfortably),hand sew a hook to fasten the waist band and hand sew two red decorative button:
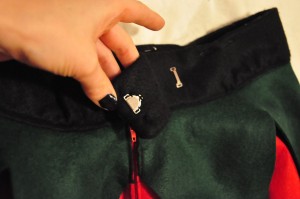

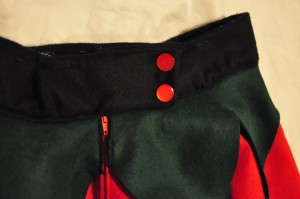 Et voila! you have a elf skirt, very in at the moment, practical for your every day tasks and warm for the cold winter that is coming!
Happy sewing everyone!

