When I took pictures of things I made for my blog shop in November, I discovered I had a few red triangles I already sewn together to make a bunting. But again, I never got round to doing it. That’s when I had the idea of using them to make a quilt instead. It’s been tickling me ever since and I have finally reserved my day to do it. Yeah I know I won’t finish today but the biggest part will surely be done?! That’s my challenge for the day!
You will need: top fabric 40”x54 ½”, back fabric42”x56 ½”, batting 41”x 55 ½”, threads of different colours matching your buntings and rick-rack, binding fabric, rick-rack, triangles already sewn together I made 13, quilting thread, pins.
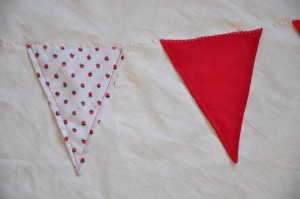
How to make the triangles: With right sides together draw a triangle pattern on the back fabric. Sew along that drawn line. Cut around and turn it inside out, press with iron et voila!
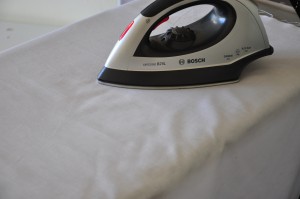
Start by ironing your top and back fabrics:
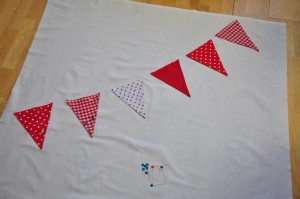
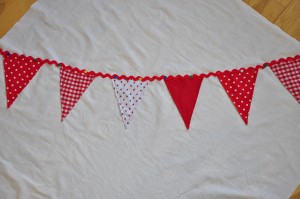
Lay your top fabric on a flat surface and decide where you are going to place your triangles:
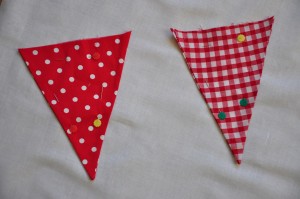
pin them in place:
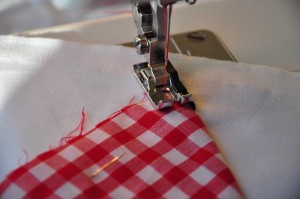
Sew 1/4 of an inch away from the edge of triangles:
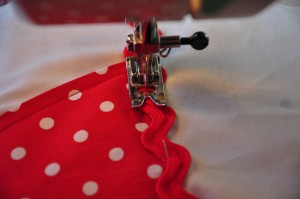
i just wanted to make sure the top of triangles wouldn’t fray so i used a zig zag stitch:
Now place the rick-rack on top of the triangles pin it and sew it in place.
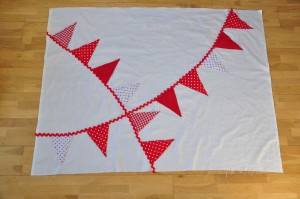
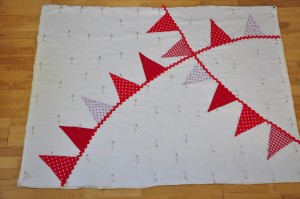
Repeat the previous steps to add another line of bunting:
You’re pretty much done for the top of your quilt!
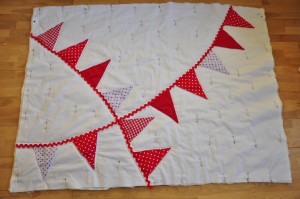
Now sandwich your quilt in that order: back fabric wrong side up, batting, top fabric right side up.
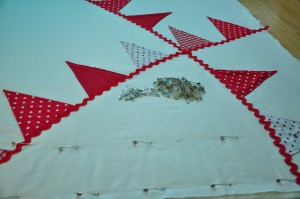
Tack it in place or pin it in place with quilter’s safety pin. I use the latter because I’m an impatient quilter and life’s too short!
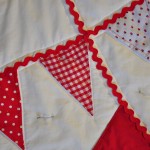
I quilted along the lines of the bunting:
So… I haven’t finished yet but i’m nearly there!
I’ll post the rest of the tutorial a bit later this week because although I’d love to spend most of my time sewing and blogging about it, I have to go to work, look after my lovely boys, cook… you know the drill: c’est la vie!
Let me know if you’re doing a quilt how you getting on!


J’aime beaucoup comme ça en croisé c’est plus joli et plus original que parallèle.
Meme si j’ai pas trop compris la fin, ti fais quoi avec toutes les épingles?
Bisous
Les epingles servent a tenir le “sandwich” ensemble ( le dos, la watt et le top). Elles sont courbees specialement pour faciliter l’attache des trois tissus. comme ca je peux quilter en toute tranquilite!
Love this idea.I was going to make both for a friend,but I think she would enjoy having the bunting presented on the quilt.Top quilt!