Ardingly’s spring quilt festival

I was lucky enough to get a morning away from home to visit the spring quilt festival in Ardingly with my friend Sarah. And it was perfect, after a few missed roads in the lovely English country side, we managed to get there just in time for the opening.

I was so excited as it was my first quilt show and I wasn’t disappointed!

It was a bit hectic with a lot of mature women elbowing you to get to the stands first, but I soon learnt to fend for myself! What women will turn into to get a piece of fabric!!

Some stands were absolutely lovely, with a wide range of pretty fabrics but my favorite ones were the Quilty Pleasures stand:

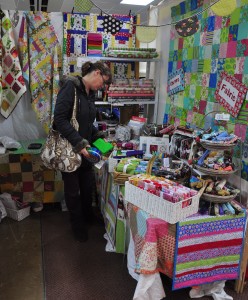
My friend Sarah browsing at the Quilty pleasures stand

and the Creative Quilting stand. I didn’t have enough time but I am definitively going to buy this pattern:

How cute and clever is that?? perfect way to clear your leftovers fabrics! (plus the lady, who I think is also French, was really lovely!!)

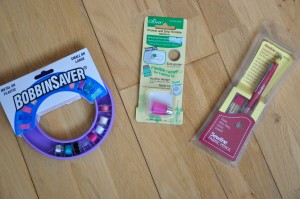
I went on to buy a few bits and pieces and some fabrics:

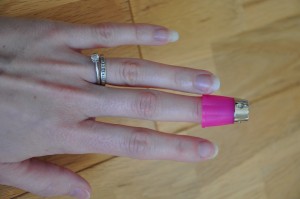
My bobbin case was broken so got a new fancy one, My thimble is rusted inside because of the sweat of hard work so bought this really soft one, plus it’s pink Yeah!

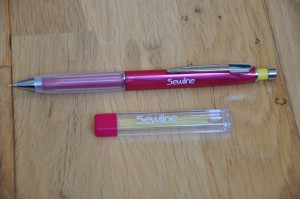
I needed a fabric marker and everyone keeps on talking about the greatness of that particular pen so I got it:

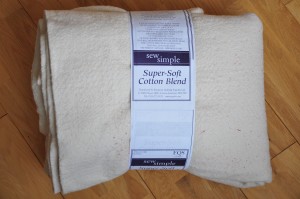
I got some batting:

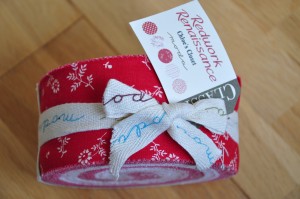
I bought a jelly roll for my sister’s quilt, it is redwork renaissance by Chloe’s closet for moda

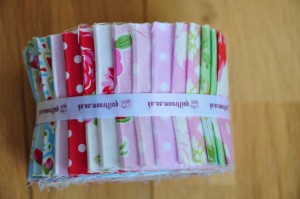
and another jelly roll:

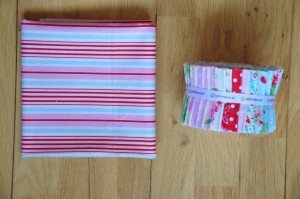
I bought a fat quarter to go with that jelly roll, it will be the binding I think:

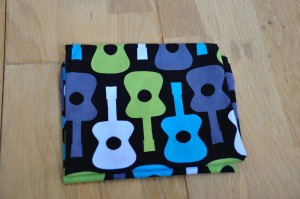
And lastly I bought a fat quarter that I know my eldest would absolutely love (I think it’s from Michael Miller):

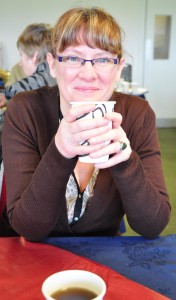
It was then time for a cup of tea!

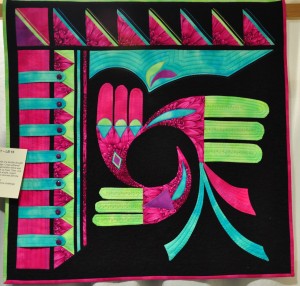
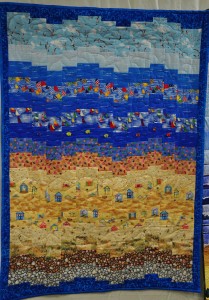
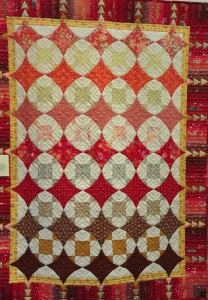
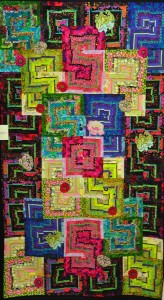
there was a quilt exhibition on the first floor. some of those quilts were absolutely amazing!! Some were less to my taste (very tacky and kitch) but I could really appreciate the work that has gone into them.

Here are a few of my favorite:

My friend sarah was in admiration in front of this kind of quilt, I have to say I’m not a fan but the work put into them was just amazing:

So a good recipe for a great morning: a lovely gossip in the car, great fabric to look at, lovely cuppa, a delightful quilt exhibition, a GOOd laugh (;)), no more money in the bank, and bob’s your uncle!

sampler quilt

When I’m not doing tutorials for the blog or working on commissions, I go to a sampler quilt course every other Monday. I love having this time for myself and meeting new people as well as learning more about quilting and sewing. The lady’s really lovely and funny so we all have a good time.

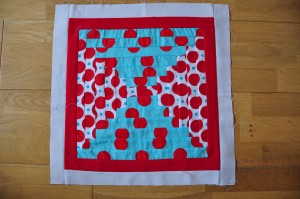
The colour scheme I chose was quite bold and flashy but I really like the end result. It’s a selection of “sugar and spice” and other red and aqua fabrics. I have done ten blocks but will use only nine. One of them was really badly done and the middle is pointing upward.. hum… never mind!

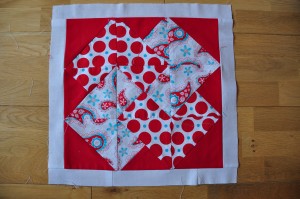
My favorite was that one:

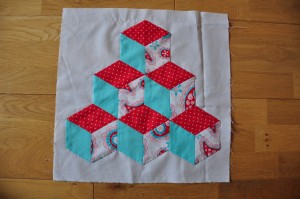
The first block we made was the tumbling blocks. I never thought I would enjoy hand sewing as I am quite impatient and want my projects to be finished quickly, but I have found a new passion in it! It’s so relaxing and definitively less noisy. It’s perfect for when I go meet my friend on Thursday nights for a stitch and bitch!

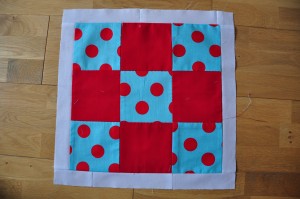
The second one we made was a nine patch block and as homework we had to make the card trick block. All hand sewn together, which again was really nice to do.

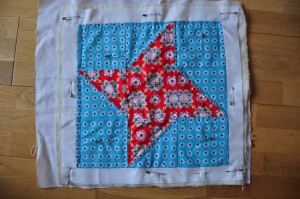
and I did a friendship star block:

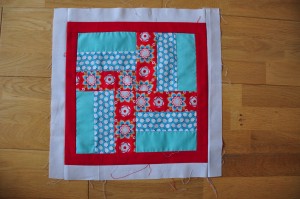
Next we learnt about the rail fence:

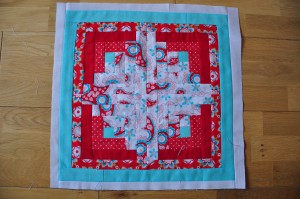
We then moved on to the log cabin (my favourite) and to practice we had to make a courthouse step block.

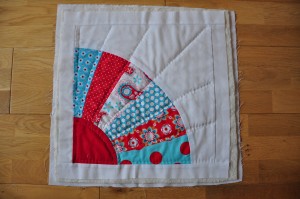
Next we learnt about the grandmother’s fan, and my friend can testify there was a lot of swearing involved in the process of making that block…. a nightmare! But I love how it turned out, I’m even considering making a big quilt just using 4 big blocks. I might swallow a bottle of primrose pills beforehand though….
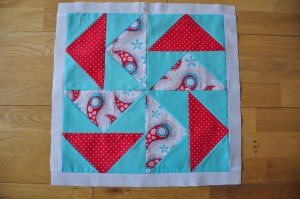
The last block we did was the wild goose chase. Easy and quick although at first I didn’t see how it could turn out the way it was supposed to. Got there in the end and it’s pretty easy and quick to make. It looks like a fan or windmill.

We’ve now sashed our blocks, sandwiched them and I am in the process of hand quilting them separately… It’s different to how I make a quilt but I’m sure it will look fab and I’m glad to be learning something new.

The next thing we’re learning is the stain glass patchwork and I cannot wait, it just look really pretty.

Will let you know how I’m getting on!
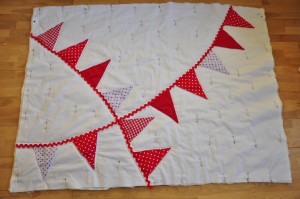
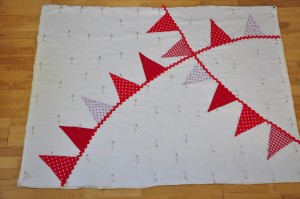
Baby bunting quilt

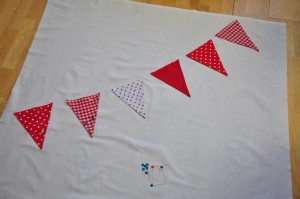
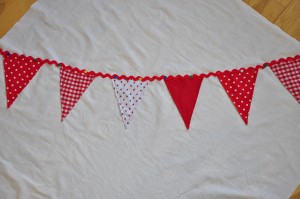
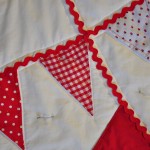
When I took pictures of things I made for my blog shop in November, I discovered I had a few red triangles I already sewn together to make a bunting. But again, I never got round to doing it. That’s when I had the idea of using them to make a quilt instead. It’s been tickling me ever since and I have finally reserved my day to do it. Yeah I know I won’t finish today but the biggest part will surely be done?! That’s my challenge for the day!

You will need: top fabric 40”x54 ½”, back fabric42”x56 ½”, batting 41”x 55 ½”, threads of different colours matching your buntings and rick-rack, binding fabric, rick-rack, triangles already sewn together I made 13, quilting thread, pins.

How to make the triangles: With right sides together draw a triangle pattern on the back fabric. Sew along that drawn line. Cut around and turn it inside out, press with iron et voila!

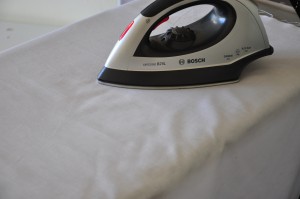
Start by ironing your top and back fabrics:

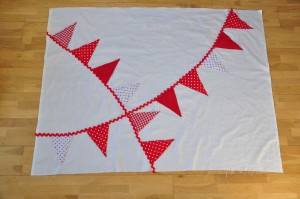
Lay your top fabric on a flat surface and decide where you are going to place your triangles:

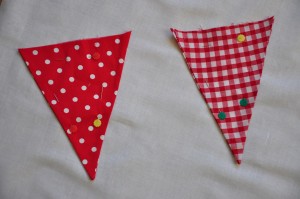
pin them in place:

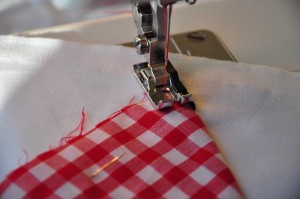
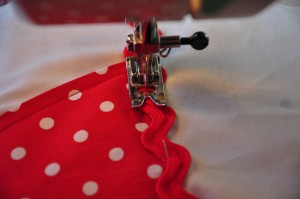
Sew 1/4 of an inch away from the edge of triangles:

i just wanted to make sure the top of triangles wouldn’t fray so i used a zig zag stitch:

Now place the rick-rack on top of the triangles pin it and sew it in place.

Repeat the previous steps to add another line of bunting:

You’re pretty much done for the top of your quilt!

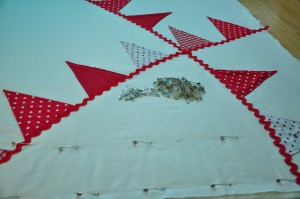
Now sandwich your quilt in that order: back fabric wrong side up, batting, top fabric right side up.

Tack it in place or pin it in place with quilter’s safety pin. I use the latter because I’m an impatient quilter and life’s too short!

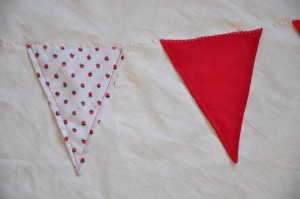
I quilted along the lines of the bunting:


So… I haven’t finished yet but i’m nearly there!

I’ll post the rest of the tutorial a bit later this week because although I’d love to spend most of my time sewing and blogging about it, I have to go to work, look after my lovely boys, cook… you know the drill: c’est la vie!

Let me know if you’re doing a quilt how you getting on!


very simple shirred strapless summer dress

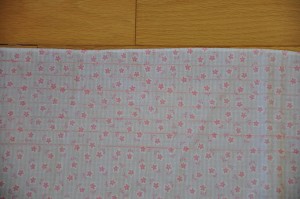
I was given by a friend some girly fabrics and I told her I would turn it into a shirred dress for one of her daughter. It’s lovely because I have so many friends who have girls, I can create for them! I love my boys and love doing things for them, especially when they ask for it, but it’s also nice that I can use pink fabrics and make some girly things.

So here is a very simple tutorial on how to sew a shirred strapless dress!

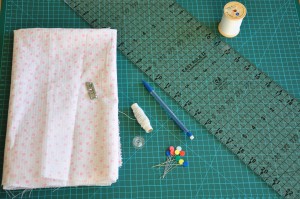
For this project you will need: fabric (I used 44″x22″ but it can be wider and longer depending on the size of the person it is going to fit), matching thread, elastic thread, ruler, fabric marker or pencil, pins.

To know how much fabric you will need, you need to measure round the chest of the person who is going to wear the dress and double that.

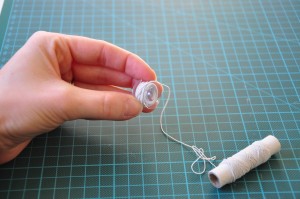
It’s a pretty straight forward project. I would say the tricky bit or lengthy bit is to wind the elastic thread onto your bobbin by hand. While you wind the elastic thread, it needs a little bit of tension but not too much. You will have to repeat the process a few times so it’s best to have a couple of bobbins ready for use.

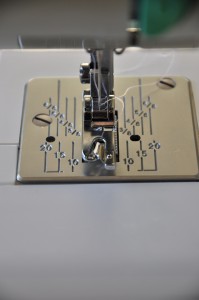
Use normal cotton thread for the top bobbin and elastic thread for the back.

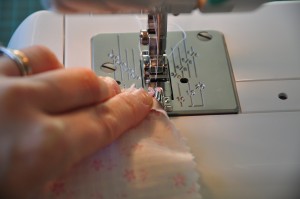
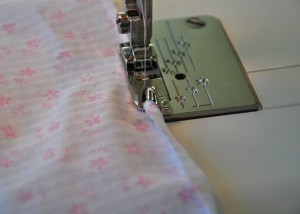
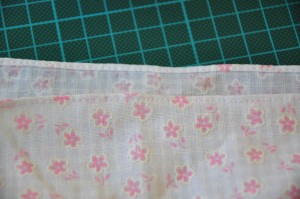
Start by making a hem at the top of you r dress and at the bottom. I’m using a hem presser foot but you can do it manually.

On the right side of the fabric mark a line every ½” until you’re happy it covers most of the little girl’s chest, usually 7 lines are enough for a 5/6 year old, but you can do more or less!

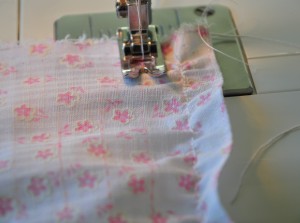
When sewing on the marked line don’t forget to sew a couple of stitches back and forth at the beginning and the end of the line otherwise the stitches won’t hold and the frilly effect won’t work.

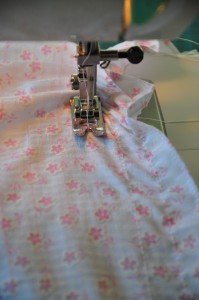
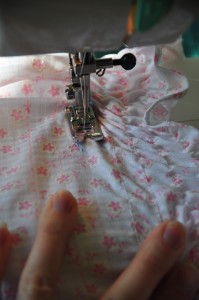
Make sure you keep your fabric nice and tensed while you sew, don’t be scared to pull a bit on the shirred fabric:

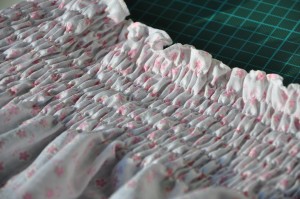
Once you’ve sewn all your lines, it should look something like that:

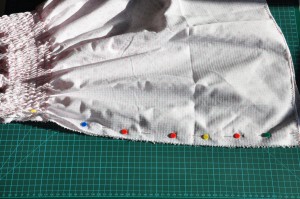
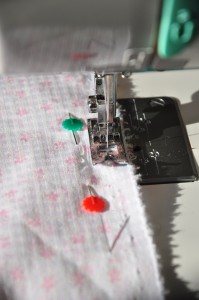
You can now fold the fabric wrong side together pin it and sew the length of your fabric:

sew along the length of fabric

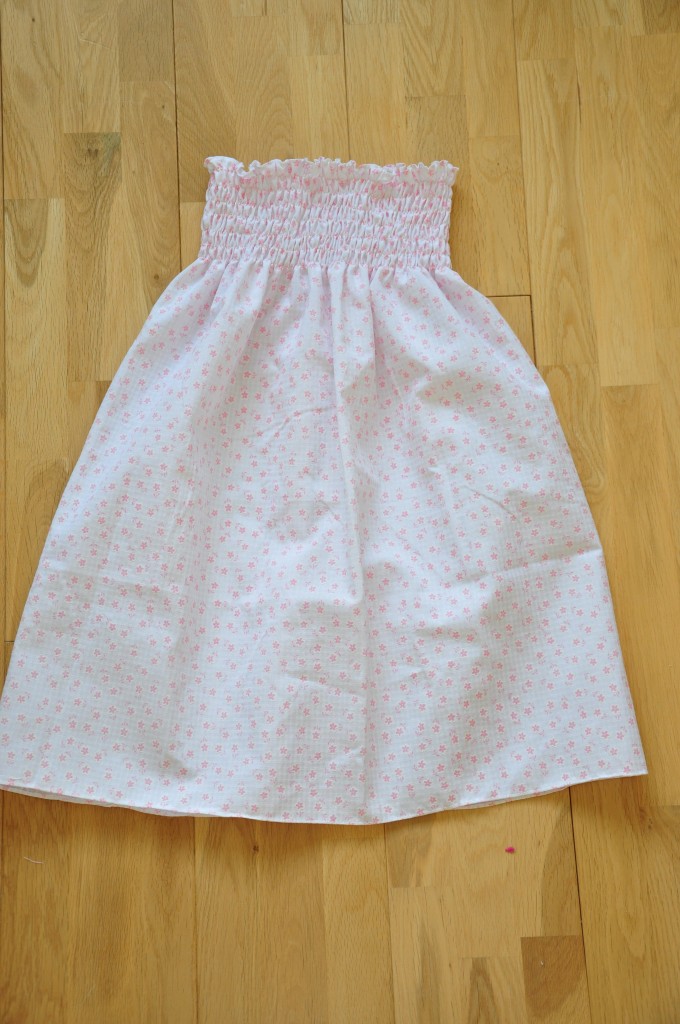
Et voila! you have a quick and simple little strapless summer dress. Now just another 6 months before anyone can wear it!

PS: I’ve been told to wet with water the elasticated part of fabric and iron it so the elastic would shrink a bit and tighten the fabric.

back at last!

Welcome back and Happy New Year!! I have been away for too long and I’m glad to be back. I have loads of projects in mind and cannot wait to share them with you.

I always have several projects on the go, probably because I have thousands of ideas coming and going and I feel I have to do it right now; I’m just so excited!

The problem with this is that sometimes some projects don’t see the light of day and are left for a long period of time in my craft cupboard (I know, no craft room, but have you seen the size of houses here? I’m happy I’ve got my own cupboard!!). That is until today: TA-DA!!

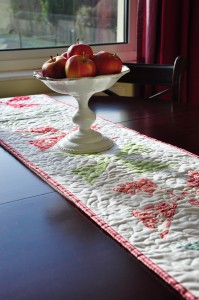
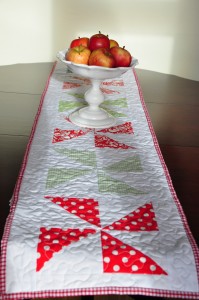
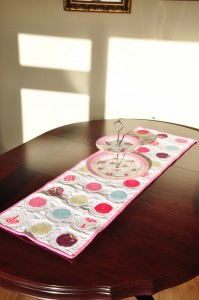
I’ve finished a couple of runner tables that I actually started last year!!! I can now get on with the rest of my unfinished projects.

I still have unfinished project but hey! That’s just who I am!

Do you have unfinished project that are piling up?