Work in progress

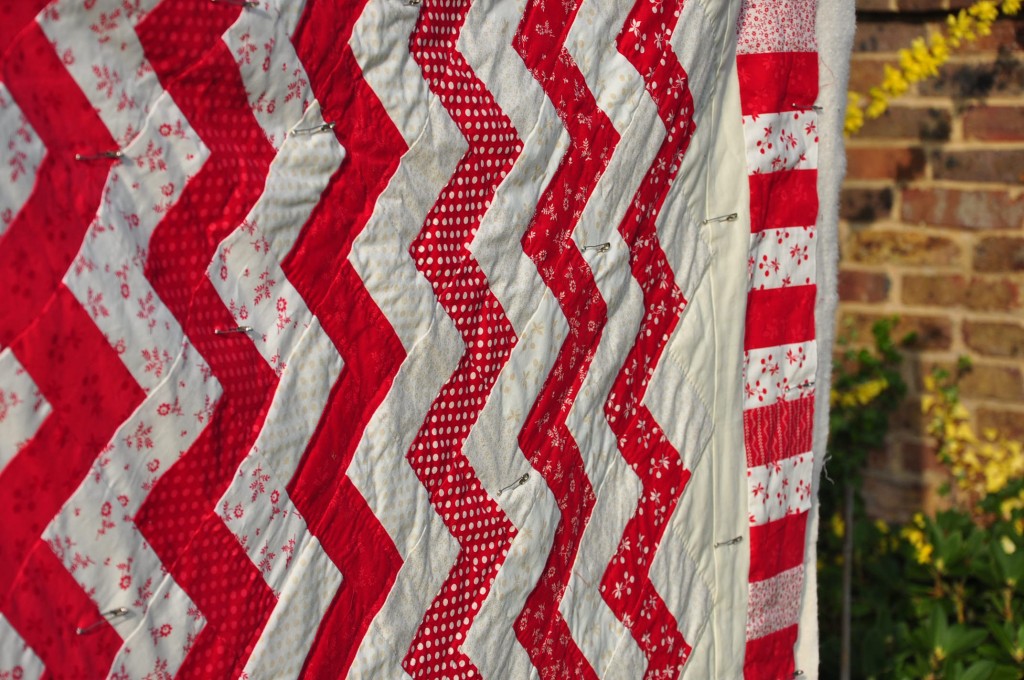
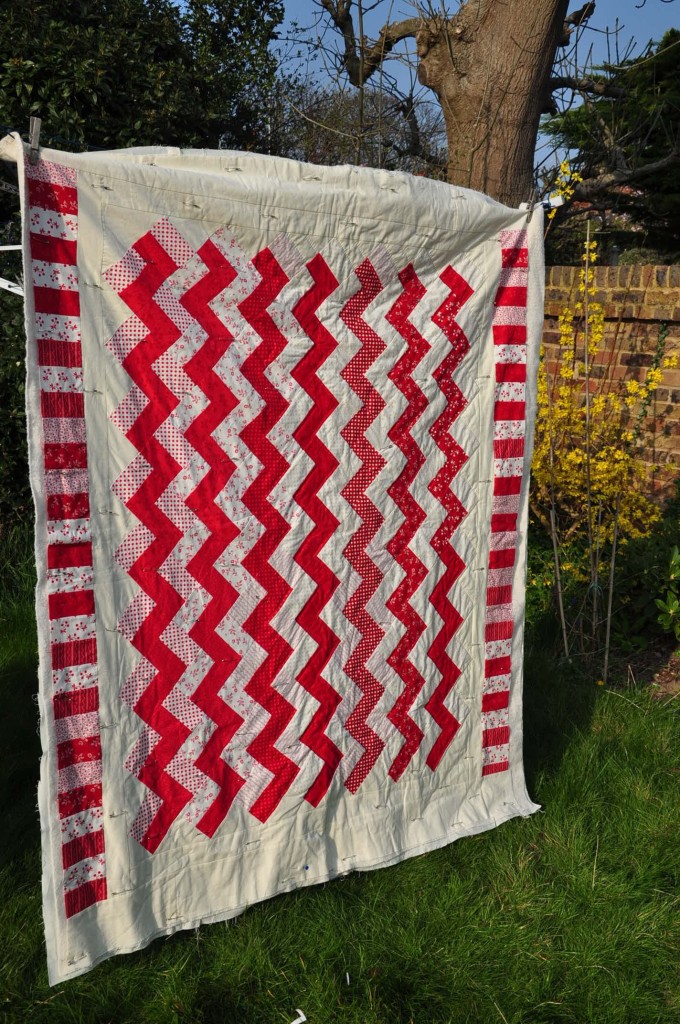
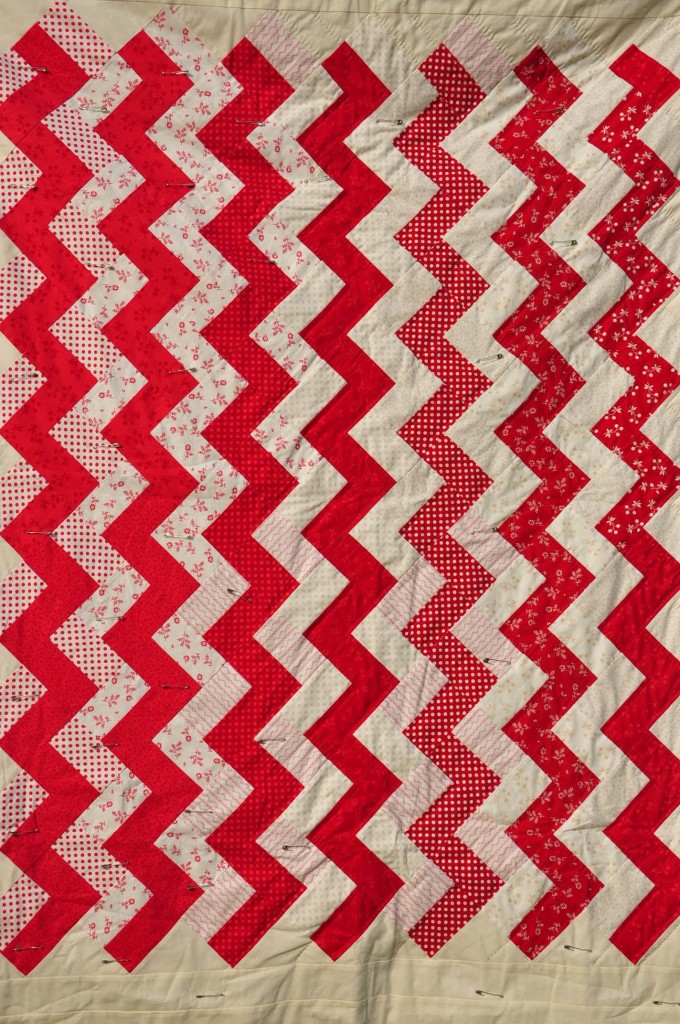
I thought I would let you know how I’m doing with my sister’s quilt and I have to say it looks pretty good to me! (auto satisfaction’s the best!)

It took a bit of time to sew it together but got there in the end! i am now hand quilting it and taking it to France for the holidays to get it finished.

I’m loving the yellow flowers on the bush. Spring is here,  the sun is shining and we’re on holiday. Life couldn’t be any better!

Have a happy sewing Easter everyone!!!

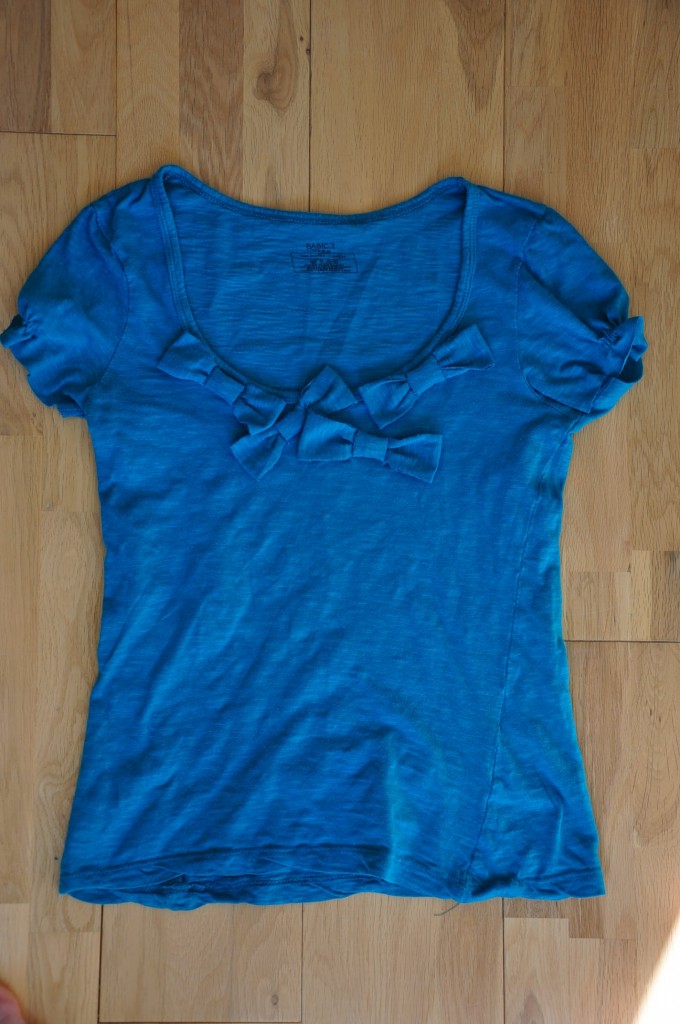
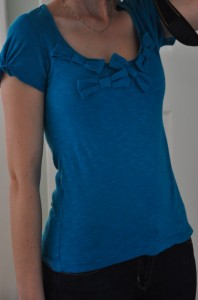
bow summer top

BEFORE

AFTER

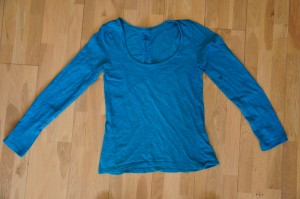
I was clearing my loft and found this long sleeve tee that I didn’t want to wear anymore. But when I tried it on I thought I could make something out of it. I saw a very simple tee at M&S and thought I could try and make some bows:

Product Image

For this project you will need a long tee, sewing machine, roller cutter, elastic thread, matching thread.

Start by cutting one sleeve, decide how short you want them to be:
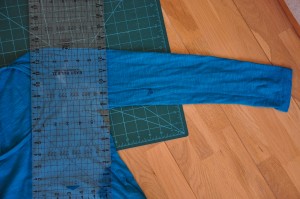
Fold your tee in half and match the sleeve. you can now cut the other sleeve:
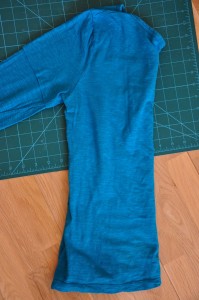
with the sleeve you are going to cut strips measuring 1 1/2 “x 9 1/2” . you can cut as many strips as you want bows on your tee:
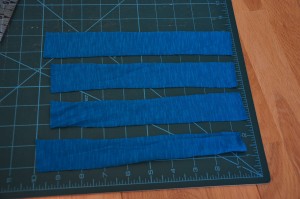
You then cut 1″ strips: (those will make the tie for the bows)
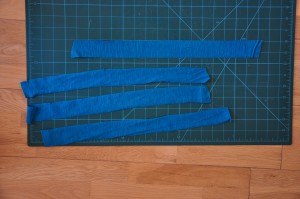
With the wider strips you need to fold them right side together and sew the shorter end:
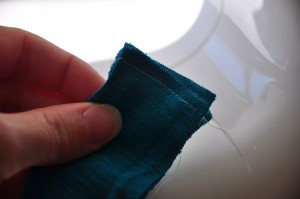
turn them right side up and you’ll end up with some hoops looking like that:
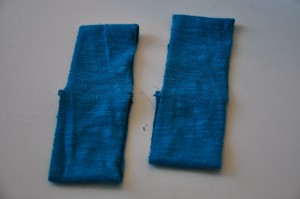
you then need to get your thinner strips and scrunch up the middle of your bow, tie the strip around and sew it in place:
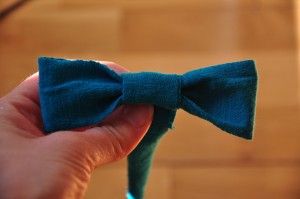
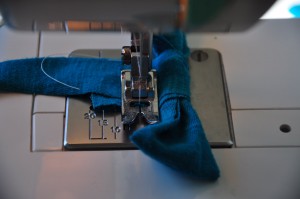
cut any excess fabric and tread, and you have a nice and easy bow! repeat those steps to create as many bows as you want.

Grab your tee and choose where you are going to place your bow, pin in place:
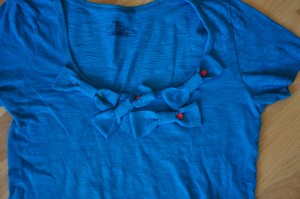
You then want to sew the bow on tee next to the tie line:
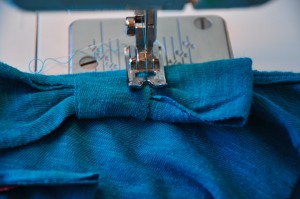
don’t forget to sew a couple back stitches to hold it in place. repeat for all the other bows. you can now admire the transformation!

I decided to sew two shired lines on the edge of the sleeve to give a puff up effect:
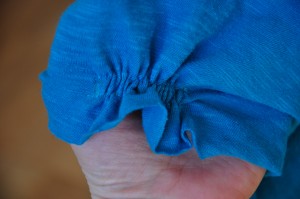
you can follow my shirring tutorial on here!

et voila! a new item for your wardrobe!!
 

little baby bonnet

I’ve been wanting to make a baby bonnet for a long time using that tutorial, and finally got round to doing it! It’s just so cute!! I tried it on my friend’s little girl and she looked adorable!I made it for my cousin’s little baby girl so it looks a bit small on a two year old but you can imagine what it can look like.
I cannot wait to make some more! here are some pics:

Bling your bike!

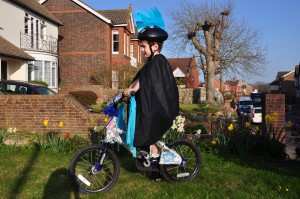
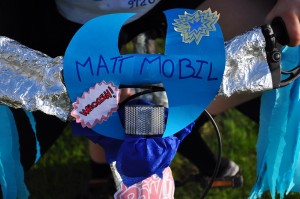
My sons had to decorate their bicycle as part of bike it to school. it’s a great scheme encouraging children to come to school by bicycle or scooter. They made it even more special by inviting them to breakfast! That’s a winner in my home; where food’s involved we’re here!!
So here are the bicycles, hope it inspires you if your school is participating.

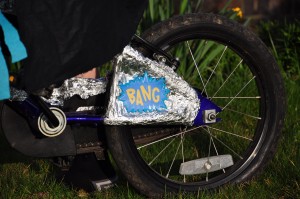
My eldest wanted a superhero theme, I used kitchen foil to cover the bike and i got those really cool prints here:

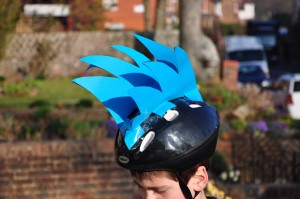
i messed up his helmet but he seemed happy with it:

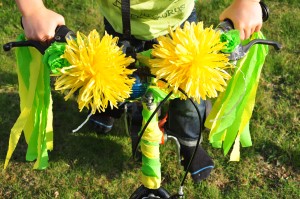
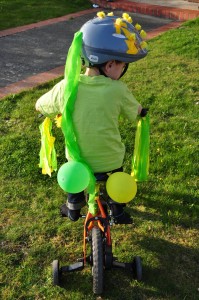
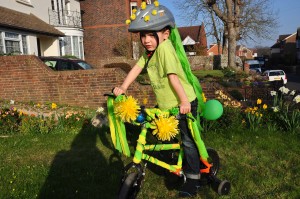
For my youngest we decided on Easter theme using crepe paper and ballons:

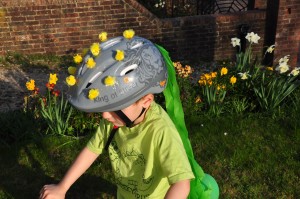
I glued some chicks on his helmet and crepe paper at the back:

Next time I’ll tell you all about the Easter bonnet competition!
glam up your top

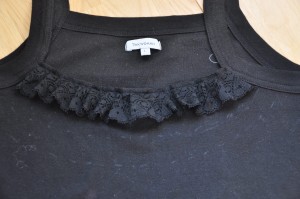
I first went shopping to the Hollister shop in Brighton when it opened and although I like the clothes, the shop lighting is too dimmed and couldn’t quite see the clothes. The dimmed light, you’ll tell me, is to probably hide the price and poor fabric quality ! bleeping hell it’s expensive!!! I kept thinking: “I can do that for a lot cheaper!”. So My sister had a top hat was bland and I proposed to glamour it up a bit, having in mind the laced ruffle top from hollister:

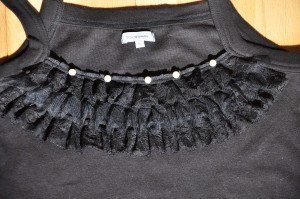
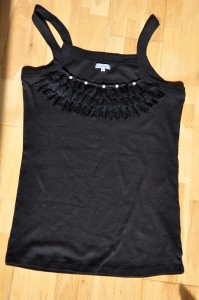
So here is my take on it:

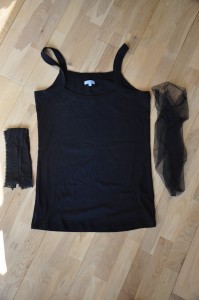
you’ll need some thread, pins, tee and lace (i used tule also)

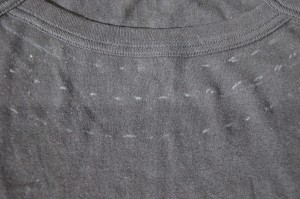
start by drawing lines on your tee-shirt where you want the lace to be, i draw curved line following the neck line.

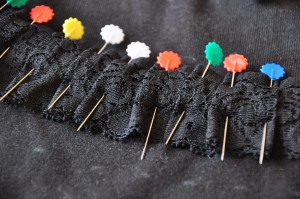
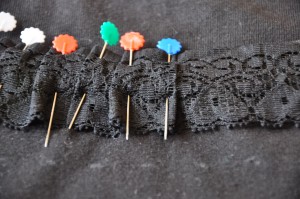
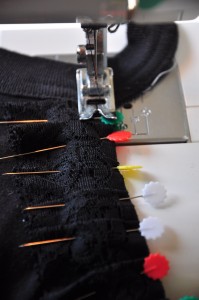
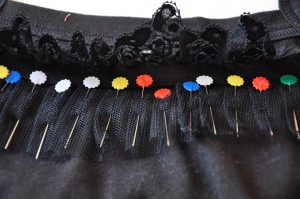
you then need to pleat the lace every quarter of an inch or so and pin it in place on the tee:

when the lace is in the middle of the collar, pleat the other way:

finish pleating and start sewing, don’t forget to back stitch at the beginning and end. take pins away as you sew:

you should ned up with the first row of lace:

using the tule I saw the next row using the pleating method:

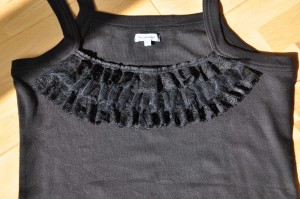
you then sew the third row and you’re nearly finished!

I decided to sew on some pearls to lighten it up a bit:

Et voila! you’re all done and you’re purse is still alive in the light!