That’s it! he’s five, it’s official… I’m not sad, I’m nostalgic! it just went so fast…. but he’s a great kid and he’s coming up with such funny and interesting things, I cannot wait to see what this year will bring (hopefully less arguing with his brother!). So to celebrate little one’s birthday we had a dinosaur party (obviously!) and I just thought I would share with you the things I did for this party. I tried to do most of the things myself as it can get a bit pricey and got other things on the net. So here it is!
Decorations:
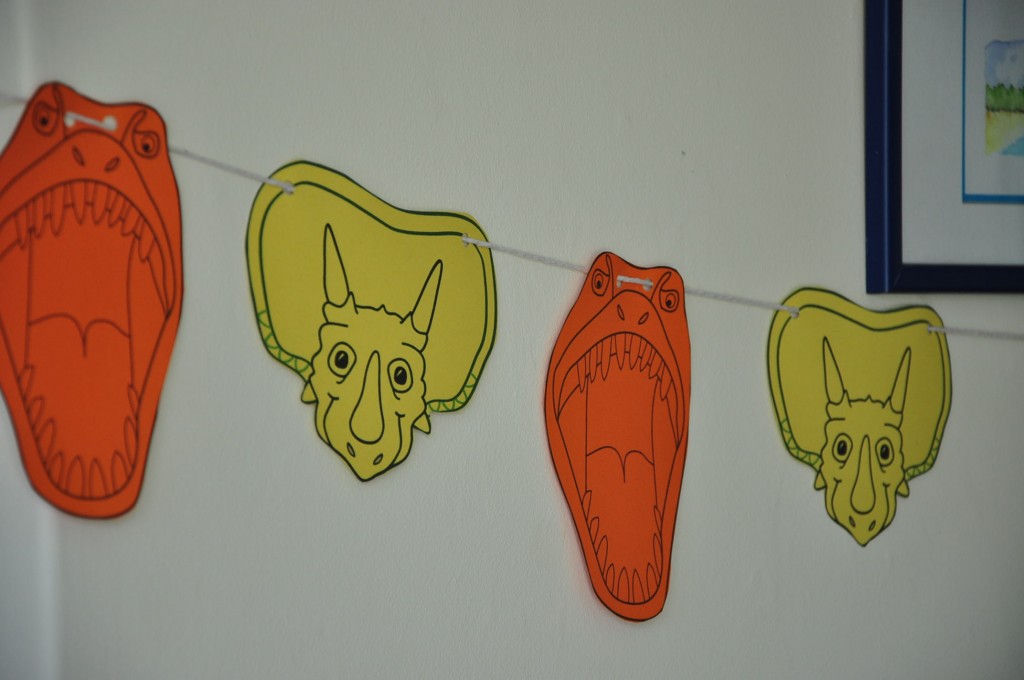
I have found this fabulous website called coolest parties and you can print some dinosaur decorations. I printed the dinosaurs on colored paper and turned them into buntings:
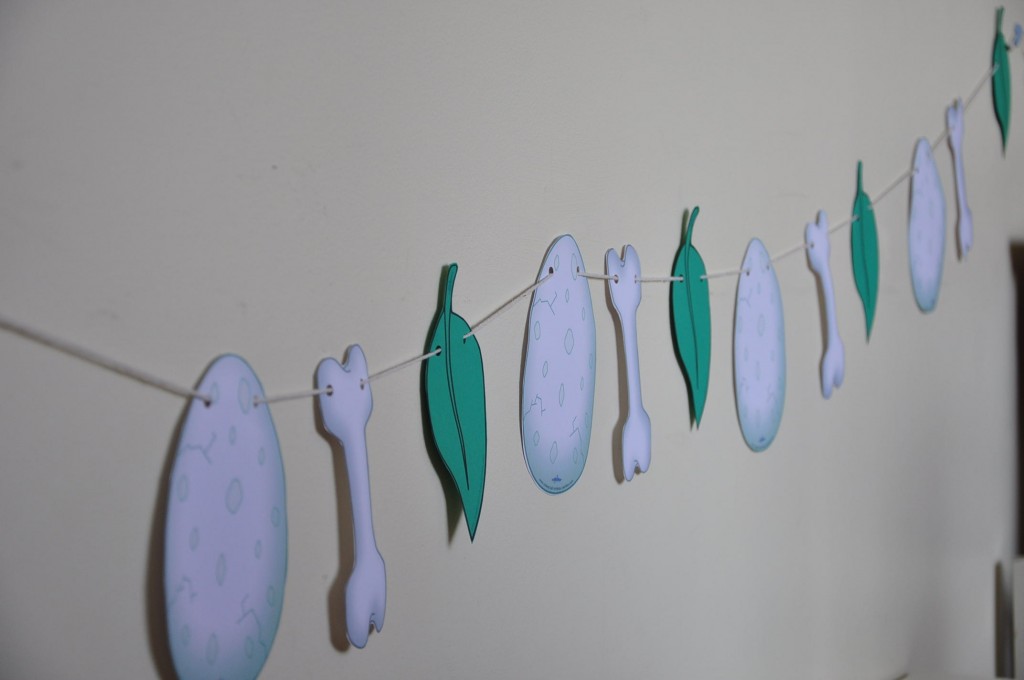
I did the same with the leaves, bones and eggs:
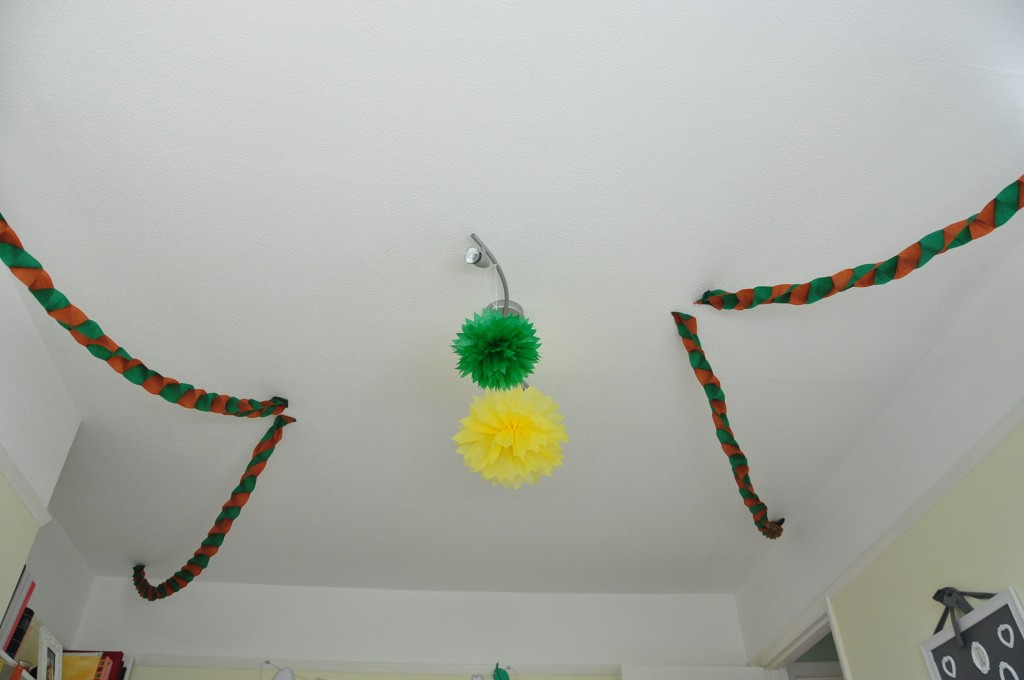
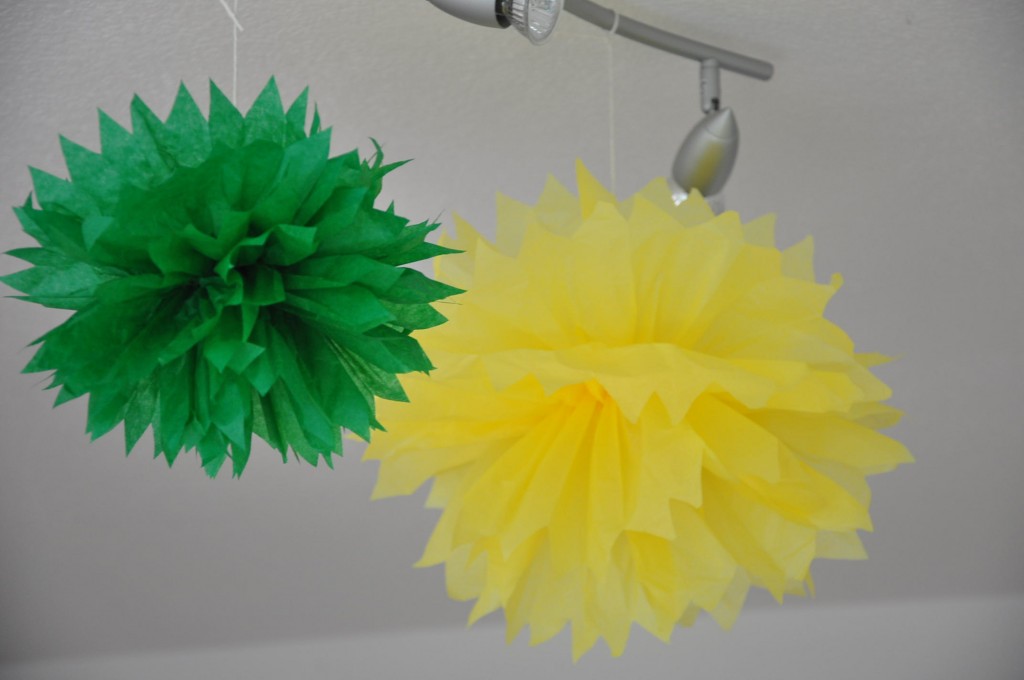
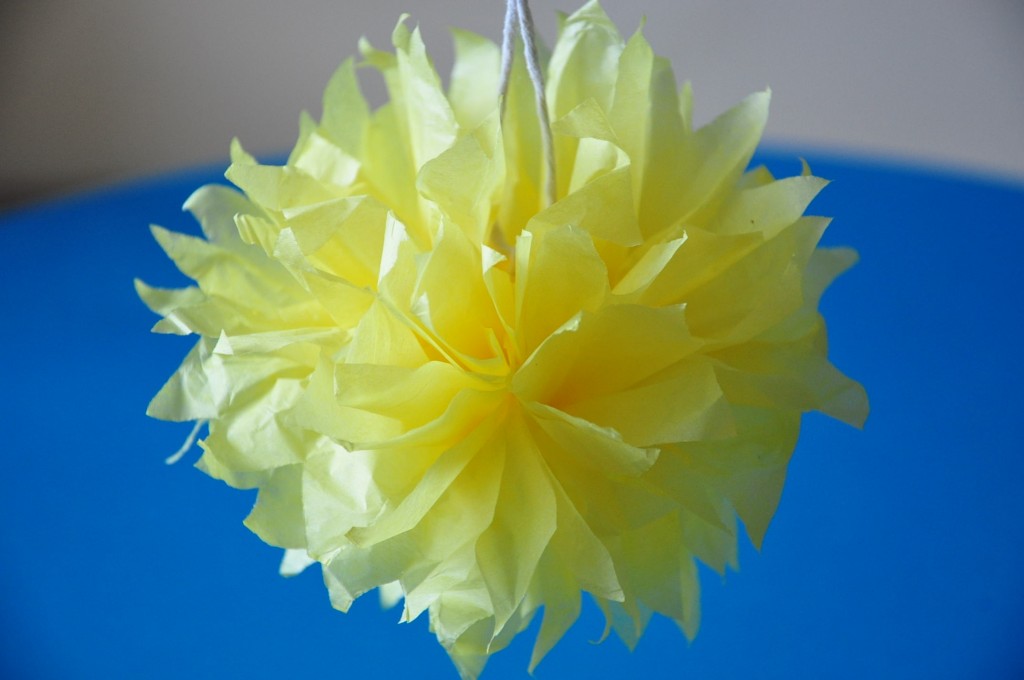
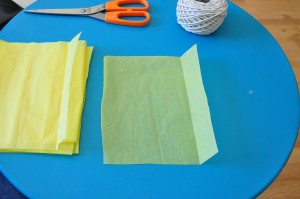
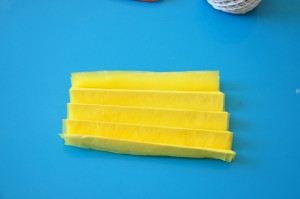
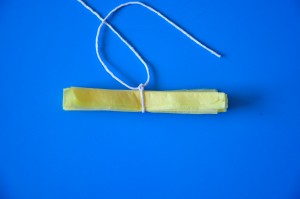
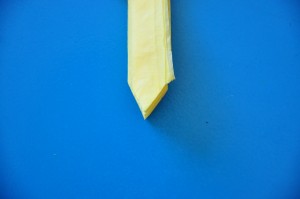
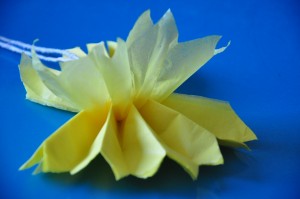
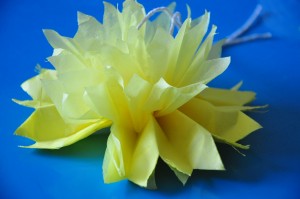
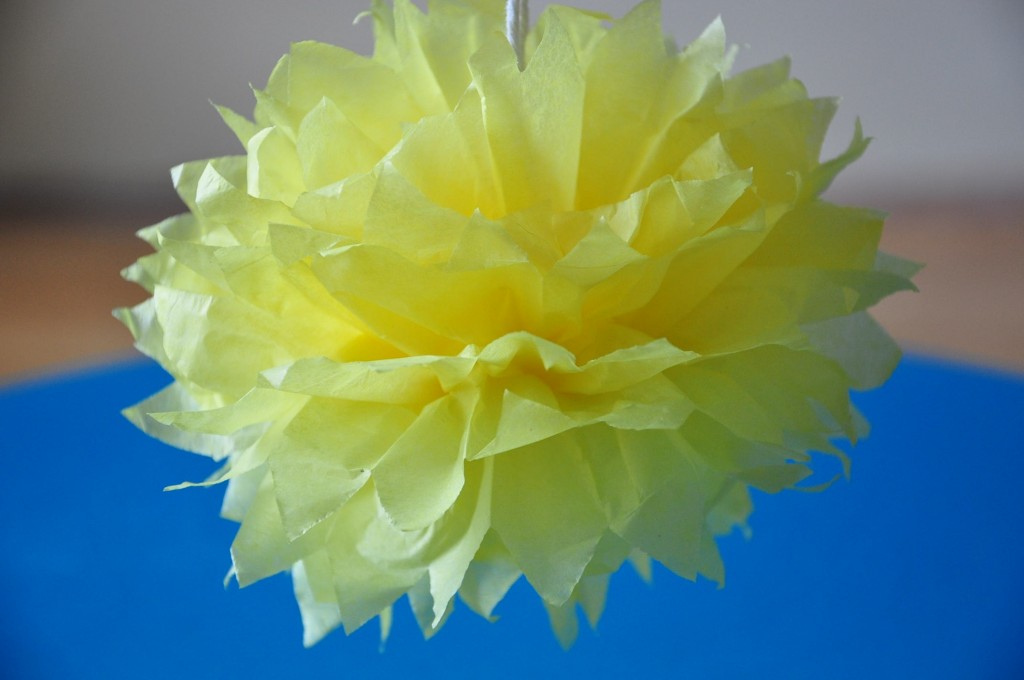
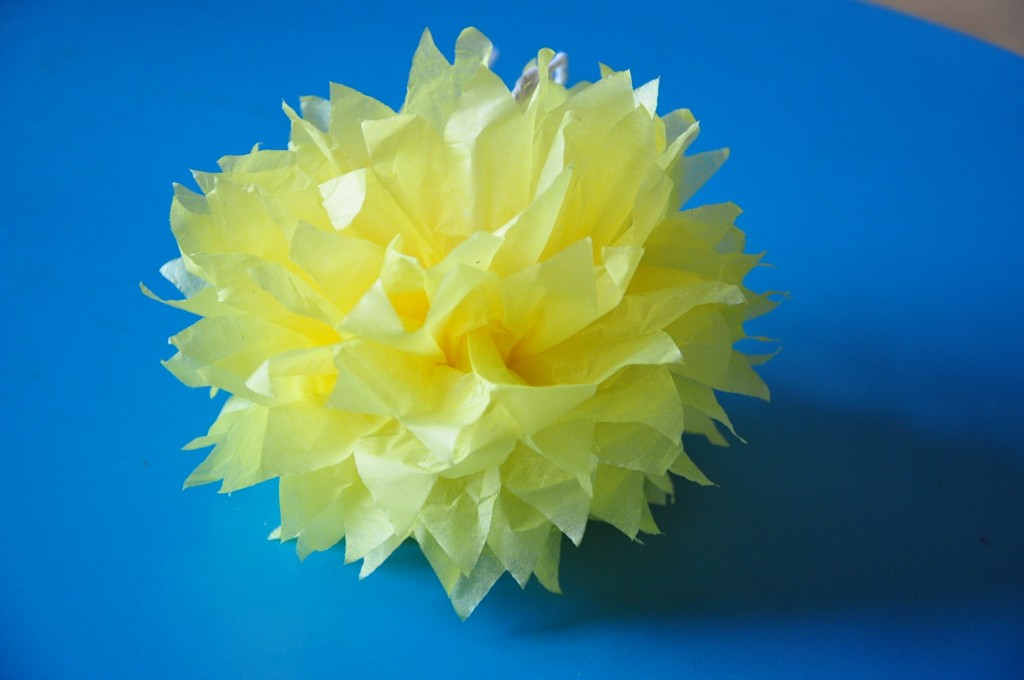
I also made some tissue pompom and you can find a tutorial here. I chose to make them green and yellow to remind the natural colours of a forest. I also made some crepe paper streamer:
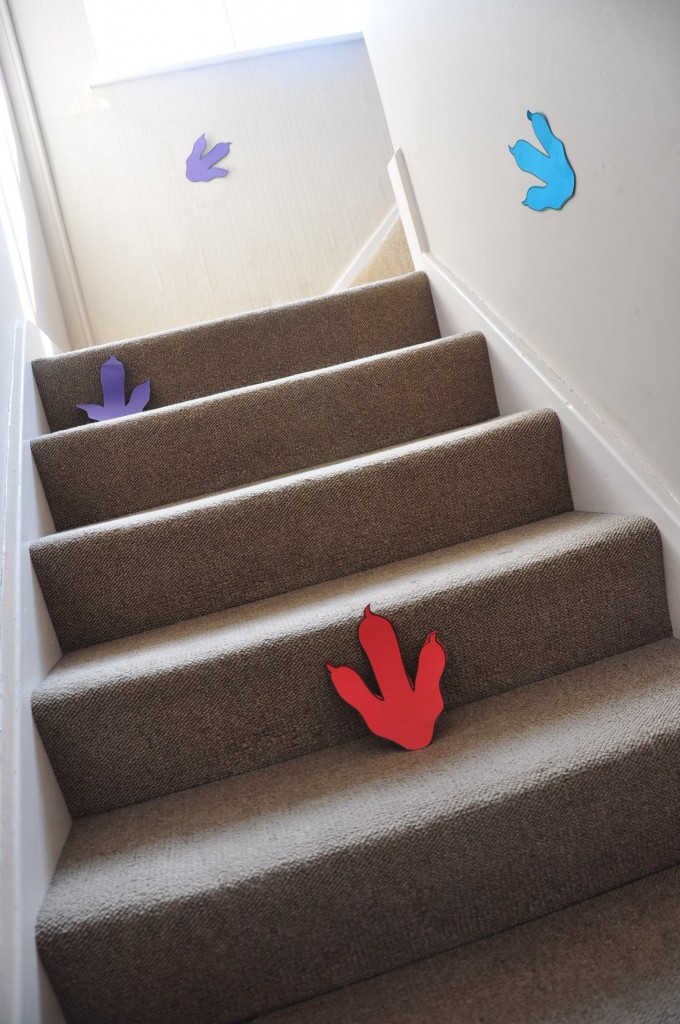
In the stair case I stuck on the wall and steps some T-Rex prints to show the way to the party:
In the dining room I decorated with more pompom and some dino balloons I found in a shop:
Invitation:
I have found some invitations to print from the same super website coolest parties. The invitations were really well done and with a touch of humour!
Games:
I organised a few games but we did not play all of them as they were quite happy to go and play in the bedroom.
When they first arrived I had set on the living room coffee table some masks that they could colour in. I got the masks from here.
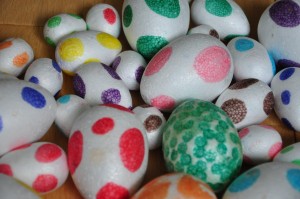
We then played a dinosaur egg hunt. I bought online some polystyrene eggs that I coloured and I hid them around the house. the kids loved it! It was supposed to be an outside activity but since we’re in England and we had our summer in march for a week and it was raining (no kidding?!) we had to do it inside. Never mind I think it was OK, short, but OK.
 We then played pass the dinosaur. the children sat in circle and they had to pass a big dinosaur to the dino song. If I had to do it again I would play pass the parcel, because when the music stopped the kid with the dino was out… it was a bit awkward to tell a five year old ” sorry honey but you’re out!”.. But I was really impressed how well they played!
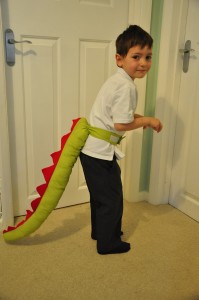
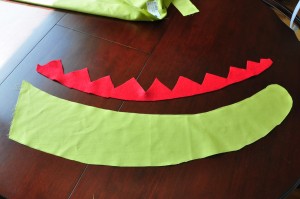
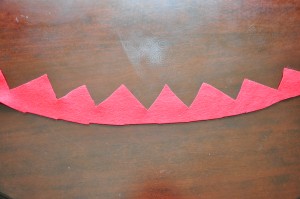
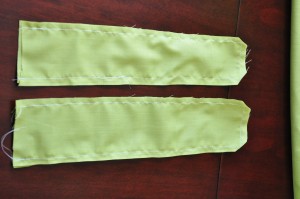
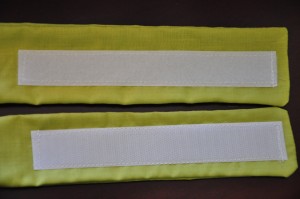
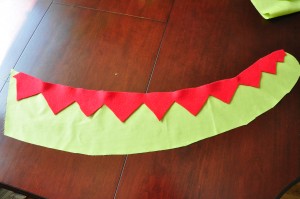
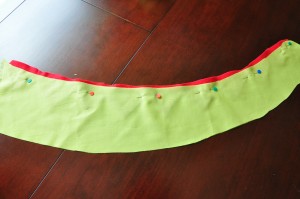
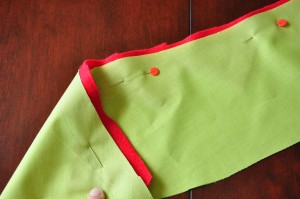
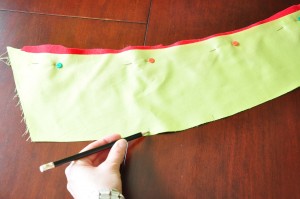
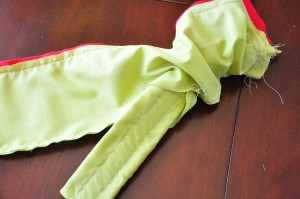
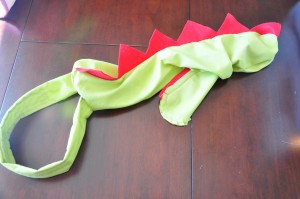
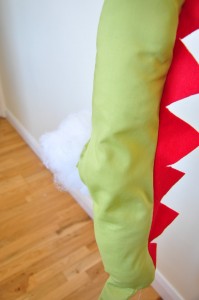
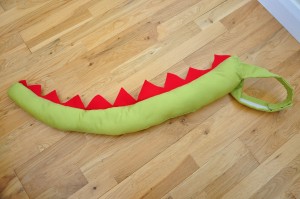
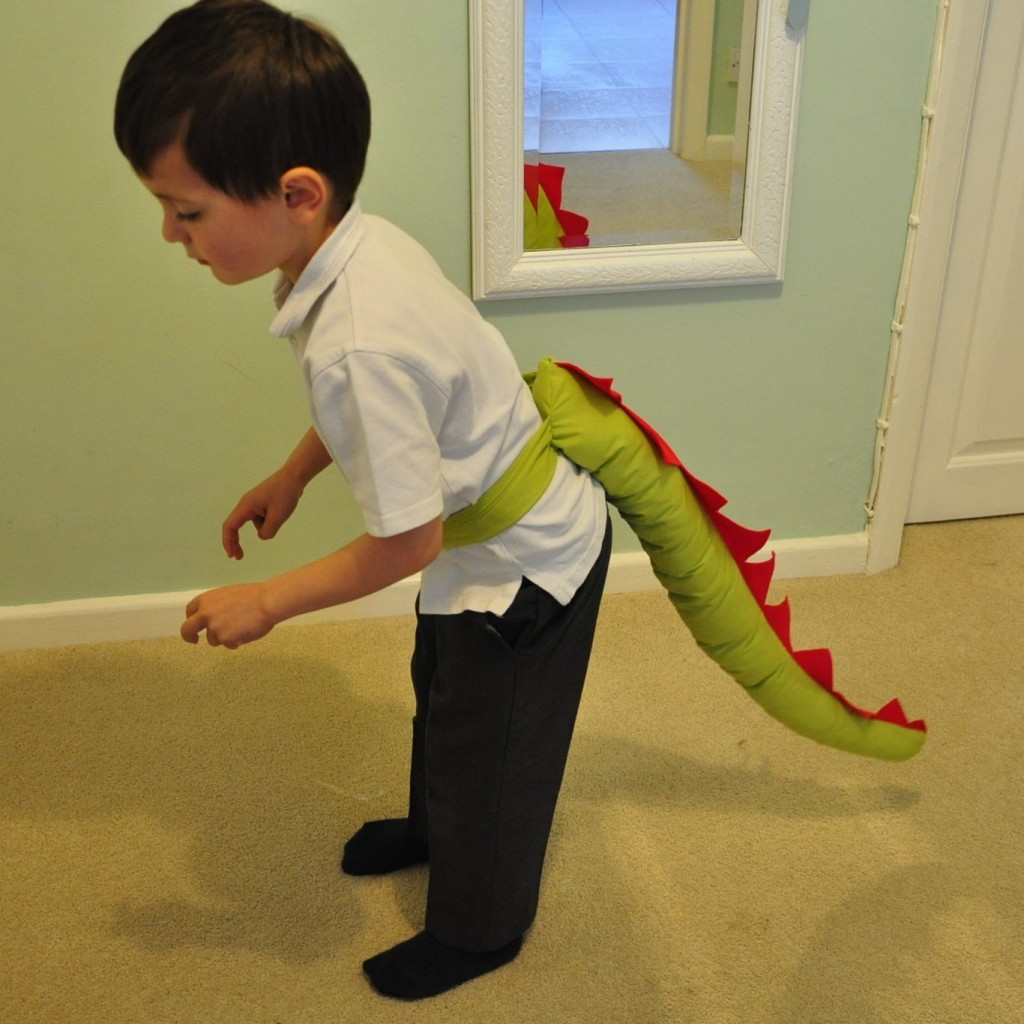
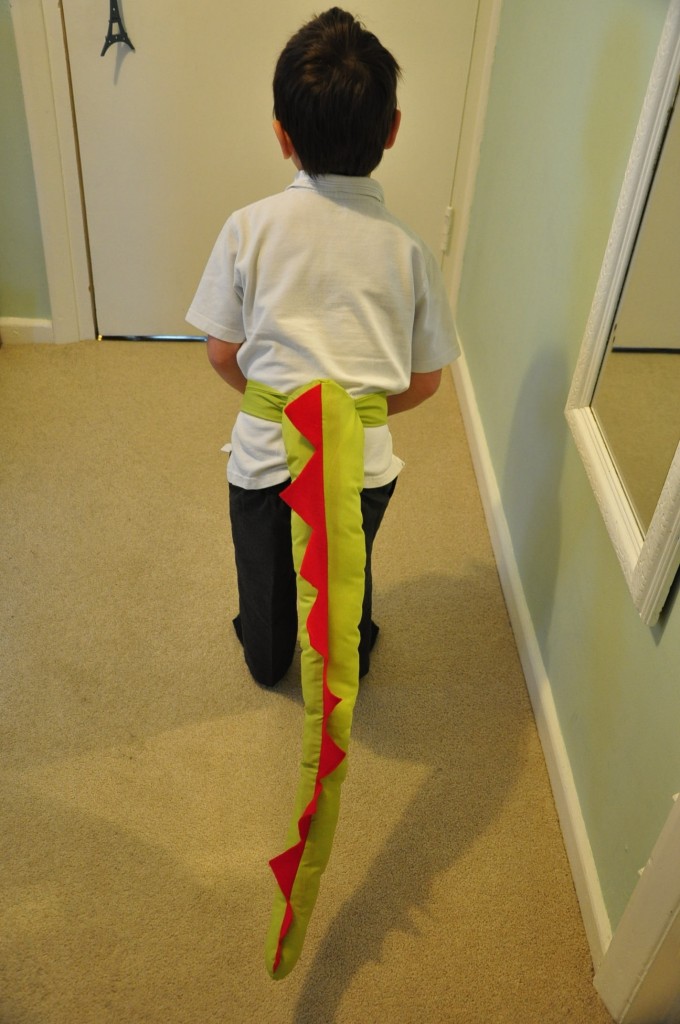
We then played the dinosaur dance. Which is the same as musical statue. They were wearing the dino tails I made. they were cute!
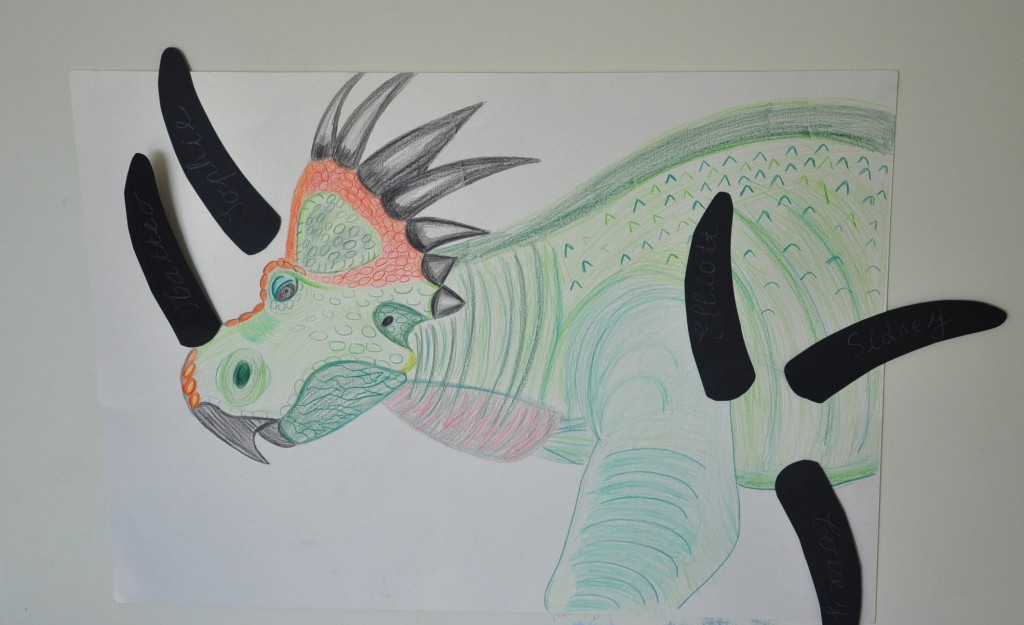
We played pin the horn on the Styracosaurus. I’ve drawn a dinosaur without its front horn on a big poster and cut out some horn shapes in black paper with the children’s name written on it. It’s my favorite game. It’s so funny ! Some thought it was pin the tail instead, so we had a mix of horns a bit everywhere! (one was actually way off but could not include it in the shot!)
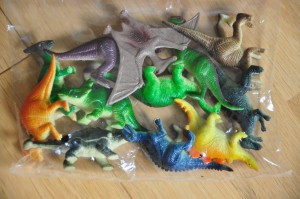
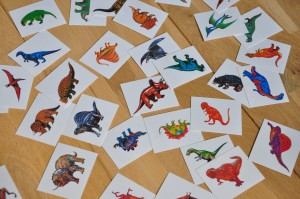
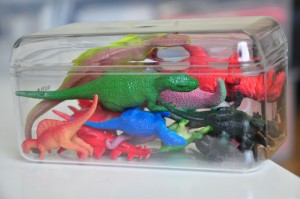
We then guessed quickly how many dinosaur in a box:
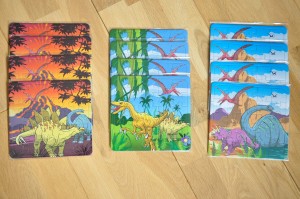
 Next we played puzzle race. I bought some dino puzzles online. the children had to finish their puzzle first in order to be the winner. It was really nice and quiet just before we ate.
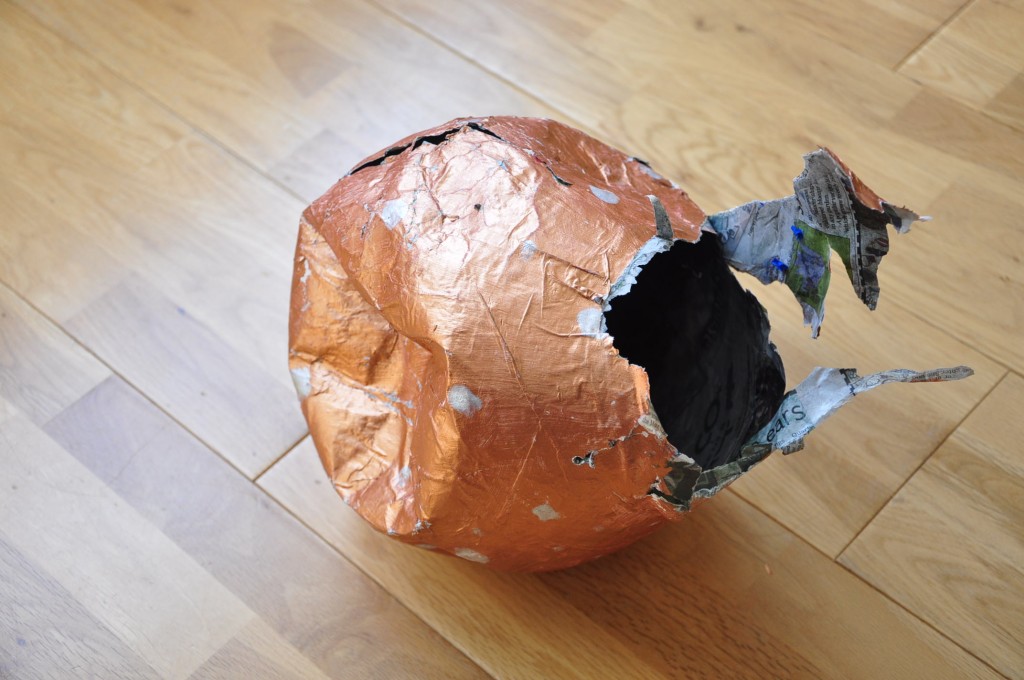
After we ate, we went to the garden to bash the pinata. I made a dinosaur egg pinata by simply blowing a balloon and glued some news paper strips with PVA glue. Once dried I painted it, popped the balloon inside and filled it with stickers, tattoos and mini dino toys that I found online:
I had a dinosaur bingo planned, thump thump roar (like duck duck goose) but by then the children were all playing in the bedroom and were really happy. We just took this opportunity to have a chat and a glass of bubbly!
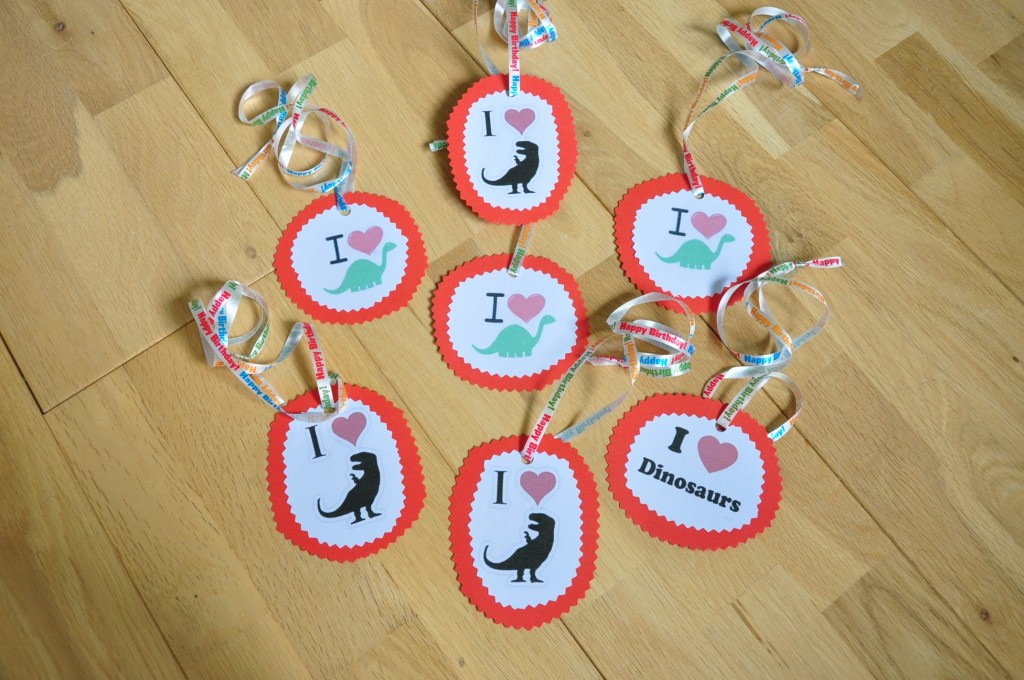
Each time one of the children won a game I gave them a little paper medal I made. It said “I heart dinosaur!”
The cake:
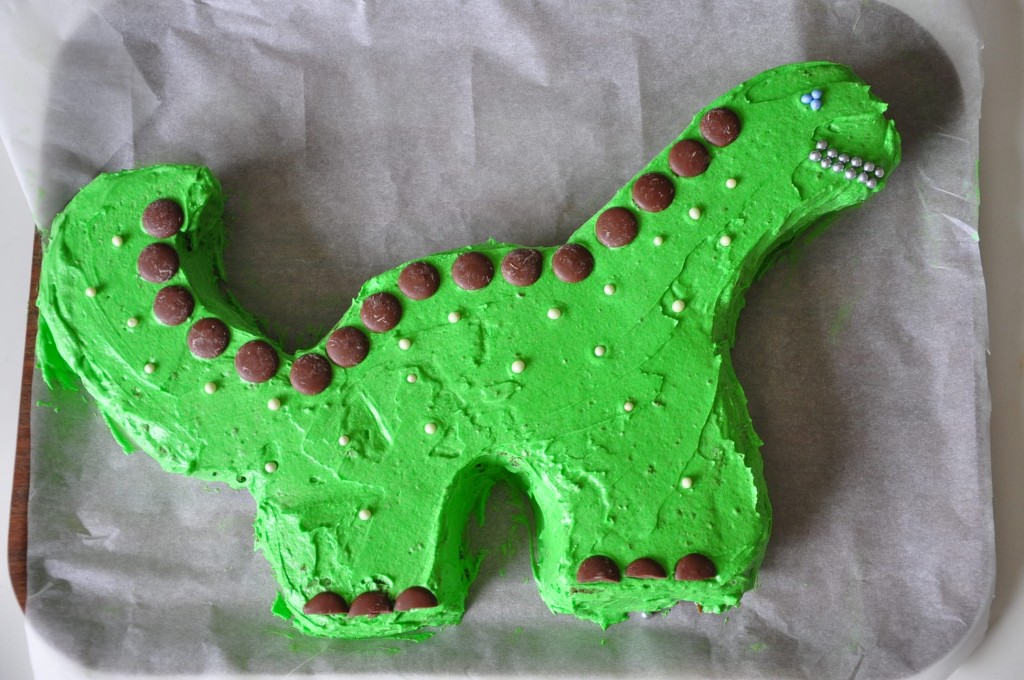
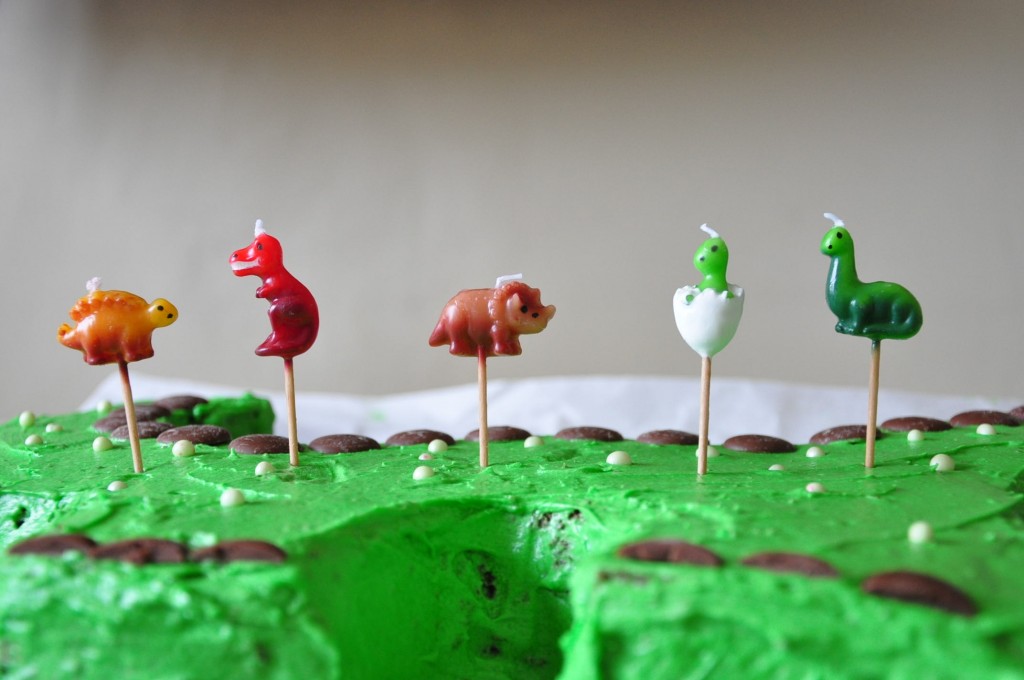
Well it had to be a ….wait for it…. dinosaur cake! I found this template to make it. It was really simple and the kids loved helping making it. It was obviously chocolate with green icing:
I added some online bought dino candles et voila!
The party bags:
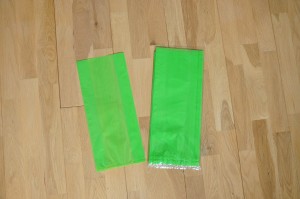
I bought some green plastic party bags:
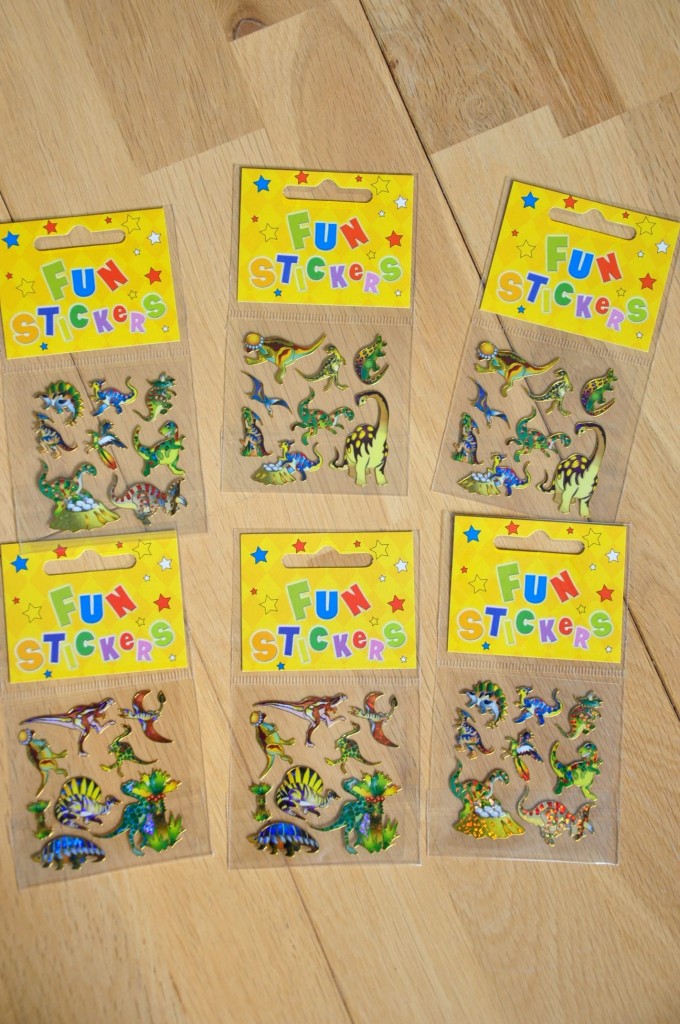
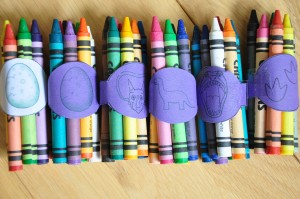
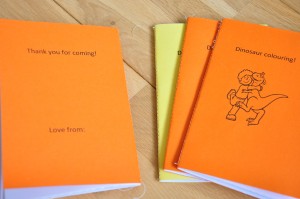
I filled them with the puzzle they made previously, the tattoos, stickers, and mini dino they got from the pinata, the mask they made, some crayons with home made dinosaur colouring books:
(To make those, I simply got some dino pics from google images and copied them on Word. I then printed them out and sew them together in the middle.)
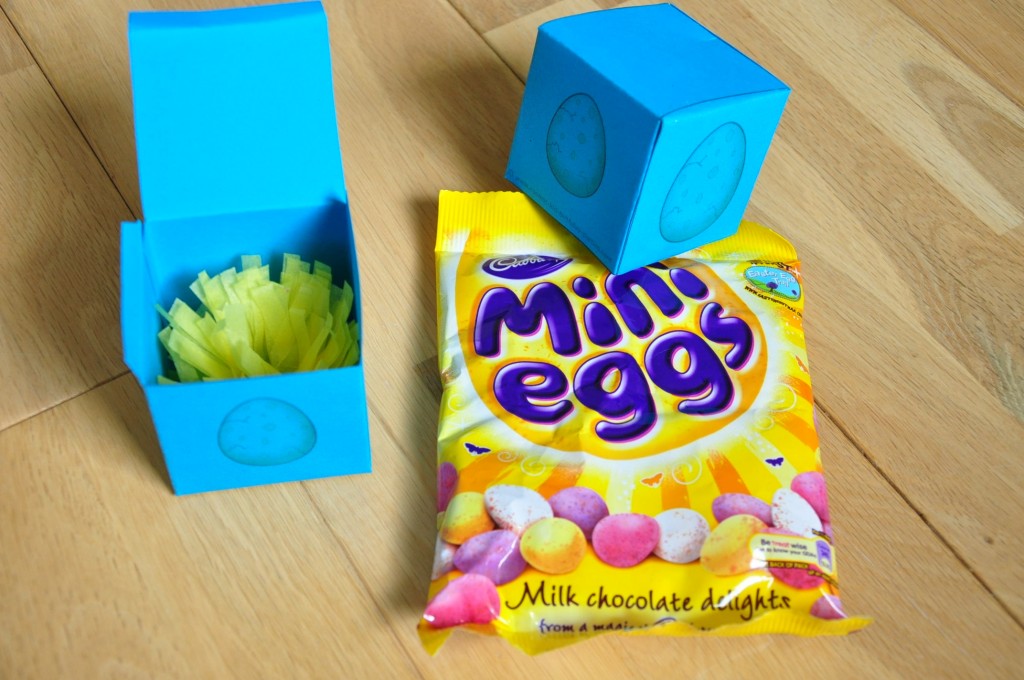
They also got some dinosaur eggs in a tiny box that I printed from coolest parties:
So that was that! I hope you’ll have as much fun as me doing your party. My son really liked it and so did his friends (I think). I’m supposed to get ready to do a Moshi Monsters party for my eldest and really haven’t got a clue what to do… if you have any ideas please let me know!

