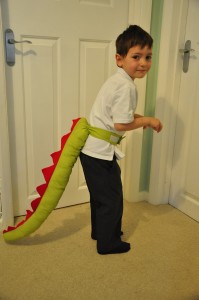
I’m still dealing with dinosaur everything at the minute. As well as getting my youngest’s son’s party on the way the school is having a dinosaur assembly. I proposed to help with a few things and told them I would make some dinosaur tails. I had great fun making them, it was quick and effective! for a little money you can actually make quite a few tails!
So here it is, just bare in mind that I did it quickly (I was on a schedule here!) and the pictures are not of great quality.
You will need: green fabric, red felt, scissors, velcro, threads.
I started by cutting the green fabric:
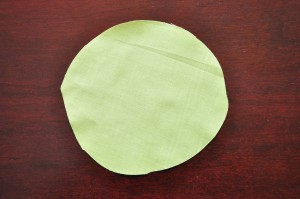
1 circle (there’s no measuring I did it approximately)
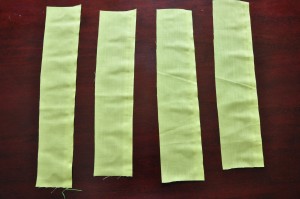
4 long rectangles (the straps to attach the tail around the waist)
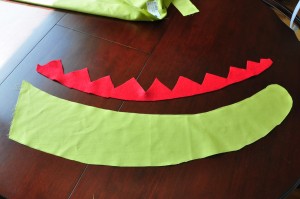
the actual tail. I cut two tail shapes but you can cut two triangles. (again no measurements, I just did it thinking of the size of an average 5 year old).
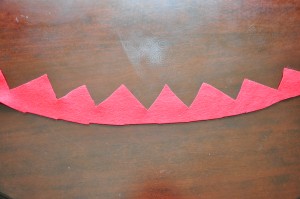
Than I cut the felt:
I copied the curve of the green tail and drew on that curve lots of spikes in triangle shapes. and cut.
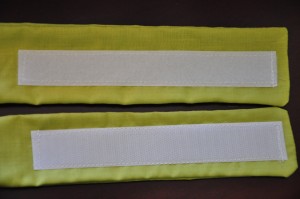
And finally the Velcro:
I cut it according to the size of the straps.
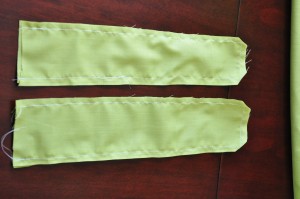
Starts by sewing the straps together leaving one of the smallest edge open:
clip the corners and turn inside out. then add the velcro and sew:
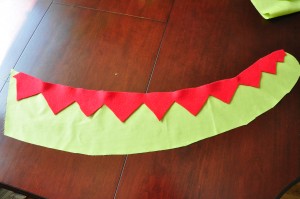
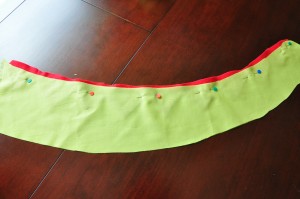
then on one tail lay the red spines that way:
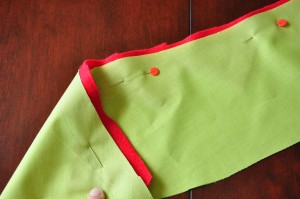
lay the other tail on top and pin together:
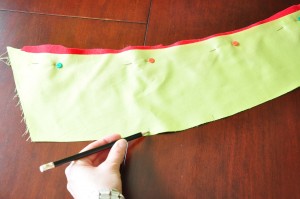
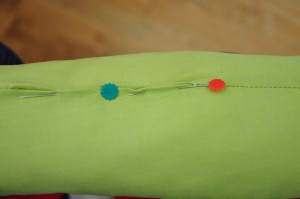
mark two lines where you will leave a gap open to turn the tail inside out:
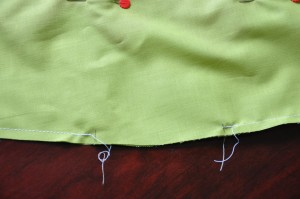
sew all the way round stopping where you marked the lines:
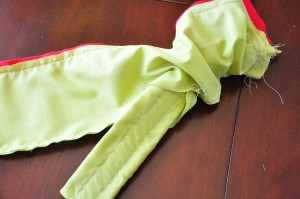
stick the Velcro straps together and twist once one strap. Insert it inside the tail:
I sew them on quick so they won’t fiddle for the next part.
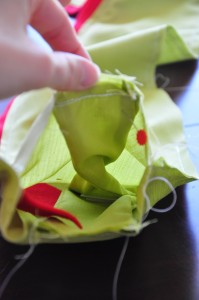
NNext step is a bit tricky, you need to sew your circle on the open end of the tail. start by pinning it all the way round:
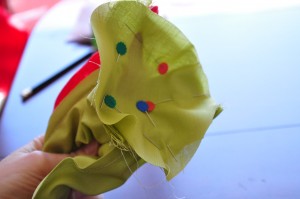
sew all the way round. I back-stitched on the straps just to make it more secure.
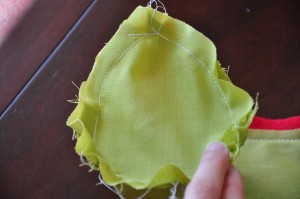
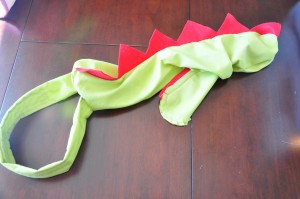
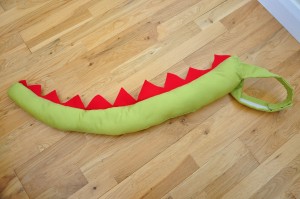
Turn the tail right side out:
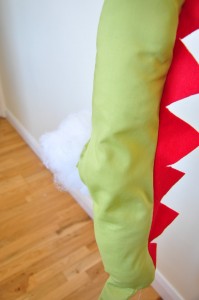
You then need to stuff it:
and stitch the opening closed:
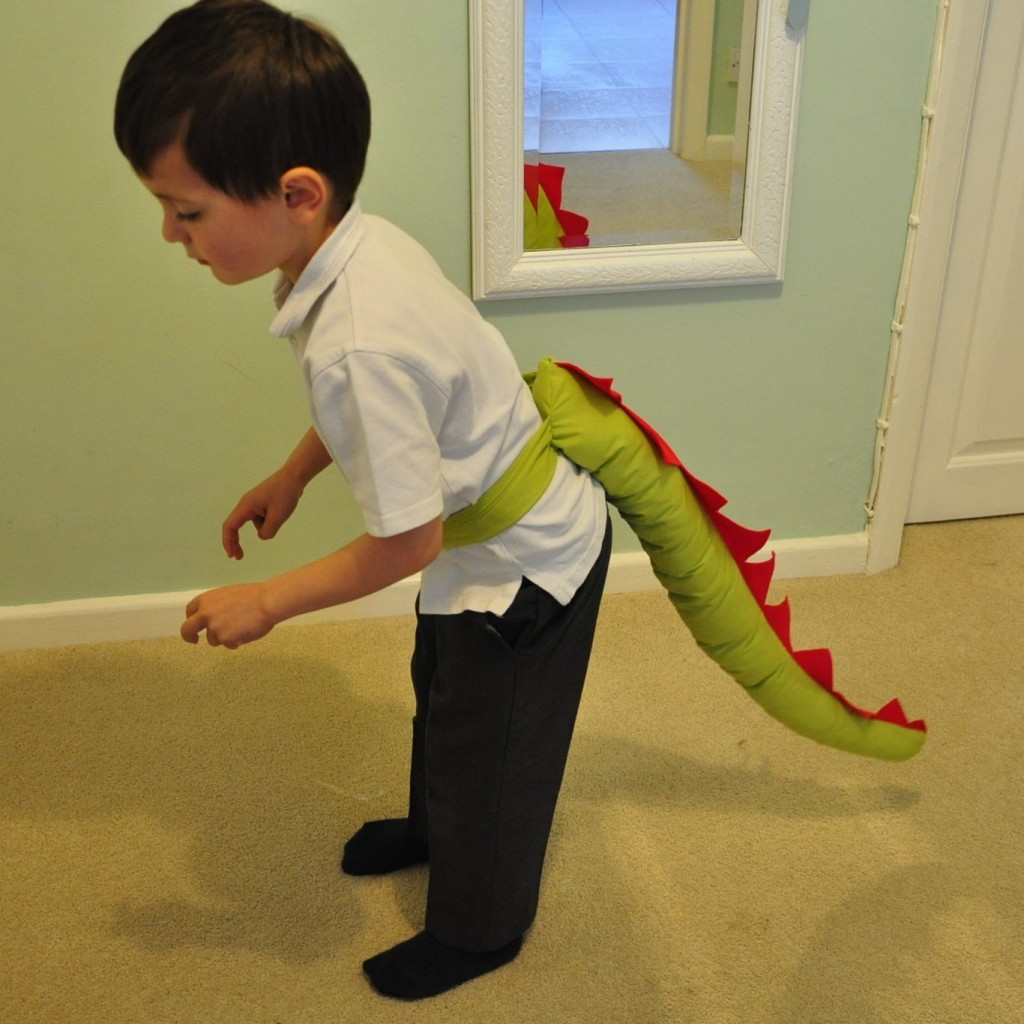
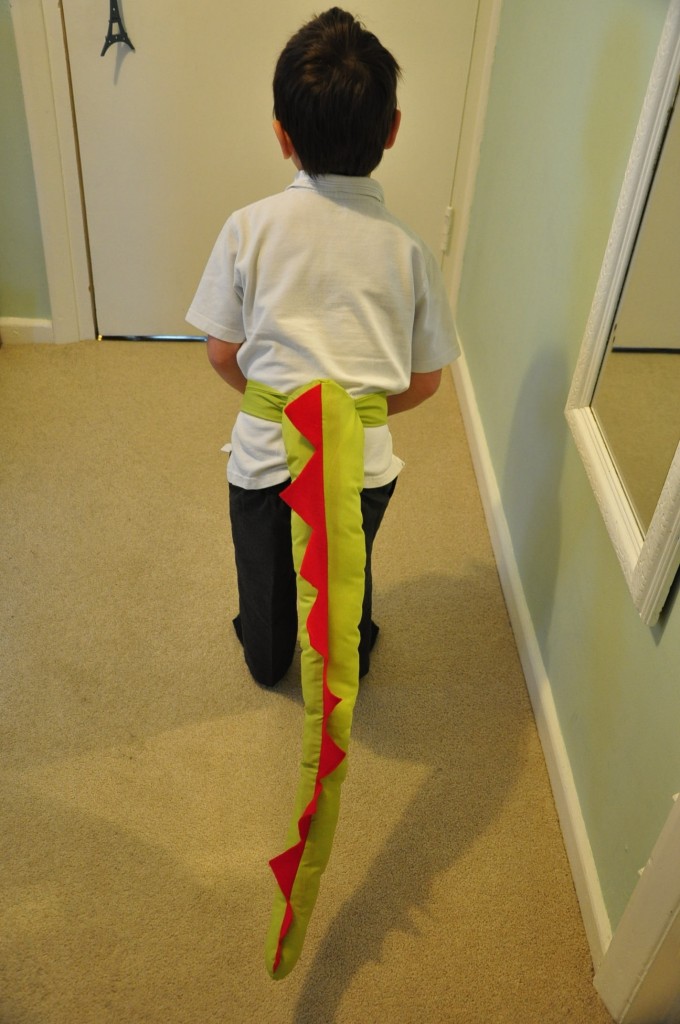
My son loved it and cannot wait for his birthday party!
His teacher was happy to have some dino tails for the show! I think everyone’s happy !

