Busy week end and glad it’s over but what the …. is happening to the hot weather??!!

So summer is over you would have guessed…. another month of that:

Now that I have swapped my winter clothes for summer clothes in my wardrobe… typical!

Anyway…

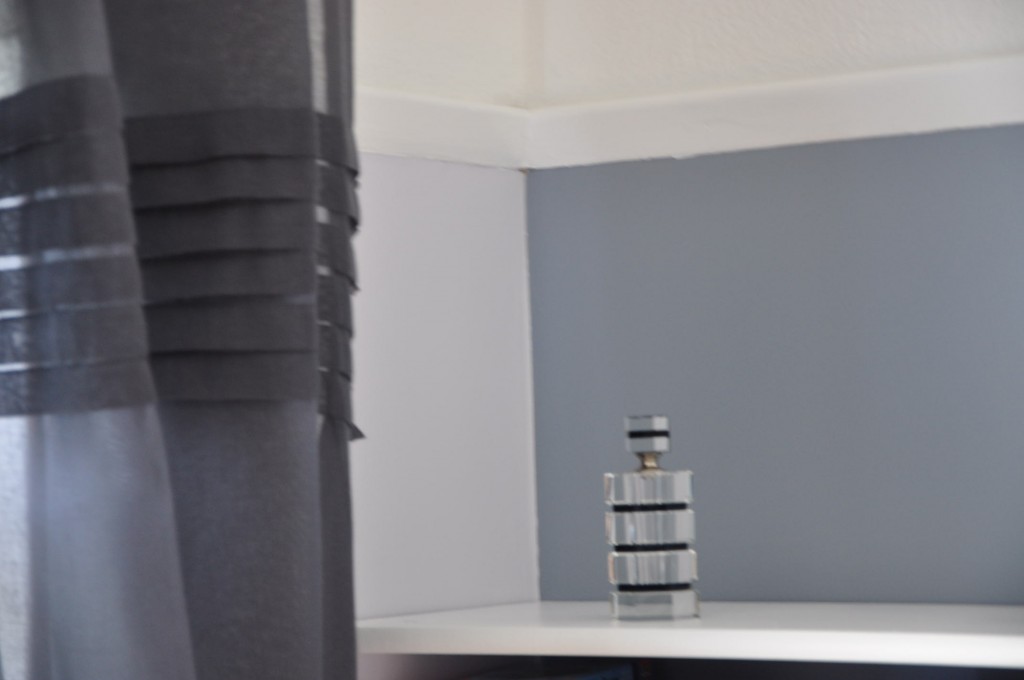
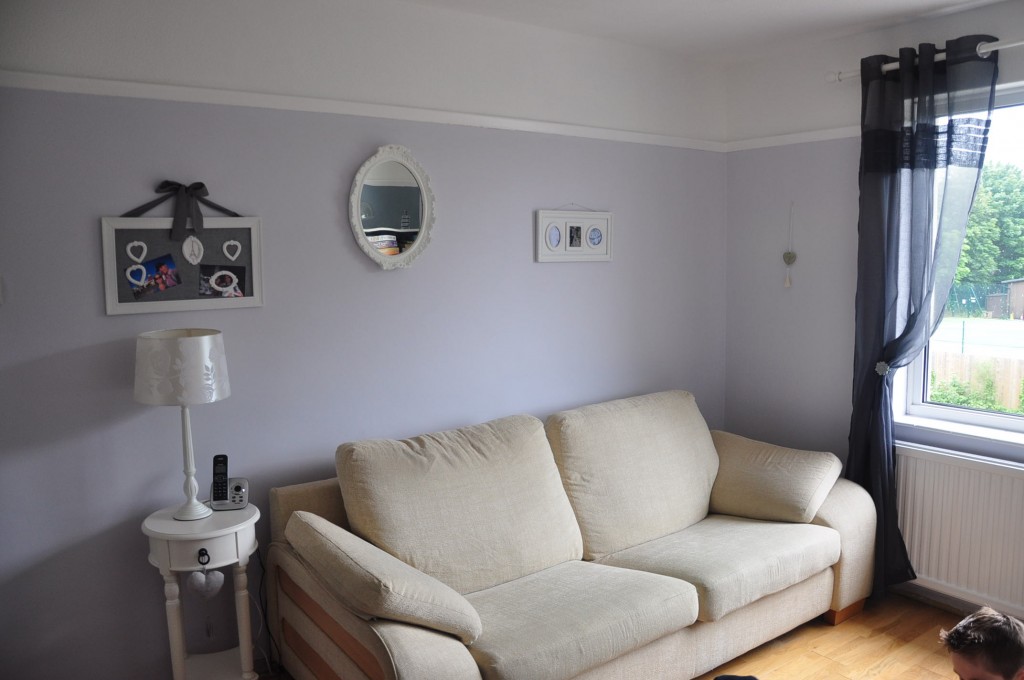
So, finally we managed to find time to re-decorate our living room! We finally decided to paint it in two shades of grey.

The light grey is Dulux mineral haze 3 and the darker is Dulux steel symphony 3.

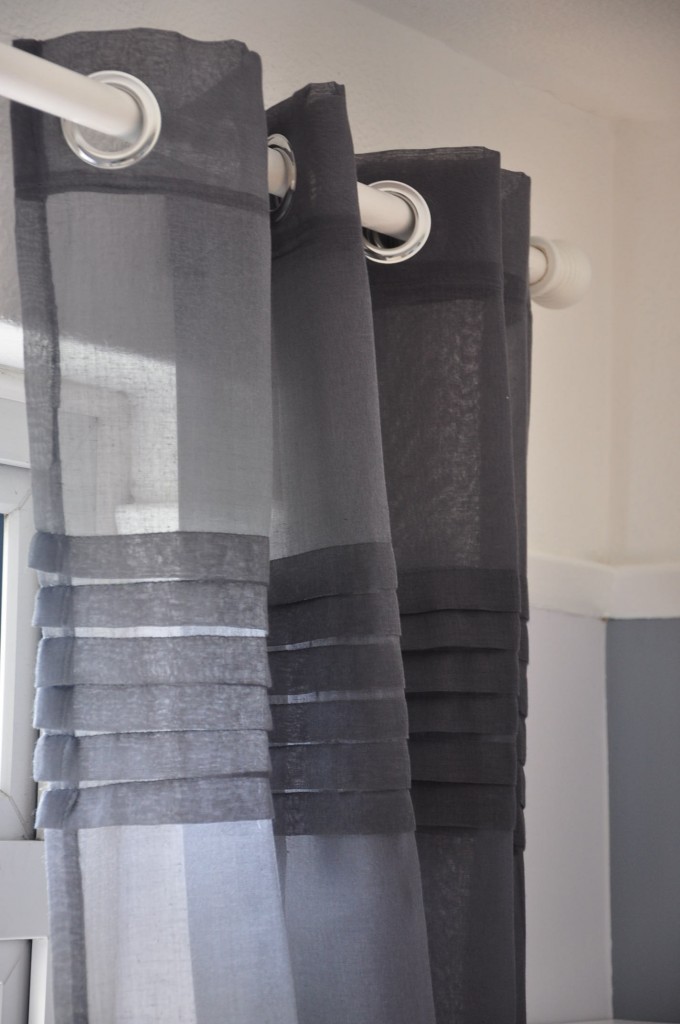
I got the telephone table from Dunelm Mill and just added a little heart shape i got in France. The lamp is from maison du monde (love their stuff). The curtains are from Alinea, a French version of Ikea just slightly more upmarket.

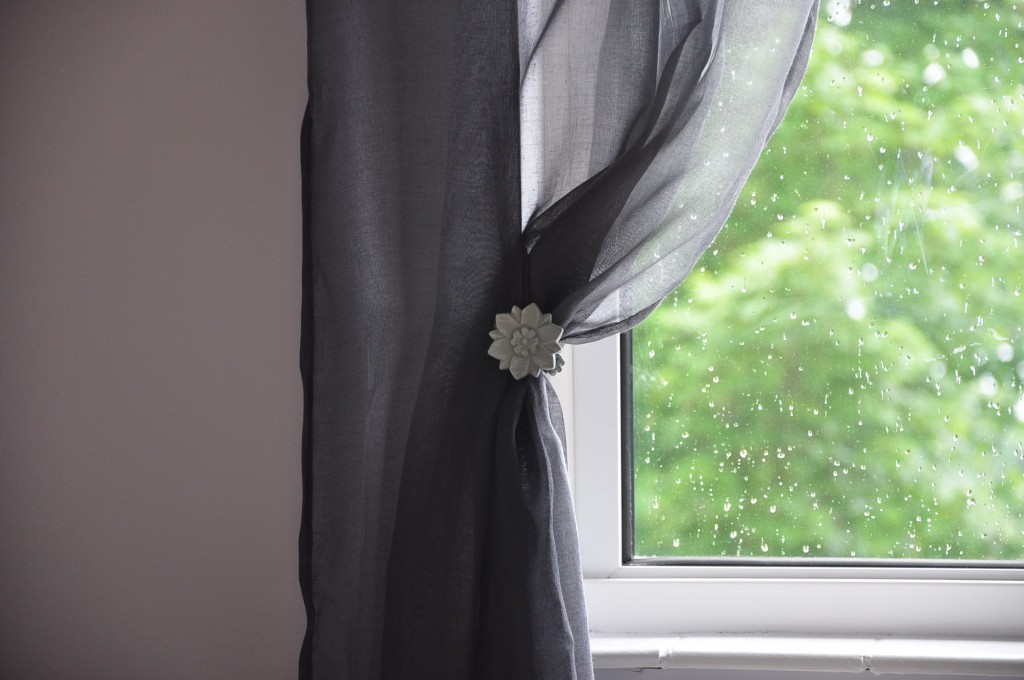
The curtain holders are from France too a great shop called Nadia in the Parisian suburb. It doesn’t look like much but they have everything for the home.

Most of the frames are from Maison du monde too. We are going to change the sofa and go for a dark grey one.

I’m just so happy we got rid of some ugly furniture and are going to replace them with some nice looking ones.

I want to go fabric shopping now to make some cushions. Different greys and maybe light blues… so that means a tutorial to come soon!

All this would not have been possible without the Queen (obviously!) therefore I would like to thank her for giving us some days off so I could get on with it!

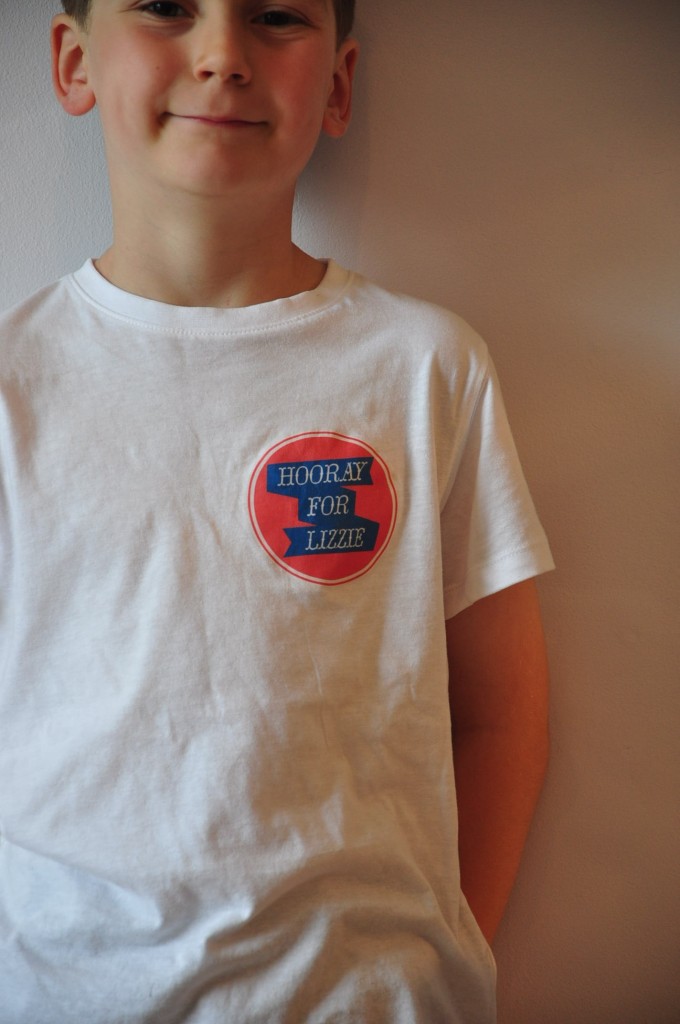
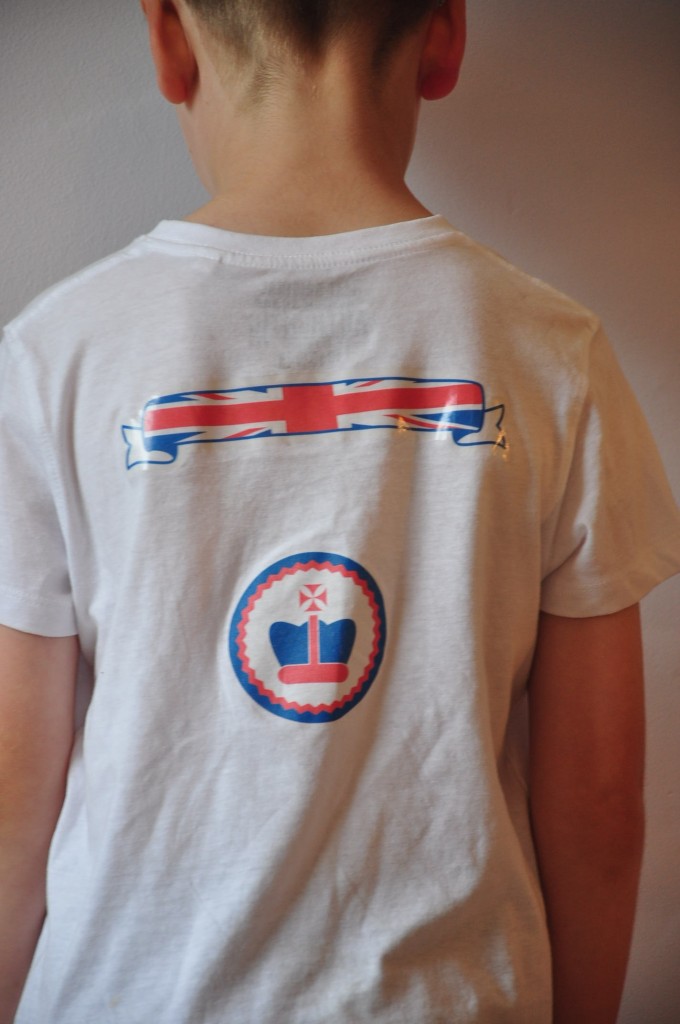
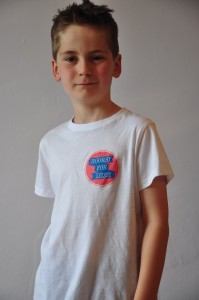
Talking about queen and jubilee, I wanted to show you the Tees I made for my kids jubilee party at school.

I found this really cool website called wee birdy where you could print off some cake toppers with awesome logos and statements. I asked my geek to work his magic and turn the PDF into Word  doc and changed the letters from front to back.

I printed them on T- shirt transfers, ironed them on White T- shirts and they looked fab, without being over the top and too patriotic either (I have to say I’m surprised i participated at all… being French and all, but I want my kids to feel totally integrated and they wanted to do it so I supported them (since I’m such a great mum!)). They are going to another party tomorrow (this seems endless) so they’ll wear them again!

I’ll be back soon with more news about my parents’ quilt and other very interesting sewing relating topics. Toodeloo!

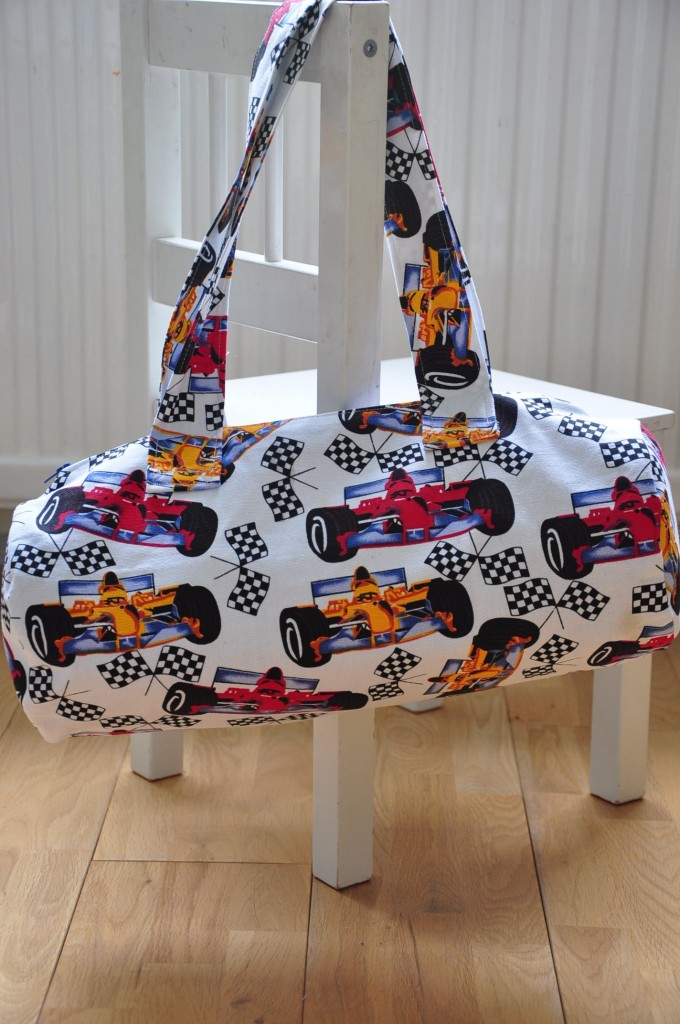
sports bag tutorial

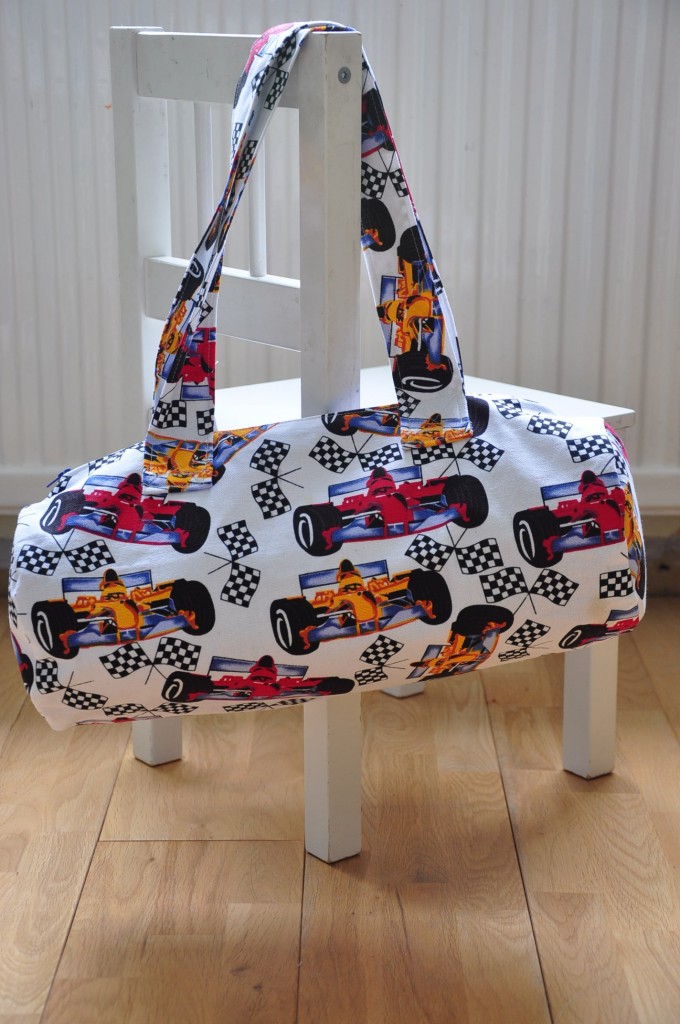
My little one is starting PE  after half term and as I made a messenger bag for my eldest to put his PE kit in, I though it was only fair to make one for his brother. I wanted to make an old fashion Duffel bag as I used to have one when I was little. Don’t you love the 80’s!!

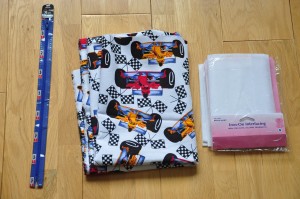
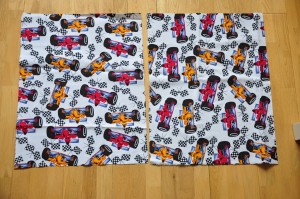
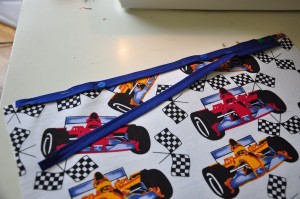
for this project you will need about a meter of fabric, some interfacing, a 14″ zip and  the usual sewing kit:

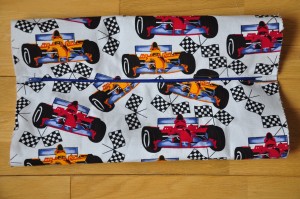
Start by cutting one rectangle measuring 16″X23″:

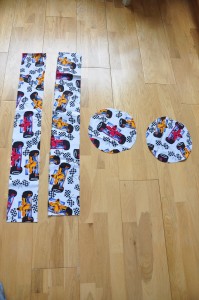
Then cut two stripes measuring 4″X26″ and two circles measuring 7″ radius (about)

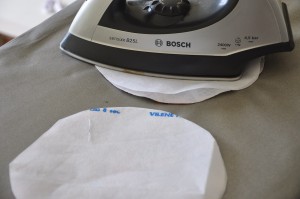
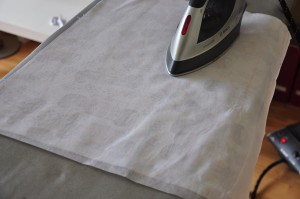
Iron some interfacing on the big rectangle and the circles:

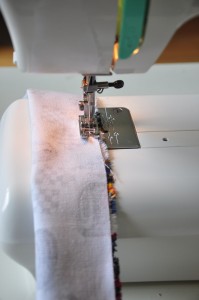
fold your long strips length way and sew all the way down:

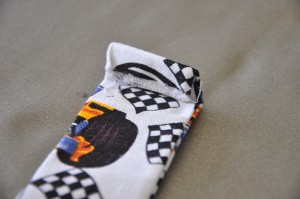
turn them right side out and double hem at both ends:

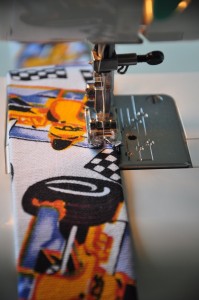
then top stitch all the way round:

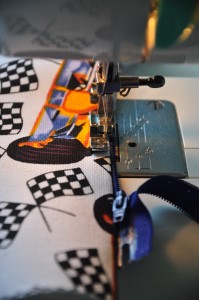
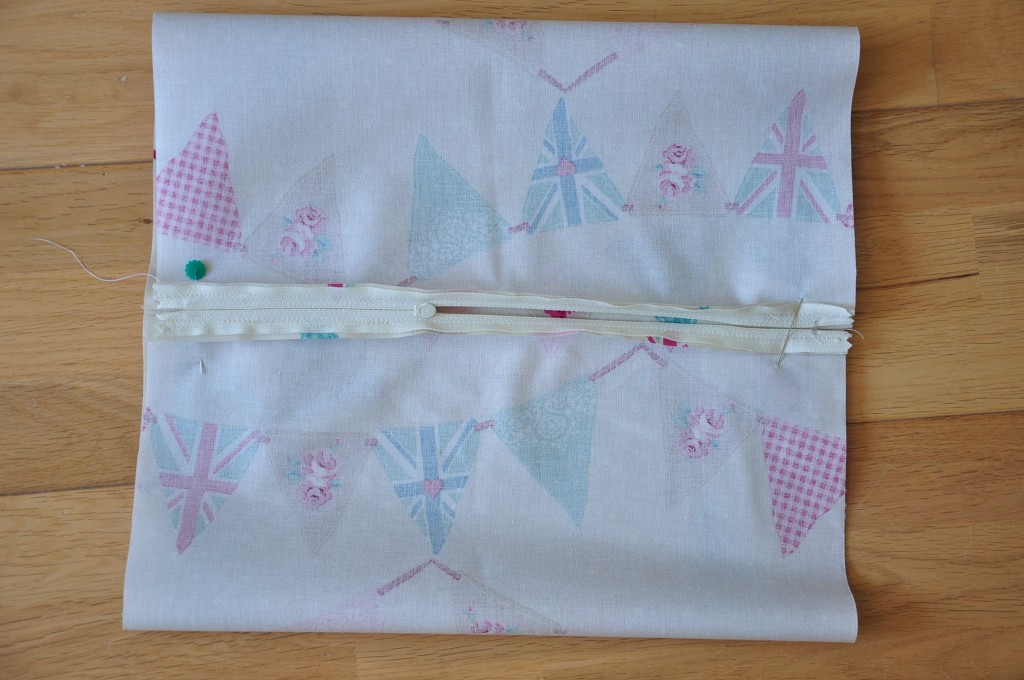
put them aside and grab your rectangle, pin the right side of the zip on the right side of the fabric:

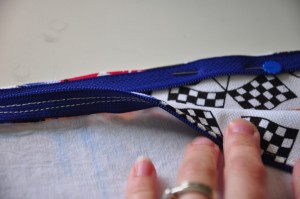
sew all the way, turn the zip and top stitch:

do the same for the other side of zip, it’s a bit trickier but pull the fabric when you sew.

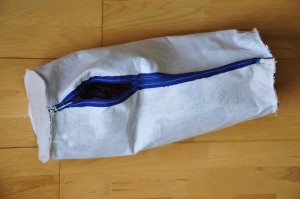
you should end up with something looking like that:

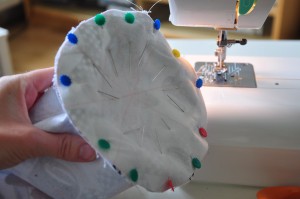
now turn your bag inside out and you need to pin the circles at both end right side of fabric facing:

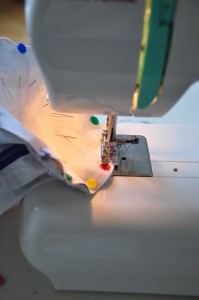
 sew all the way round :

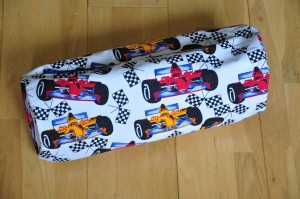
turn it right side out and it should look like that:

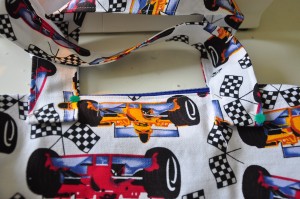
now sew your handles. decide where you want them pin them and hold your bag to see if you’re happy. Then sew them in a crossed box to hold them tight.

I found that I pinned them too close to the zip, and the next one I will be doing I will sew them probably one third from zip.

Et voila! your bag is finished! My son was very happy it!


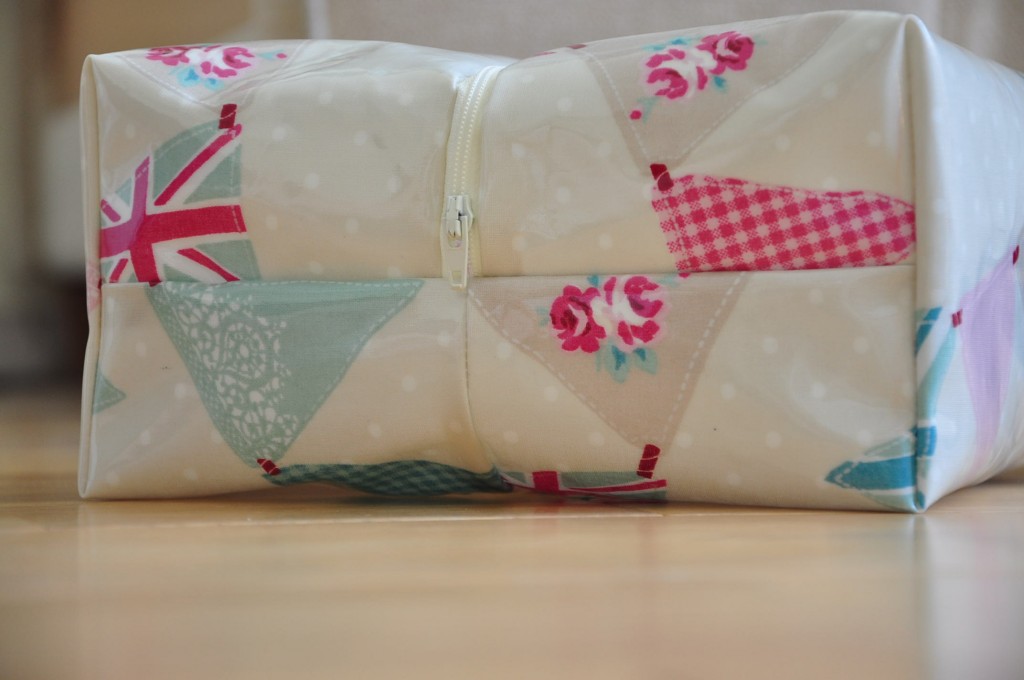
Oilcloth wash bag tutorial for charity

My Friend asked me to make a wash bag for our lovely friend whose daughter (aged 6) has TS. She will be having brain surgery next week. It just feels really surreal… And I feel a bit silly making a wash bag as if it will help somehow. I just feel powerless but I wanted her to know that I’m thinking of her, that I’m there for her and her family.

If you wonder what TS is just click here. And if you would like to donate you can do so here. If you like the wash bag but don’t want/have the time/know how to I can make it for you and any profit will go straight to the TS association. It’s a great cause, not really well known but people affected by it have their lives turned upside down. My friend is amazing; she manages to balance work, raising also another really lovely boy and family life on very little sleep for the past 6 years. She deserves a bloody medal! So it’s not much but this tutorial is dedicated to her and her cute daughter.

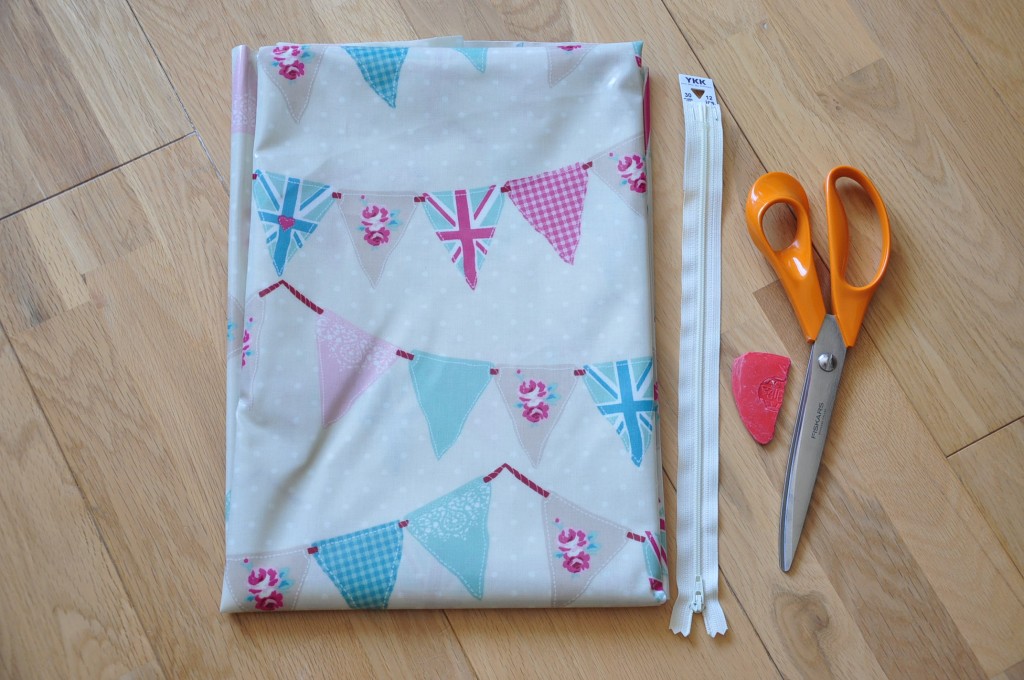
For making this wash bag you will need:

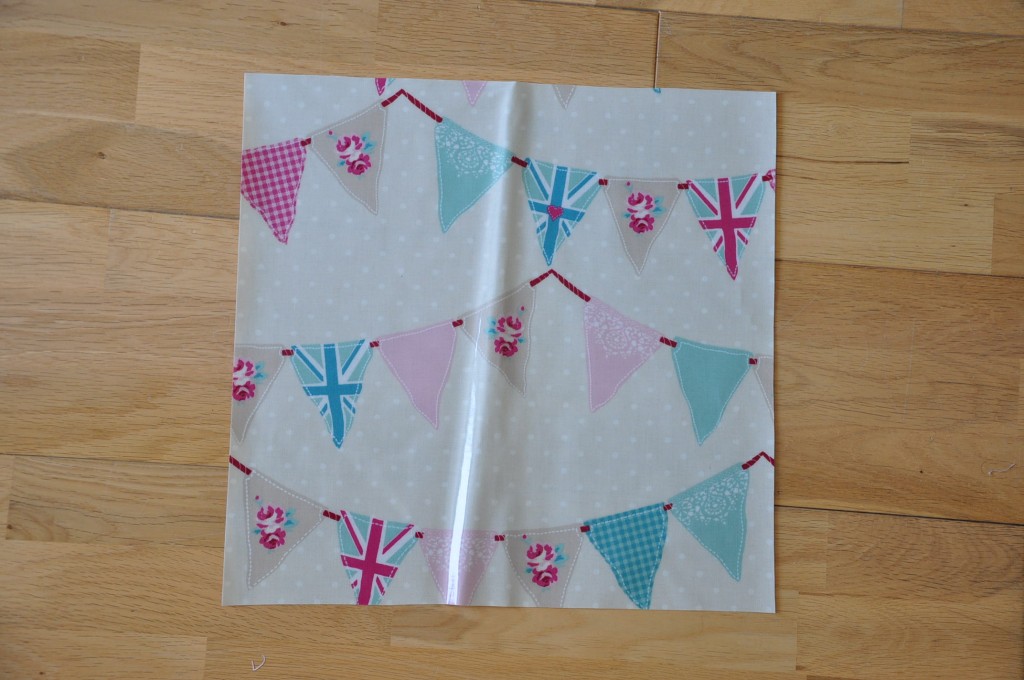
Oilcloth, zip (30 cm), scissors

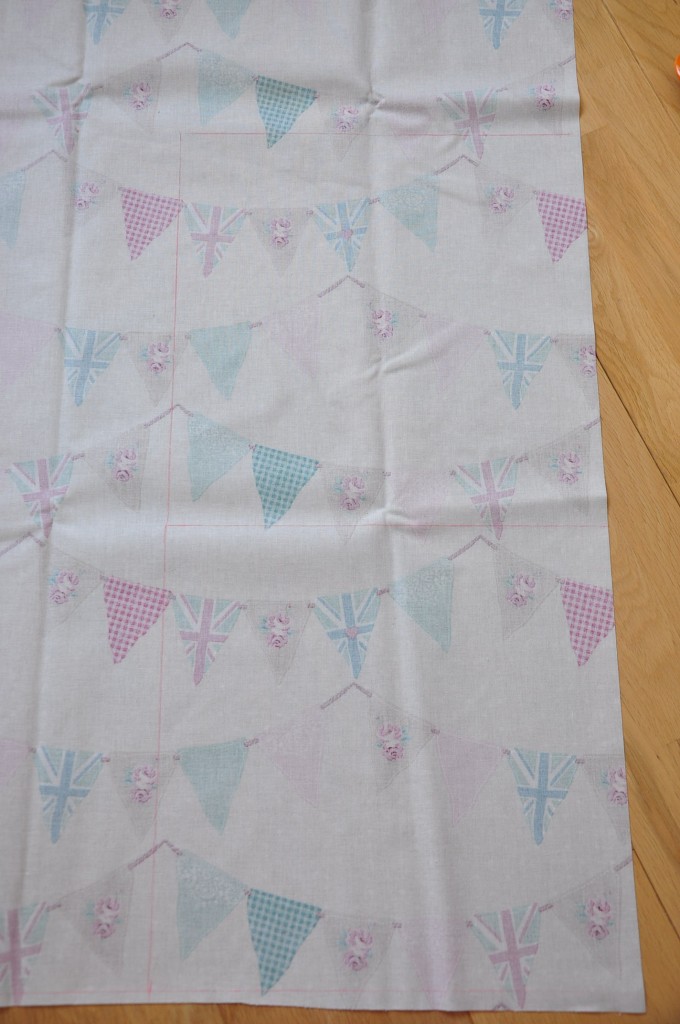
First draw two squares measuring 13”

Cut them out

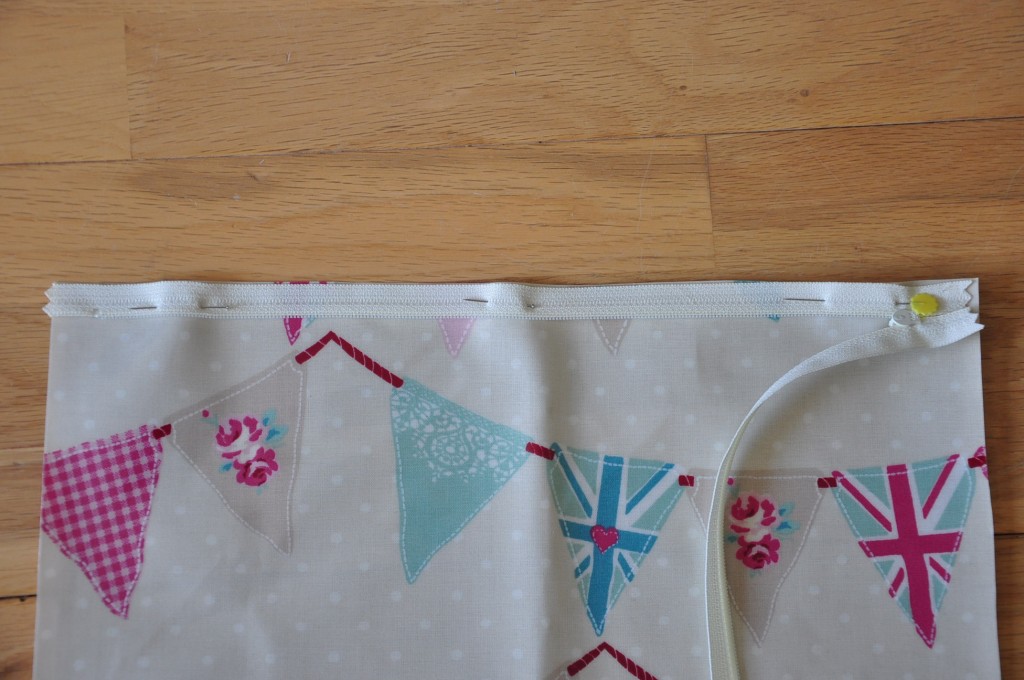
Pin the right side of the zip to the right side of the oilcloth

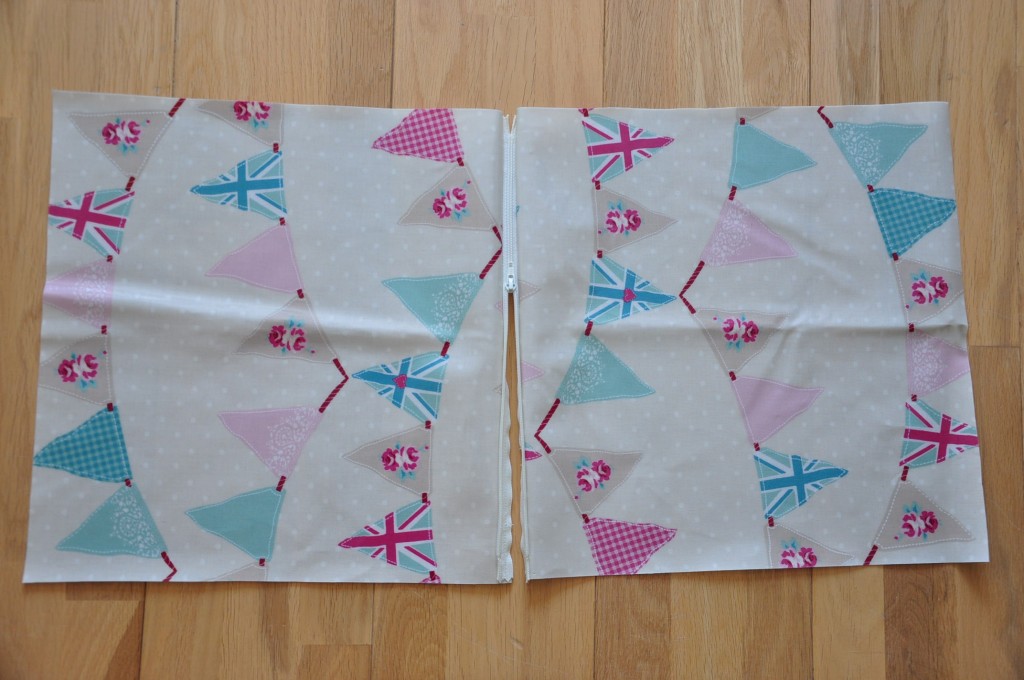
Using your zip foot sew all the way. Pin the other side of the zip on the second square and sew all the way.

You should end up with something like that:

Now at this point you could top stitch to hold the zip nicely using your zip foot. I didn’t because I didn’t have any greaseproof paper or a Teflon presser foot. (In retrospect it was a bit of a mistake I should have done it…)

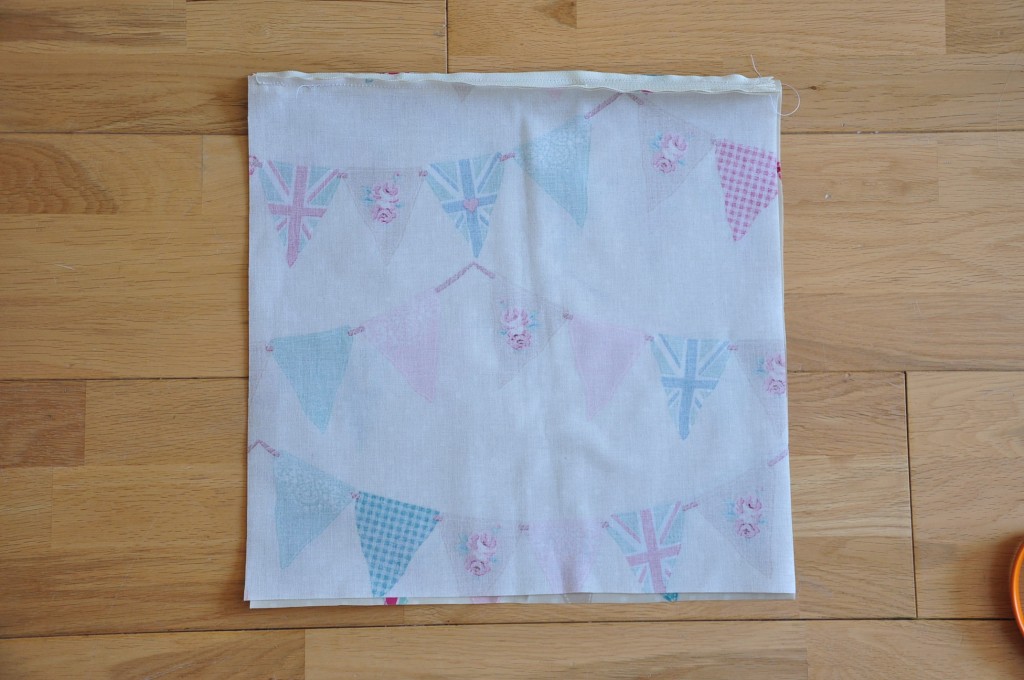
Now place right side of fabric together and pin. You will need to sew just the bottom edge

Next match the zip to the bottom line you’ve just sewn. Looking like that:

Pin together and you can now sew the last two edges. REMEMBER to leave the zip open for turning the bag right side out later (yes it happened to me before!)

i did a couple of back stitches on the zip

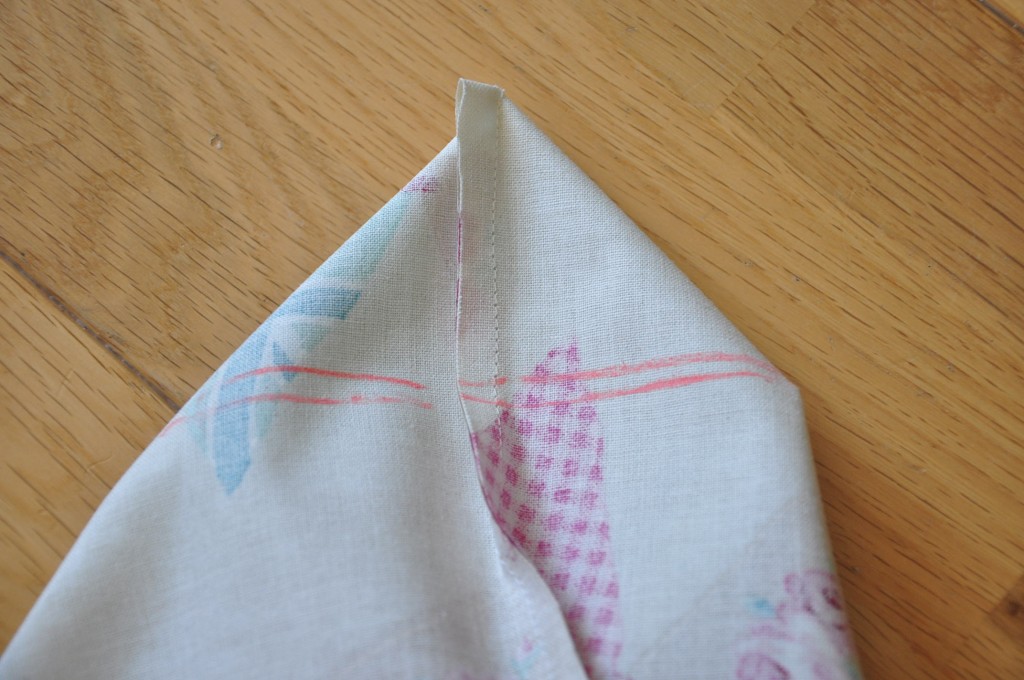
Now that’s the tricky bit: fold the corner to form pointy triangles:

Mark a line from 2” from the top,

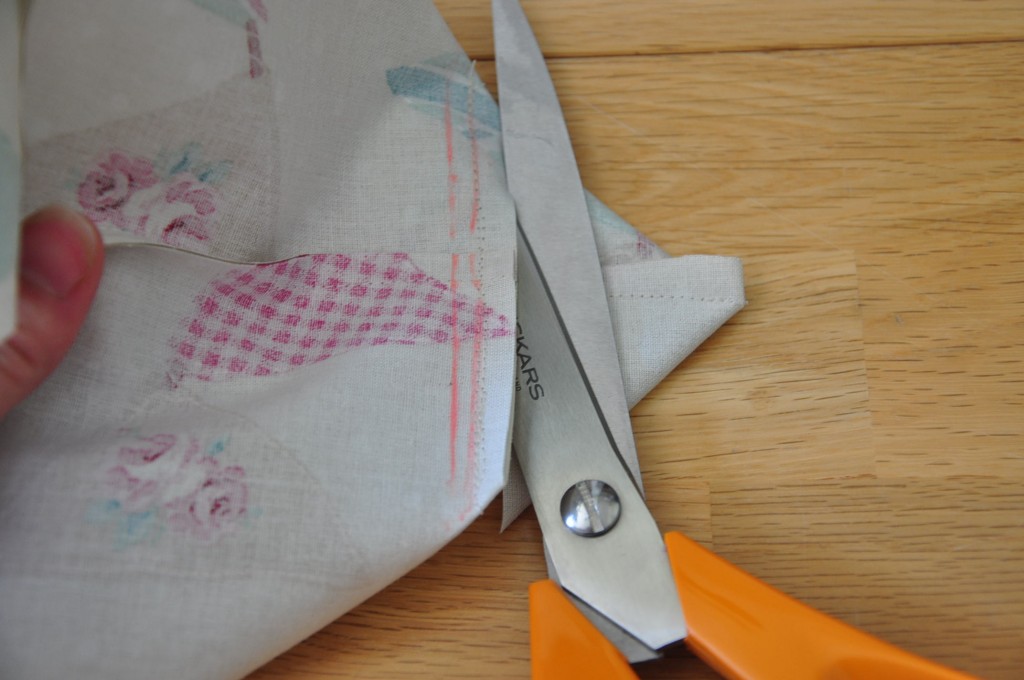
Sew on that line and cut the remaining fabric

Do it for all four corners and it should look like that:

All you need to do is turn your bag right side out et voila! You’re done!

Very easy and useful wash bag!

Next time my friend uses it I hope it’s to go on a nice holiday with her family.

Sending her and family lots of love. XXXX

Zpagetti in Italia

This were I’ve been last week:

Bergamo, Italy

Bergamo North of Italy. It was absolutely magnificent. Not only my eyes were enchanted but my taste buds got a kick in the mouth! I am clearly physically back but my mind is still lost in the little streets of this beautiful medieval town.

I visited most of the museums, churches, restaurants and shops. I got really inspired by some of the roman mosaics and some of the clothes designs. You’ll be sure to find some Italian inspired creations soon!

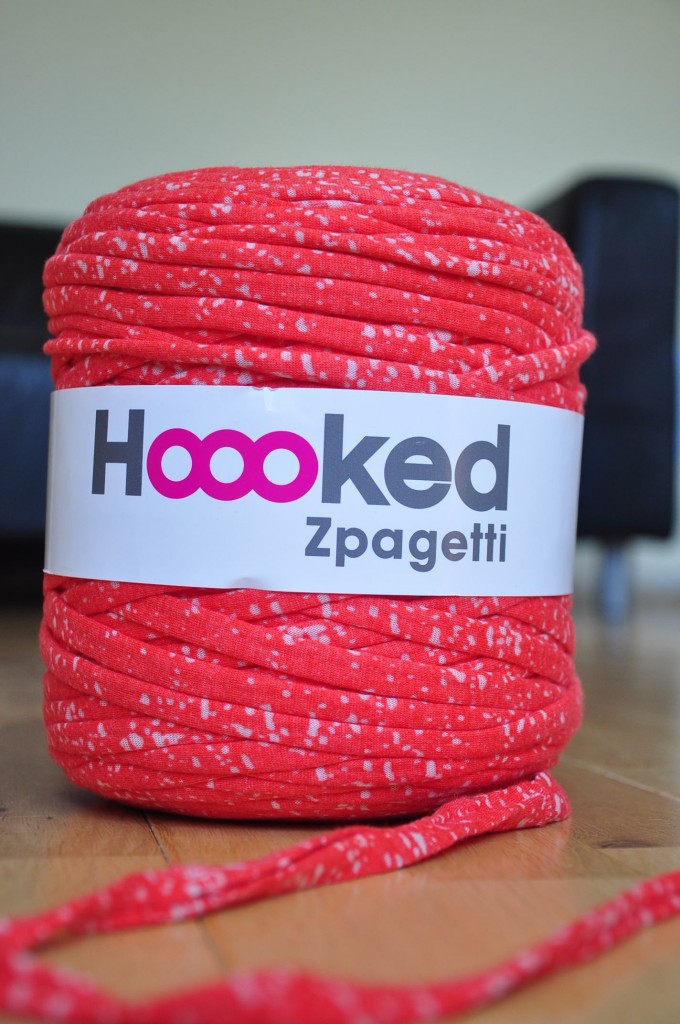
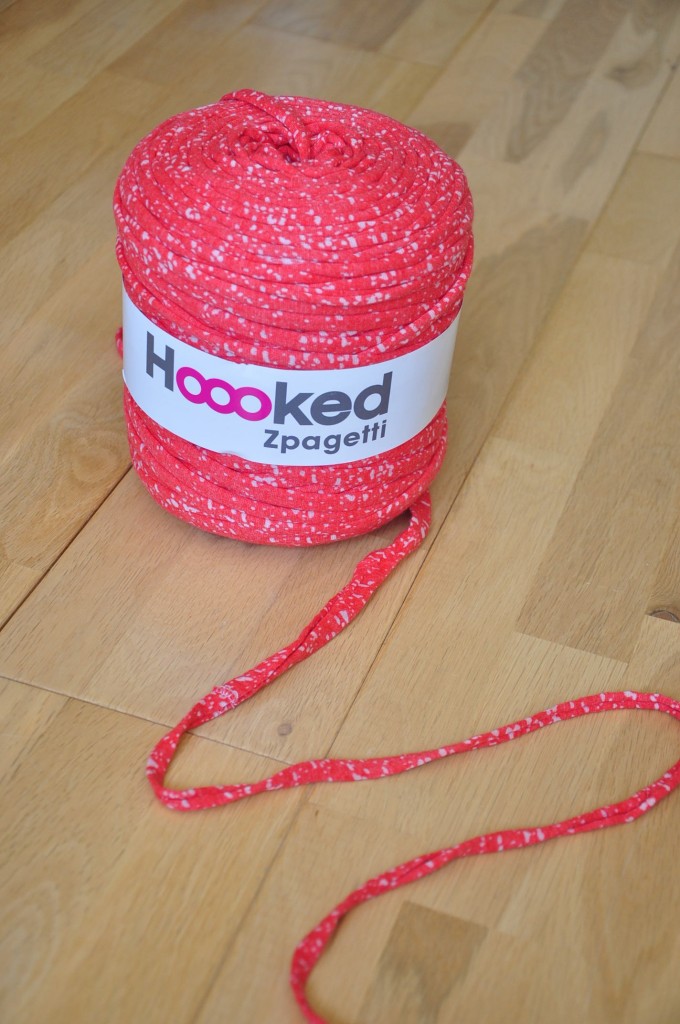
In this little town I was surprised to find a craft shop which was selling a few hooked zpagettti yarns. I fell in love with them! Ideas came flooding my mind, crochet, knitting, finger knitting for my kiddies! You could do so many things with them. It’s a brilliant idea.

It’s basically off cuts of jersey knit that they cut into really long thin strips.

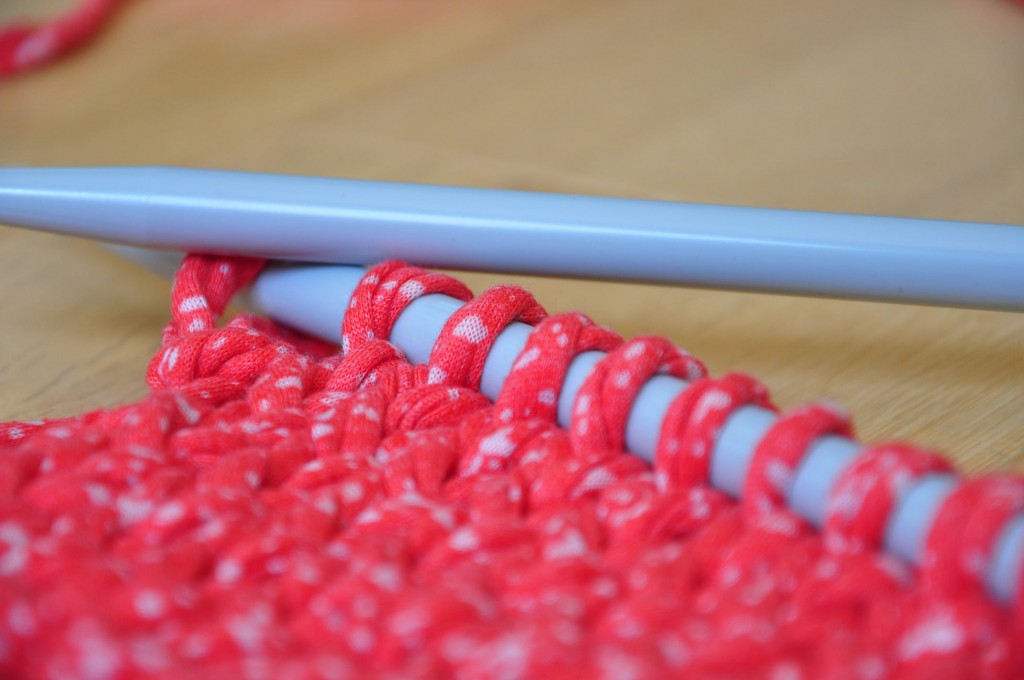
I’ve already started to knit and it looks really interesting.


I’ve nerver crochet in my life so I need to invest in a hook. I’ve already tried to crochet with my fingers and the result was quite impressive. Cannot wait to start with a real hook.

I have decided to make a bag with it. On their website you can download for free a few patterns and I chose this one.

But you could make cushions, scarves, baskets, rugs, wreath… possibilities are endless! (no no, I have not been paid to praise them!)

I will keep you updated on my crochet skills (if any!) and will soon post a tutorial, but first I need to get back into a routine and to reality!


quick little owl costume

My eldest son had a nocturnal animal day at school and they were asked to come in dressed as a nocturnal animal of their choice. Matteo chose to be an owl. We had to make a poster about owls and we learnt some cool things about them!

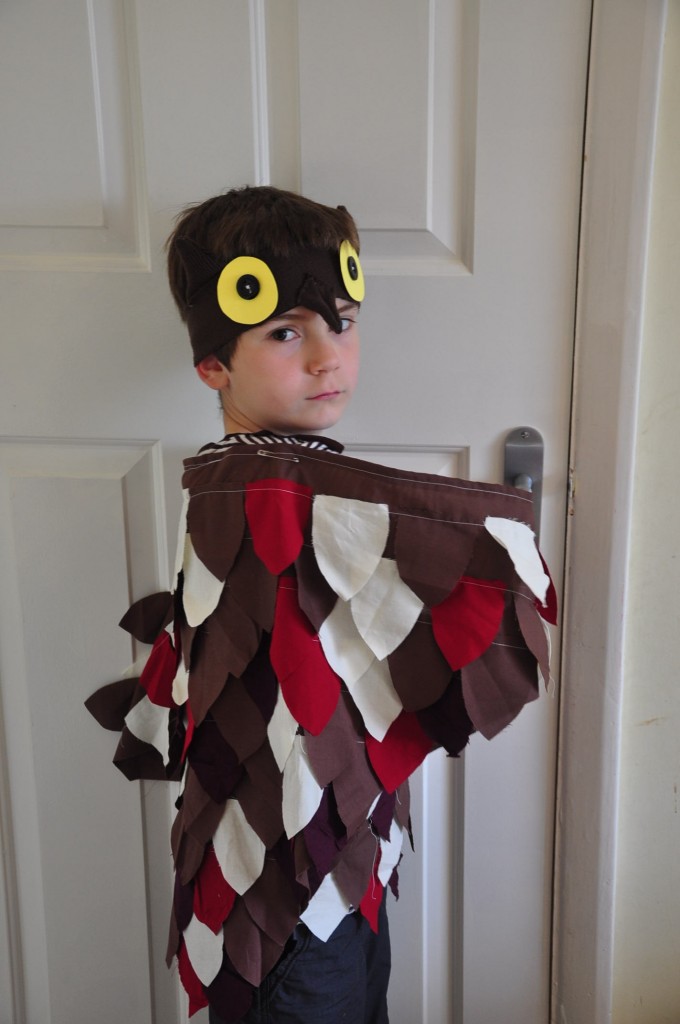
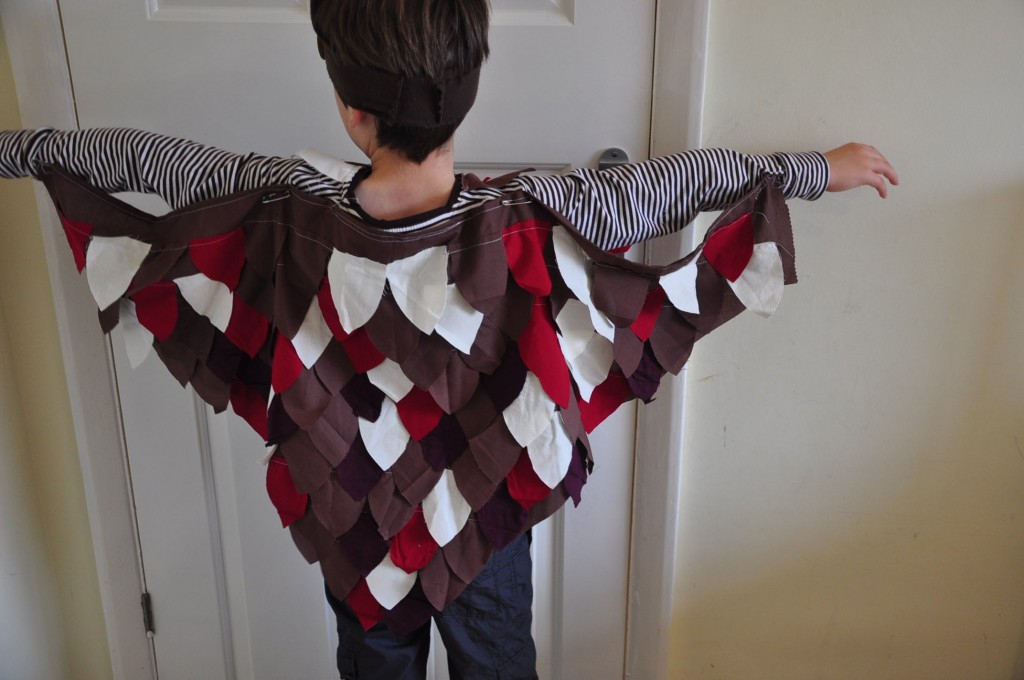
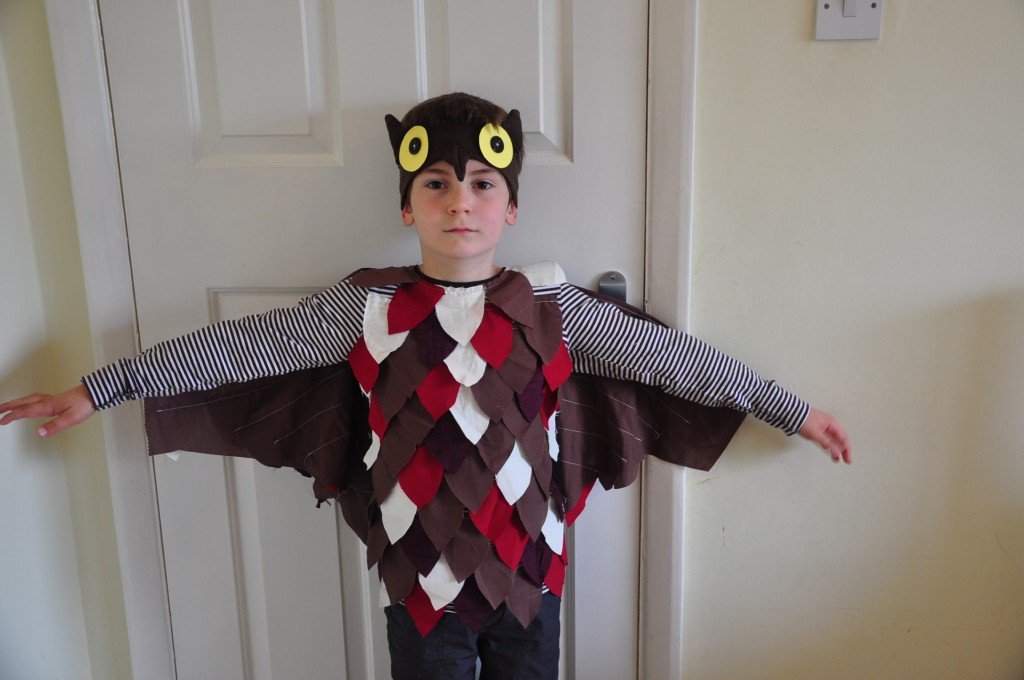
To make the costume I used one of my tee that I wasn’t wearing anymore. I found some old clothes that were brown, red, purple, cream. I cut some shapes (feather looking) out of those and sew them on the tee starting at the bottom all the way up the collar.

For the wings, I cut out from brown fabric a triangle shape that was the size of my son’s back and arm. I sew some more fabrics on the back and sew the wings on the tee. et voila!

For the eyes, ears and beak I cut out a head band from an old jumper. I cut out some small triangles for the ears and beak. For the eye I cut 2 yellow circles out of paper and sew some black button on top.Et voila! a quick owl costume (and cheap!) hope this gave you some ideas!