very simple shirred strapless summer dress

I was given by a friend some girly fabrics and I told her I would turn it into a shirred dress for one of her daughter. It’s lovely because I have so many friends who have girls, I can create for them! I love my boys and love doing things for them, especially when they ask for it, but it’s also nice that I can use pink fabrics and make some girly things.

So here is a very simple tutorial on how to sew a shirred strapless dress!

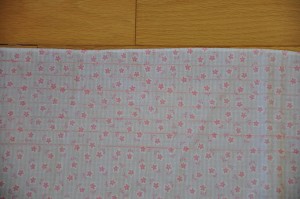
For this project you will need: fabric (I used 44″x22″ but it can be wider and longer depending on the size of the person it is going to fit), matching thread, elastic thread, ruler, fabric marker or pencil, pins.
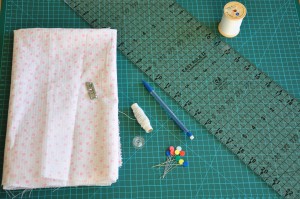
To know how much fabric you will need, you need to measure round the chest of the person who is going to wear the dress and double that.

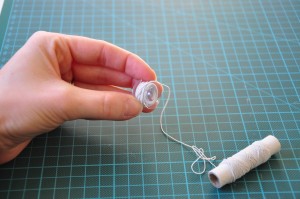
It’s a pretty straight forward project. I would say the tricky bit or lengthy bit is to wind the elastic thread onto your bobbin by hand. While you wind the elastic thread, it needs a little bit of tension but not too much. You will have to repeat the process a few times so it’s best to have a couple of bobbins ready for use.

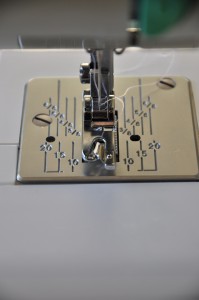
Use normal cotton thread for the top bobbin and elastic thread for the back.

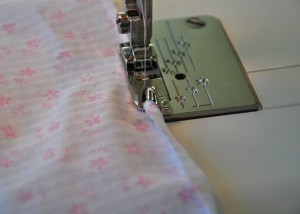
Start by making a hem at the top of you r dress and at the bottom. I’m using a hem presser foot but you can do it manually.

On the right side of the fabric mark a line every ½” until you’re happy it covers most of the little girl’s chest, usually 7 lines are enough for a 5/6 year old, but you can do more or less!

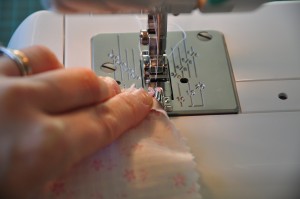
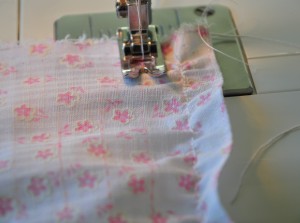
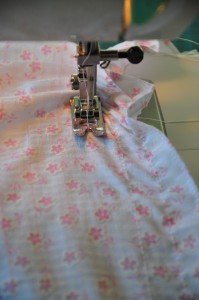
When sewing on the marked line don’t forget to sew a couple of stitches back and forth at the beginning and the end of the line otherwise the stitches won’t hold and the frilly effect won’t work.

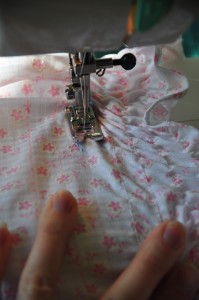
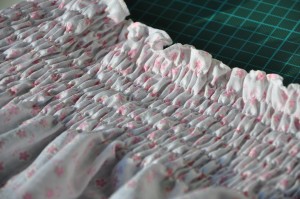
Make sure you keep your fabric nice and tensed while you sew, don’t be scared to pull a bit on the shirred fabric:

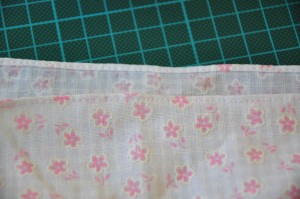
Once you’ve sewn all your lines, it should look something like that:

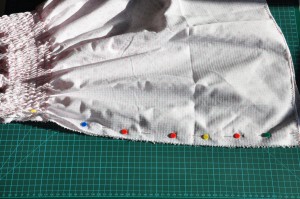
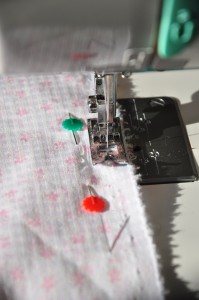
You can now fold the fabric wrong side together pin it and sew the length of your fabric:

sew along the length of fabric

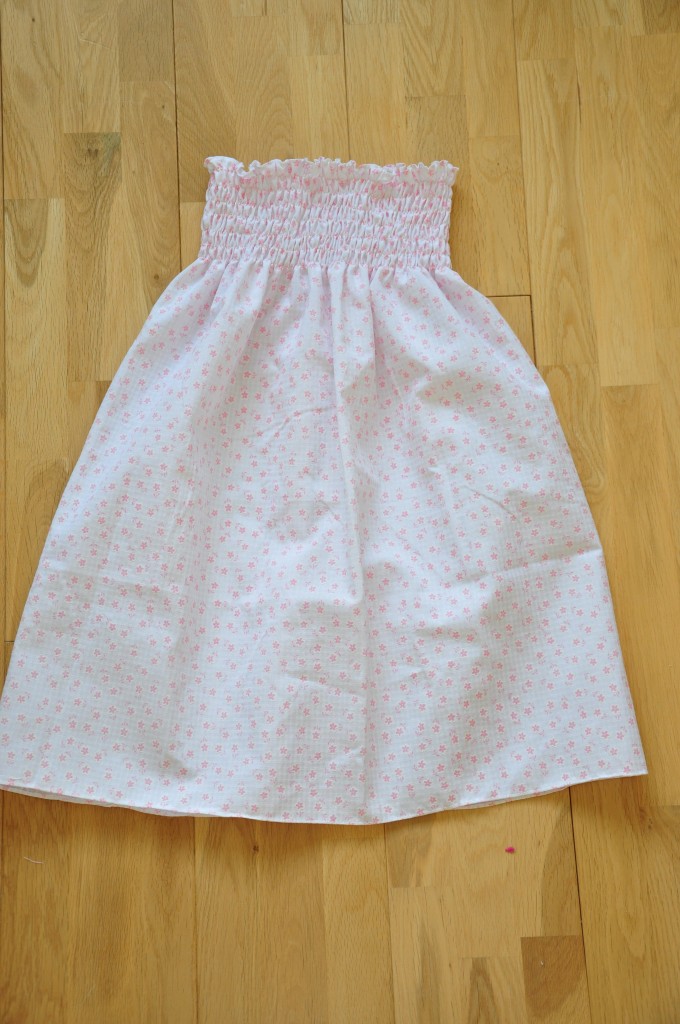
Et voila! you have a quick and simple little strapless summer dress. Now just another 6 months before anyone can wear it!

PS: I’ve been told to wet with water the elasticated part of fabric and iron it so the elastic would shrink a bit and tighten the fabric.

back at last!

Welcome back and Happy New Year!! I have been away for too long and I’m glad to be back. I have loads of projects in mind and cannot wait to share them with you.

I always have several projects on the go, probably because I have thousands of ideas coming and going and I feel I have to do it right now; I’m just so excited!

The problem with this is that sometimes some projects don’t see the light of day and are left for a long period of time in my craft cupboard (I know, no craft room, but have you seen the size of houses here? I’m happy I’ve got my own cupboard!!). That is until today: TA-DA!!

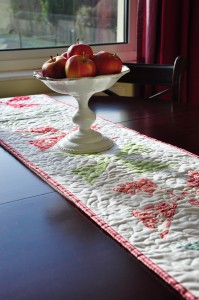
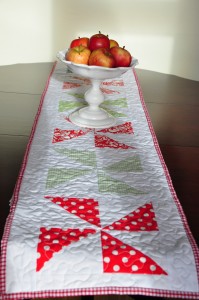
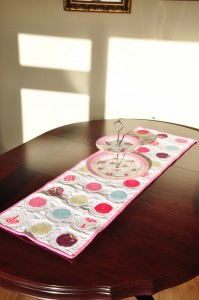
I’ve finished a couple of runner tables that I actually started last year!!! I can now get on with the rest of my unfinished projects.

I still have unfinished project but hey! That’s just who I am!

Do you have unfinished project that are piling up?

Merry Xmas everyone!

I wish you all a lovely Xmas and a fantastic New Year, a bit in advance but that’s it for me for the next three week as we’re off to France in an hour…. I’m already missing my sewing machine! But fear not I am taking  with me some hand sewing project… phew! And obviously I’ll be thinking of new projects to create so when I come back get your needles ready!!

Love

eve

x

Teacher’s present!

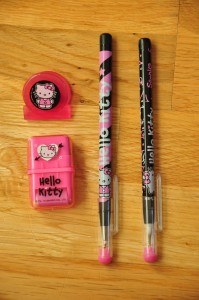
Just look what one of my fabulous little pupil got me as a Xmas present!

He knows me well!!! (Well his mummy does she’s my very close friend!!) A girlie girl is what I am. Those cute pencils are just indispensable to go with my Hello Kitty wellington boots!

So now, all I am missing is a pencil case to put them into!

All right, I’m a teacher and I don’t have a pencil case… let’s remedy to that and put an end to this atrocious situation.

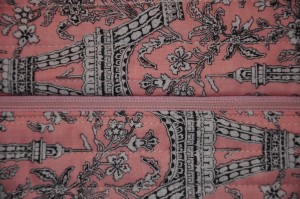
I haven’t done a quilted tutorial in a while and I think we’re due for one. Do you remember my lovely friend got me a lovely little handcrafted bag for Xmas? Well she gave me the rest of the fabric to use!! yeah!I just love it so much! So I will use “la tour Eiffel” fabric for this little project: 2 pencil cases.

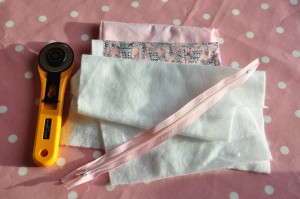
You will need thread, quilting thread, batting, outside fabric, inside fabric and a zipper:

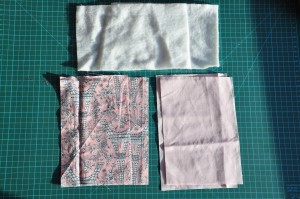
First cut 2 rectangles measuring 8″1/2 x 5″1/2 out of the outside fabric, do the same for the inside fabric and the batting.

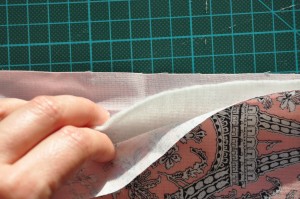
Sandwich in that order: inside fabric (right side down), batting and outside fabric right side up.

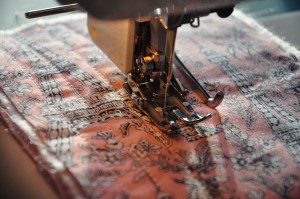
Quilt the sandwich how you prefer, I’m making simple straight line because I’m impatient and want to see the end result quickly! (for the second pencil case I used zigzag stitches in different directions)

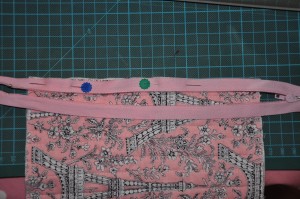
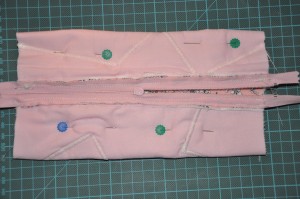
Now insert the zip: take one rectangle right side up and pin the zip facing down on the long edge of your rectangle:

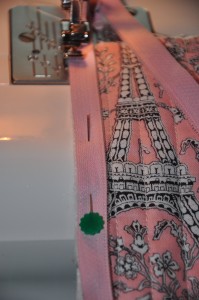
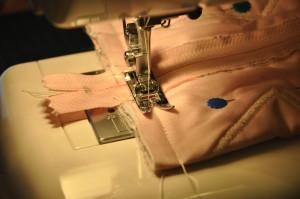
Sew the zip using your your zipper foot on your machine:

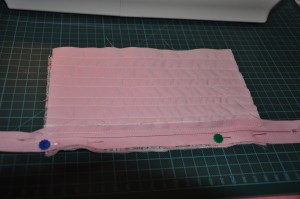
turn the zipper and top stitched :sew the zipper on the other side:

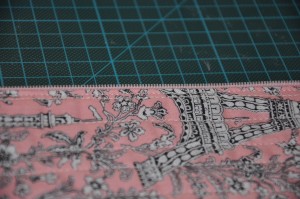
top stitch:

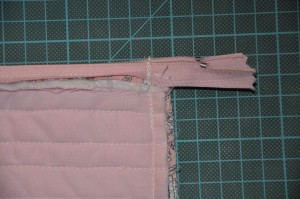
turn the fabrics right sides together and sew all the way round, don’t forget to leave the zip open to turn it inside out, and go over a few times on the zip just to secure it:

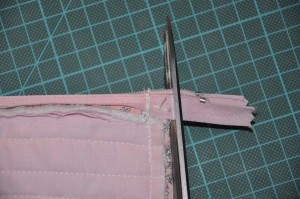
cut off the rest of zip:

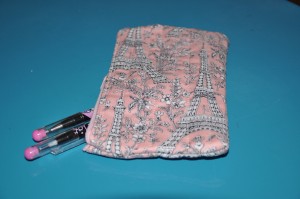
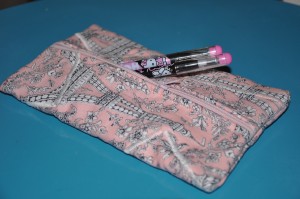
turn it over and you’re done!


I made a different one using the same dimension as the one above and following the few first instructions. Once you’ve sewed on the zip on both sides, sew the long egde at the bottom:

still right side facing, bring the zip to the line you’ve just sewn pin it in place leaving the zip open. then sew on each side going over twice or more:

cut off the extra zip and fabrics, turn it over et voila! another pencil case!


My favorite shop

I absolutely love fabrics; if I could I would buy them all. Unfortunately I haven’t won the lottery so I just have to content myself with going to my favourite fabric shop and have a good rummage through all the amazing fabrics!!

It is a little shop based in Brighton called Quilty Pleasures (I know what a cool name!). It is run by a lovely young lady who’s ever so patient with me (especially when I turn up with my two boys… ouch!!!), she’s very helpful whether it’s to help you choose fabrics or to explain how to create your projects. Her shop has got the latest modern fabrics and anything you need to make a quilt from beginning to end. Going into her shop made me really fall in love with patchwork and quilting, I just thought I needed them all and I needed to create something quick!!!

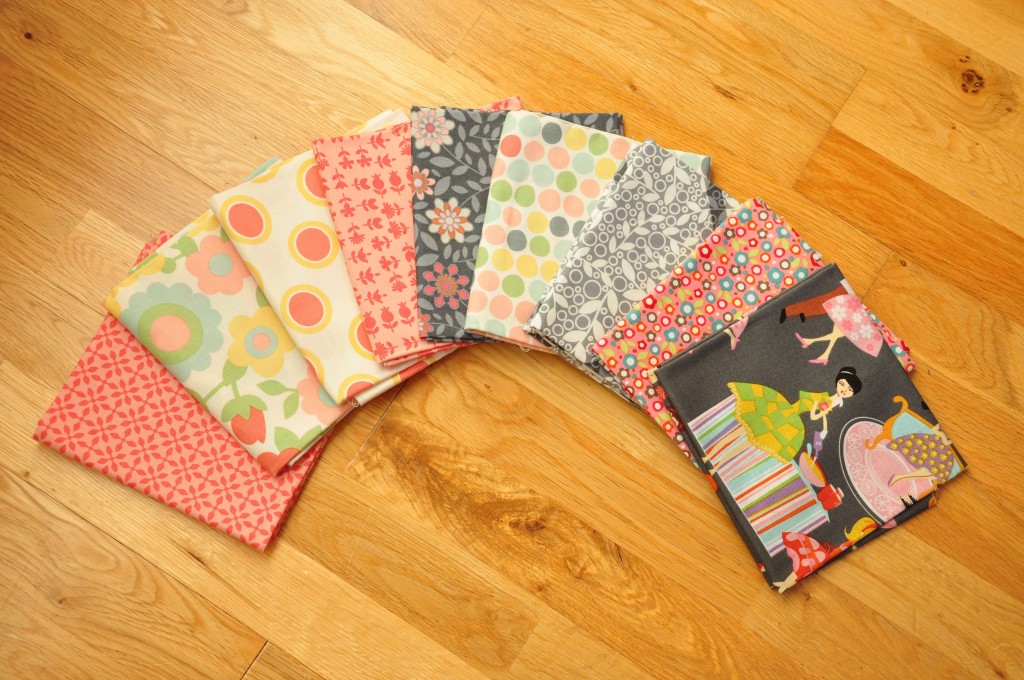
I went last Friday and bought a few fat quarters for my quilting friend who is having a birthday coming soon, I hope she will like them:


Here is a close up of my favorite one:

Each time I go, I stay at least 30 minutes if not more, I find it hard to leave and when I do I’m always thinking “I’m so coming back for more!”

So there you go that was my little “I heart Quilty Pleasures!”