Maya’s tote bag tutorial

Maya’s tote bag tutorial:

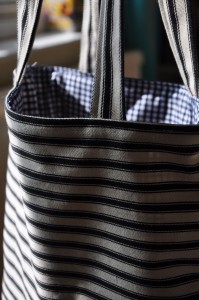
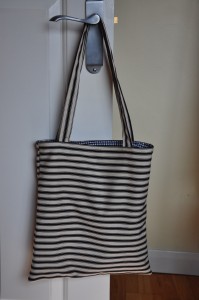
My friend’s daughter Maya had a sewing machine for Xmas and is experiencing with it. I  thought it was just fabulous! So I decided to whip up a very quick and simple tote bag tutorial for her. I hope you find this easy to follow and if you have any questions just contact me!

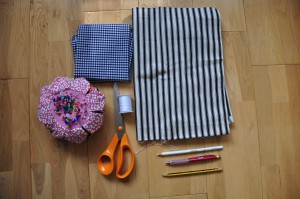
First you’ll need: outer fabric (I used a strong upholstery one) inner fabric (plain cotton is OK), thread, scissors, fabric pen or plain pencil works too, pins, an iron and your sewing machine!

First start by cutting all your fabric bits:

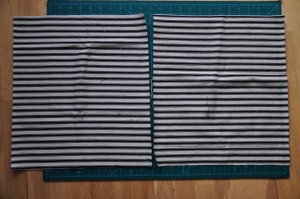
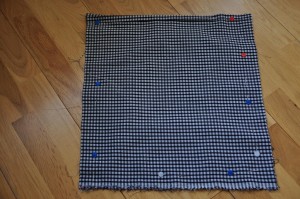
From outer fabric cut 2 rectangles measuring 13 ½ “ X 15”

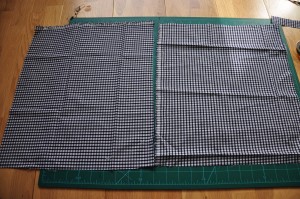
From inner fabric cut 2 rectangles measuring 13 ½ “ X 15”

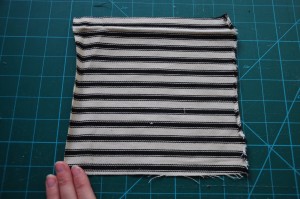
From outer fabric cut a square measuring 7 ½ X 7 ½ “ (this will be the pocket inside the bag)

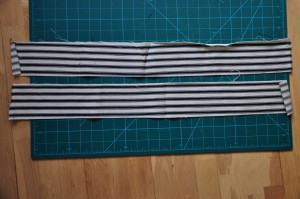
From outer fabric cut two long strips measuring 4” X 26” (these will be the straps)

Then take all your fabric bits to the ironing table:

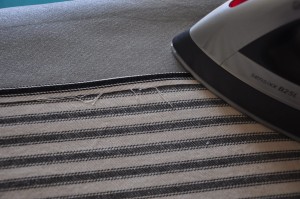
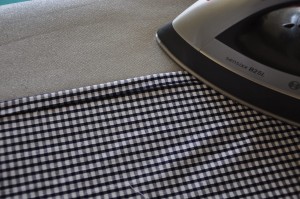
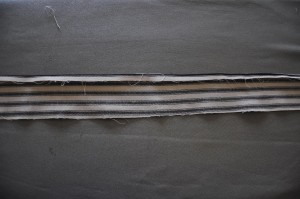
On the outer fabric fold the top edge (smaller edge) ½ “ from the edge and press with iron

Fold again and press with iron.  Repeat on the other rectangle.

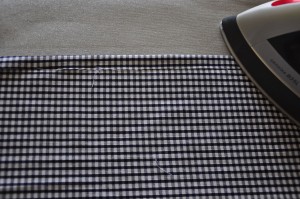
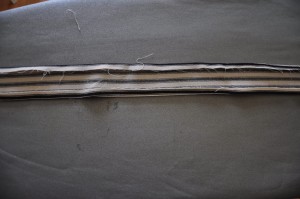
On the inner fabric fold the smaller edge ½ “ from the edge and press with iron, fold again and press. Repeat for the other inner fabric rectangle.

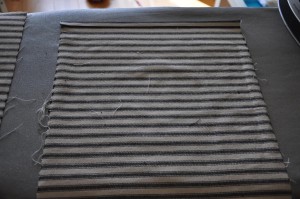
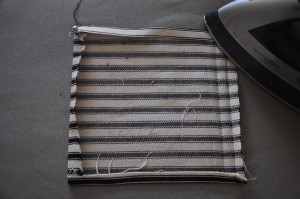
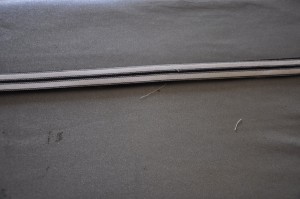
On the small outer fabric square, fold three edges ½ “ away from edge and press with iron.

Now on the last edge you need to fold once ½ “ away from edge and press.

Fold it again on itself and press. This will be the opening of your pocket.

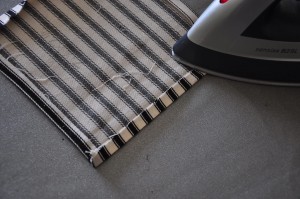
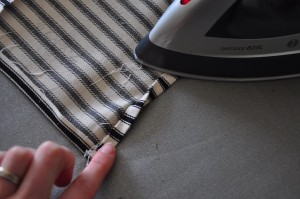
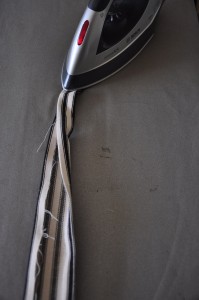
For the strips you have to fold ½ “ away from the longest edge, press with iron and repeat on the other side.

Now fold it in half and press again. Repeat for the other strip.


Now move on to your sewing machine:

Take the pocket fabric and sew just the top of the pocket, I sewed it twice to make it more secure.

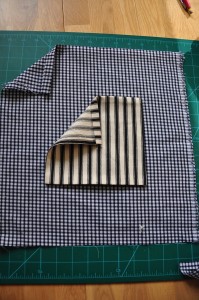
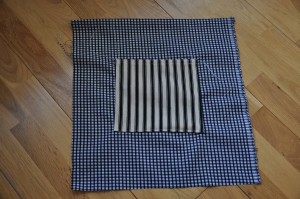
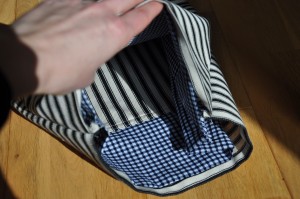
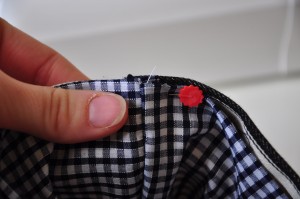
Pin the pocket on the inner fabric that way:

And sew ½ “ away from the edge but not on the top edge!!

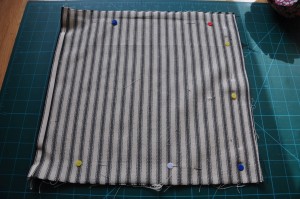
With right side facing, pin the inner fabrics together and sew all the way round but not the top edge!

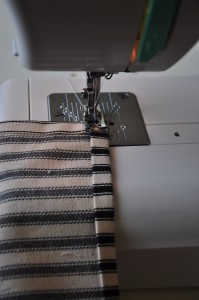
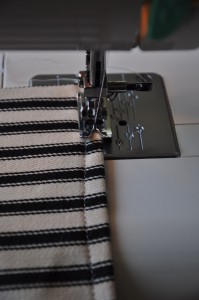
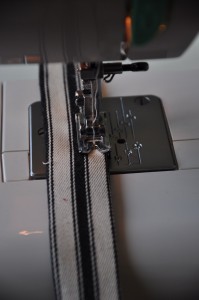
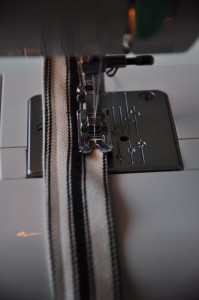
Next sew the handles together on one side and top stitch on the other side, repeat for the other handle.

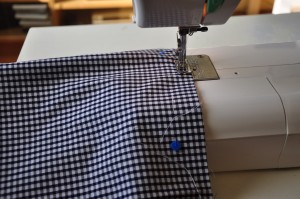
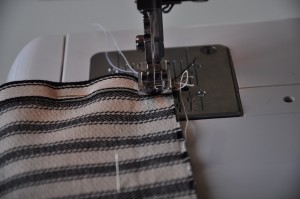
Moving on to the outer fabric rectangles: with right sides facing each other, pin the fabrics together and sew  ½ “ away from edge (again!).

Make sure you sew a couple of backwards stitches when you start and finish to make the bag a tad stronger.

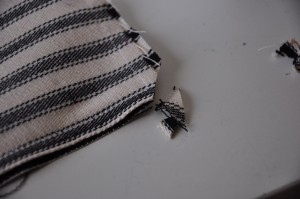
You now need to clip the corners of your outer bag (careful not to cut too close to the sewing) and turn it right side out.

It’s starting to look like something right?

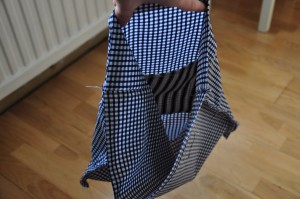
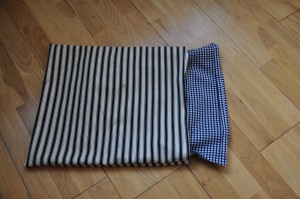
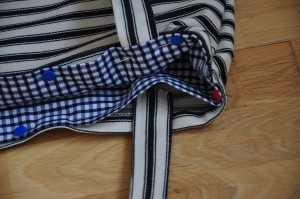
Insert your inner bag into the outer bag like so:

Now that’s the tricky bit: you need to pin the two bags together on the top edge while inserting the handles.

Start by pining the two bags on the seams on the side:

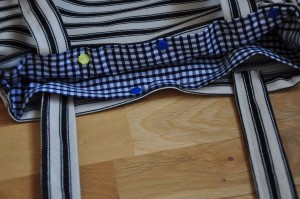
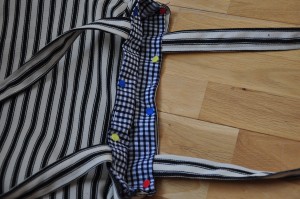
Then pin in the middle and insert the handles :

Pin them:

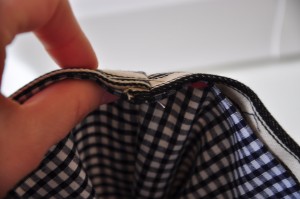
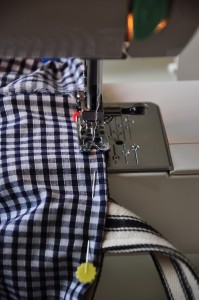
You can now start sewing let’s see… ½ “ away from the edge! In the inside of the bag. (make sure you back stitch a couple of time  on the handle to make it more secure)

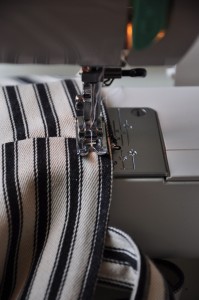
Turn it and sew again (on right side of bag)  ½ “ away from the previous seam:

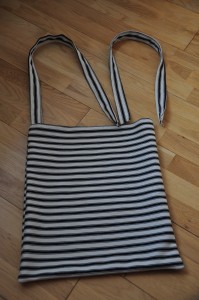
You are now finished!! Yeah well done!

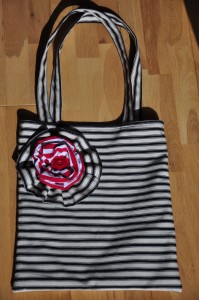
I decided to decorate mine with a fabric flower and a button. But you can do what you want: sew button on, or felt flowers… let your imagination run wild! or leave it as it is depending on the fabric you used!

(if you’re interested as to how I made the flower let me know and i will post a tutorial!)

This and that

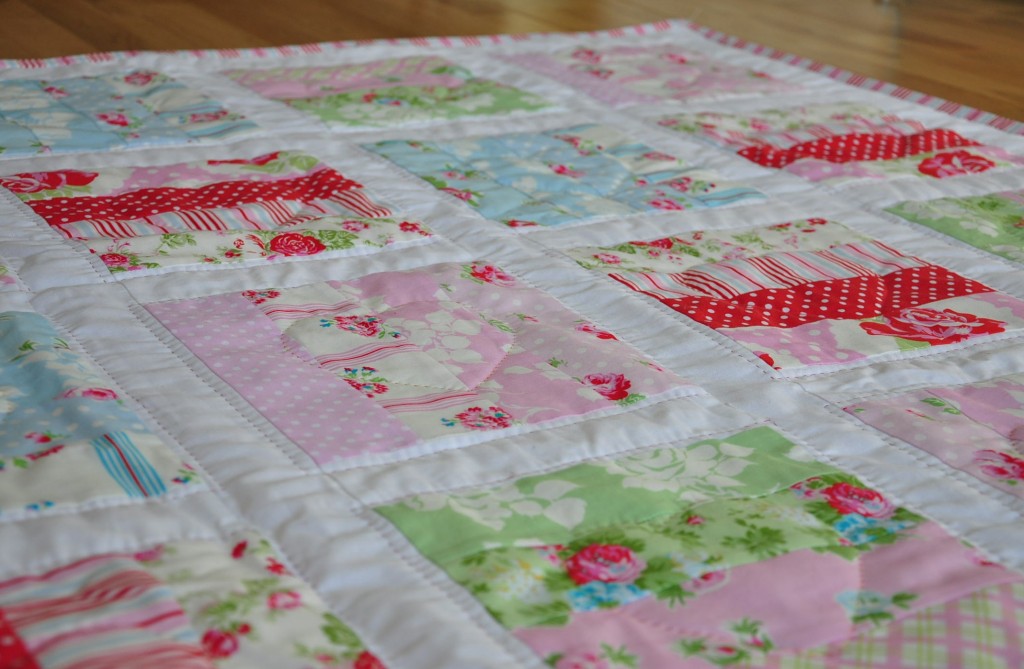
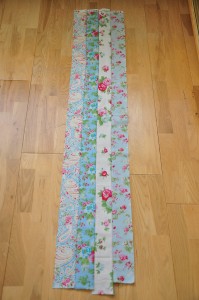
I haven’t been posting much lately, but I have been busy with family life and work. I have also been busy sewing a little girl’s quilt for my friend’s daughter. I used that jelly roll to make a small lap quilt.

I sew 4 stripes of the same shade together and cut some 8 ½ “ blocks.

I then cut some 2 ½” X 8 ½” white stripes and sew them between the stripy blocks:

In between the rows I sew a 2 ½”X 38” white stripe.

I then sew on the borders, sandwiched it and binded it. Et voila!

I left a part of the binding white because I am going to embroiderie her name. As you can see i haven’t finished the binding entirely hence the loose piece of threads… will get to that soon. I have really enjoyed the hand sewing stitching a heart in each box and framing it with straight lines:

I also have been looking for a great jelly roll pattern online so I can at last get on with my sister’s quilt and I found one on the fat quarter shop web site where they have section full of free patterns. Nice! I chose to follow the “Super zig” quilt pattern from Leicen fabrics

Happy Mochi Yum Yum

using this red jelly roll instead of fat quarters so I need to recalculate the dimensions. I cannot wait to get started, I’ll let you know how I get on!

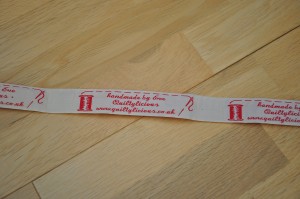
I have finally received my little woven labels with my name, web address and Quiltylicious sewn on it!

They look fab , I have already sewn a couple on some quilts and I have to say it makes the quilts look finished and pro! (Although I’m far from being one!!)
So I’m going to be busy making my sister’s quilt and in between I’ll pop in a few tutorials!

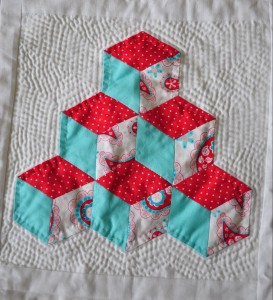
the sampler quilt is finished!

I have finally finished my sampler quilt from the course I followed!

I particularly enjoyed the hand quilting:

I had a lovely time and met some very nice people whom I hope will meet again soon!

I will definitively follow another course with the same teacher as she was very talented, knowledgeable, patient, funny and nice!!

no sew felt bunting and flags


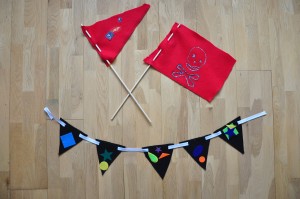
I work for this really great and active association called “les Franglophones”, and you can guess it’s all about France! they have set up a French school for bilingual children, they have a fantastic French mother and toddler group (dads are more than welcome) where they sing, read a story and have a snack (usually it’s home made cake by one -or if we’re lucky two- of the mum), they introduced a book group and they have a familial meeting on every first Saturdays of the month.Those meetings have different themes and are children orientated. The parents volunteer to talk or do activities with children and lead the group. The activities have ranged from dance to dental hygiene!  I thought I would propose to lead a sewing group (no surprise there!) and did so this week end. I had a lovely time and nearly everybody joined in! So here is what we created:
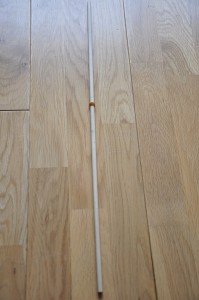
Felt flags: you will need a stick, some felt and anything you fancy to go on your flag

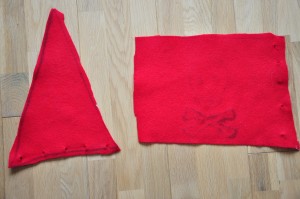
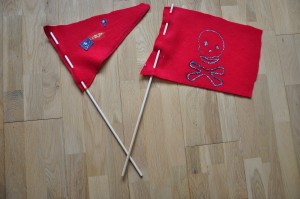
you can cut any shape you want, My eldest wanted a rectangle and my youngest a triangle:

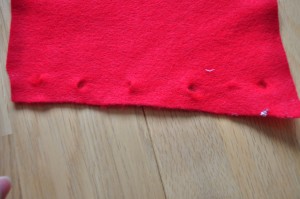
Then half an inch from the border snip the felt with the tip of scissors every inch or so:

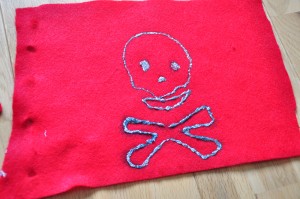
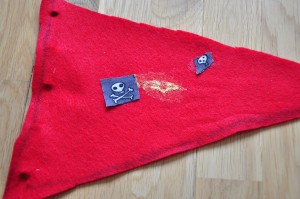
then start decorating: you can sew a button or fussy cut some fabric and glue or sew it on your flag, you can use fabric paint to draw, or use some pre-cut felt shapes, possibilities are endless!

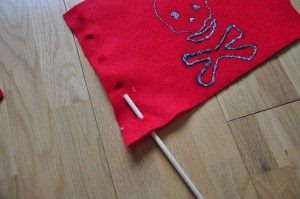
next wrap an elastic band approximately on the middle of your stick, insert the stick in the little snips you have done previously, going over then under etc…

attach another elastic band on top just to hold the top flag in place, and you’re done!


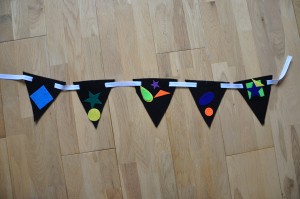
for the bunting you will need some felt, pre-cut felt shapes,  bias tape, scissors.

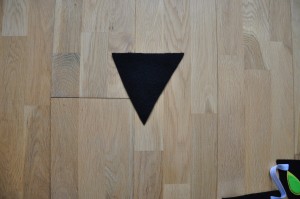
I cut some triangles but one one little girl cut some heart shapes and it turned out lovely!

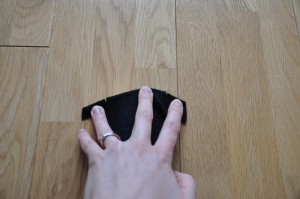
fold the top of your triangle a little bit and snip on each corner to make little dent.

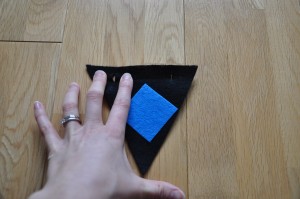
decorate your triangles the way you want it.

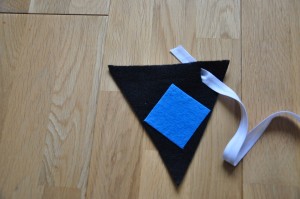
and lace through the triangle your bias tape :

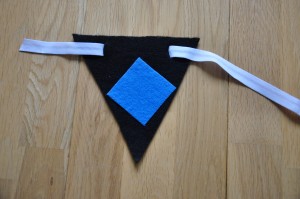
and your are finished!

Kids loved doing this (both boys and girls), it’s fairly easy and great for eye/hand coordination!

I have many more ideas, I hope I can join them again soon, especially as there is always some lovely home cooking going on; this time it was crepes!!! yum!

What’s love got to do with sewing?!

Everything!!!! My eldest boy decided he wanted to sew something for a special little someone at school. I couldn’t resist! It was just too funny/cute/serious to say no to!

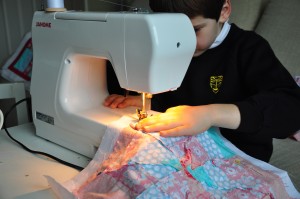
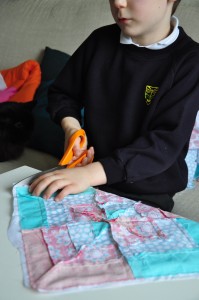
So this afternoon after school we got the sewing machine out, I gave him one of my block that went completely wrong at my sewing course (the middle is pointing upward, something to do with ironing and bias cutting….), he cut some white backing fabric, pined it. Then there was an argument and tears between him and his brother because little one thought it was a great activity and wanted to pin anything incliding his brother (who wasn’t too keen).


Explanations, shouting and cuddles later, it was time for THE SEWING MACHINE. mwahahaha!!!. My boy was scared! But he did it all by himself, listened (which usually never happens) to my instructions, managed to sew fast and slowly.

He’s a natural! We then stuffed it, but they preferred to play with the stuffing pretending to have long beard.

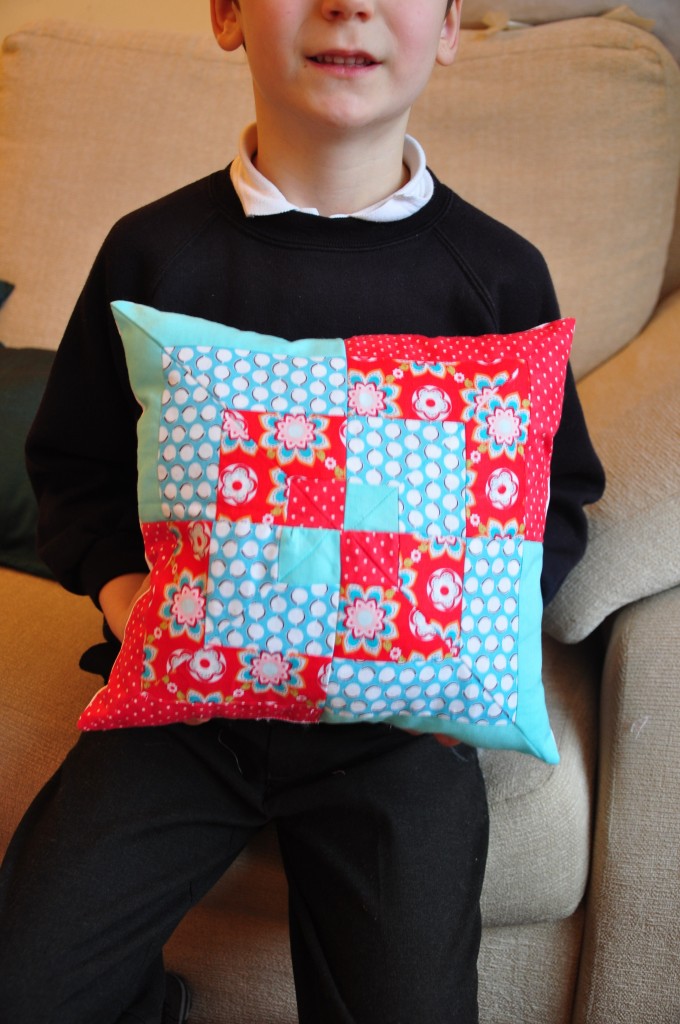
By then He had quite enough (and fair enough) and I stitched the cushion closed.

Et voila! My boy’s in love and it’s too cute not to blog about it!!