Maya’s tote bag tutorial:
My friend’s daughter Maya had a sewing machine for Xmas and is experiencing with it. I thought it was just fabulous! So I decided to whip up a very quick and simple tote bag tutorial for her. I hope you find this easy to follow and if you have any questions just contact me!
First you’ll need: outer fabric (I used a strong upholstery one) inner fabric (plain cotton is OK), thread, scissors, fabric pen or plain pencil works too, pins, an iron and your sewing machine!
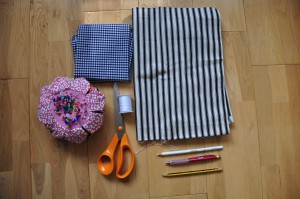
First start by cutting all your fabric bits:
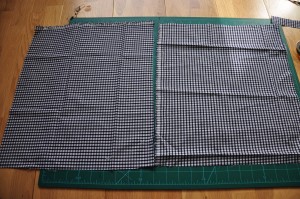
From outer fabric cut 2 rectangles measuring 13 ½ “ X 15”
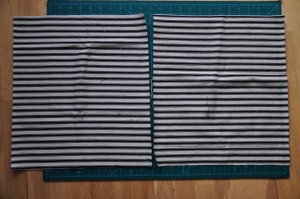
From inner fabric cut 2 rectangles measuring 13 ½ “ X 15”
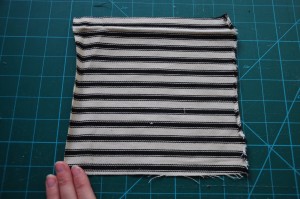
From outer fabric cut a square measuring 7 ½ X 7 ½ “ (this will be the pocket inside the bag)
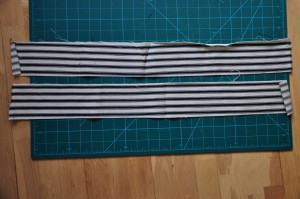
From outer fabric cut two long strips measuring 4” X 26” (these will be the straps)
Then take all your fabric bits to the ironing table:
On the outer fabric fold the top edge (smaller edge) ½ “ from the edge and press with iron
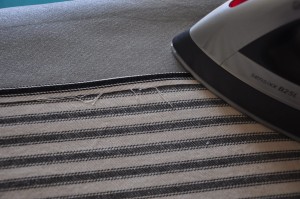
Fold again and press with iron. Repeat on the other rectangle.
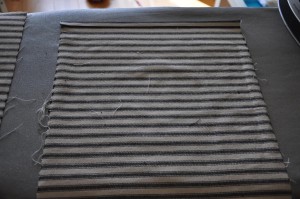
On the inner fabric fold the smaller edge ½ “ from the edge and press with iron, fold again and press. Repeat for the other inner fabric rectangle.
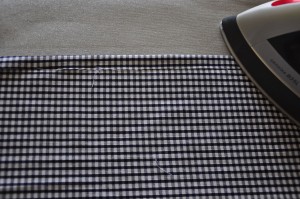
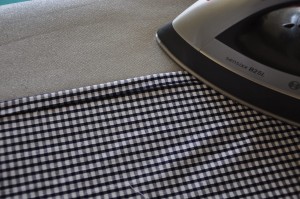
On the small outer fabric square, fold three edges ½ “ away from edge and press with iron.
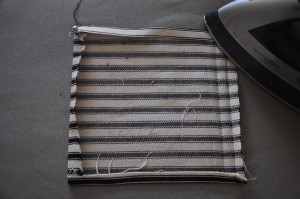
Now on the last edge you need to fold once ½ “ away from edge and press.
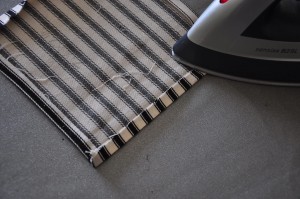
Fold it again on itself and press. This will be the opening of your pocket.
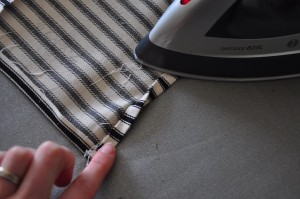
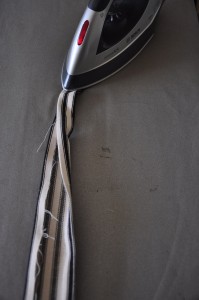
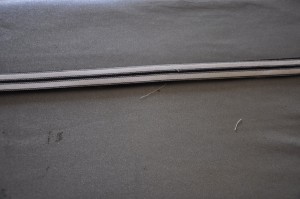
For the strips you have to fold ½ “ away from the longest edge, press with iron and repeat on the other side.
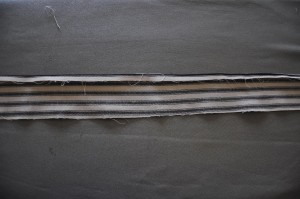
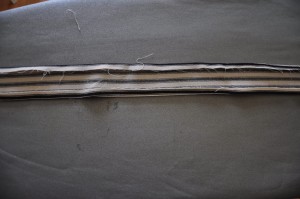
Now fold it in half and press again. Repeat for the other strip.
Now move on to your sewing machine:
Take the pocket fabric and sew just the top of the pocket, I sewed it twice to make it more secure.
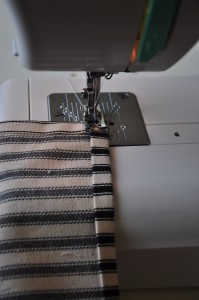
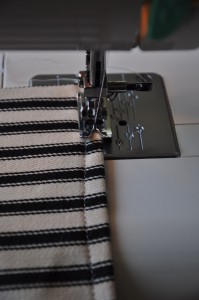
Pin the pocket on the inner fabric that way:
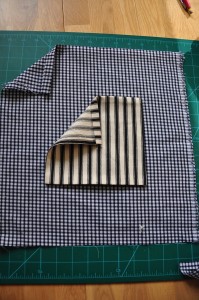
And sew ½ “ away from the edge but not on the top edge!!
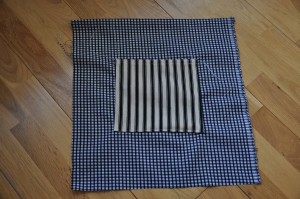
With right side facing, pin the inner fabrics together and sew all the way round but not the top edge!
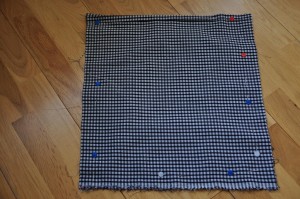
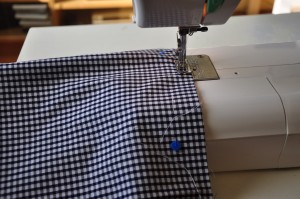
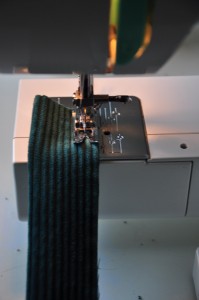
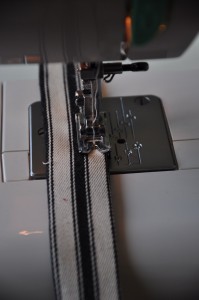
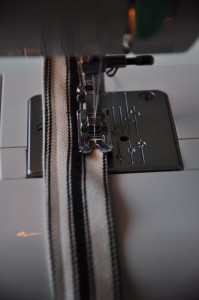
Next sew the handles together on one side and top stitch on the other side, repeat for the other handle.
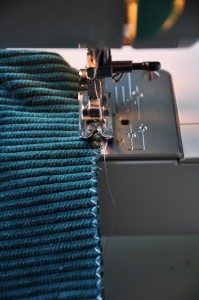
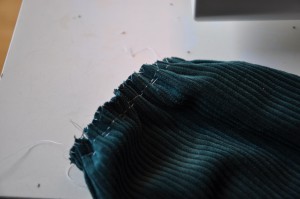
Moving on to the outer fabric rectangles: with right sides facing each other, pin the fabrics together and sew ½ “ away from edge (again!).
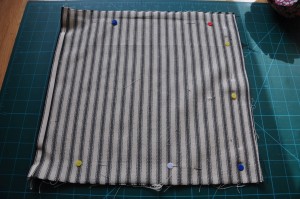
Make sure you sew a couple of backwards stitches when you start and finish to make the bag a tad stronger.
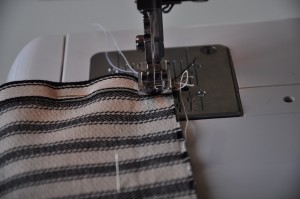
You now need to clip the corners of your outer bag (careful not to cut too close to the sewing) and turn it right side out.
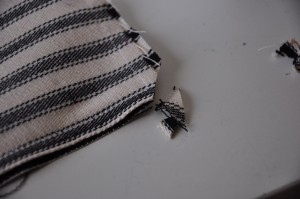
It’s starting to look like something right?
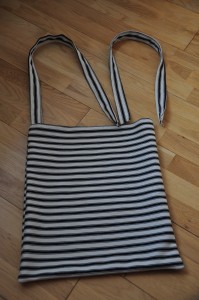
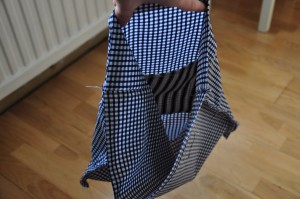
Insert your inner bag into the outer bag like so:
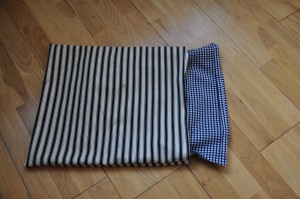
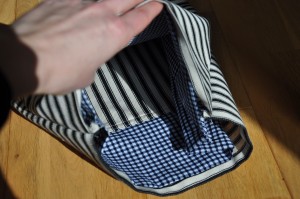
Now that’s the tricky bit: you need to pin the two bags together on the top edge while inserting the handles.
Start by pining the two bags on the seams on the side:
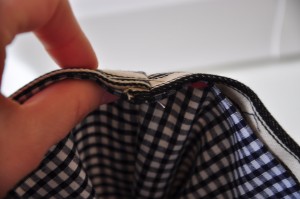
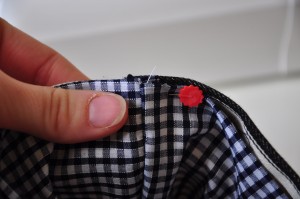
Then pin in the middle and insert the handles :
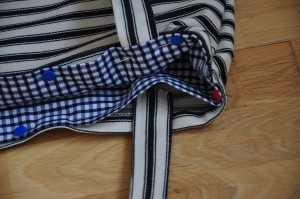
Pin them:
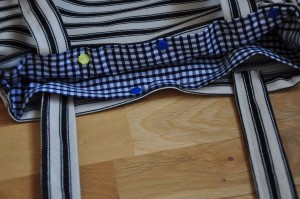
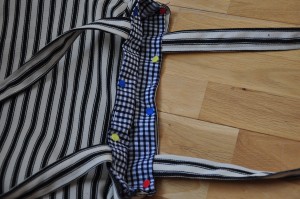
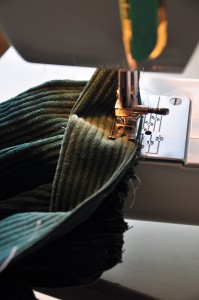
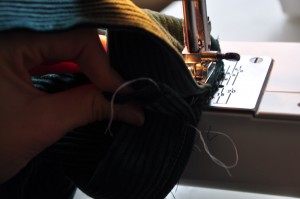
You can now start sewing let’s see… ½ “ away from the edge! In the inside of the bag. (make sure you back stitch a couple of time on the handle to make it more secure)
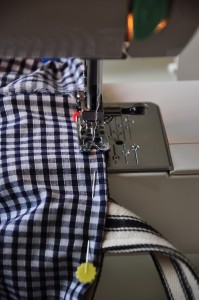
Turn it and sew again (on right side of bag) ½ “ away from the previous seam:
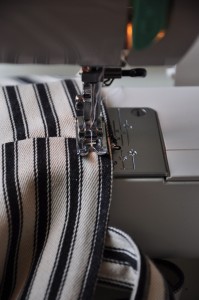
You are now finished!! Yeah well done!
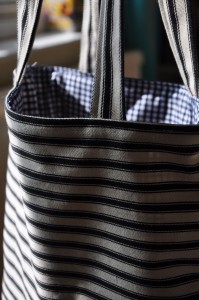
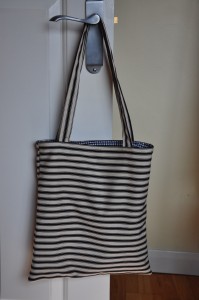
I decided to decorate mine with a fabric flower and a button. But you can do what you want: sew button on, or felt flowers… let your imagination run wild! or leave it as it is depending on the fabric you used!
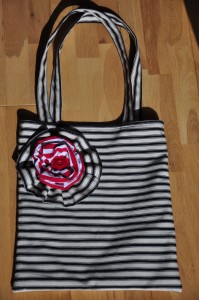
(if you’re interested as to how I made the flower let me know and i will post a tutorial!)


