
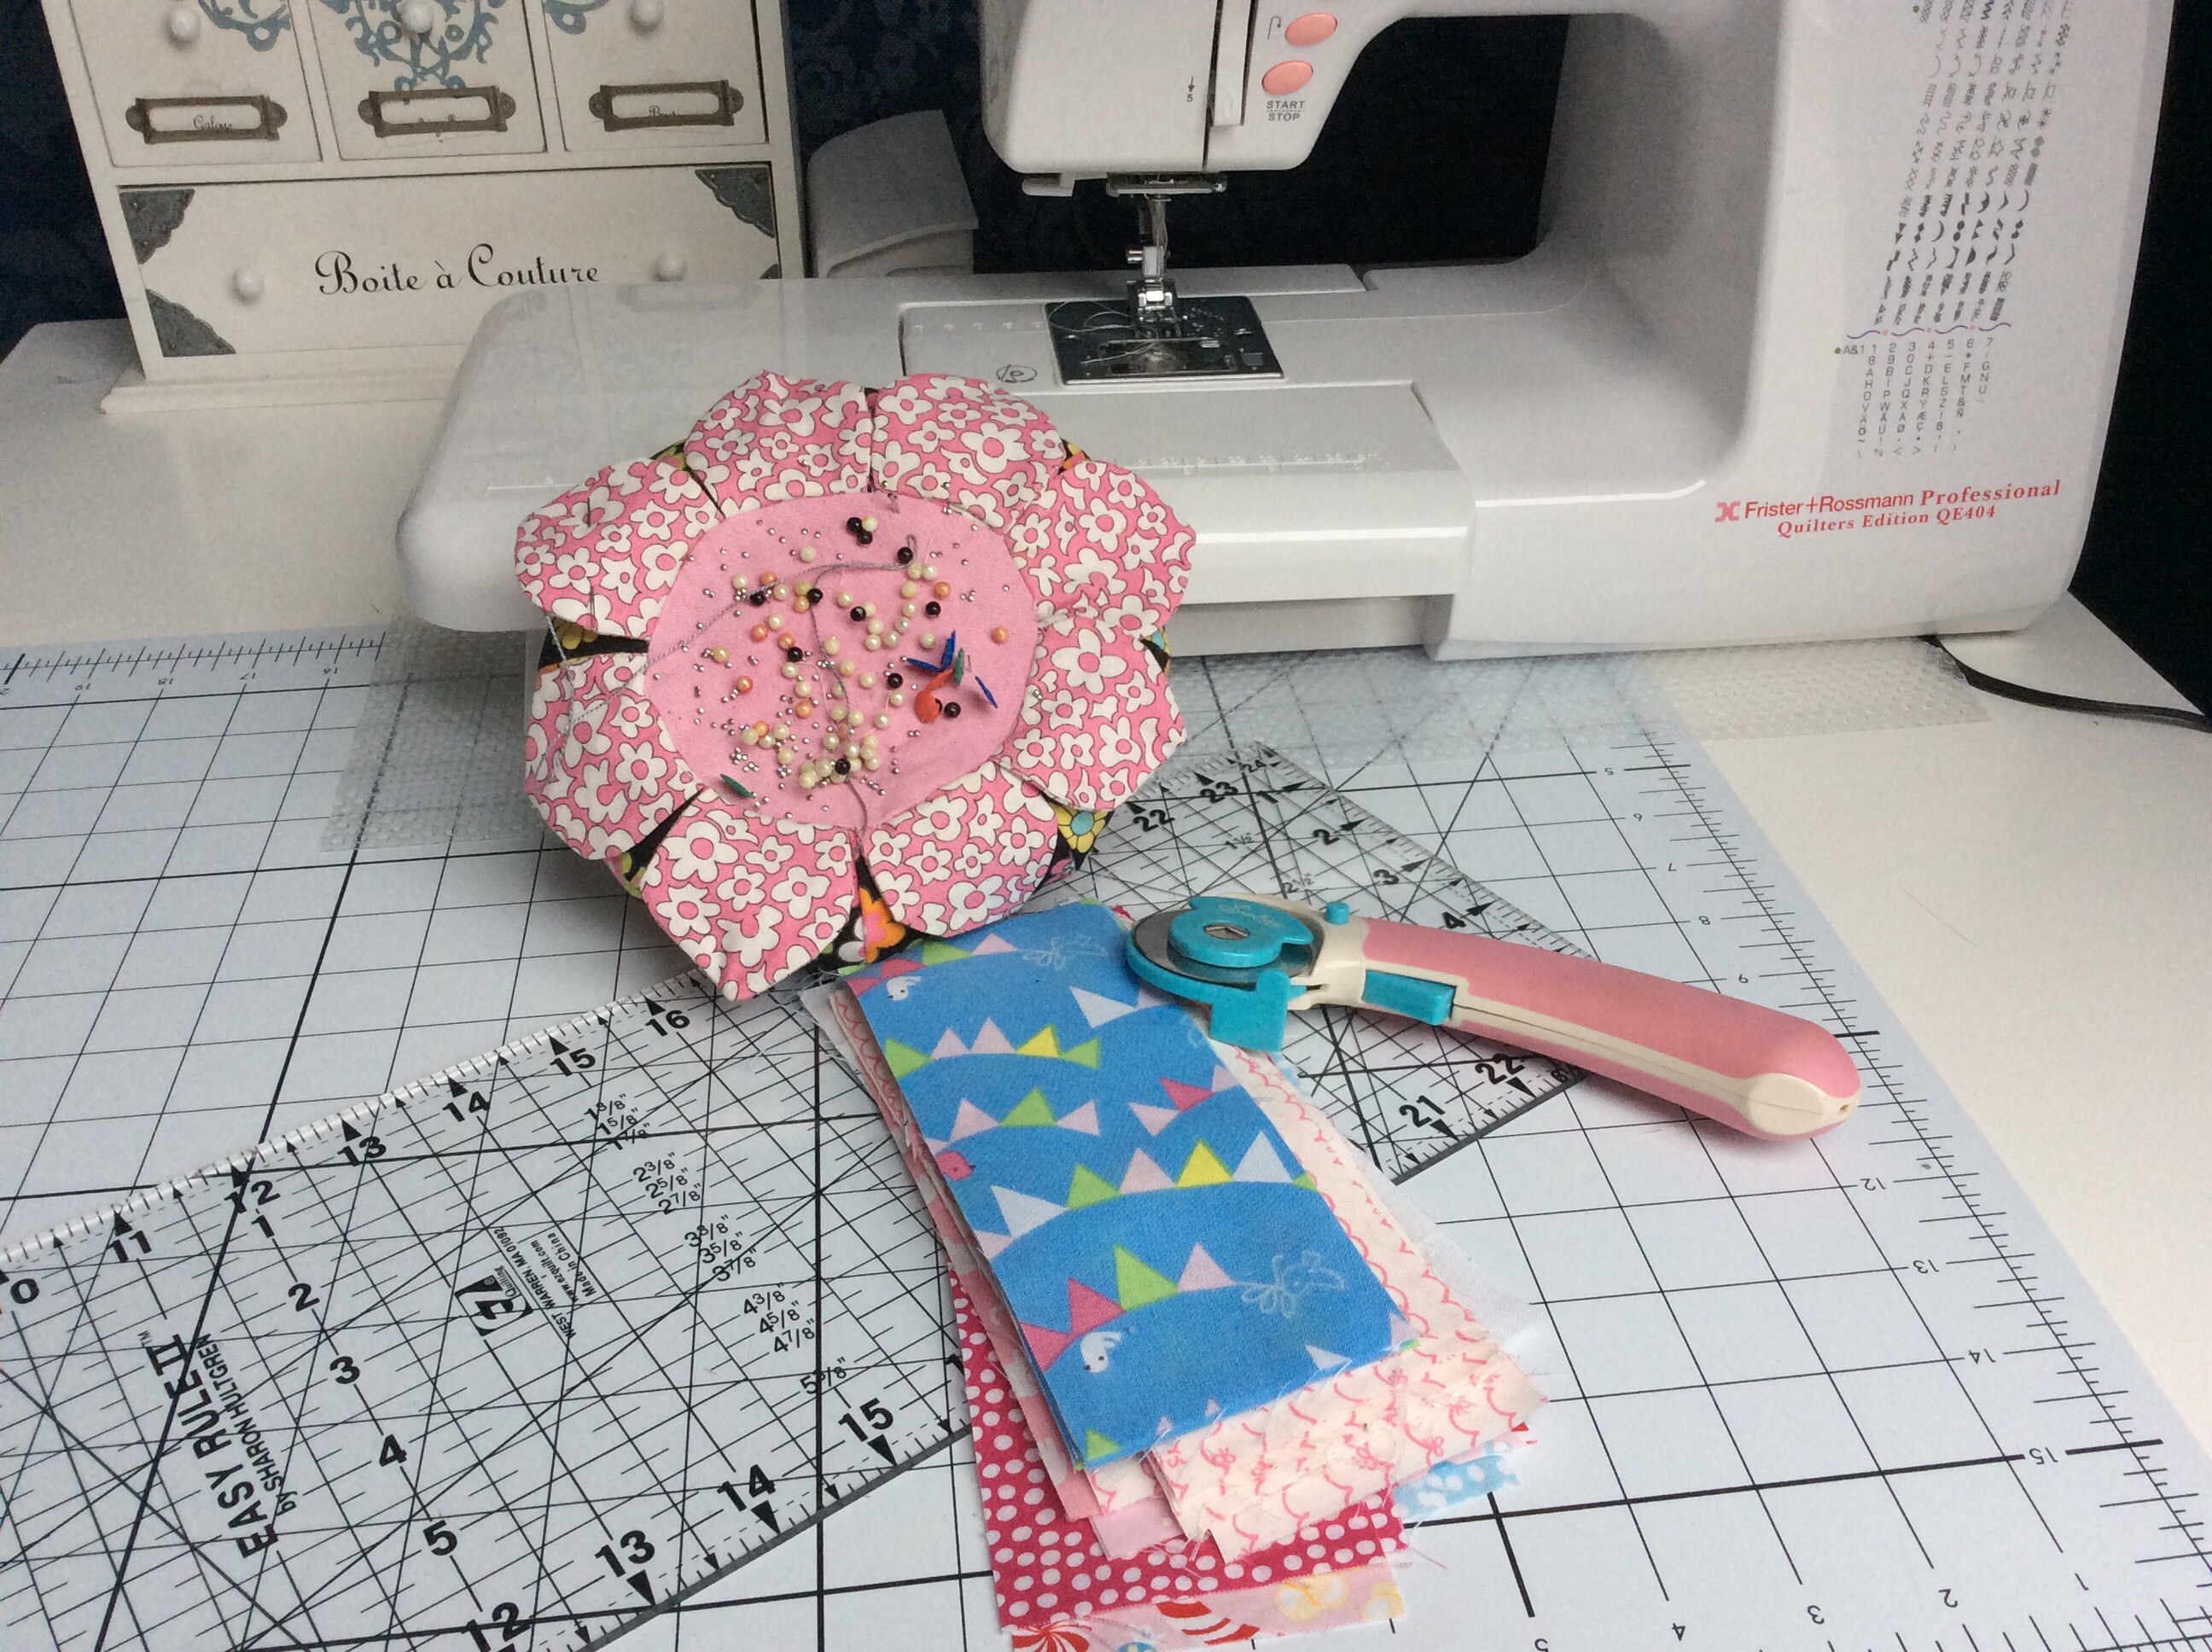
Hello peeps! A few of you have asked me to do a binding tutorial, and even though there are quite a few out there, I am happy to oblige! Turns out I have a quilt that needs binding. My colleague has asked me to make a quilt to fit her grand-daughter’s single bed and left me to choose the design and fabrics!

For binding a single quilt you will need:
80cm X1.10cm of fabrics or two fat quarters
sewing equipment
pins or clips
You can either choose to use the same fabric for the whole of the binding or reuse pieces of fabrics left over from the quilt you just made. If there isn’t enough pieces, you can add different fabrics to it. So today I would like to re-use some of the fabrics because I don’t like waste and I think it looks quite nice too! if I don’t have enough scraps I will use a white and pink fabric I sewed with in this quilt.
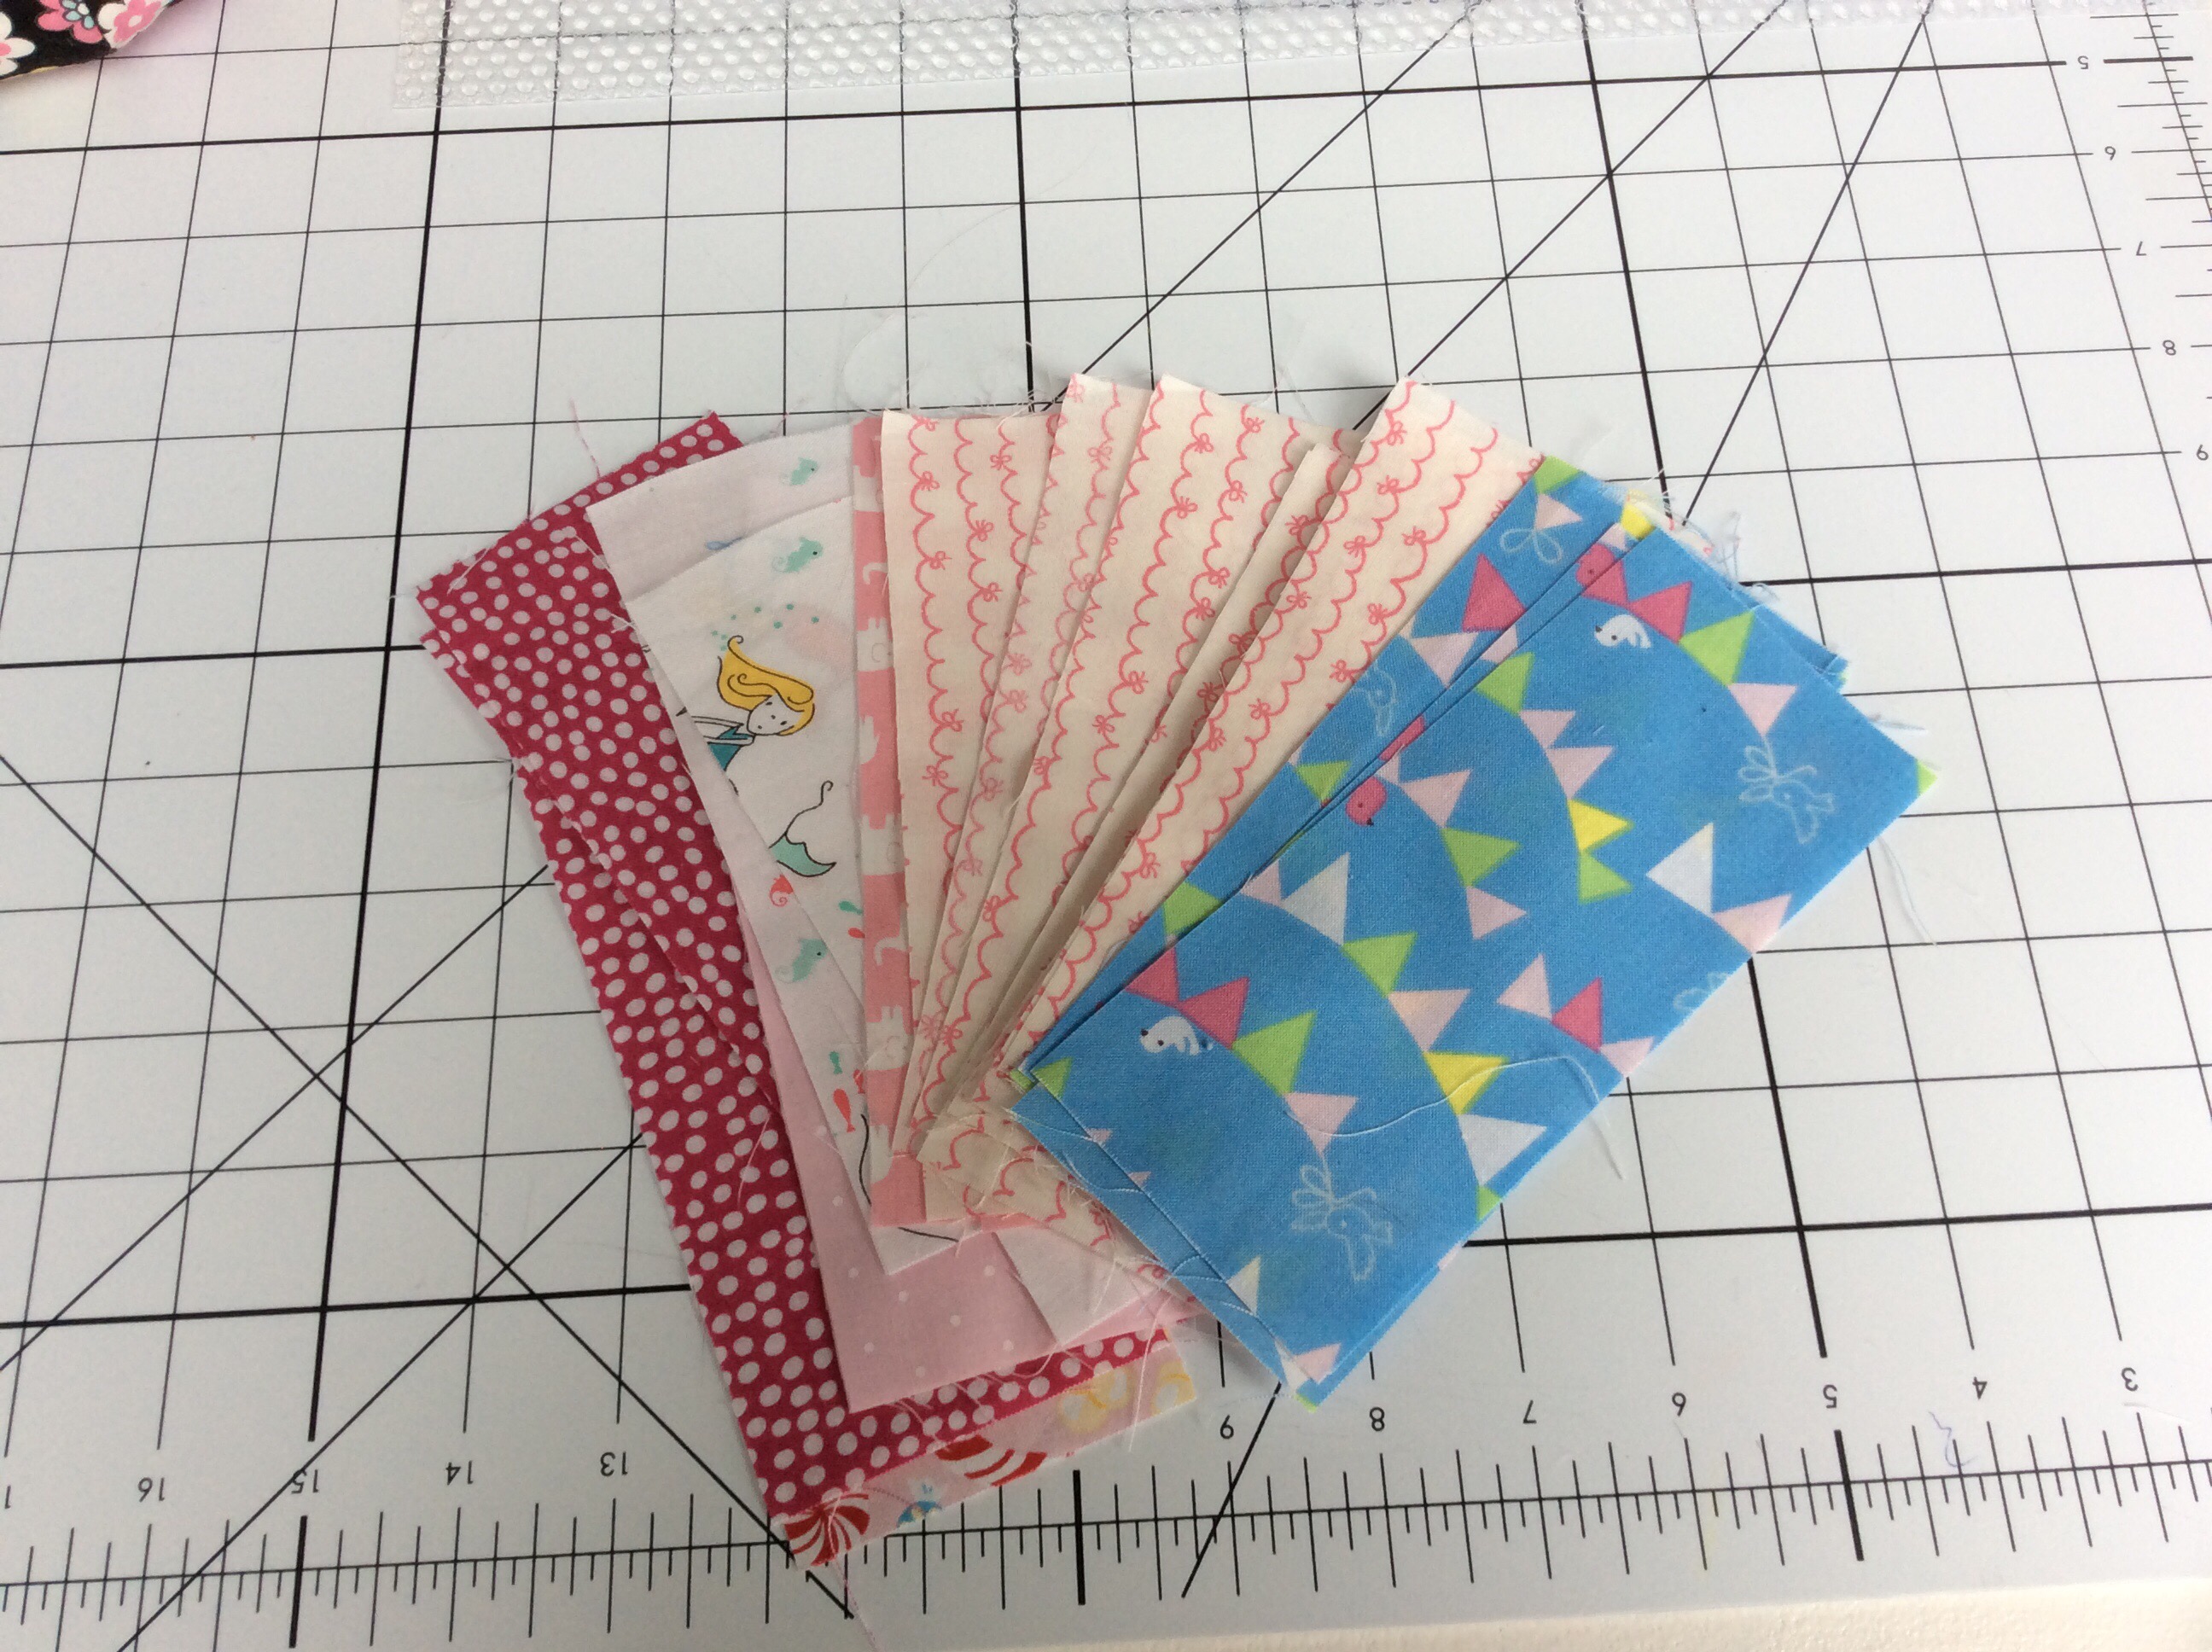
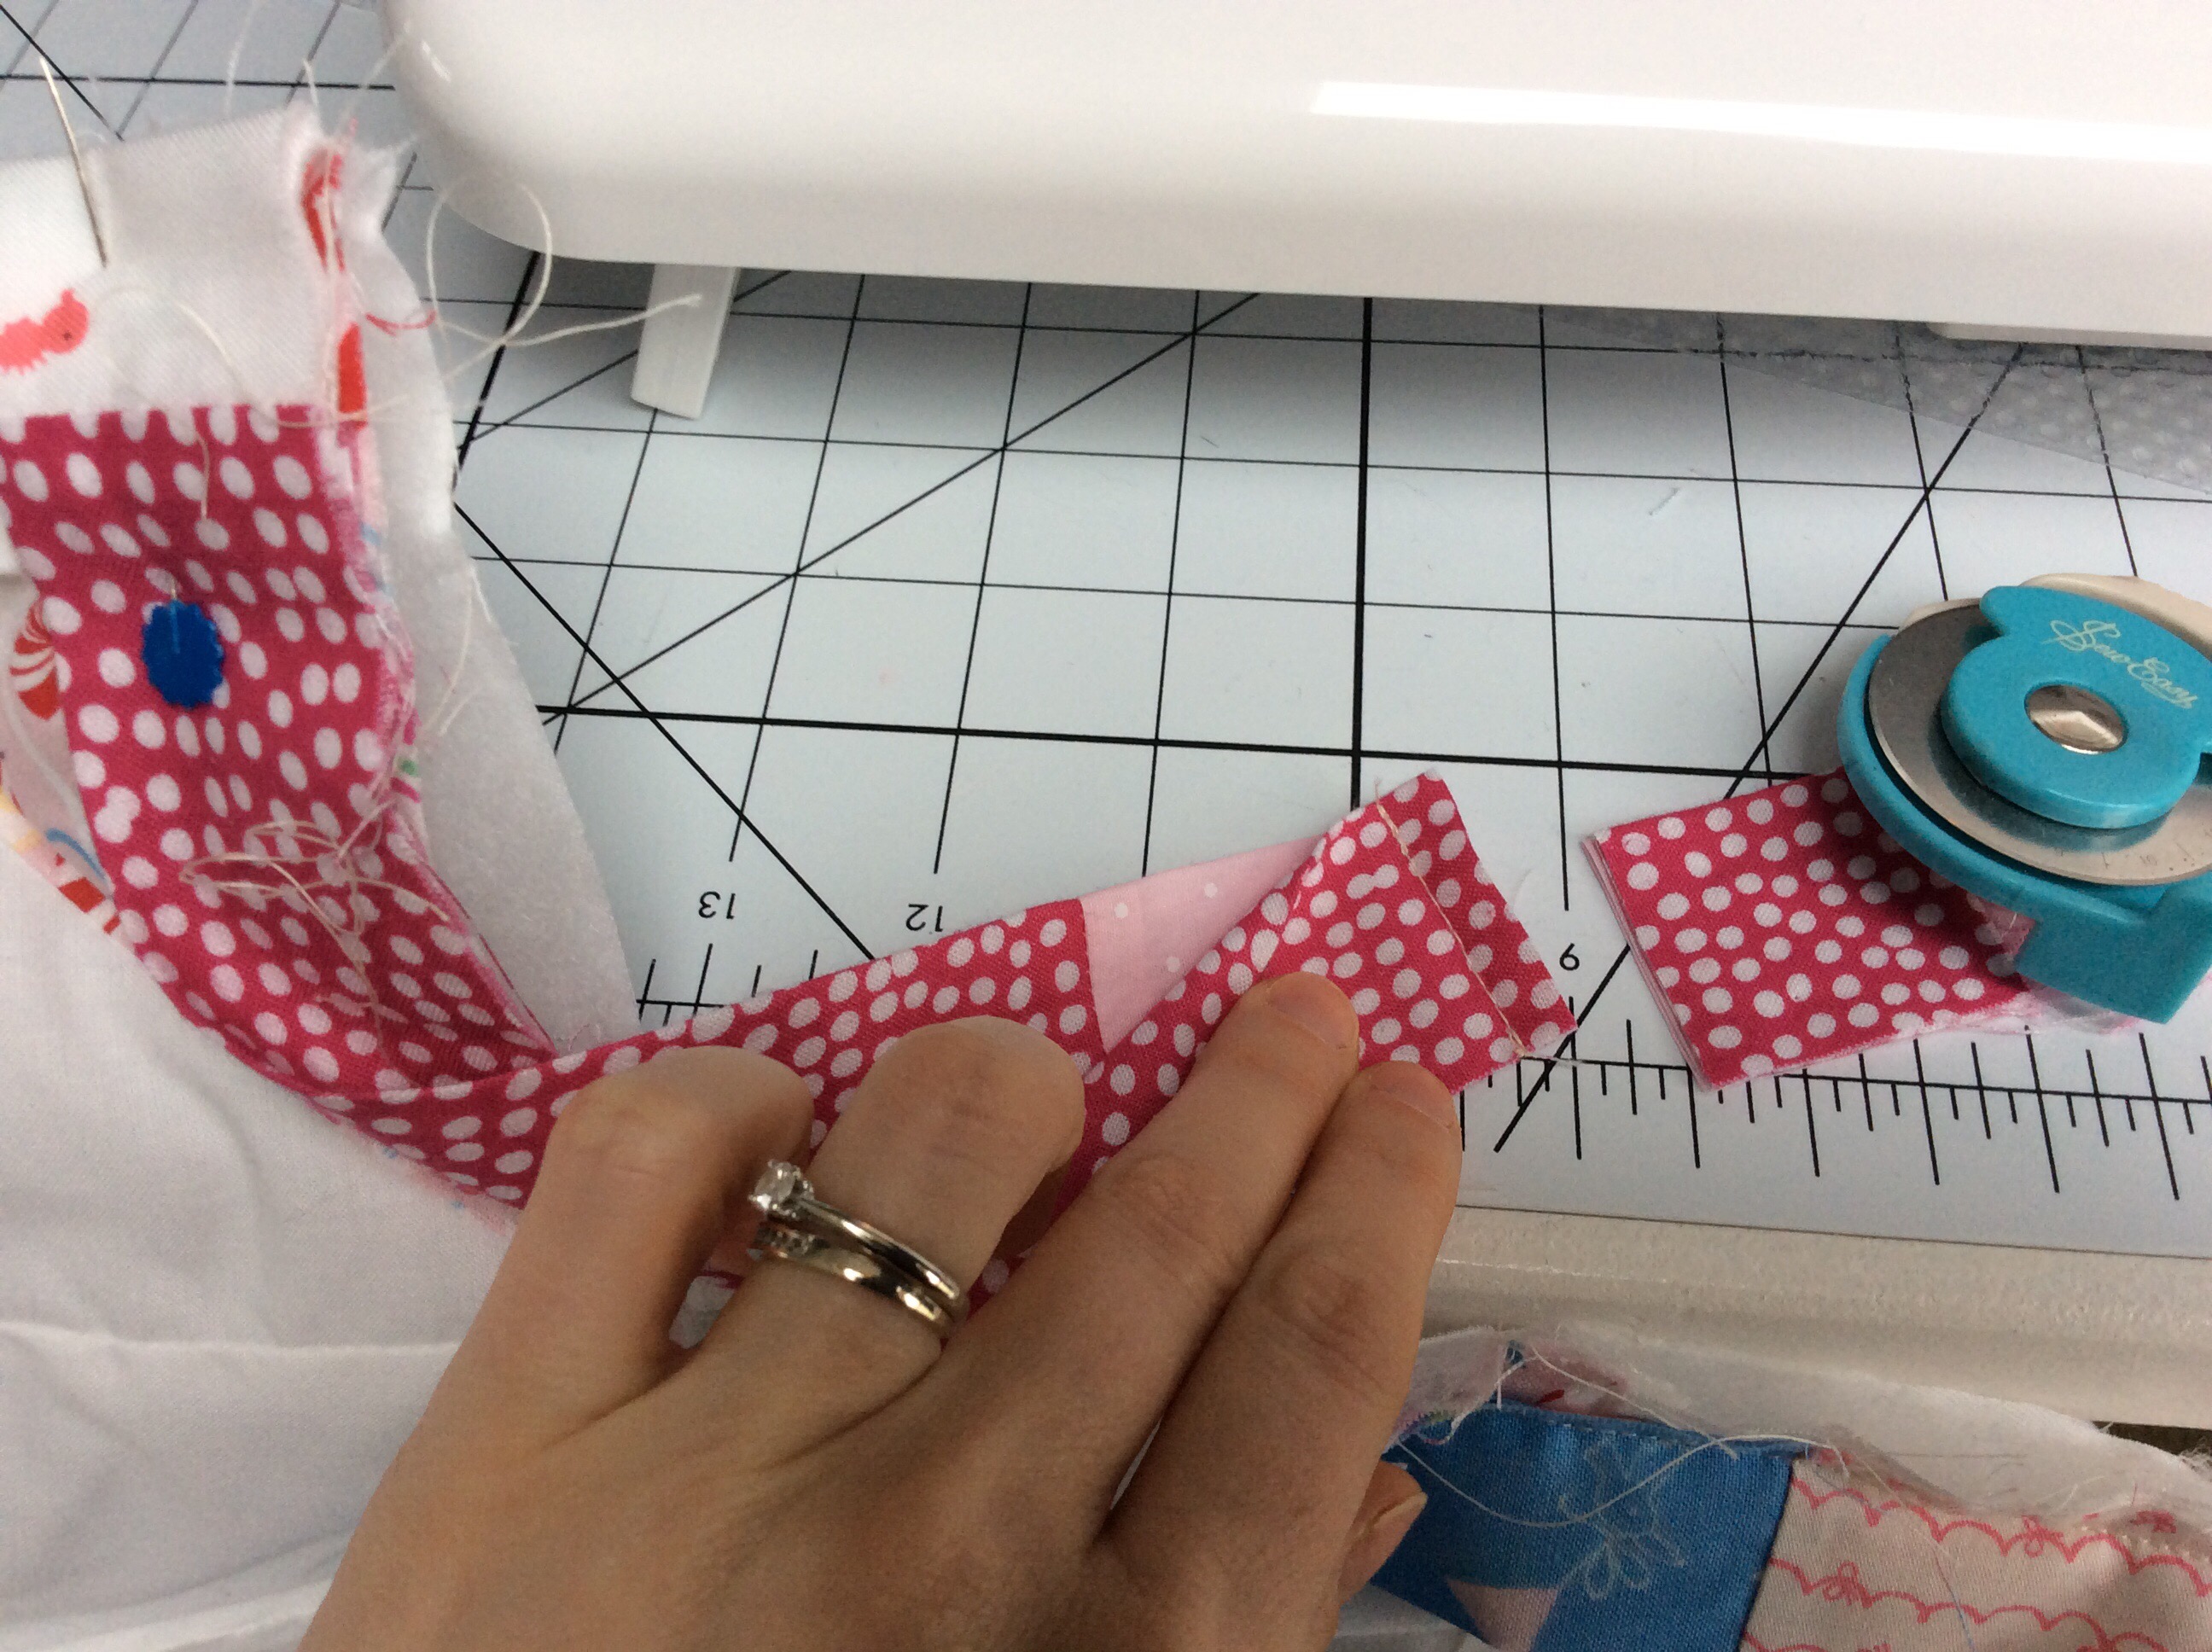
First, cut strips of 2 3/4″
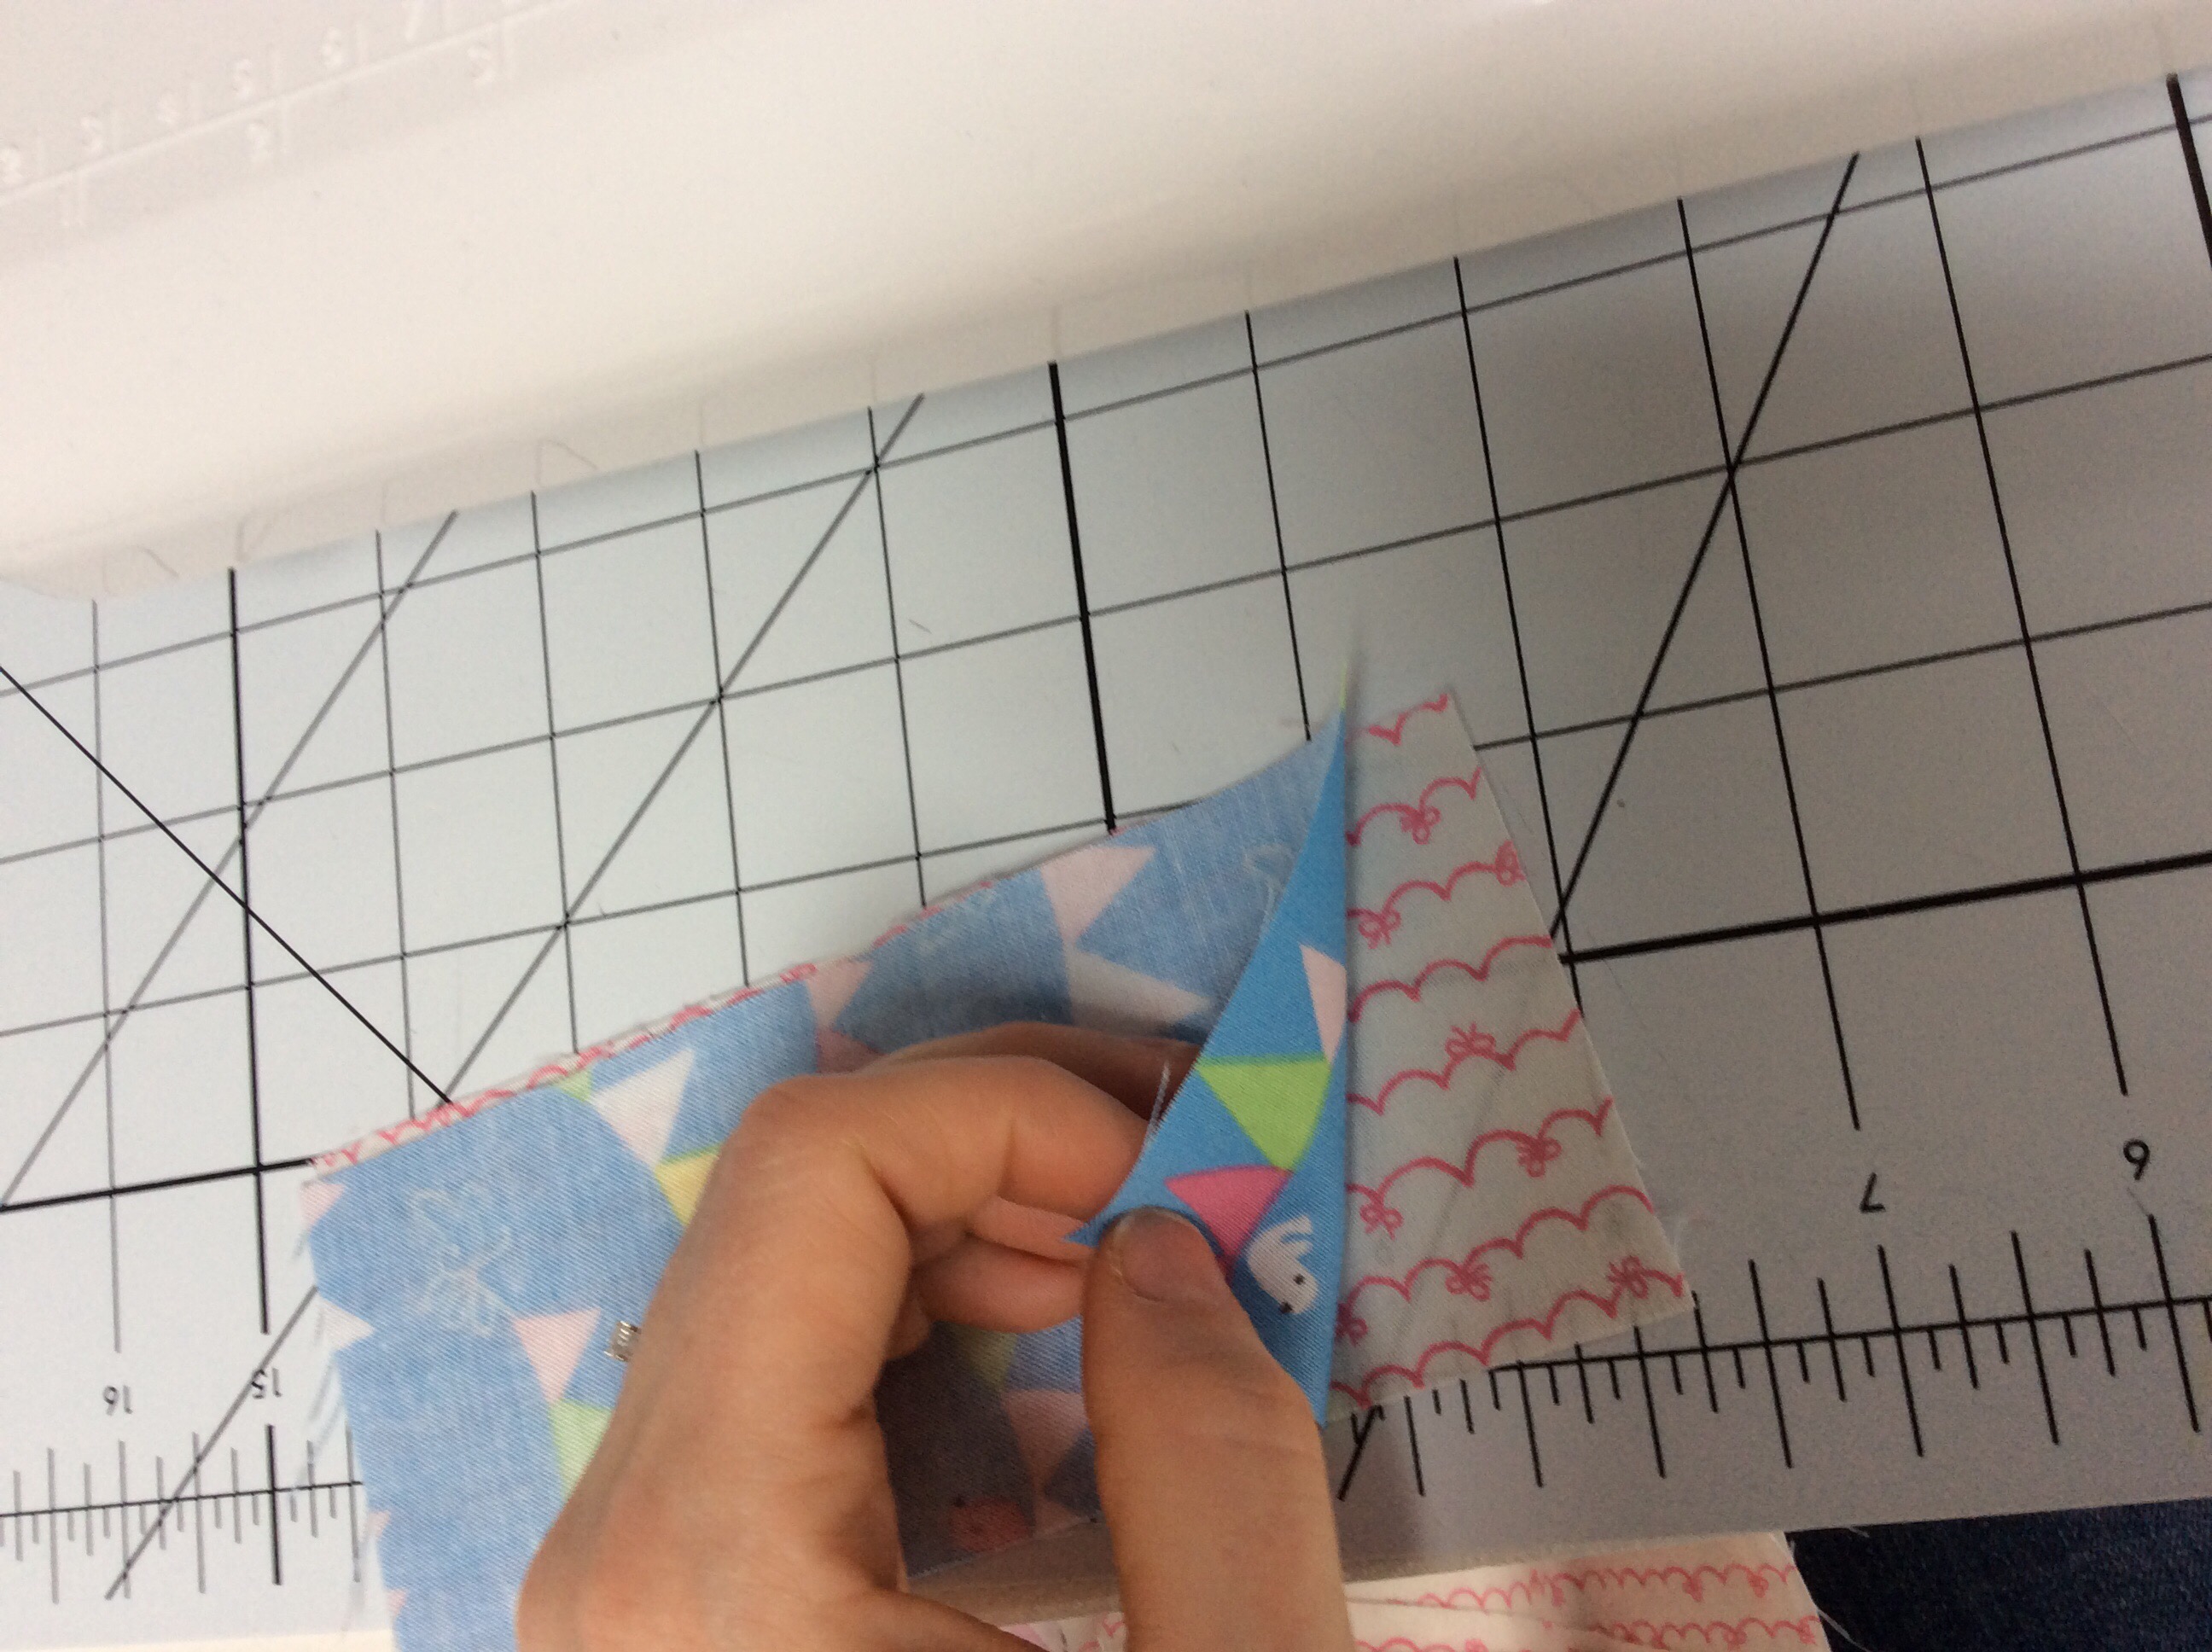
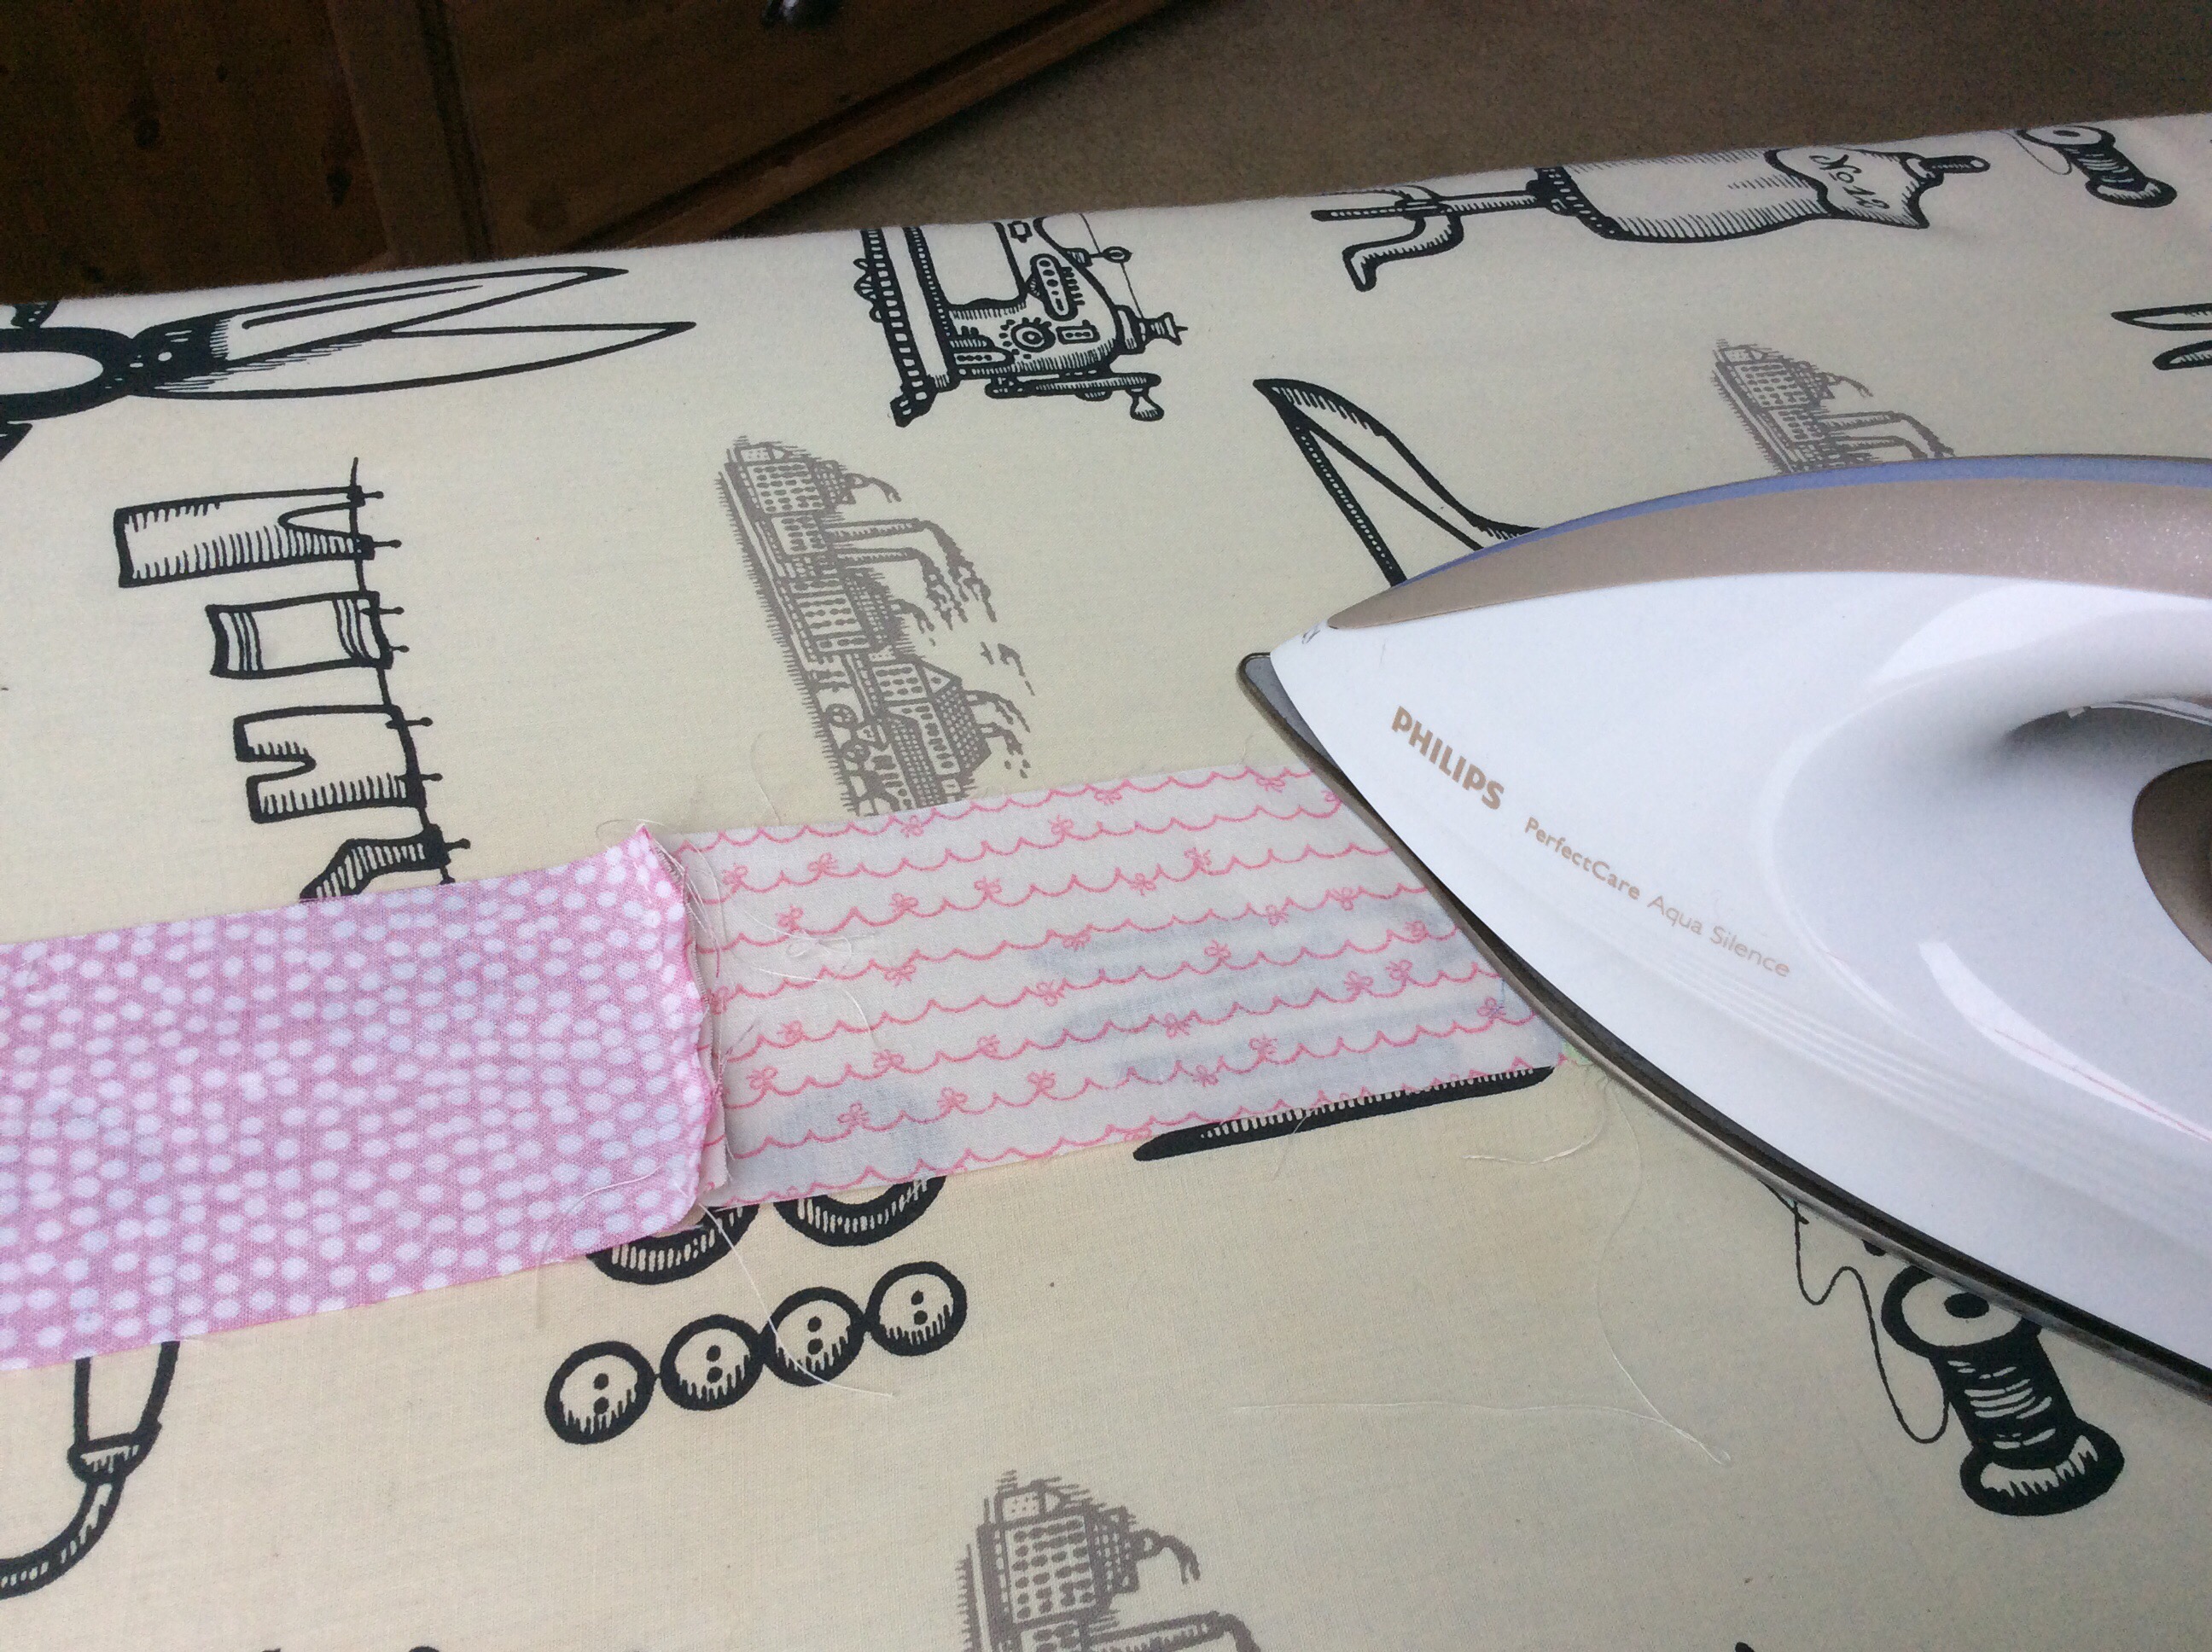
Then sew the strips together on the short end, right sides together, making sure they are all on the right side. Some sewers are doing this differently from me, they sew it so that the hem is diagonal. I guess that is the right way to do it but I find it too time-consuming and waste too much fabrics.
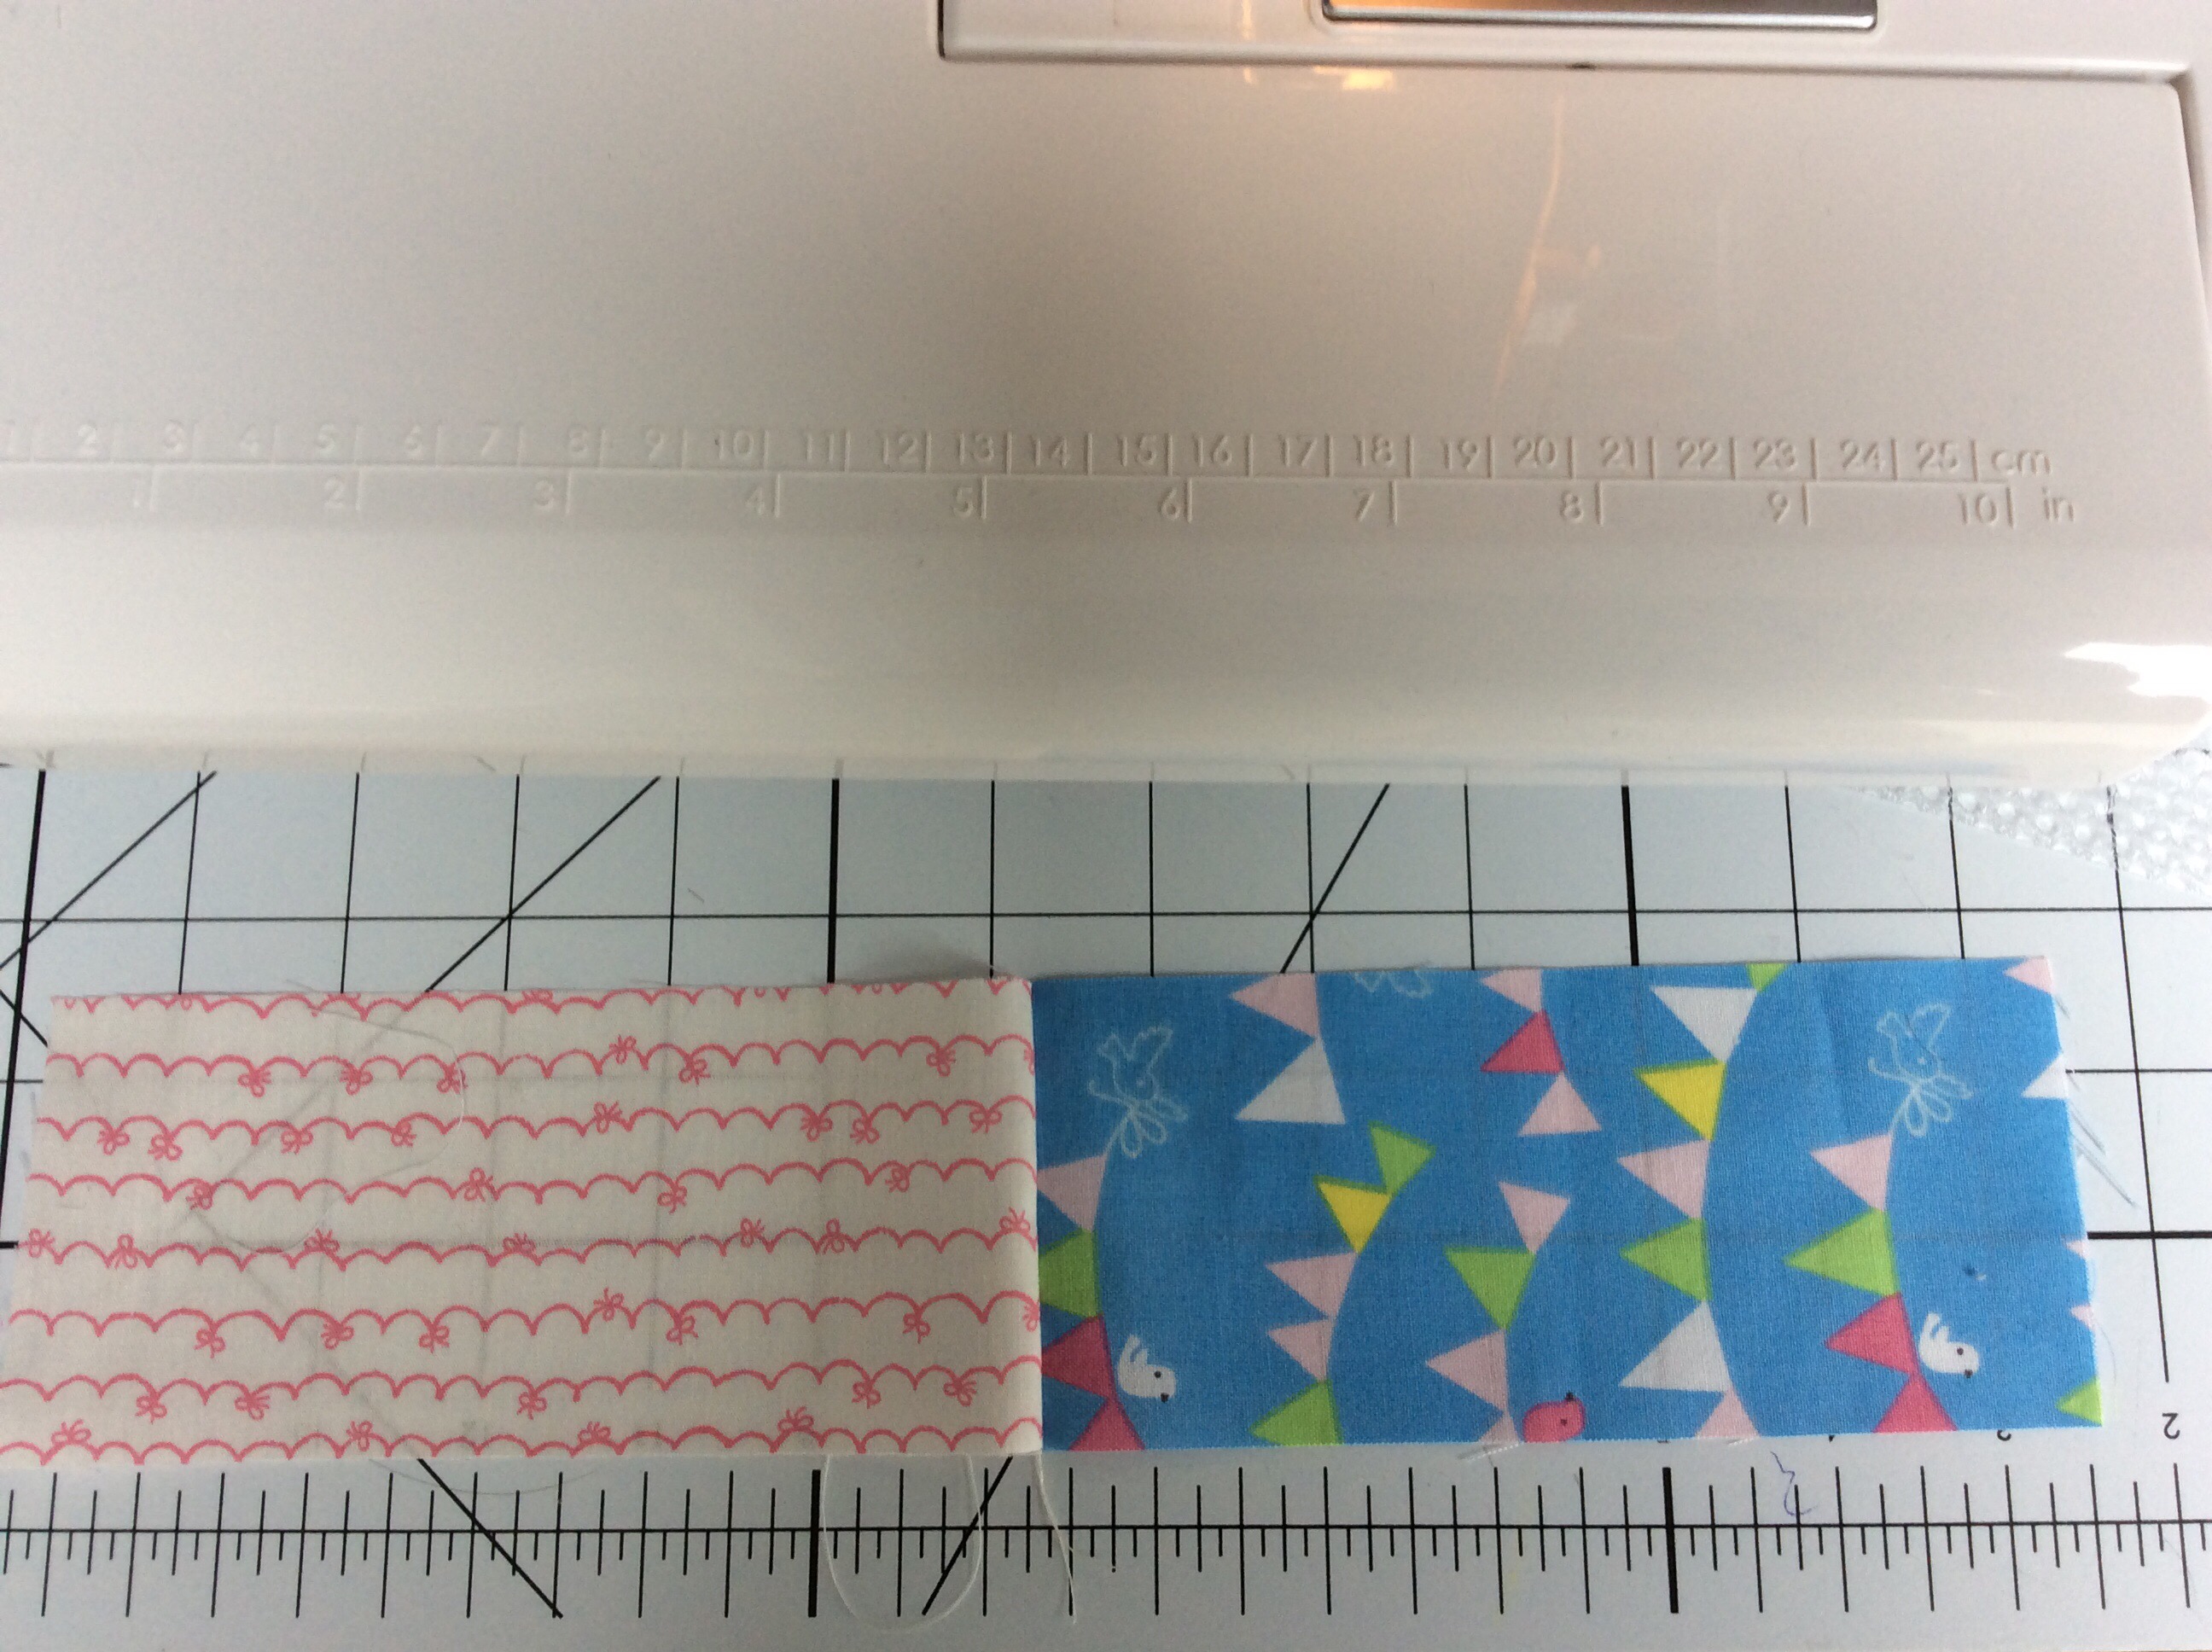
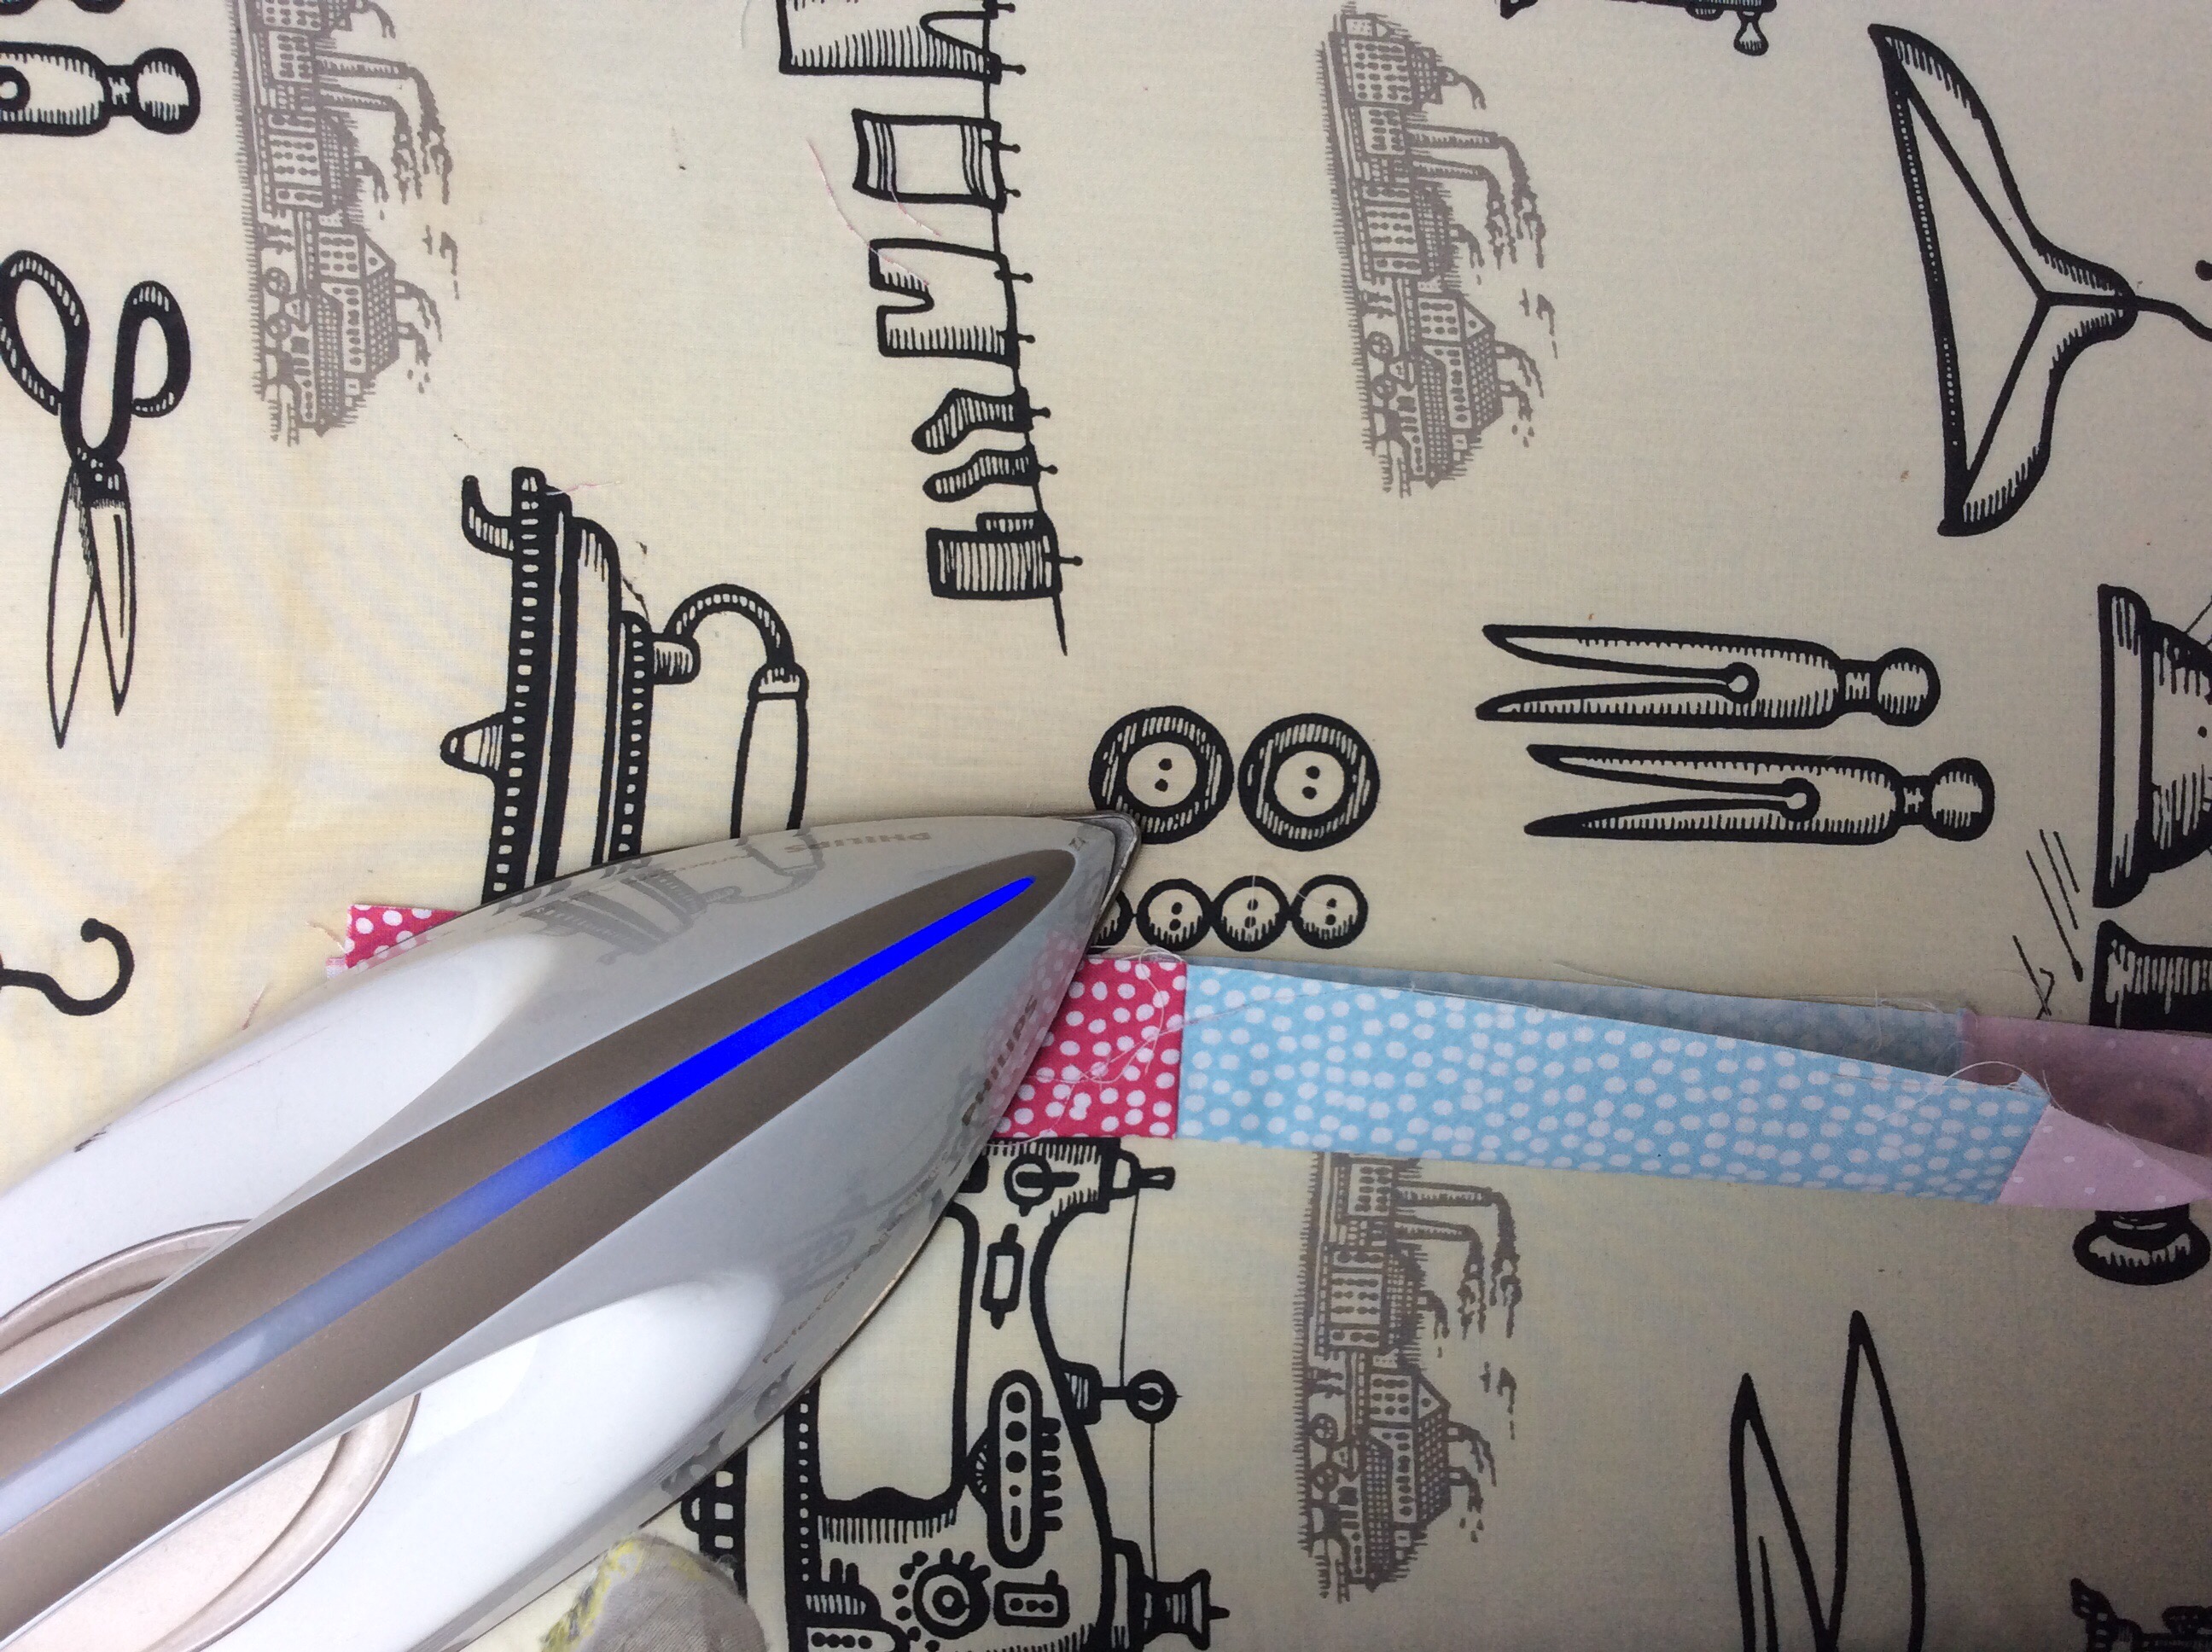
Press the hem to one side with the iron.
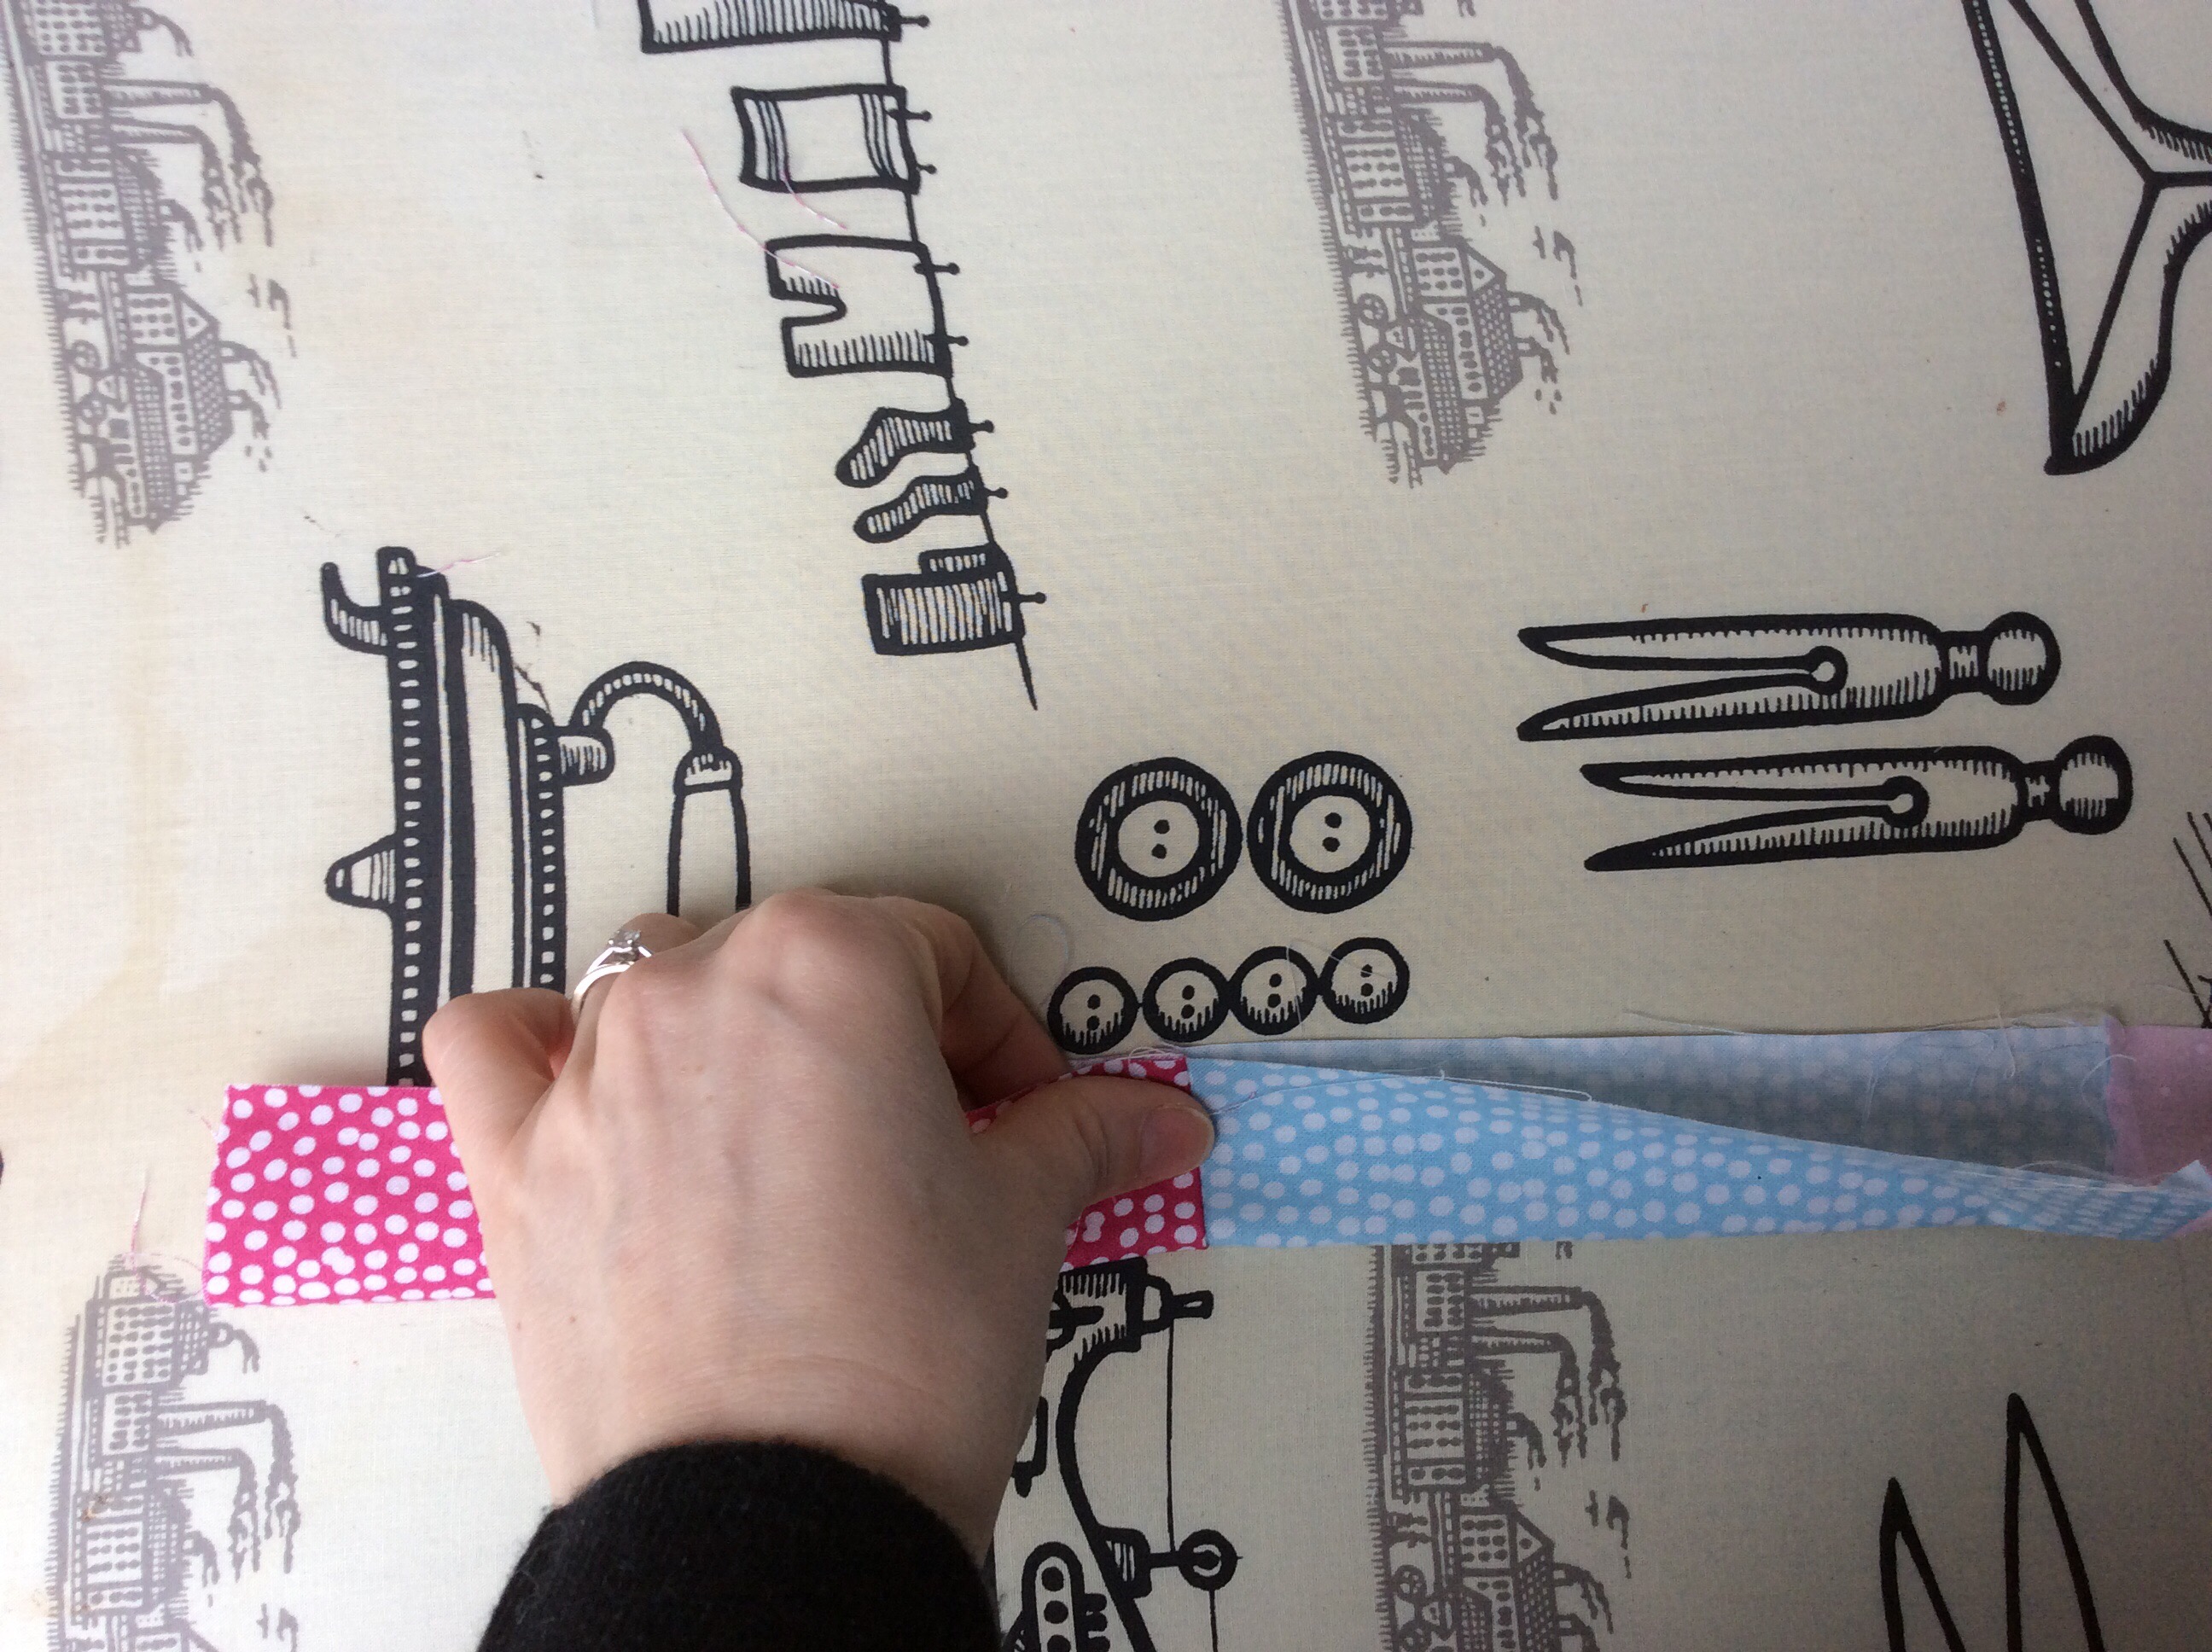
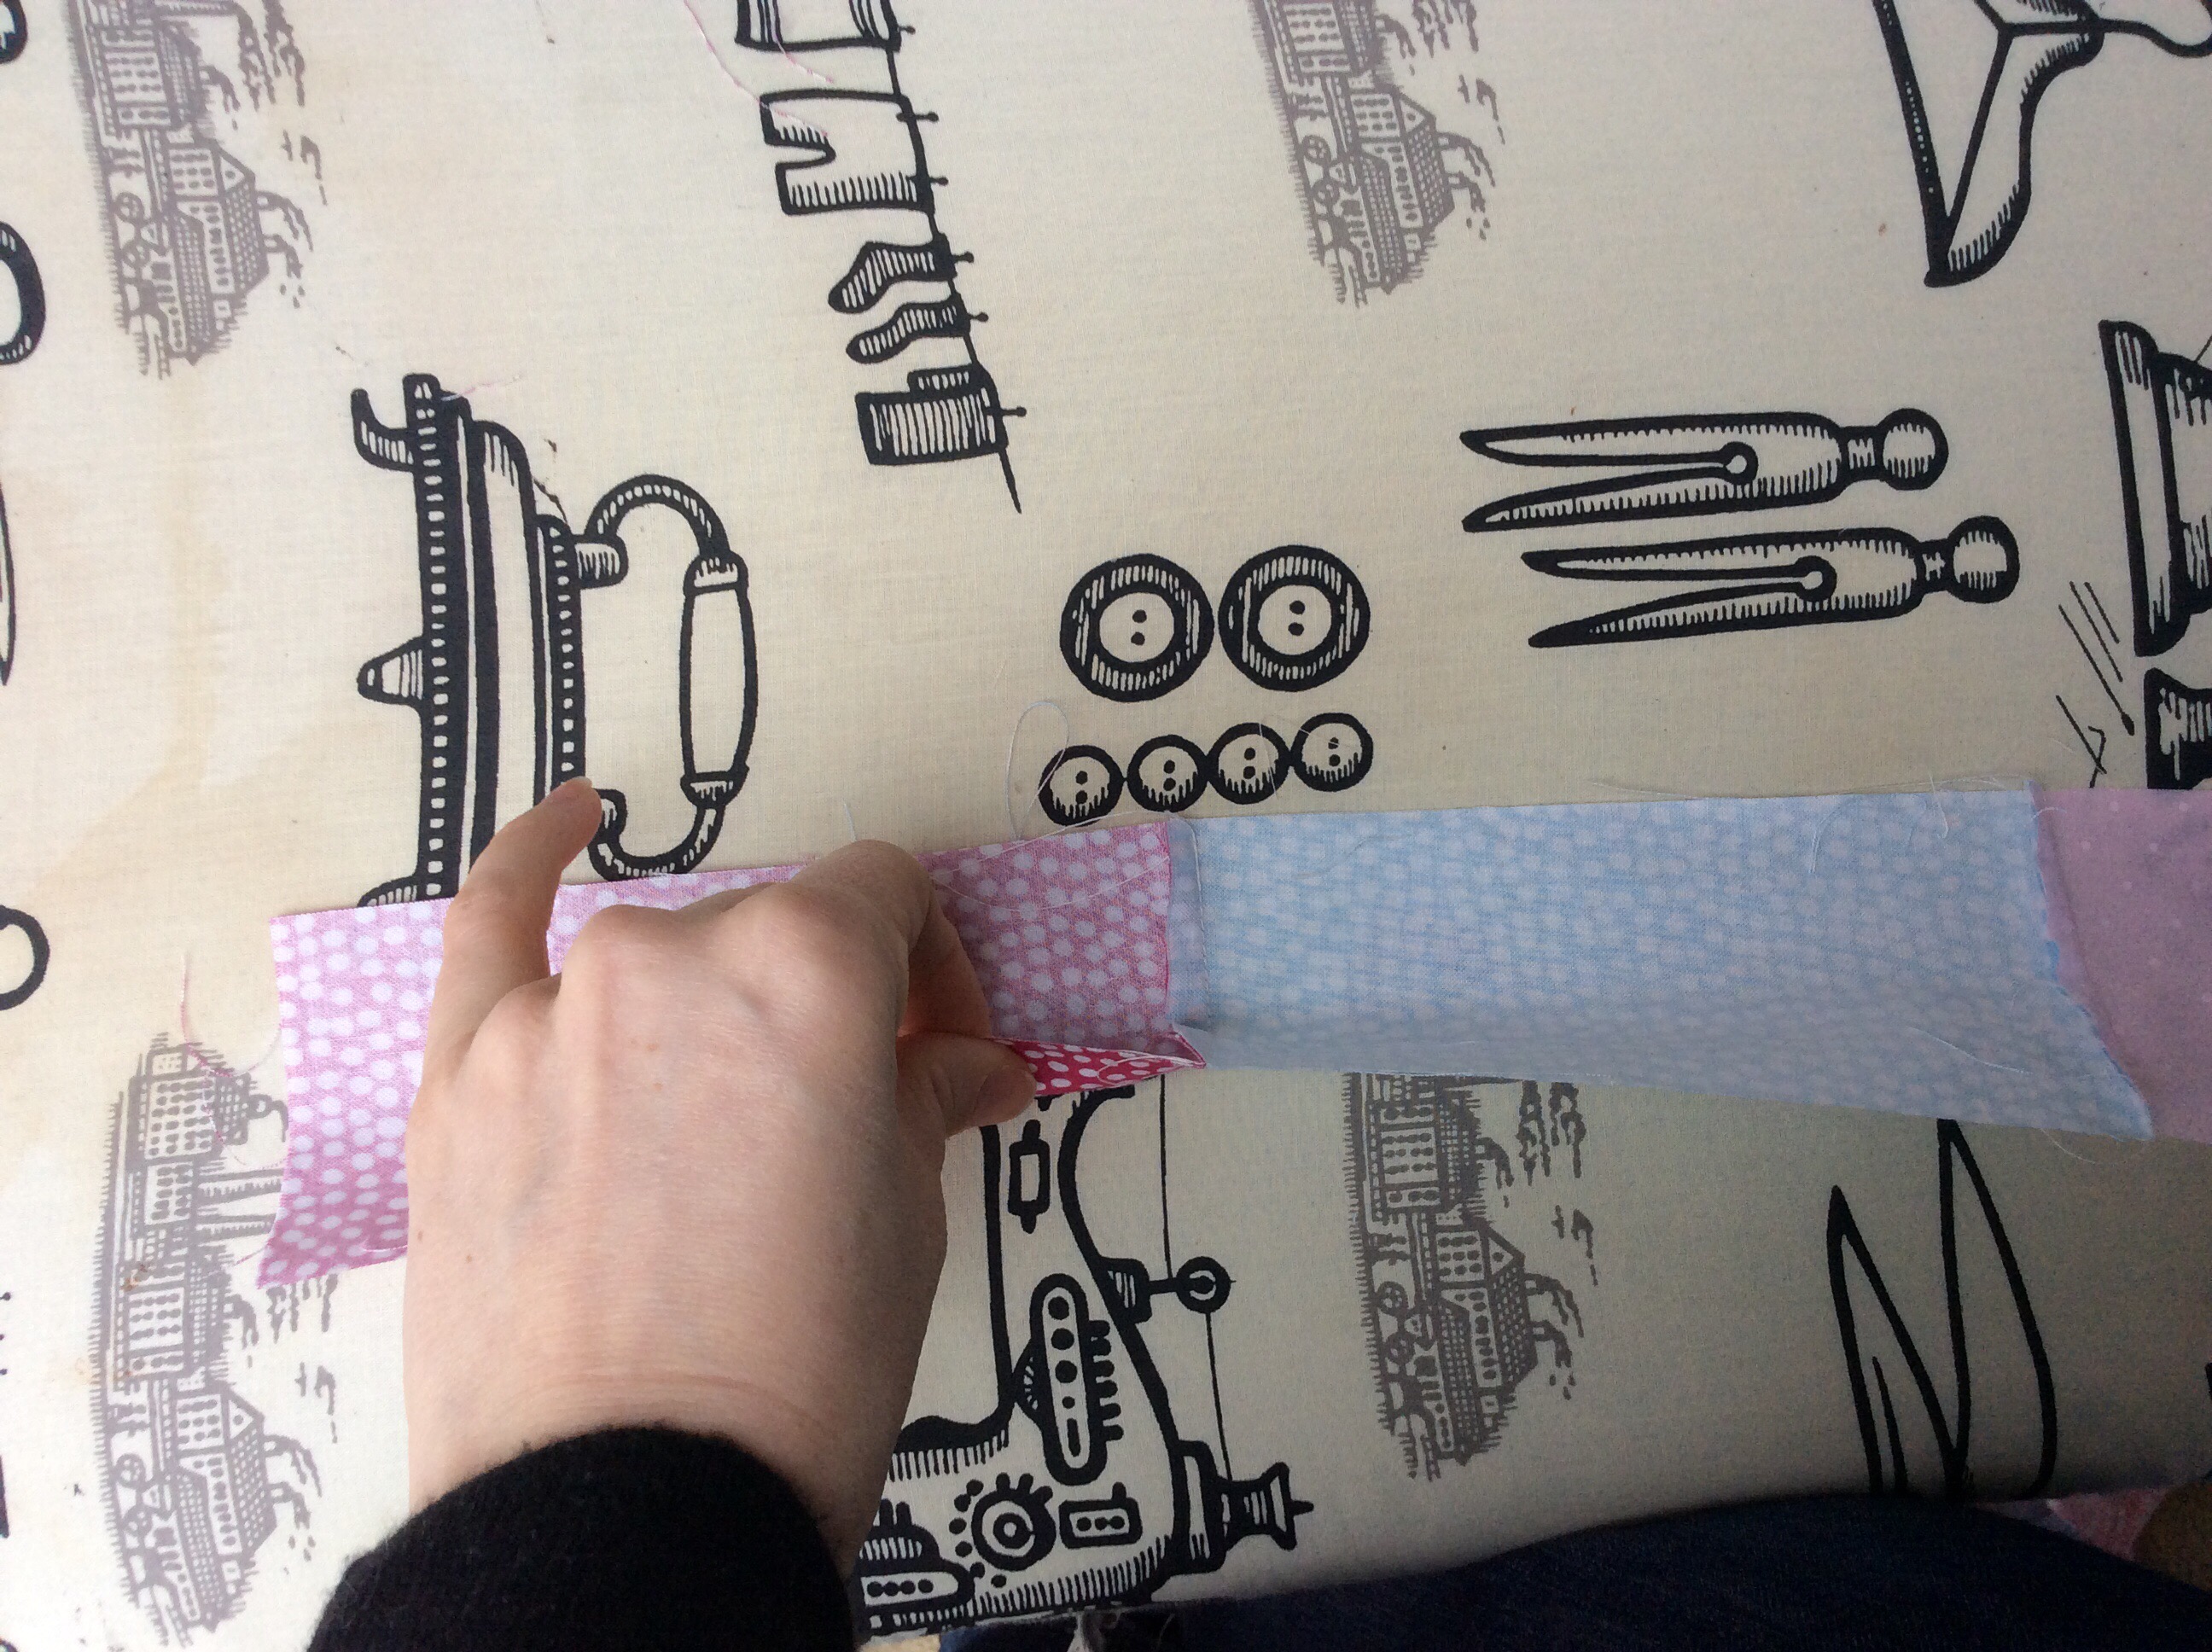
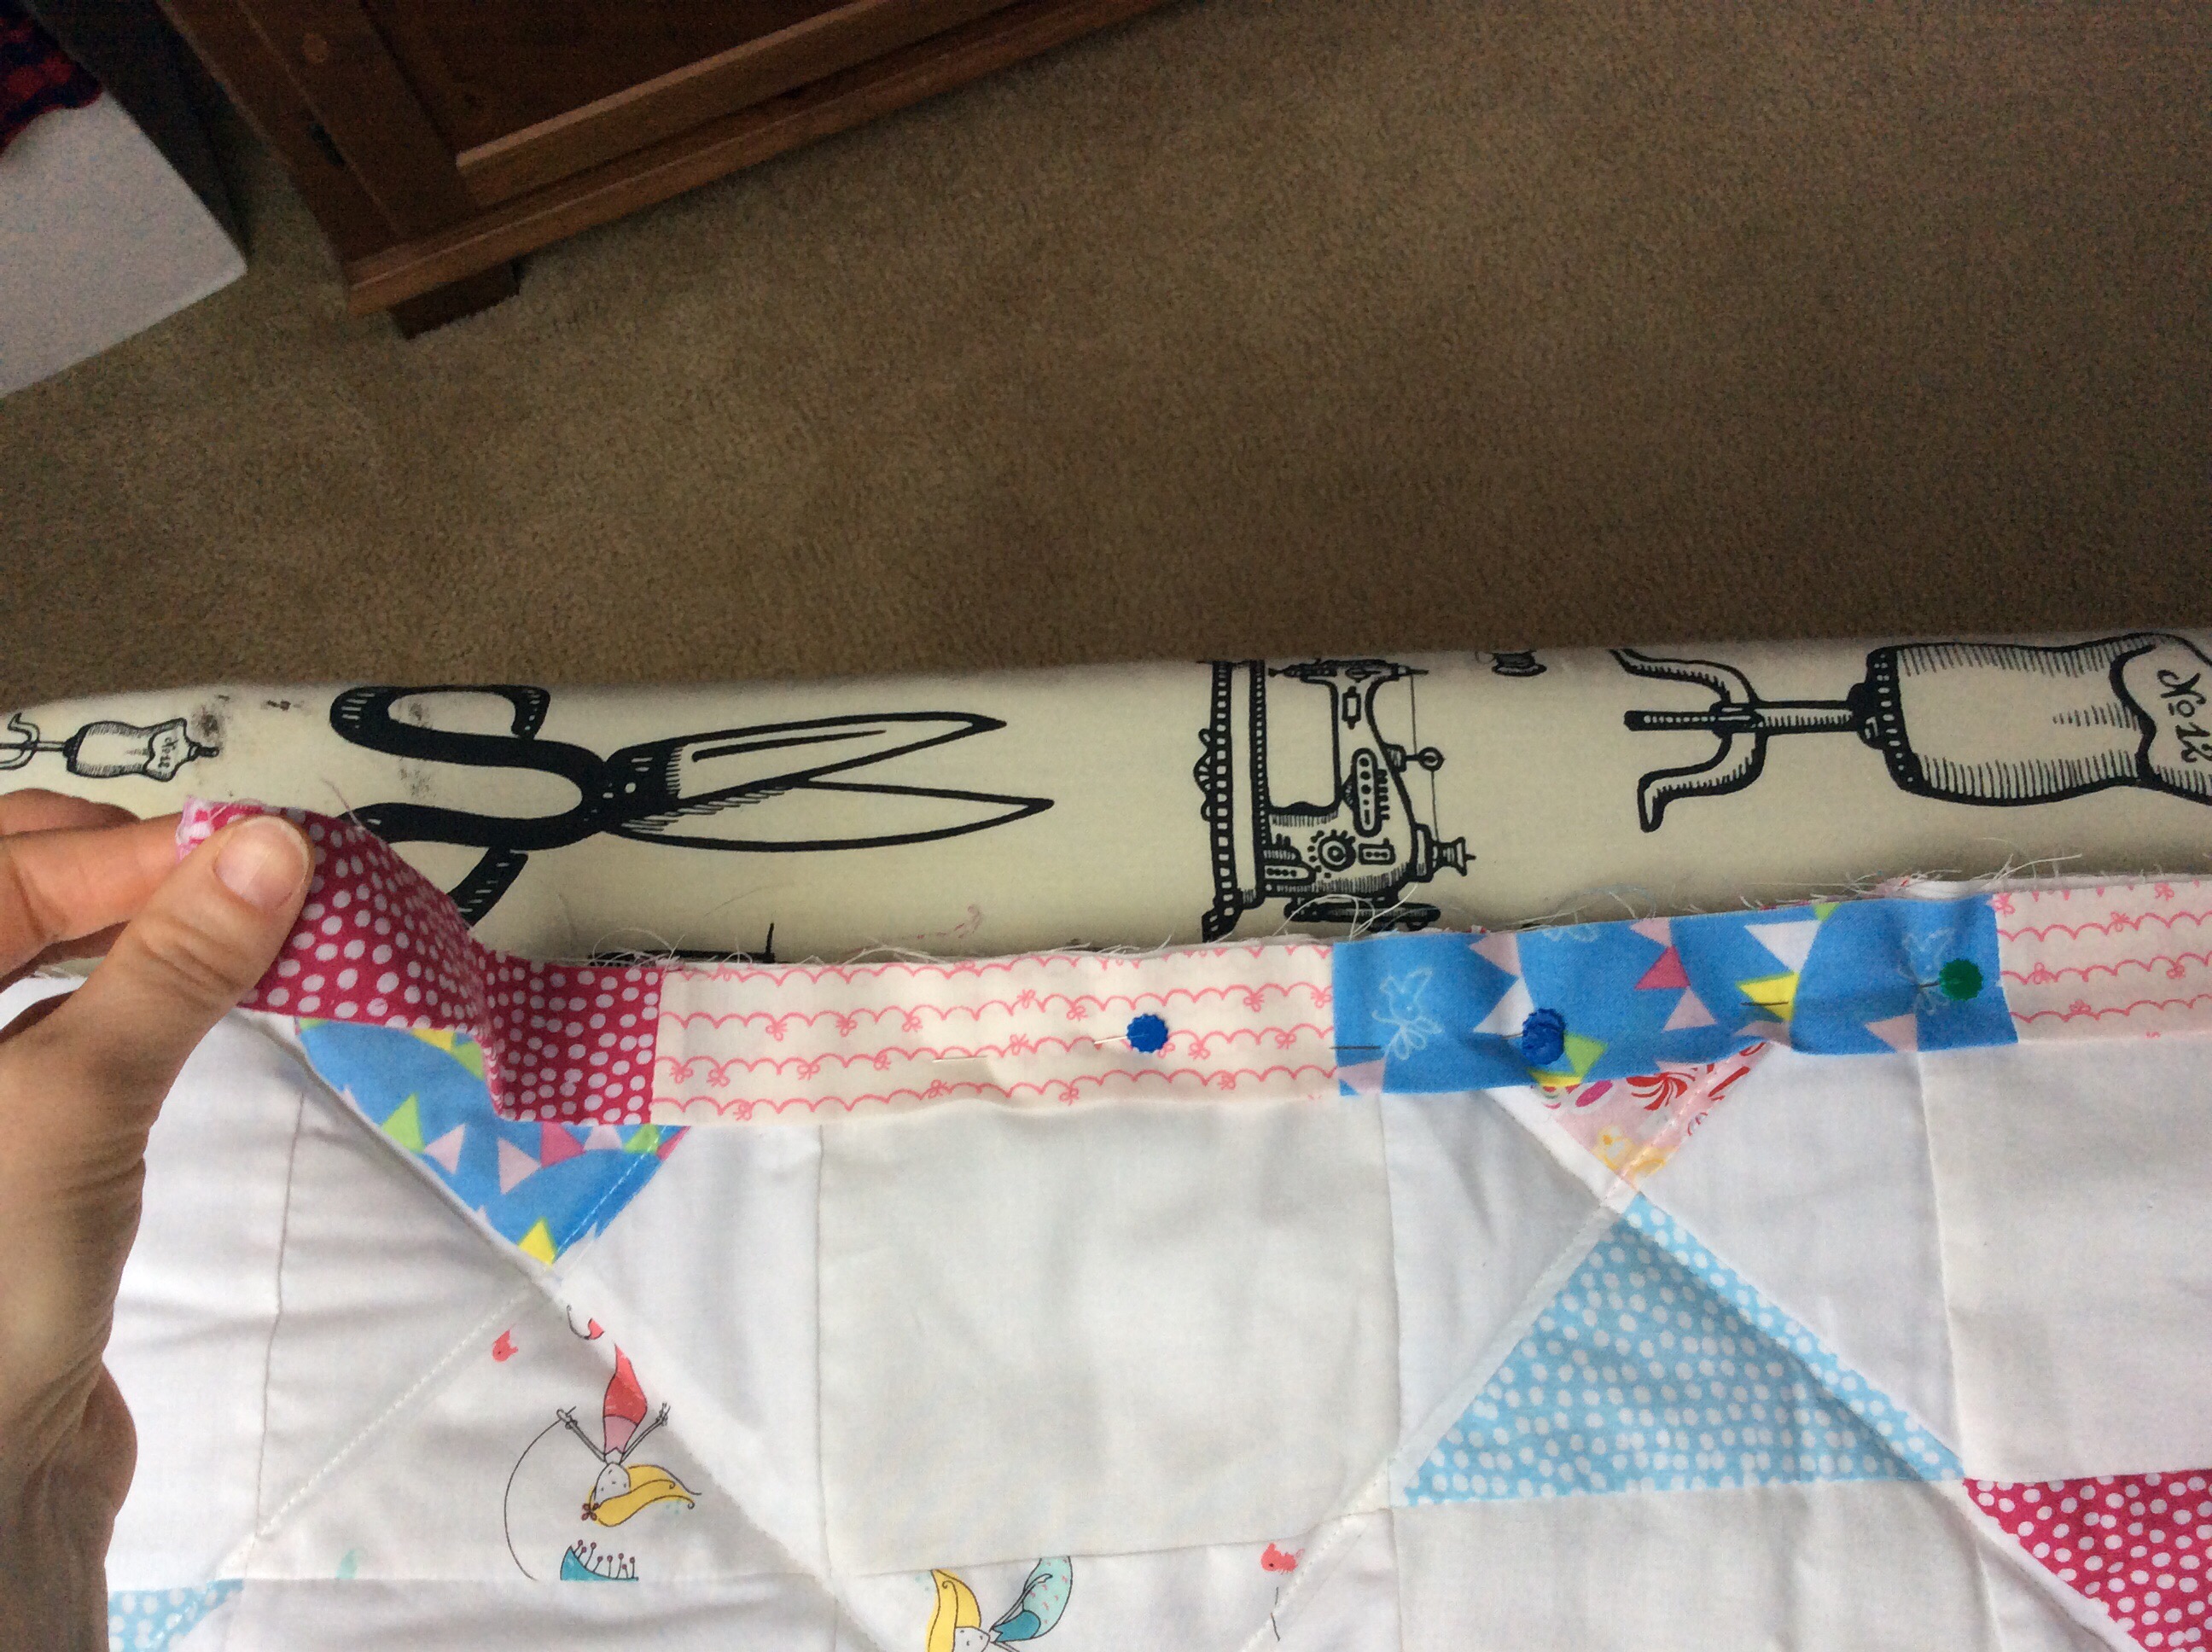
Once all the pieces are assembled together, fold the long strip in half and press with hot iron.
Now the sewing can begin! Place the row edge of your strip along the edge of the quilt, leaving some unlined strip at the beginning. Pin it in place.
.
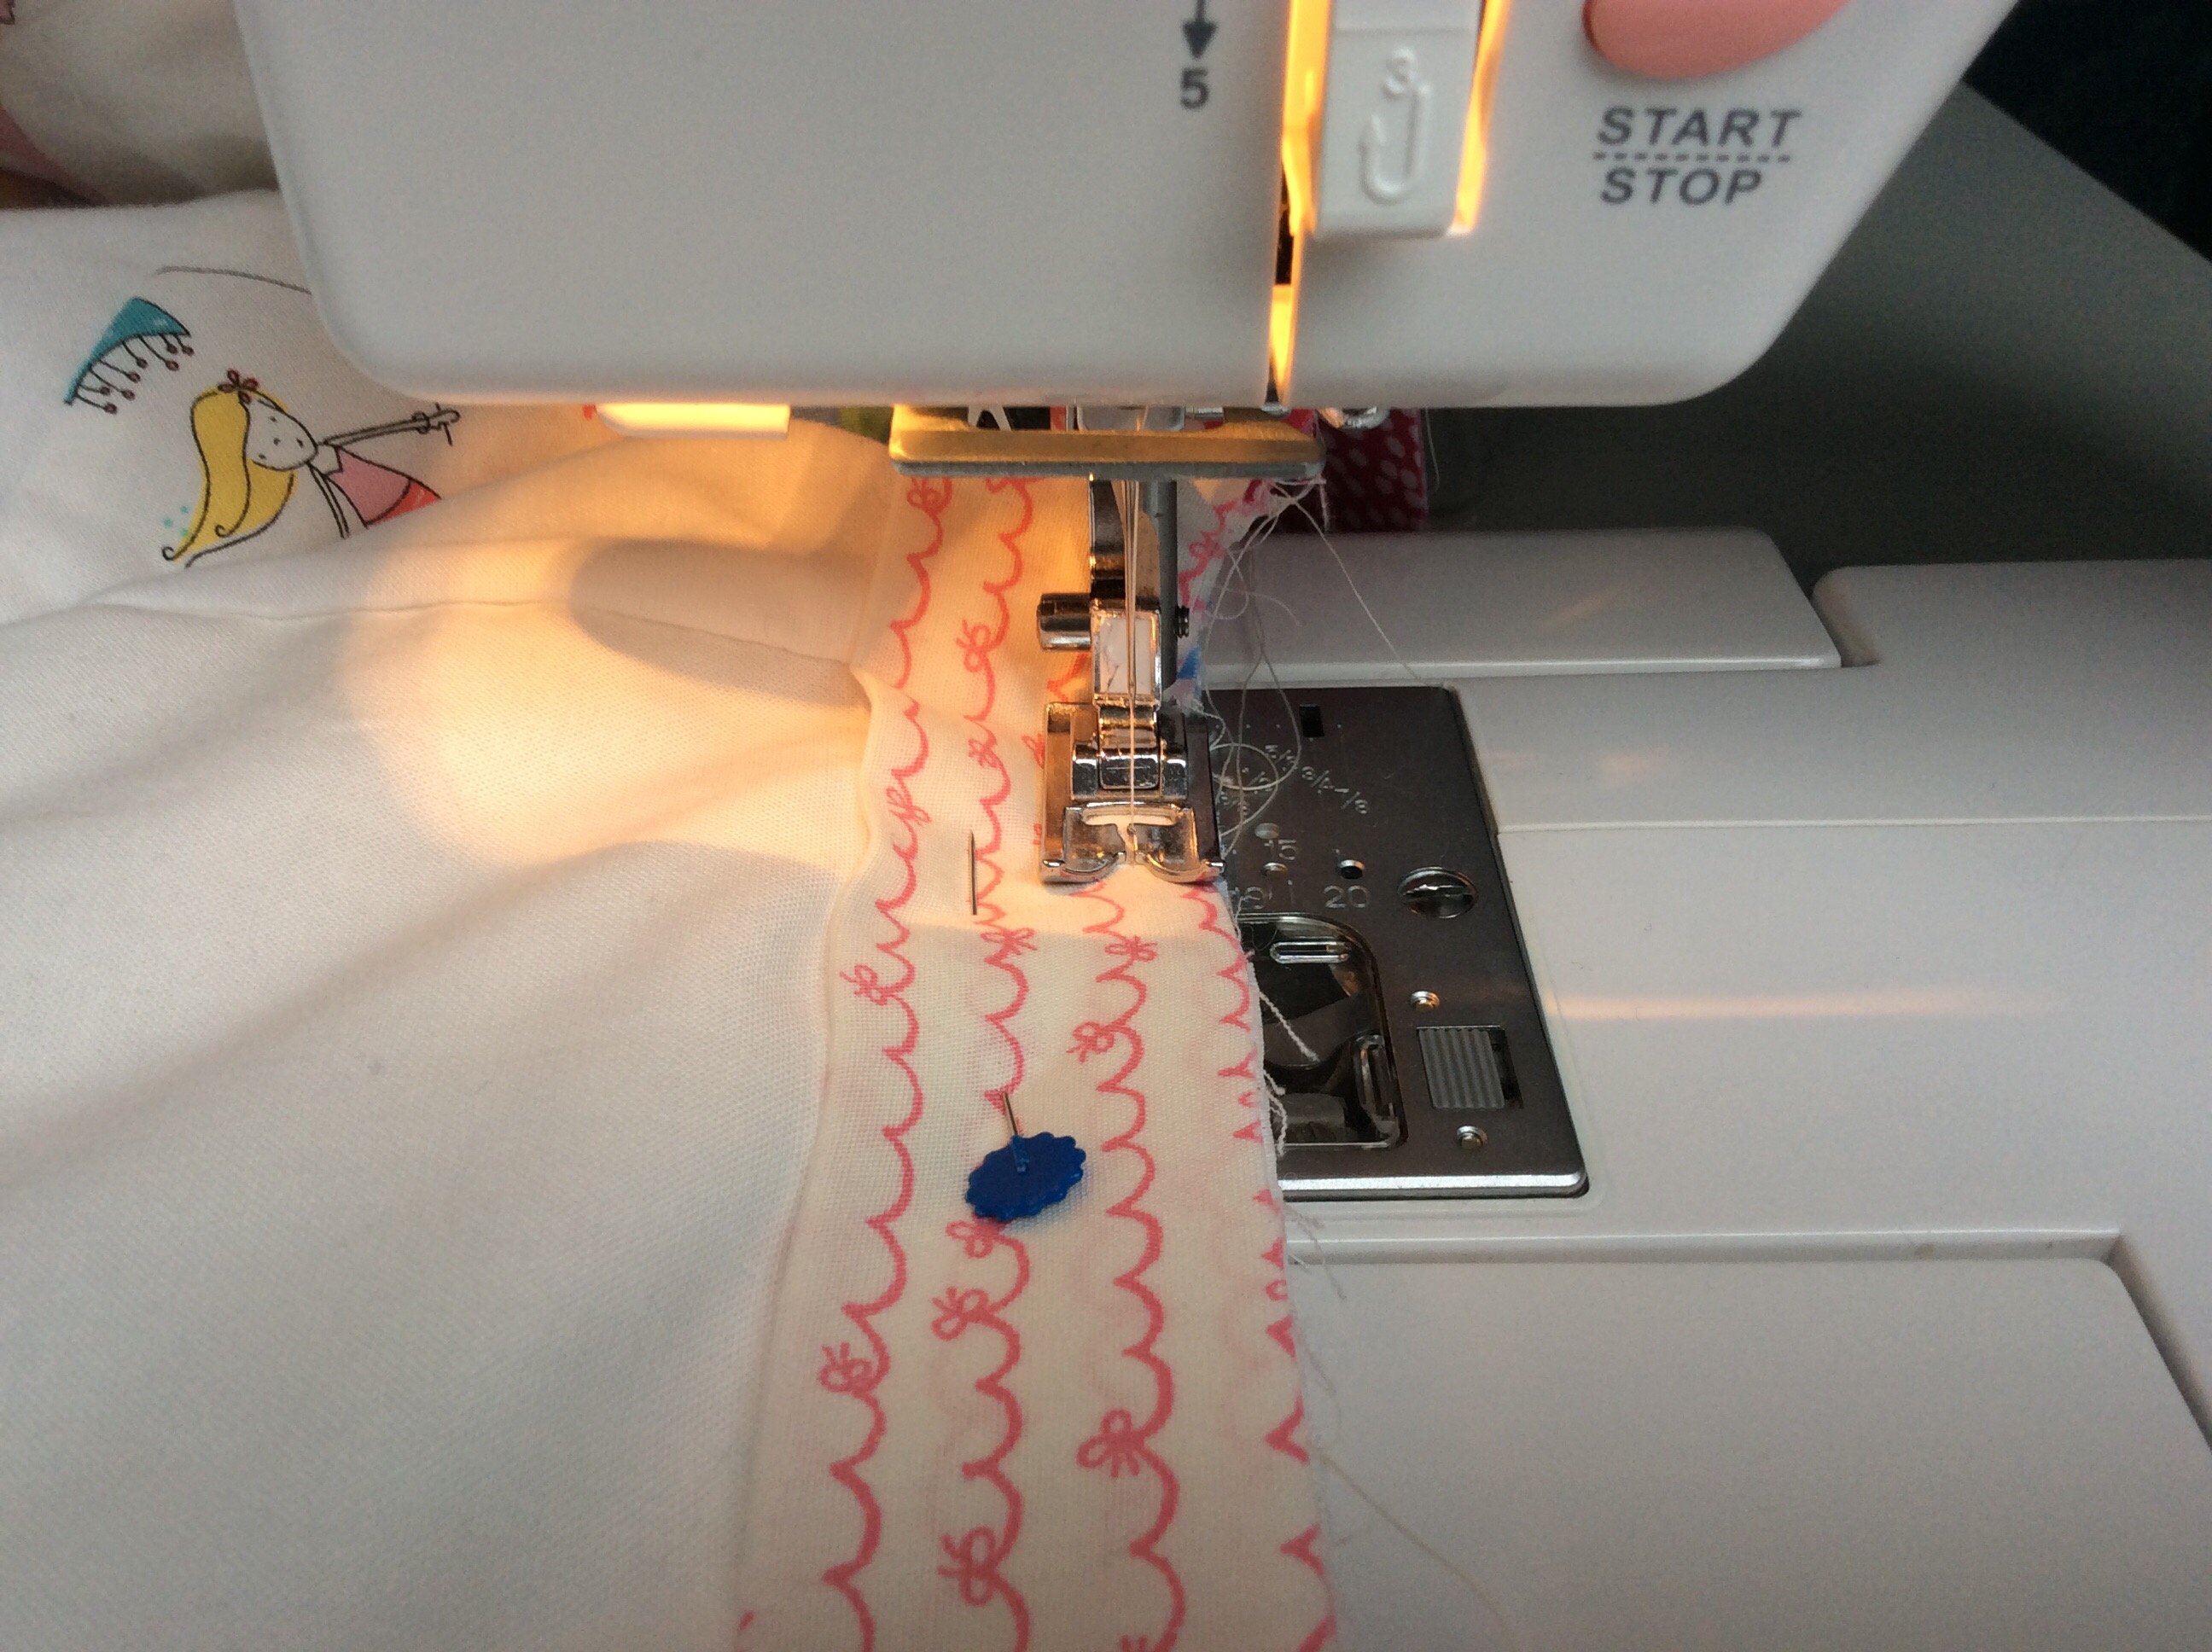
when starting sewing, backstitch and sew a quarter of an inch away from edge.
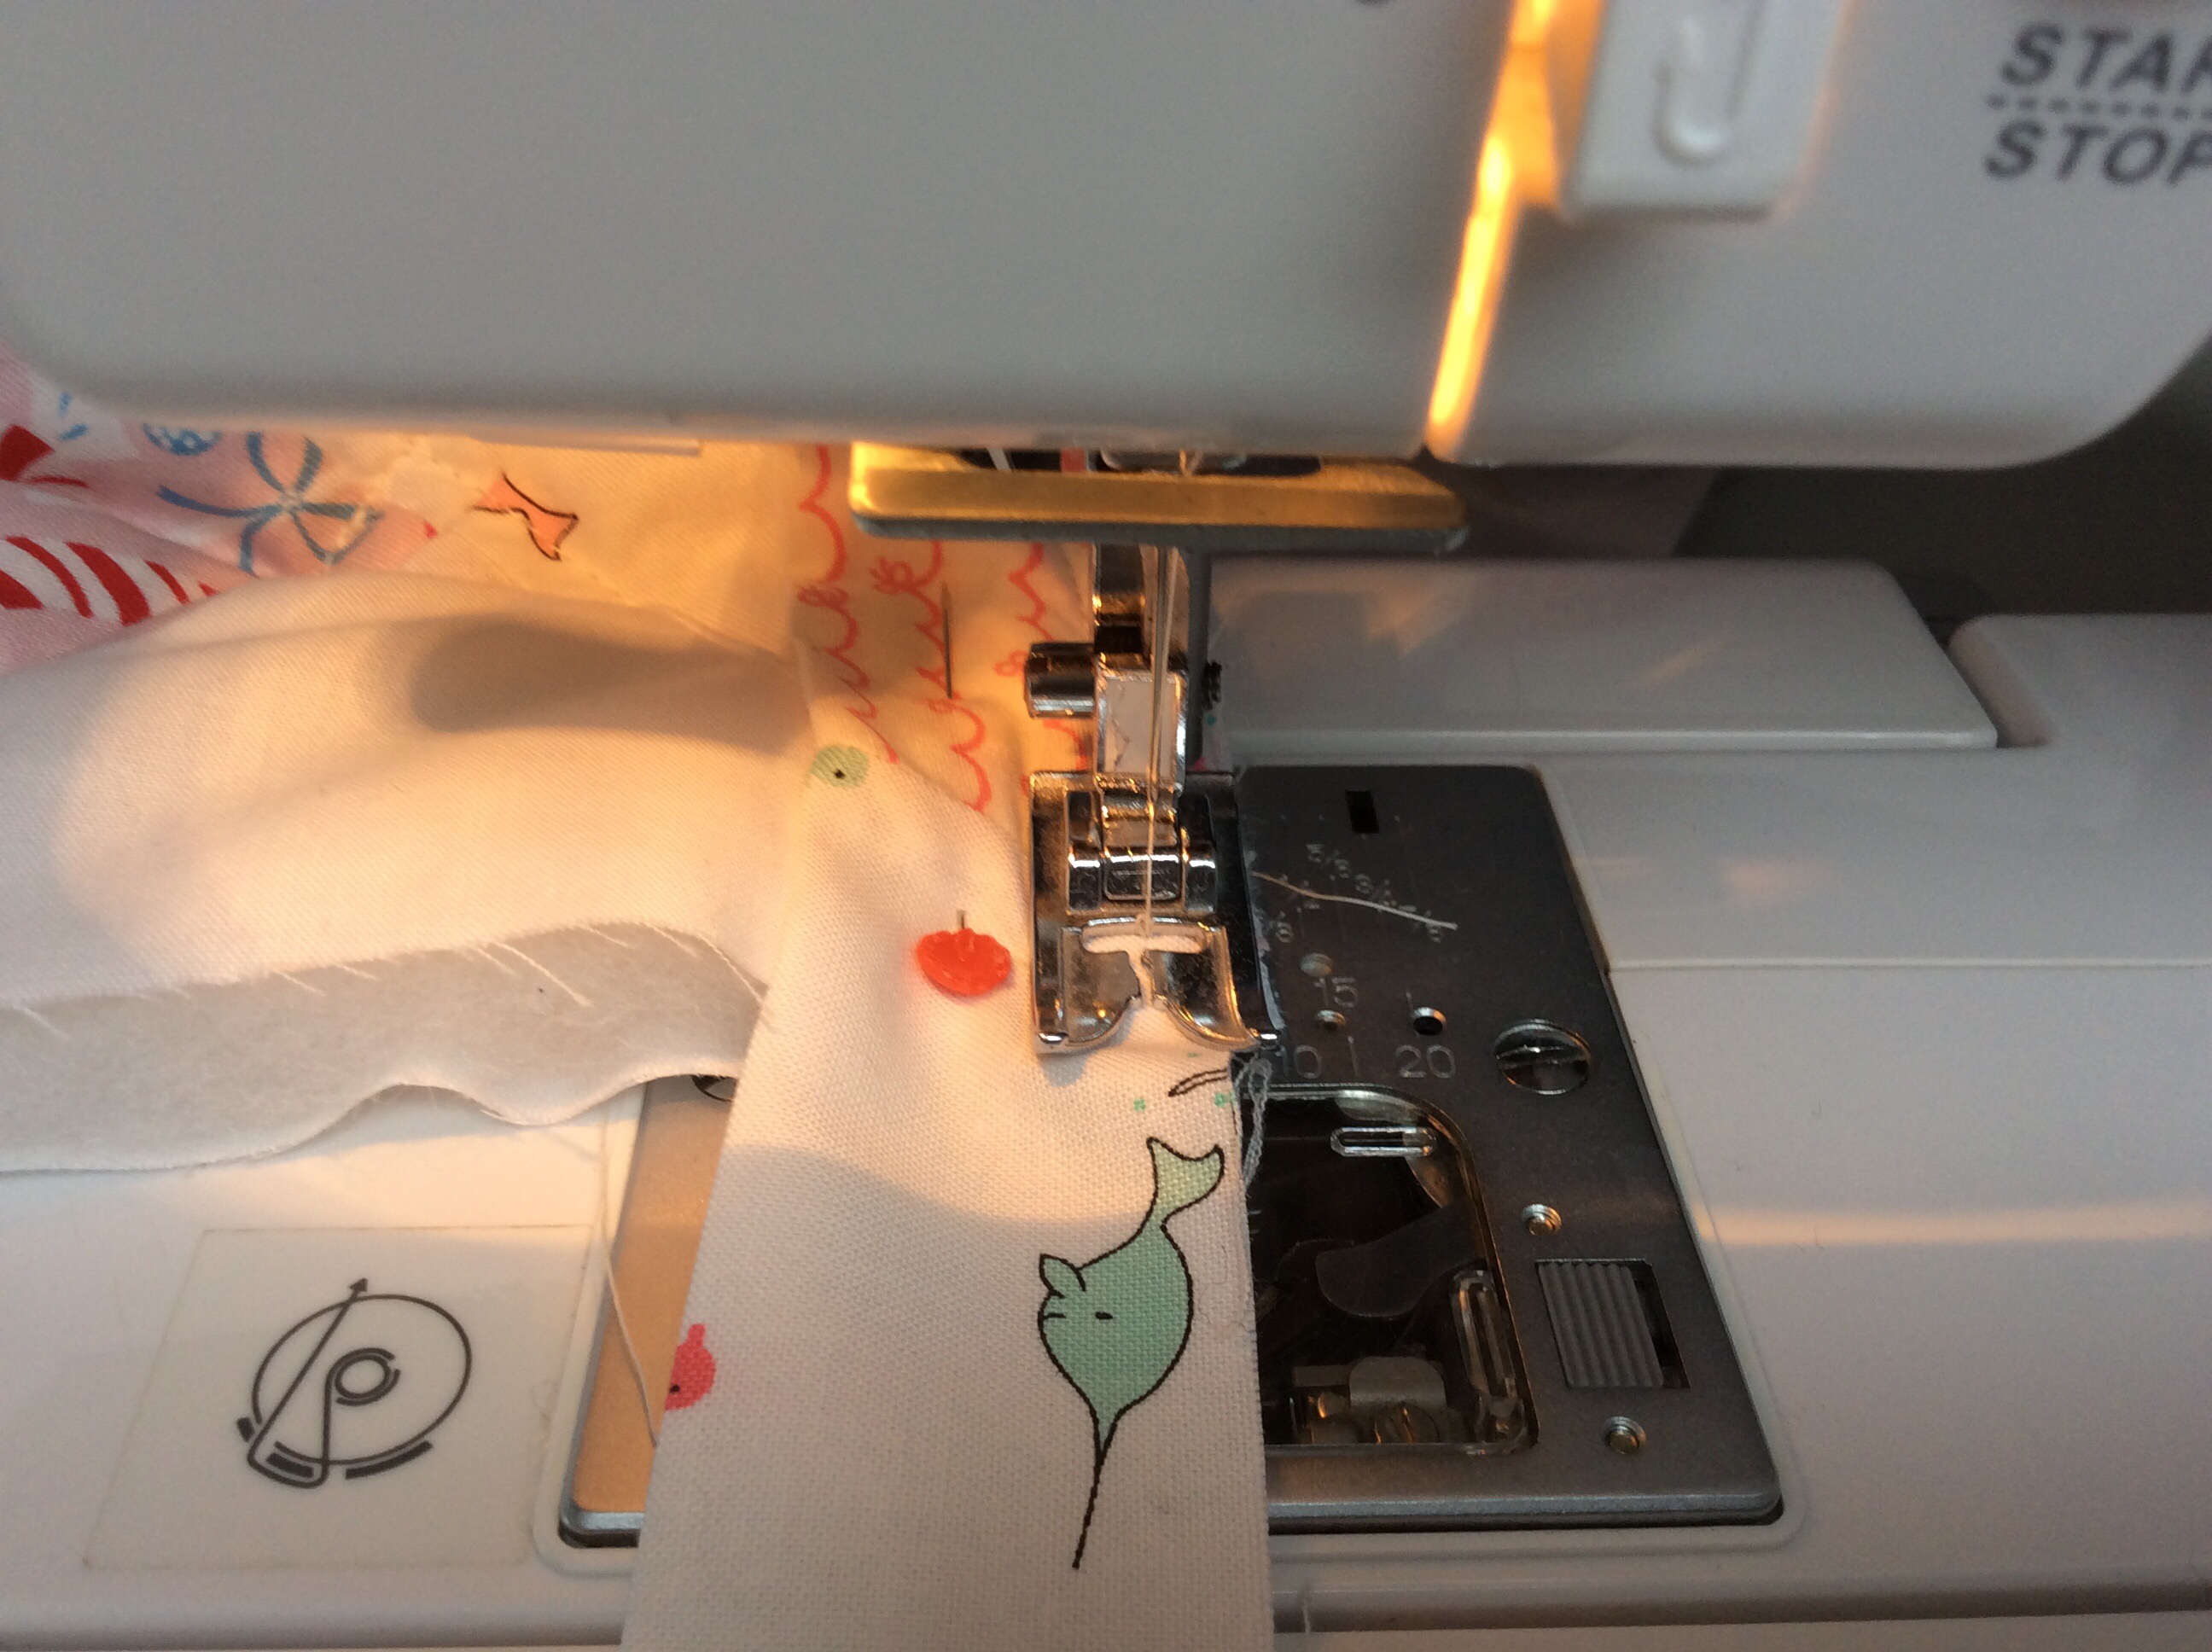
Before sewing all the way down to the corner of the quilt, you need to stop a quarter of inch away from the end and double back stitch. It is really important to not sew all the way down, you’ll see why in a minute!
Take the quilt off the sewing machine. Snip the threads.
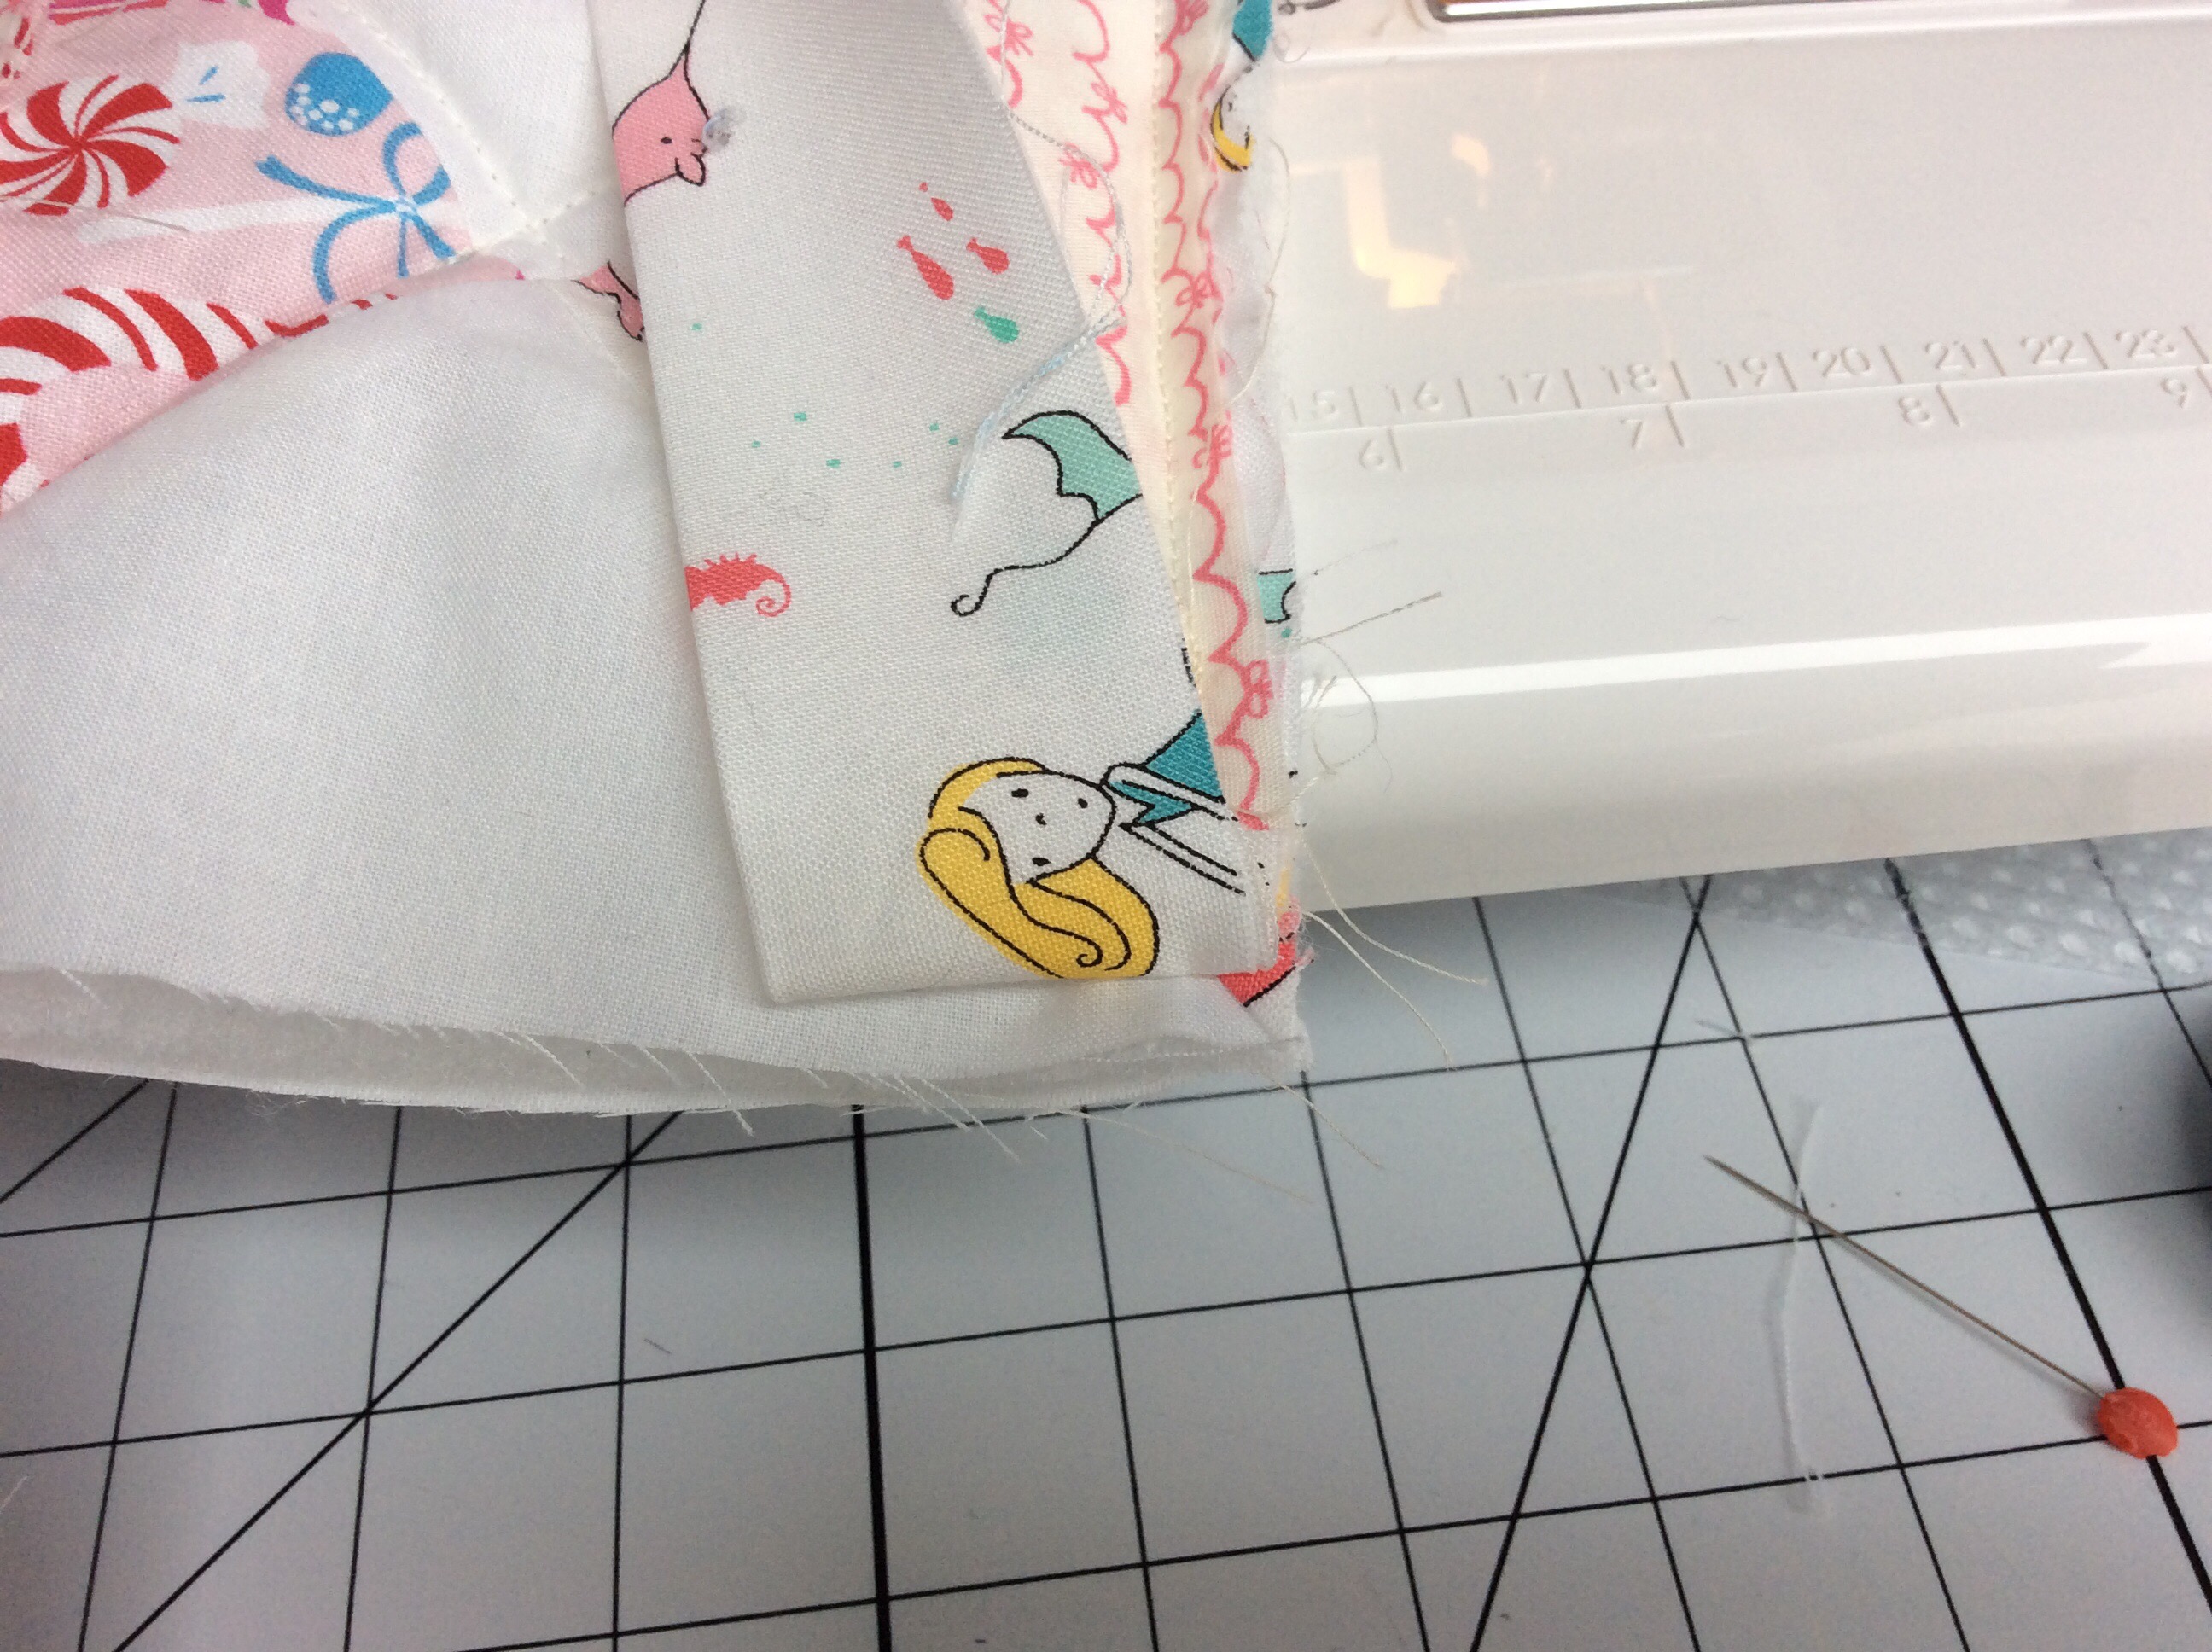
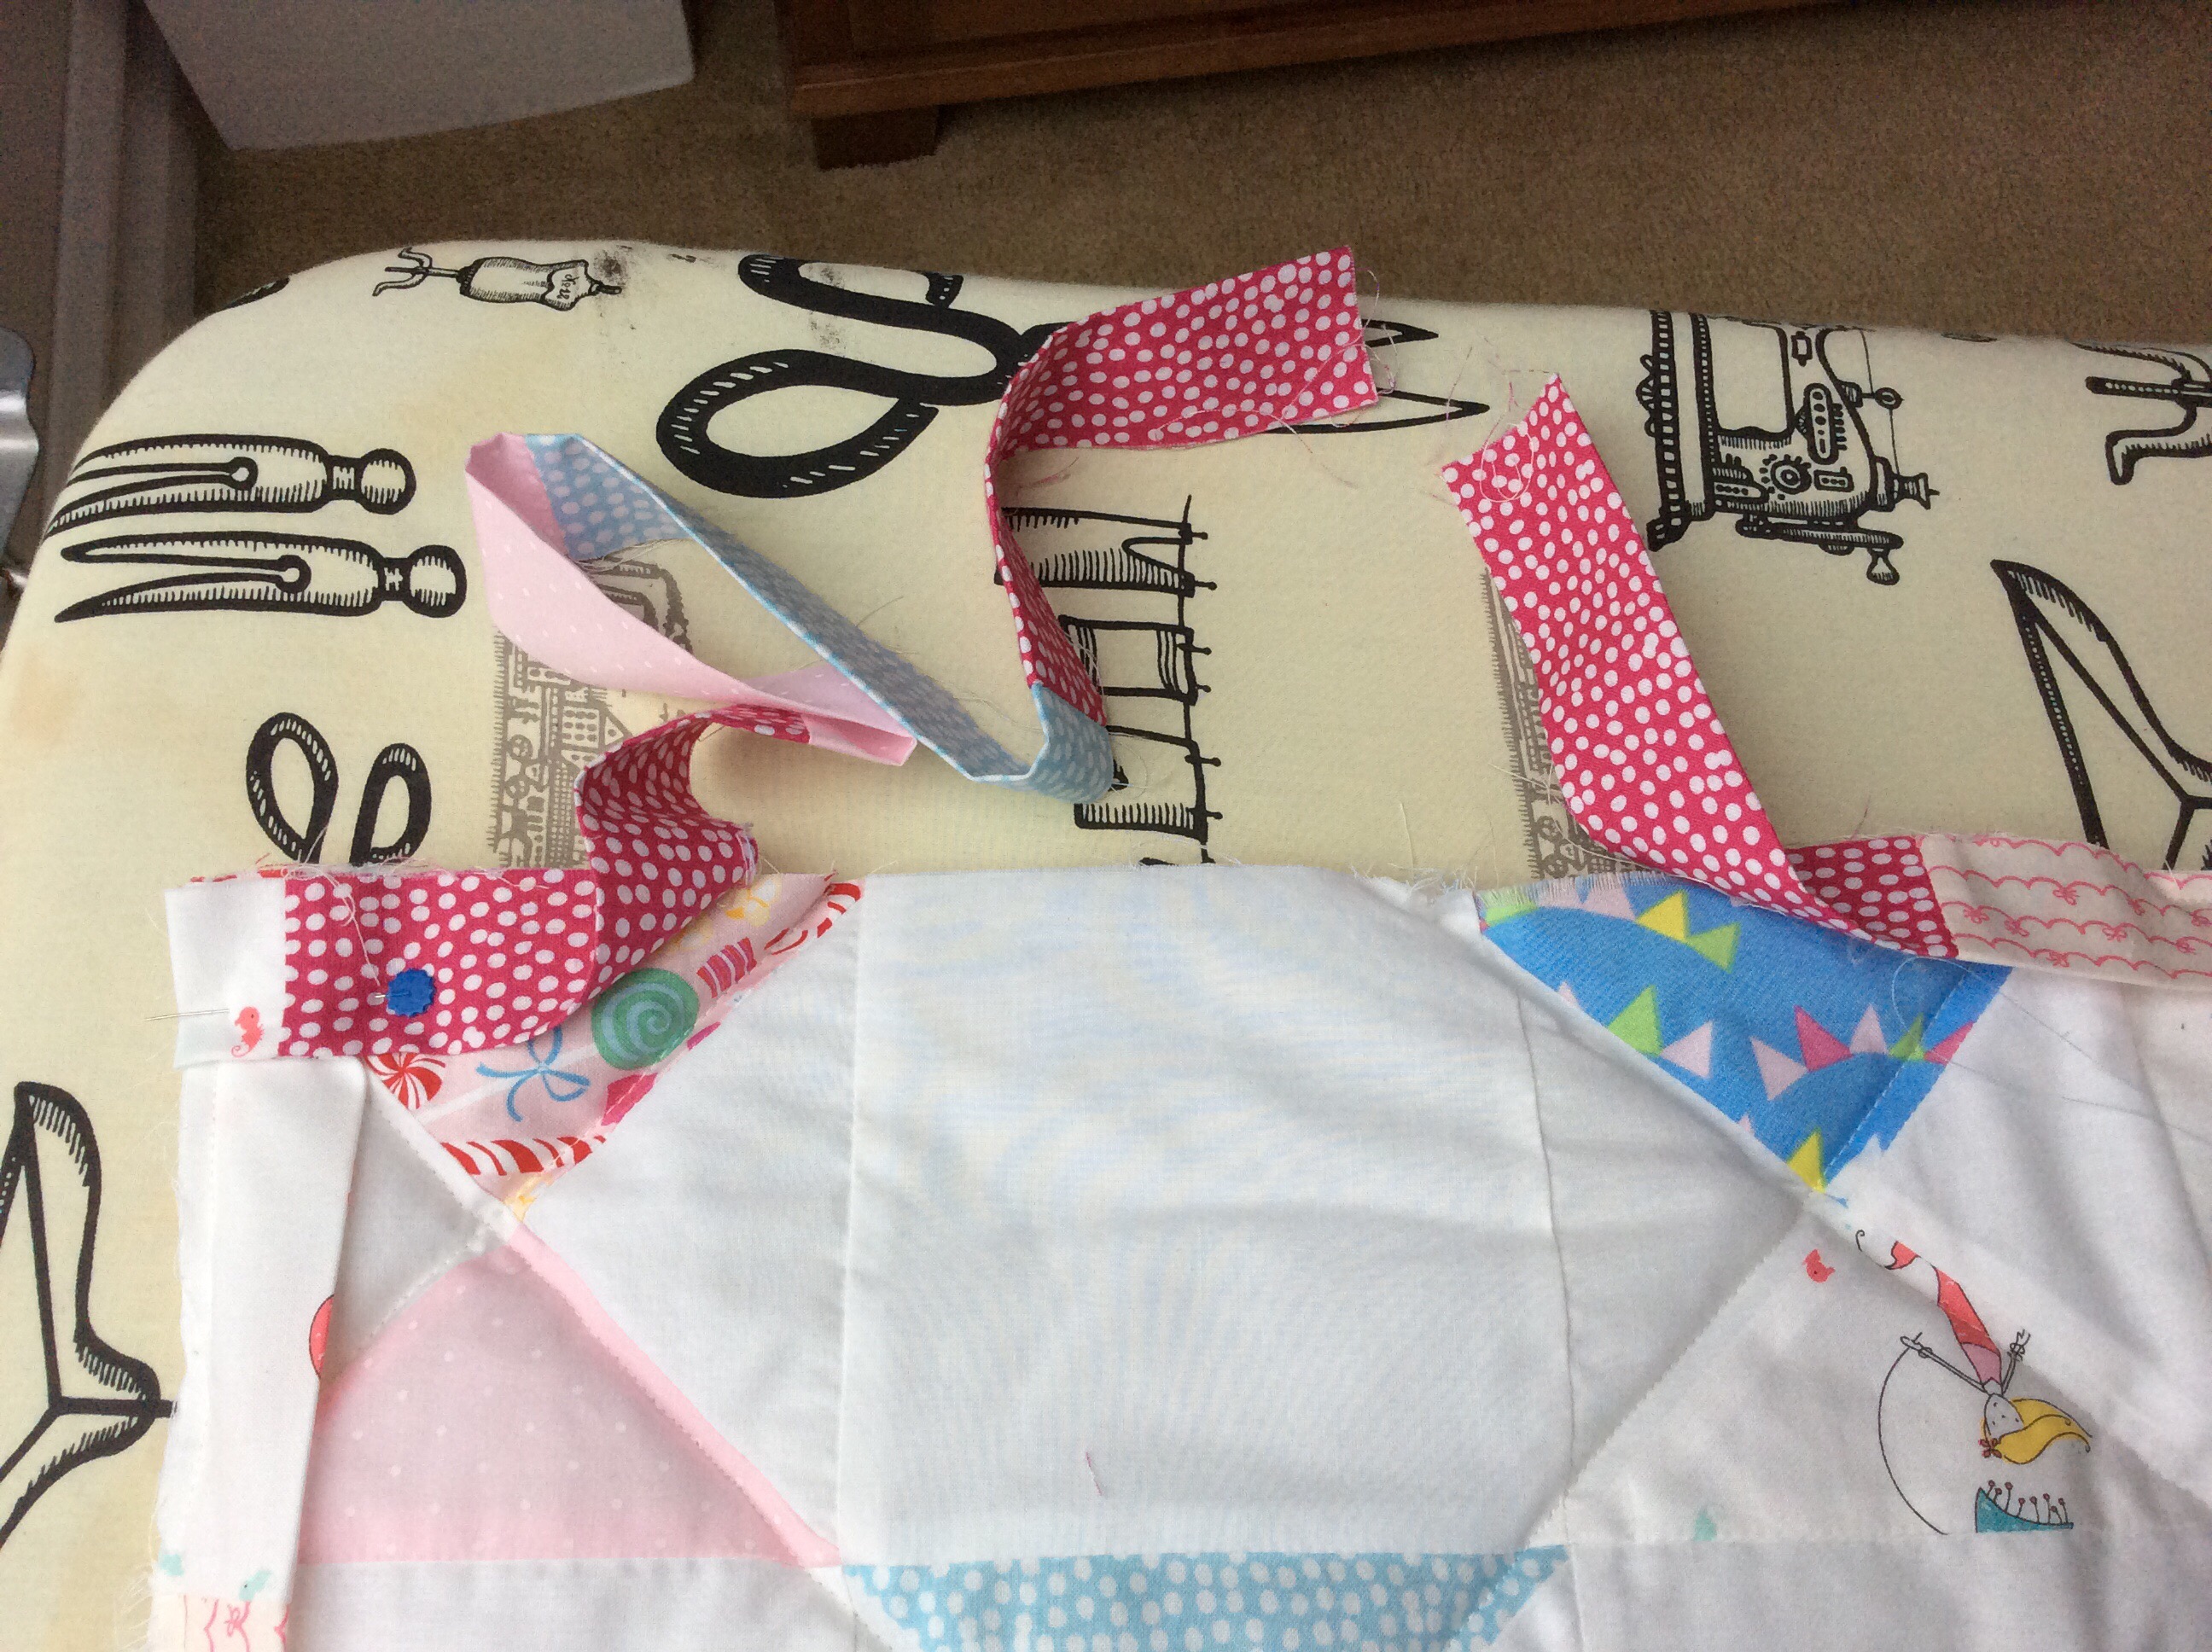
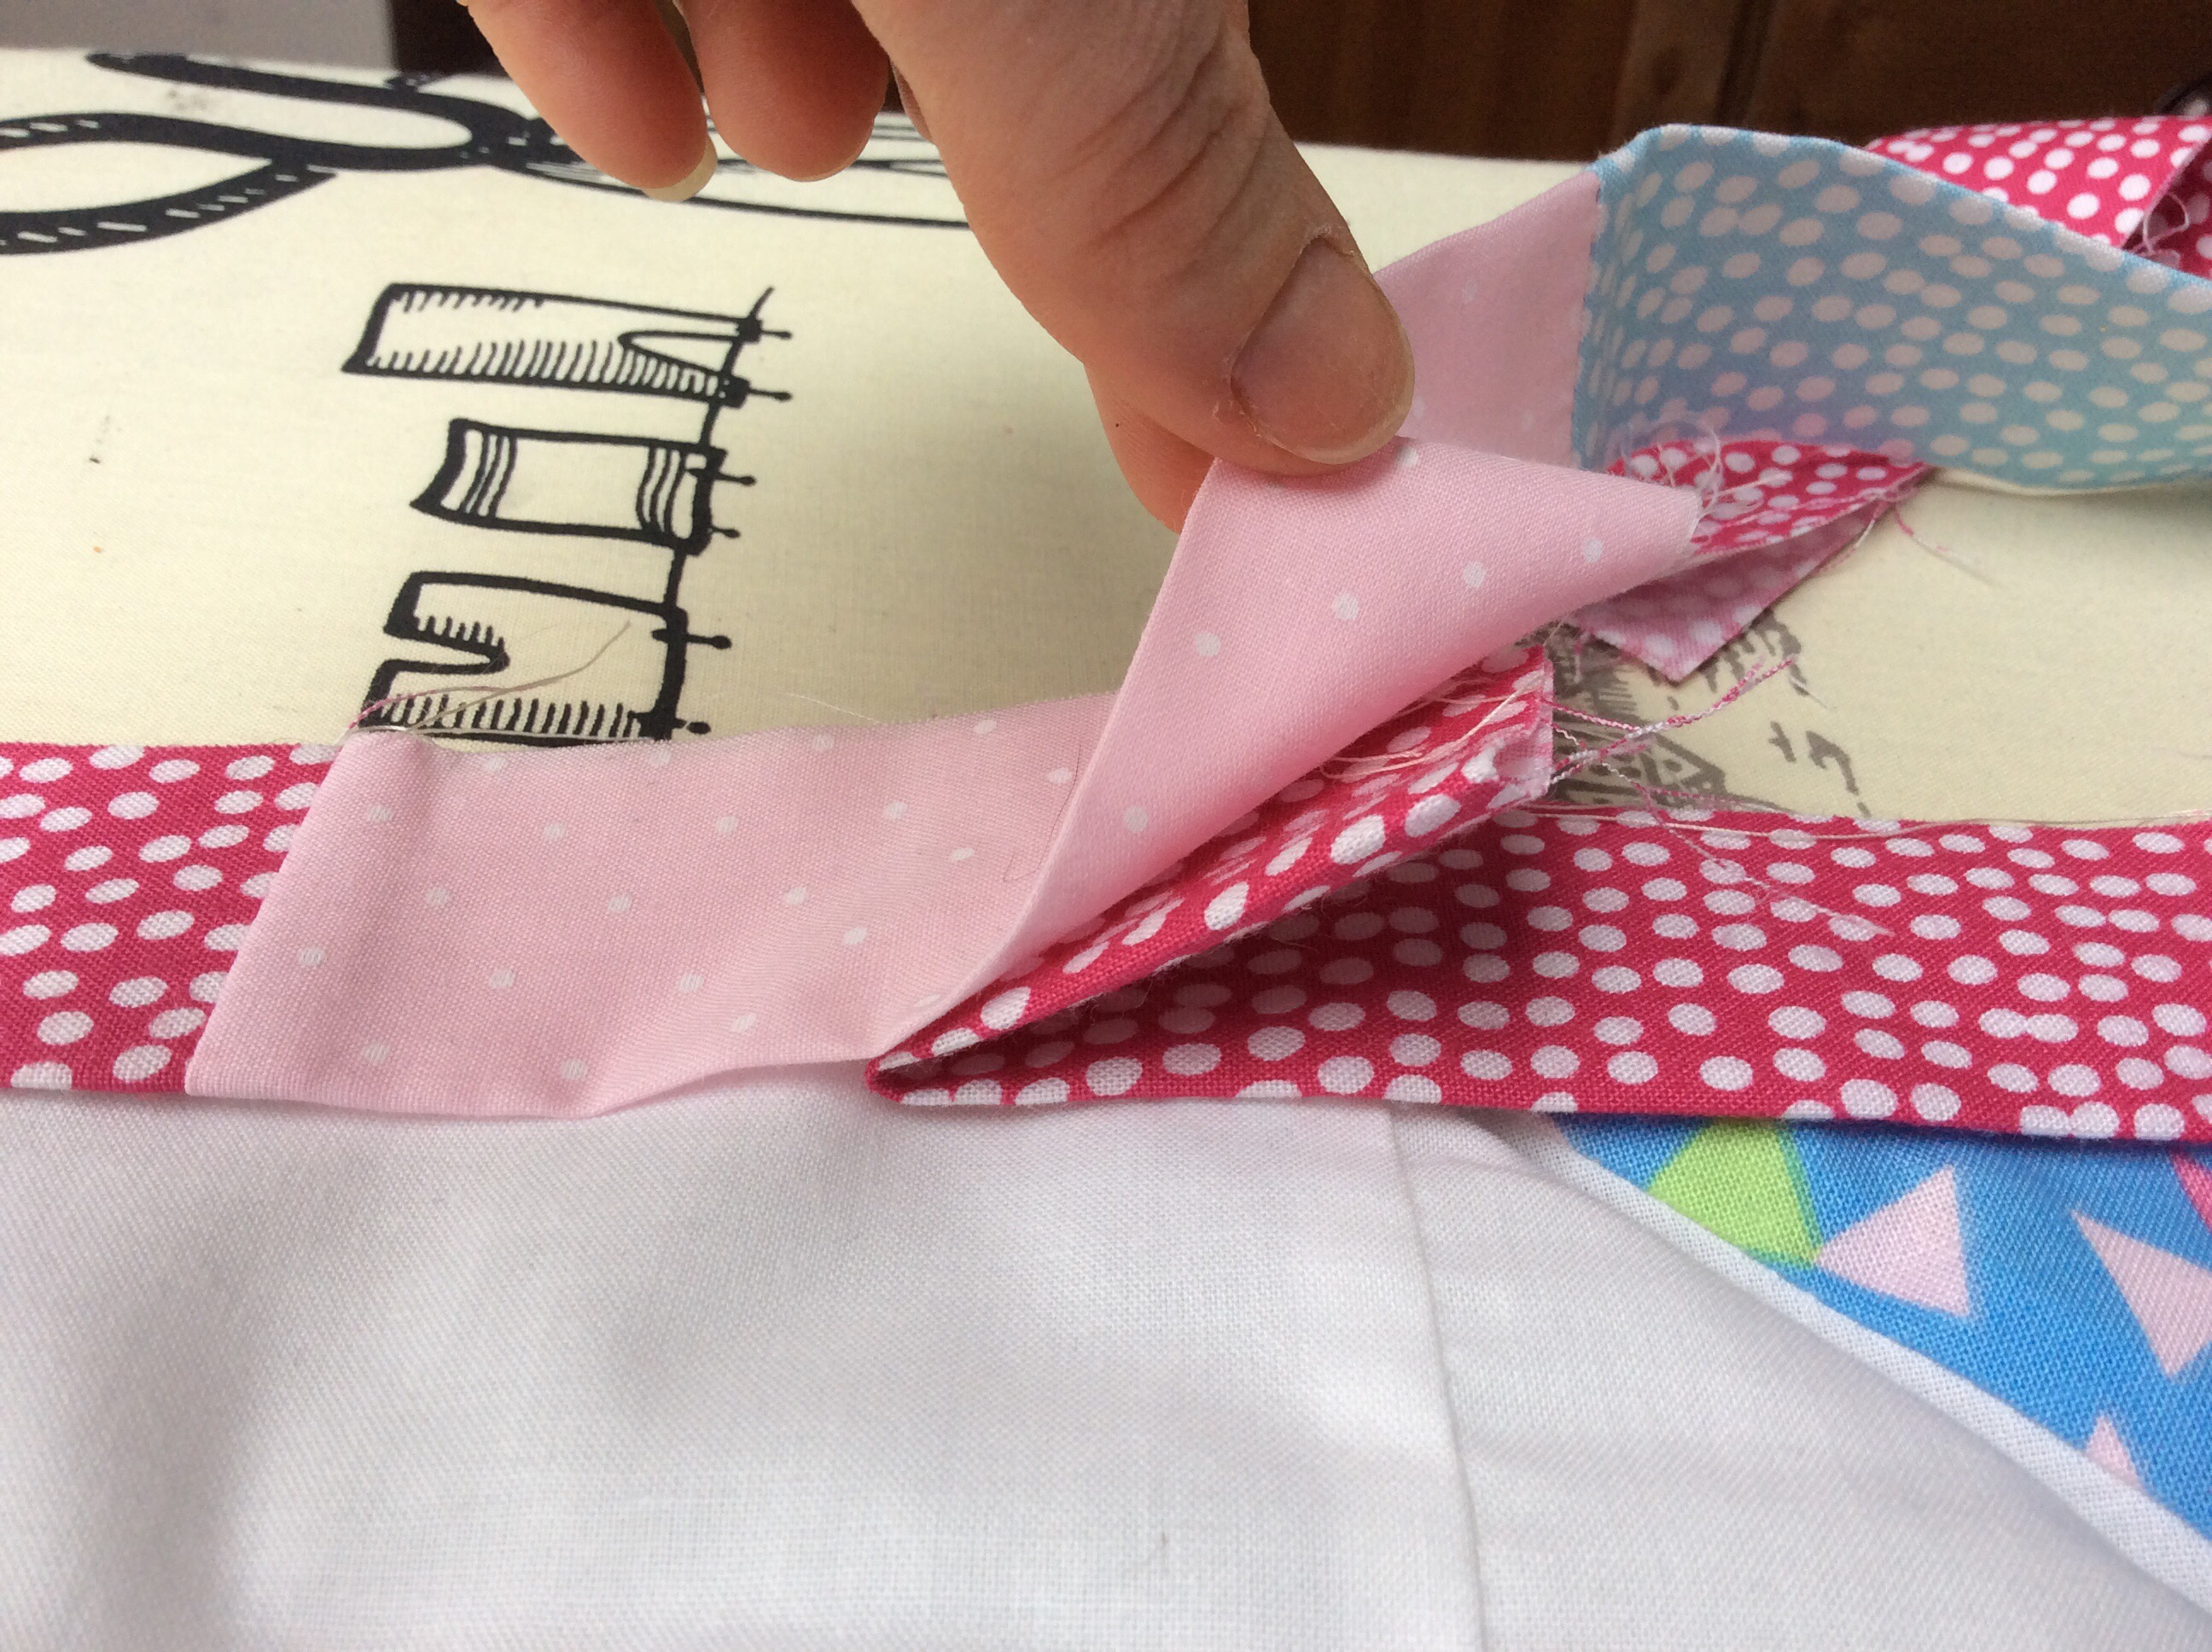
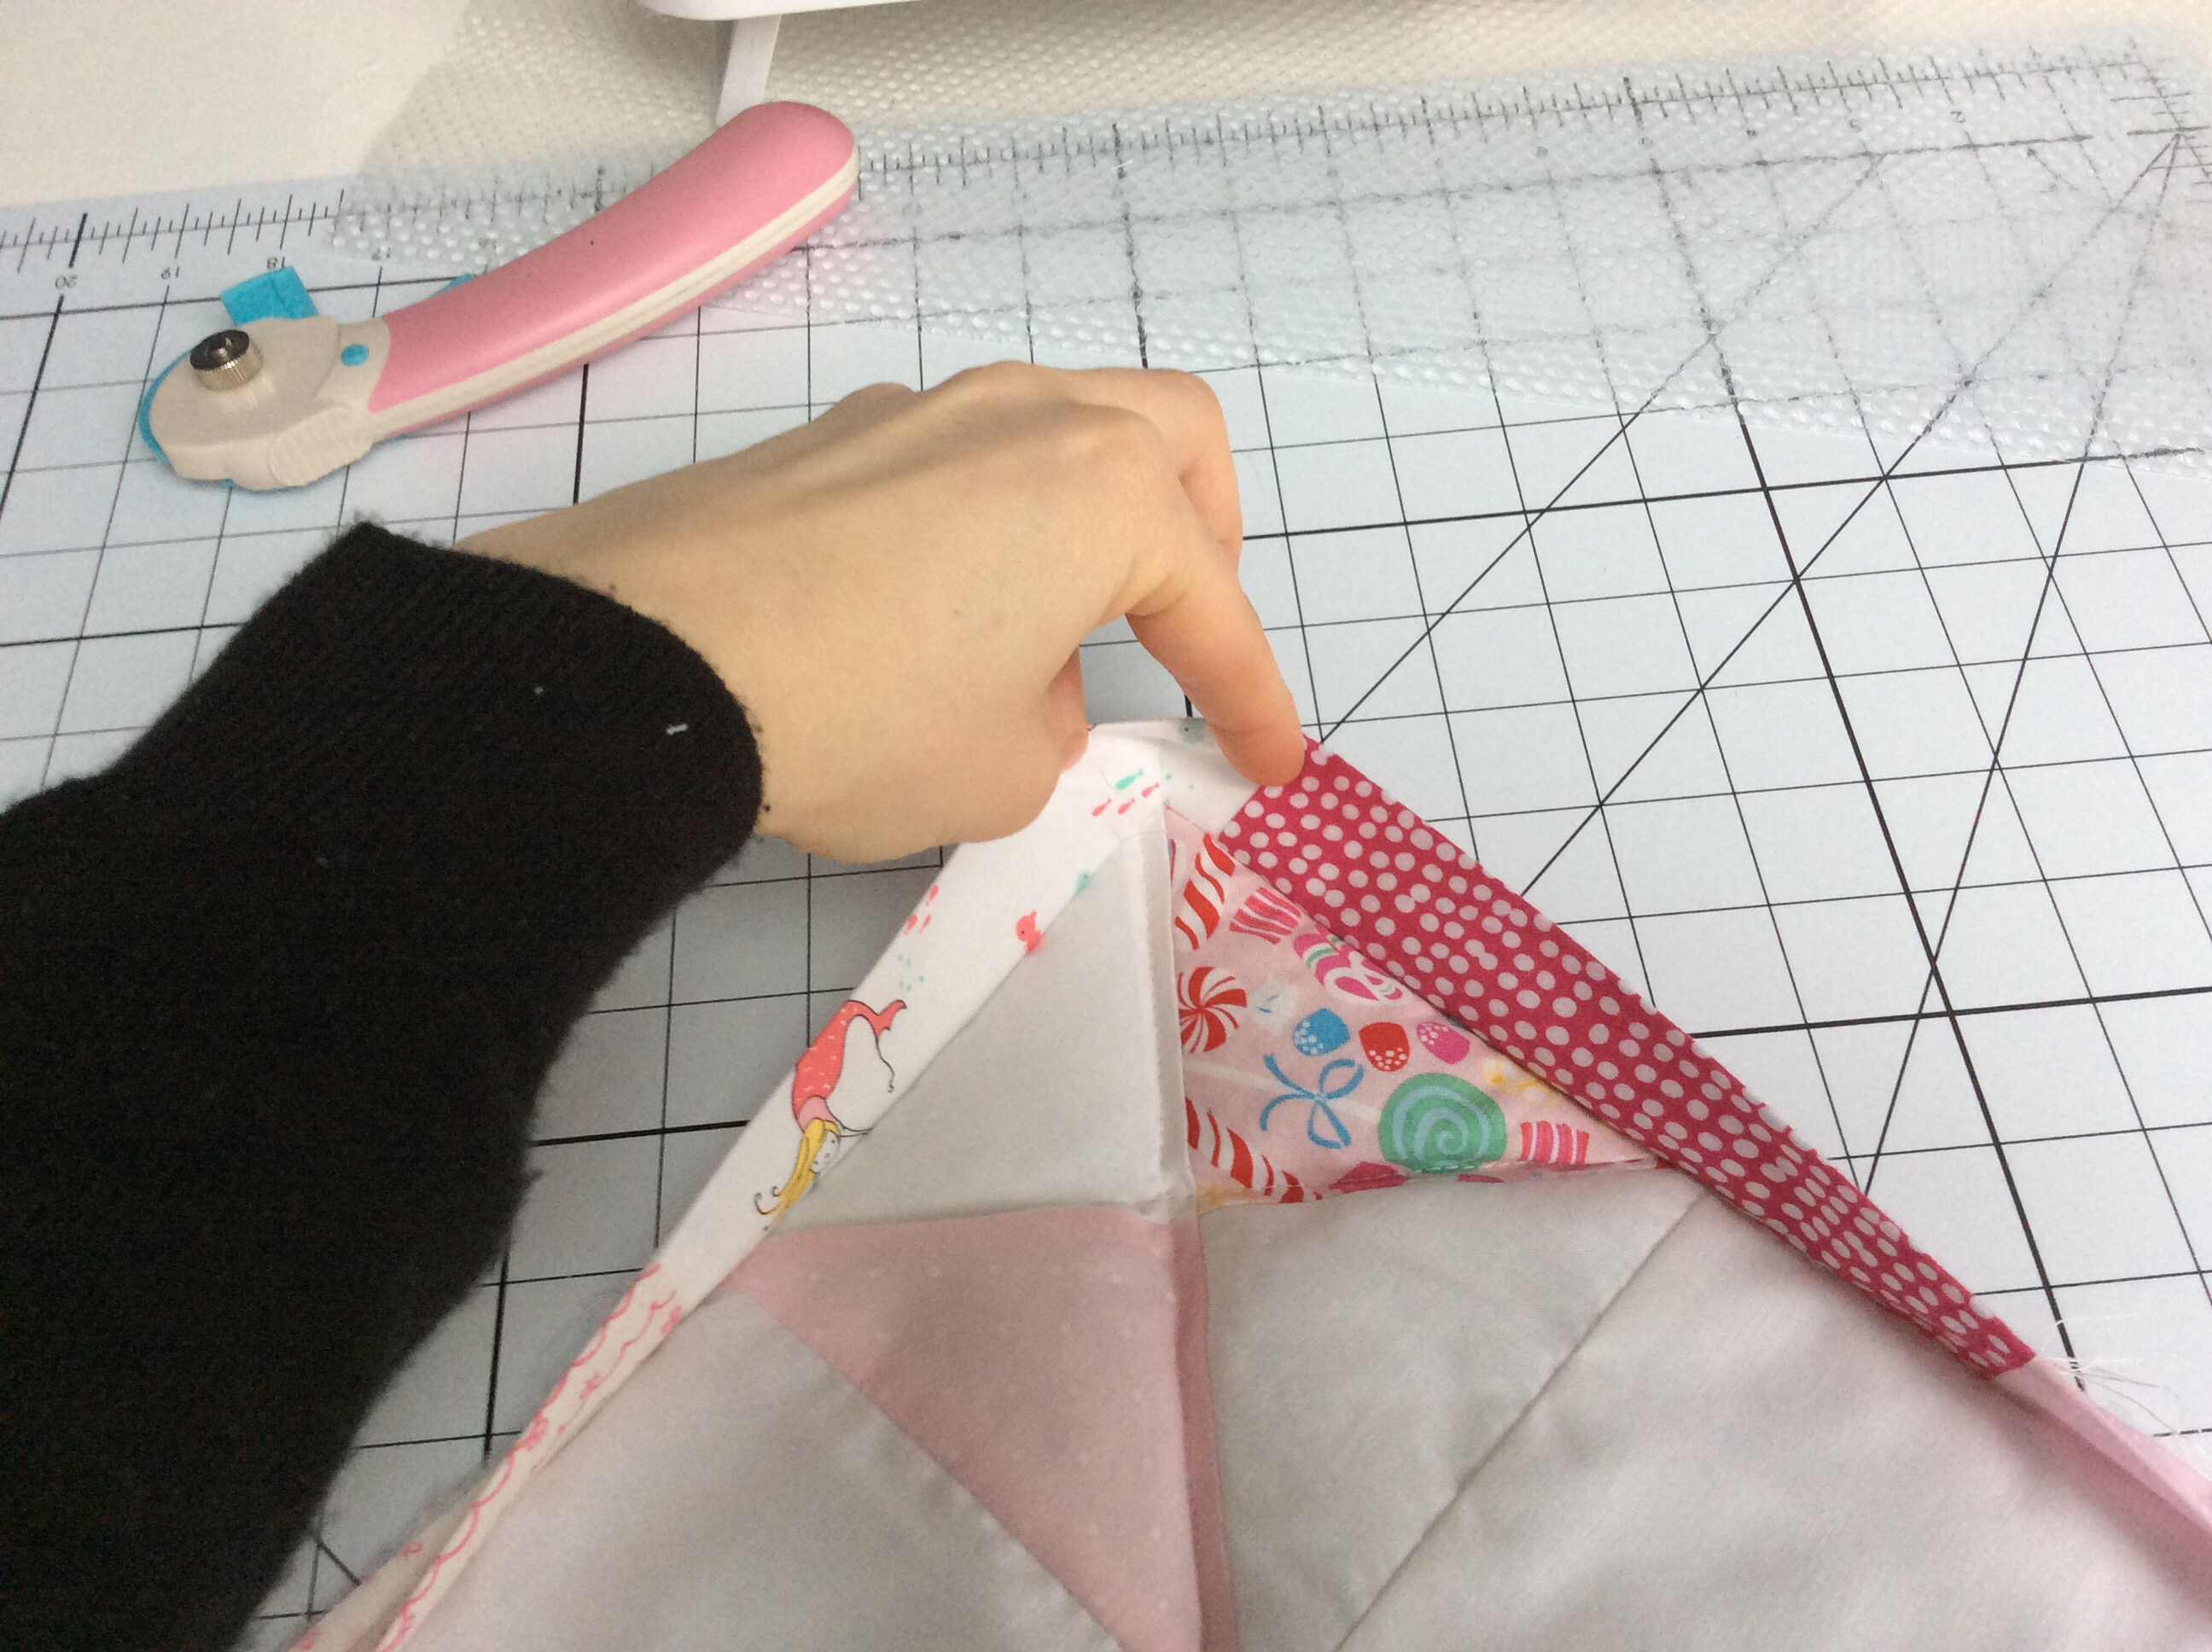
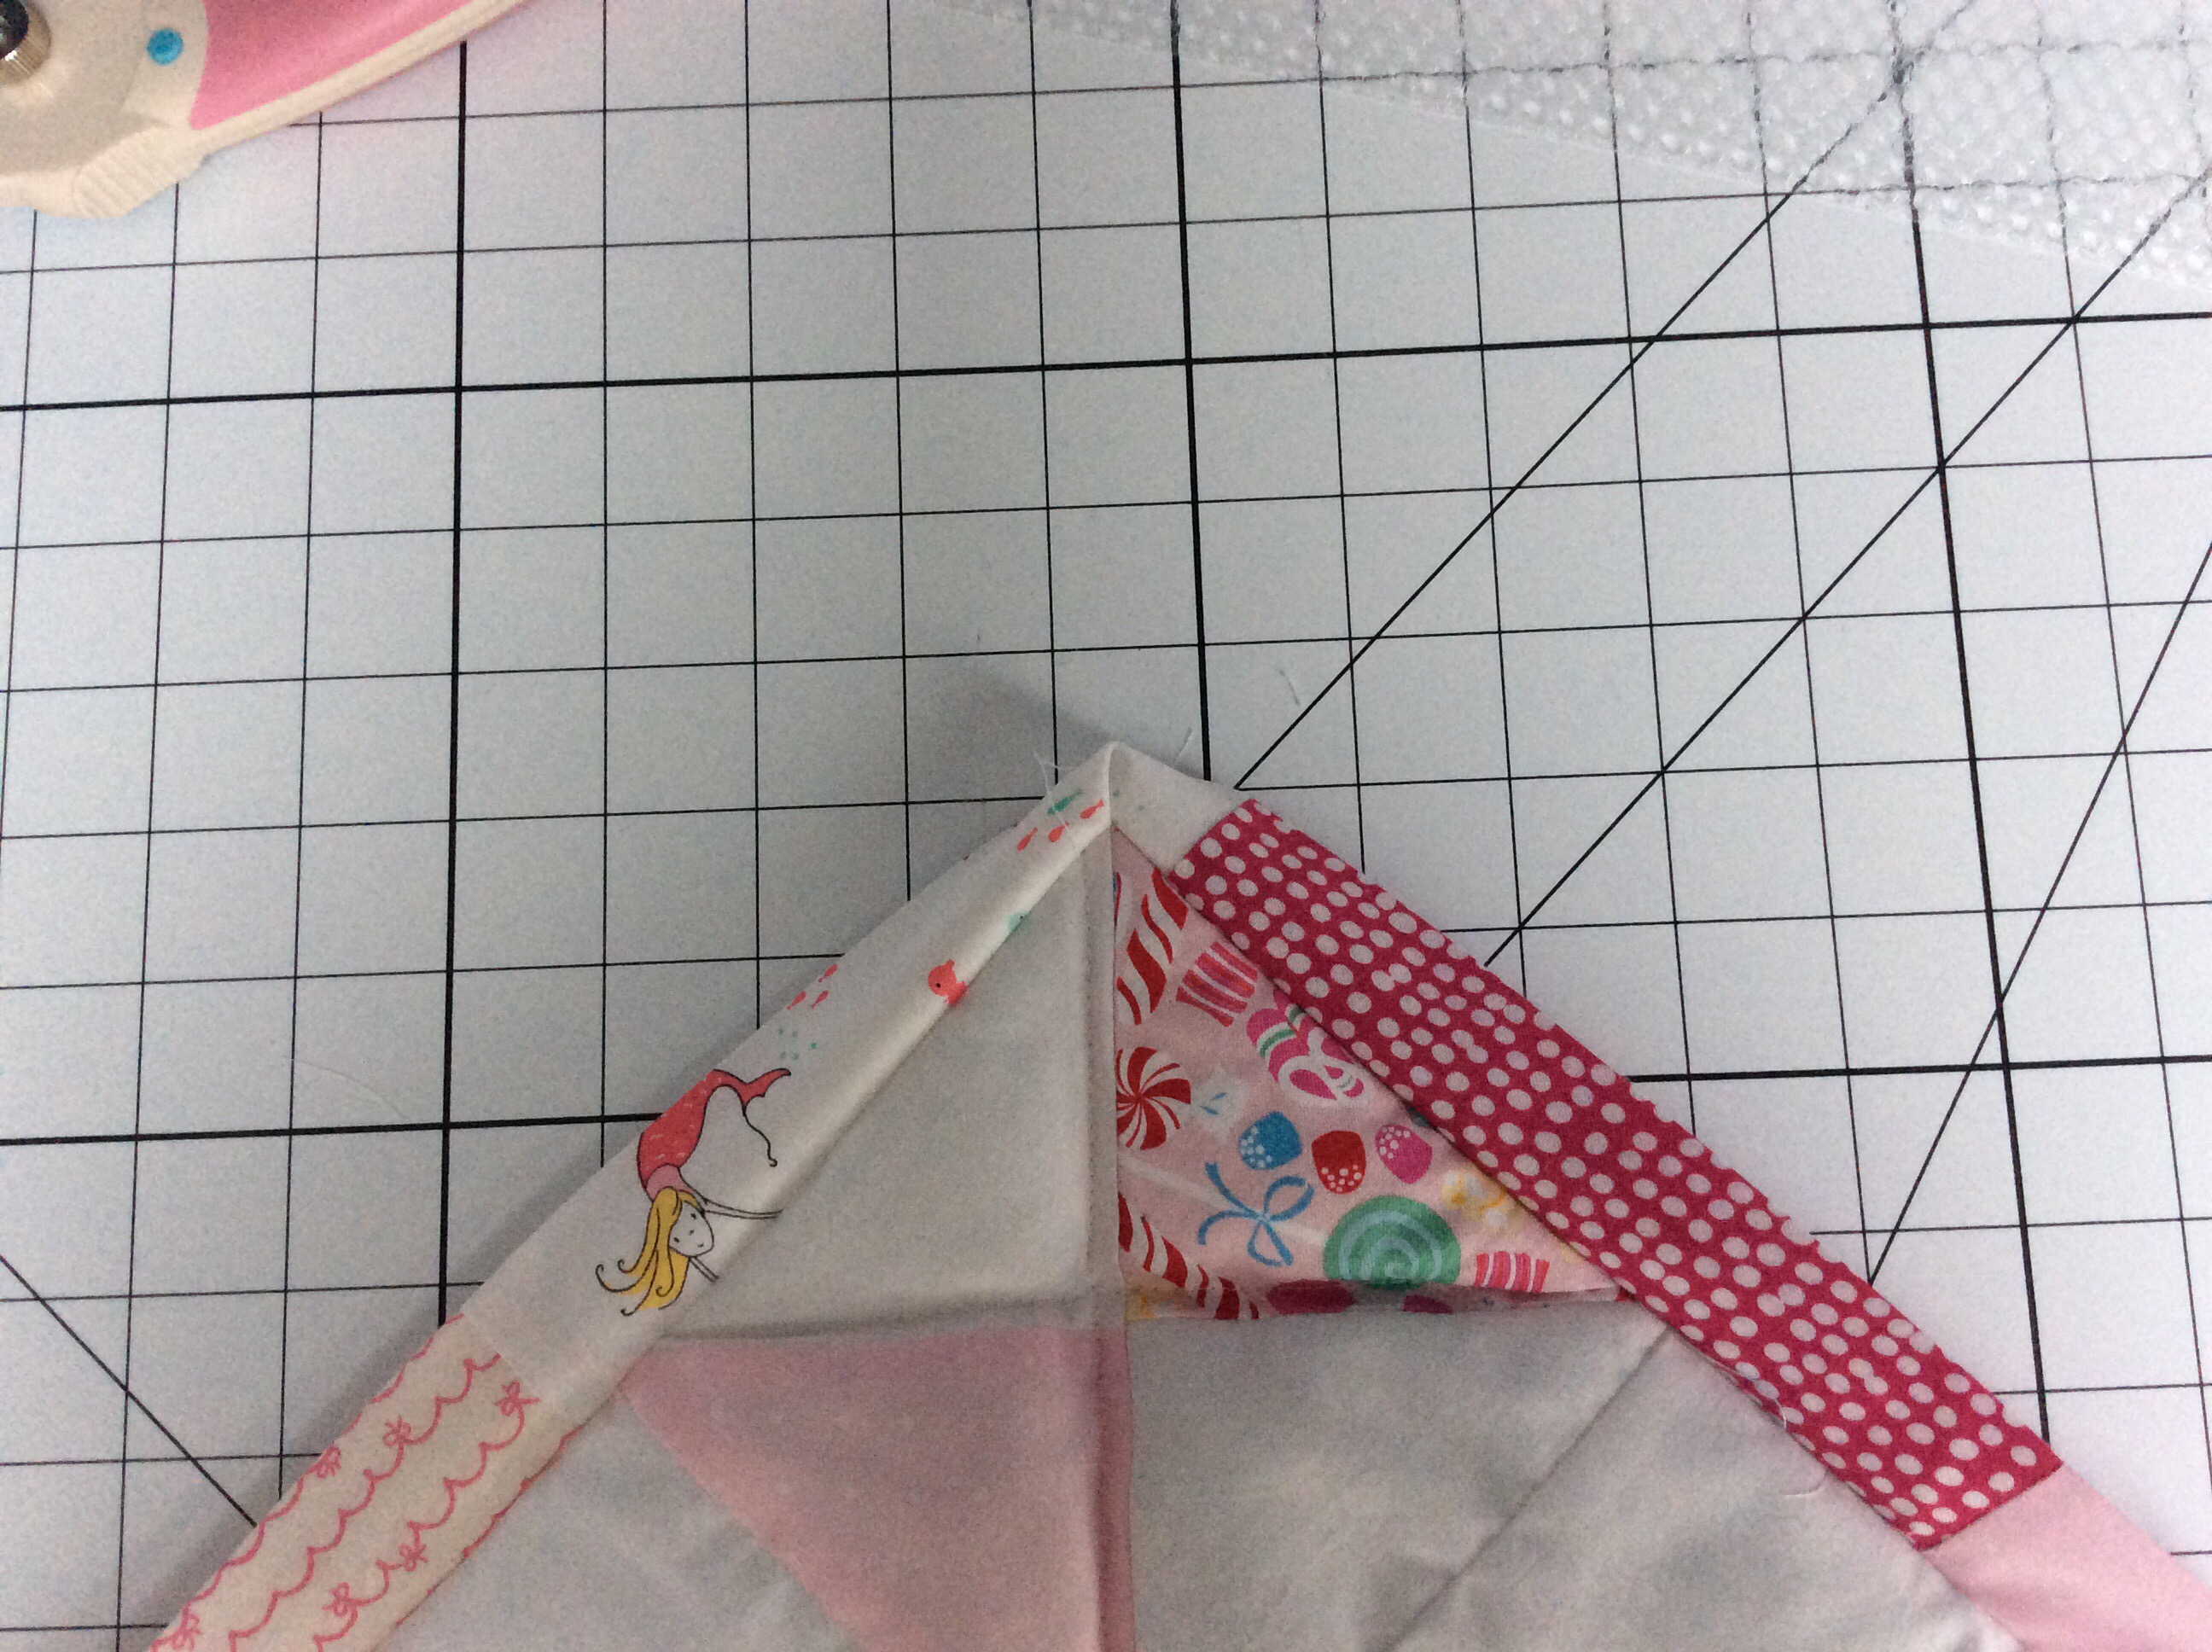
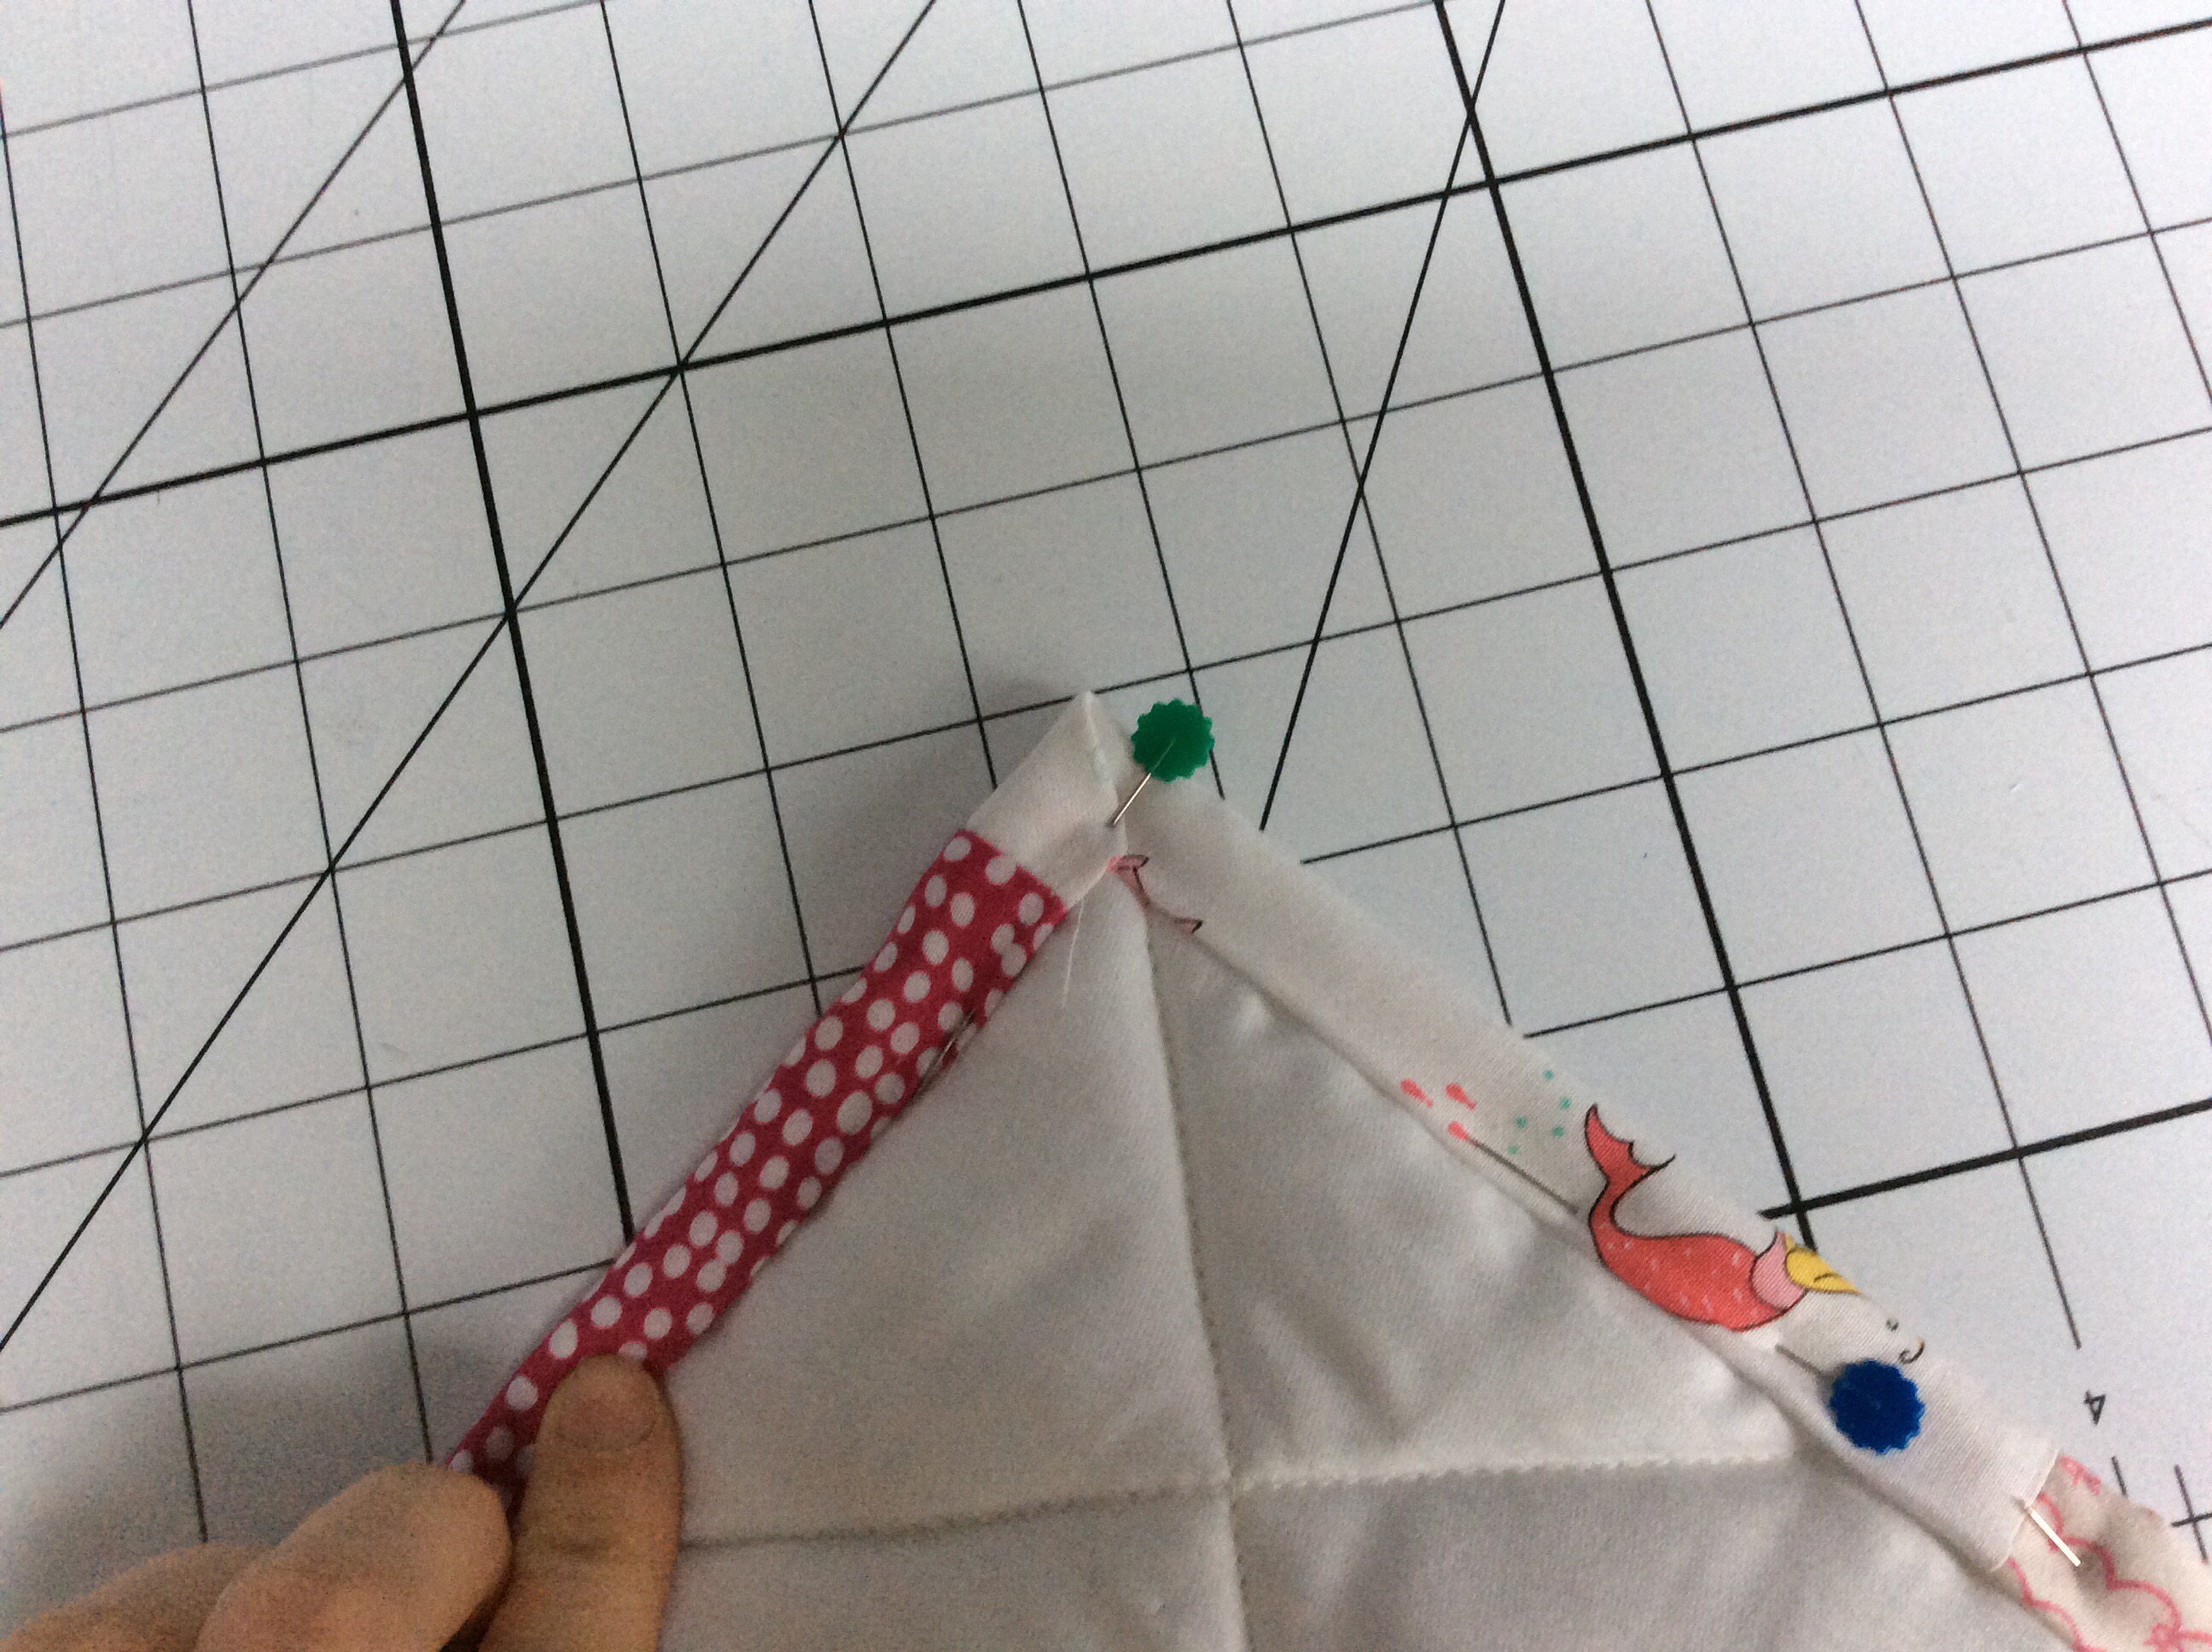
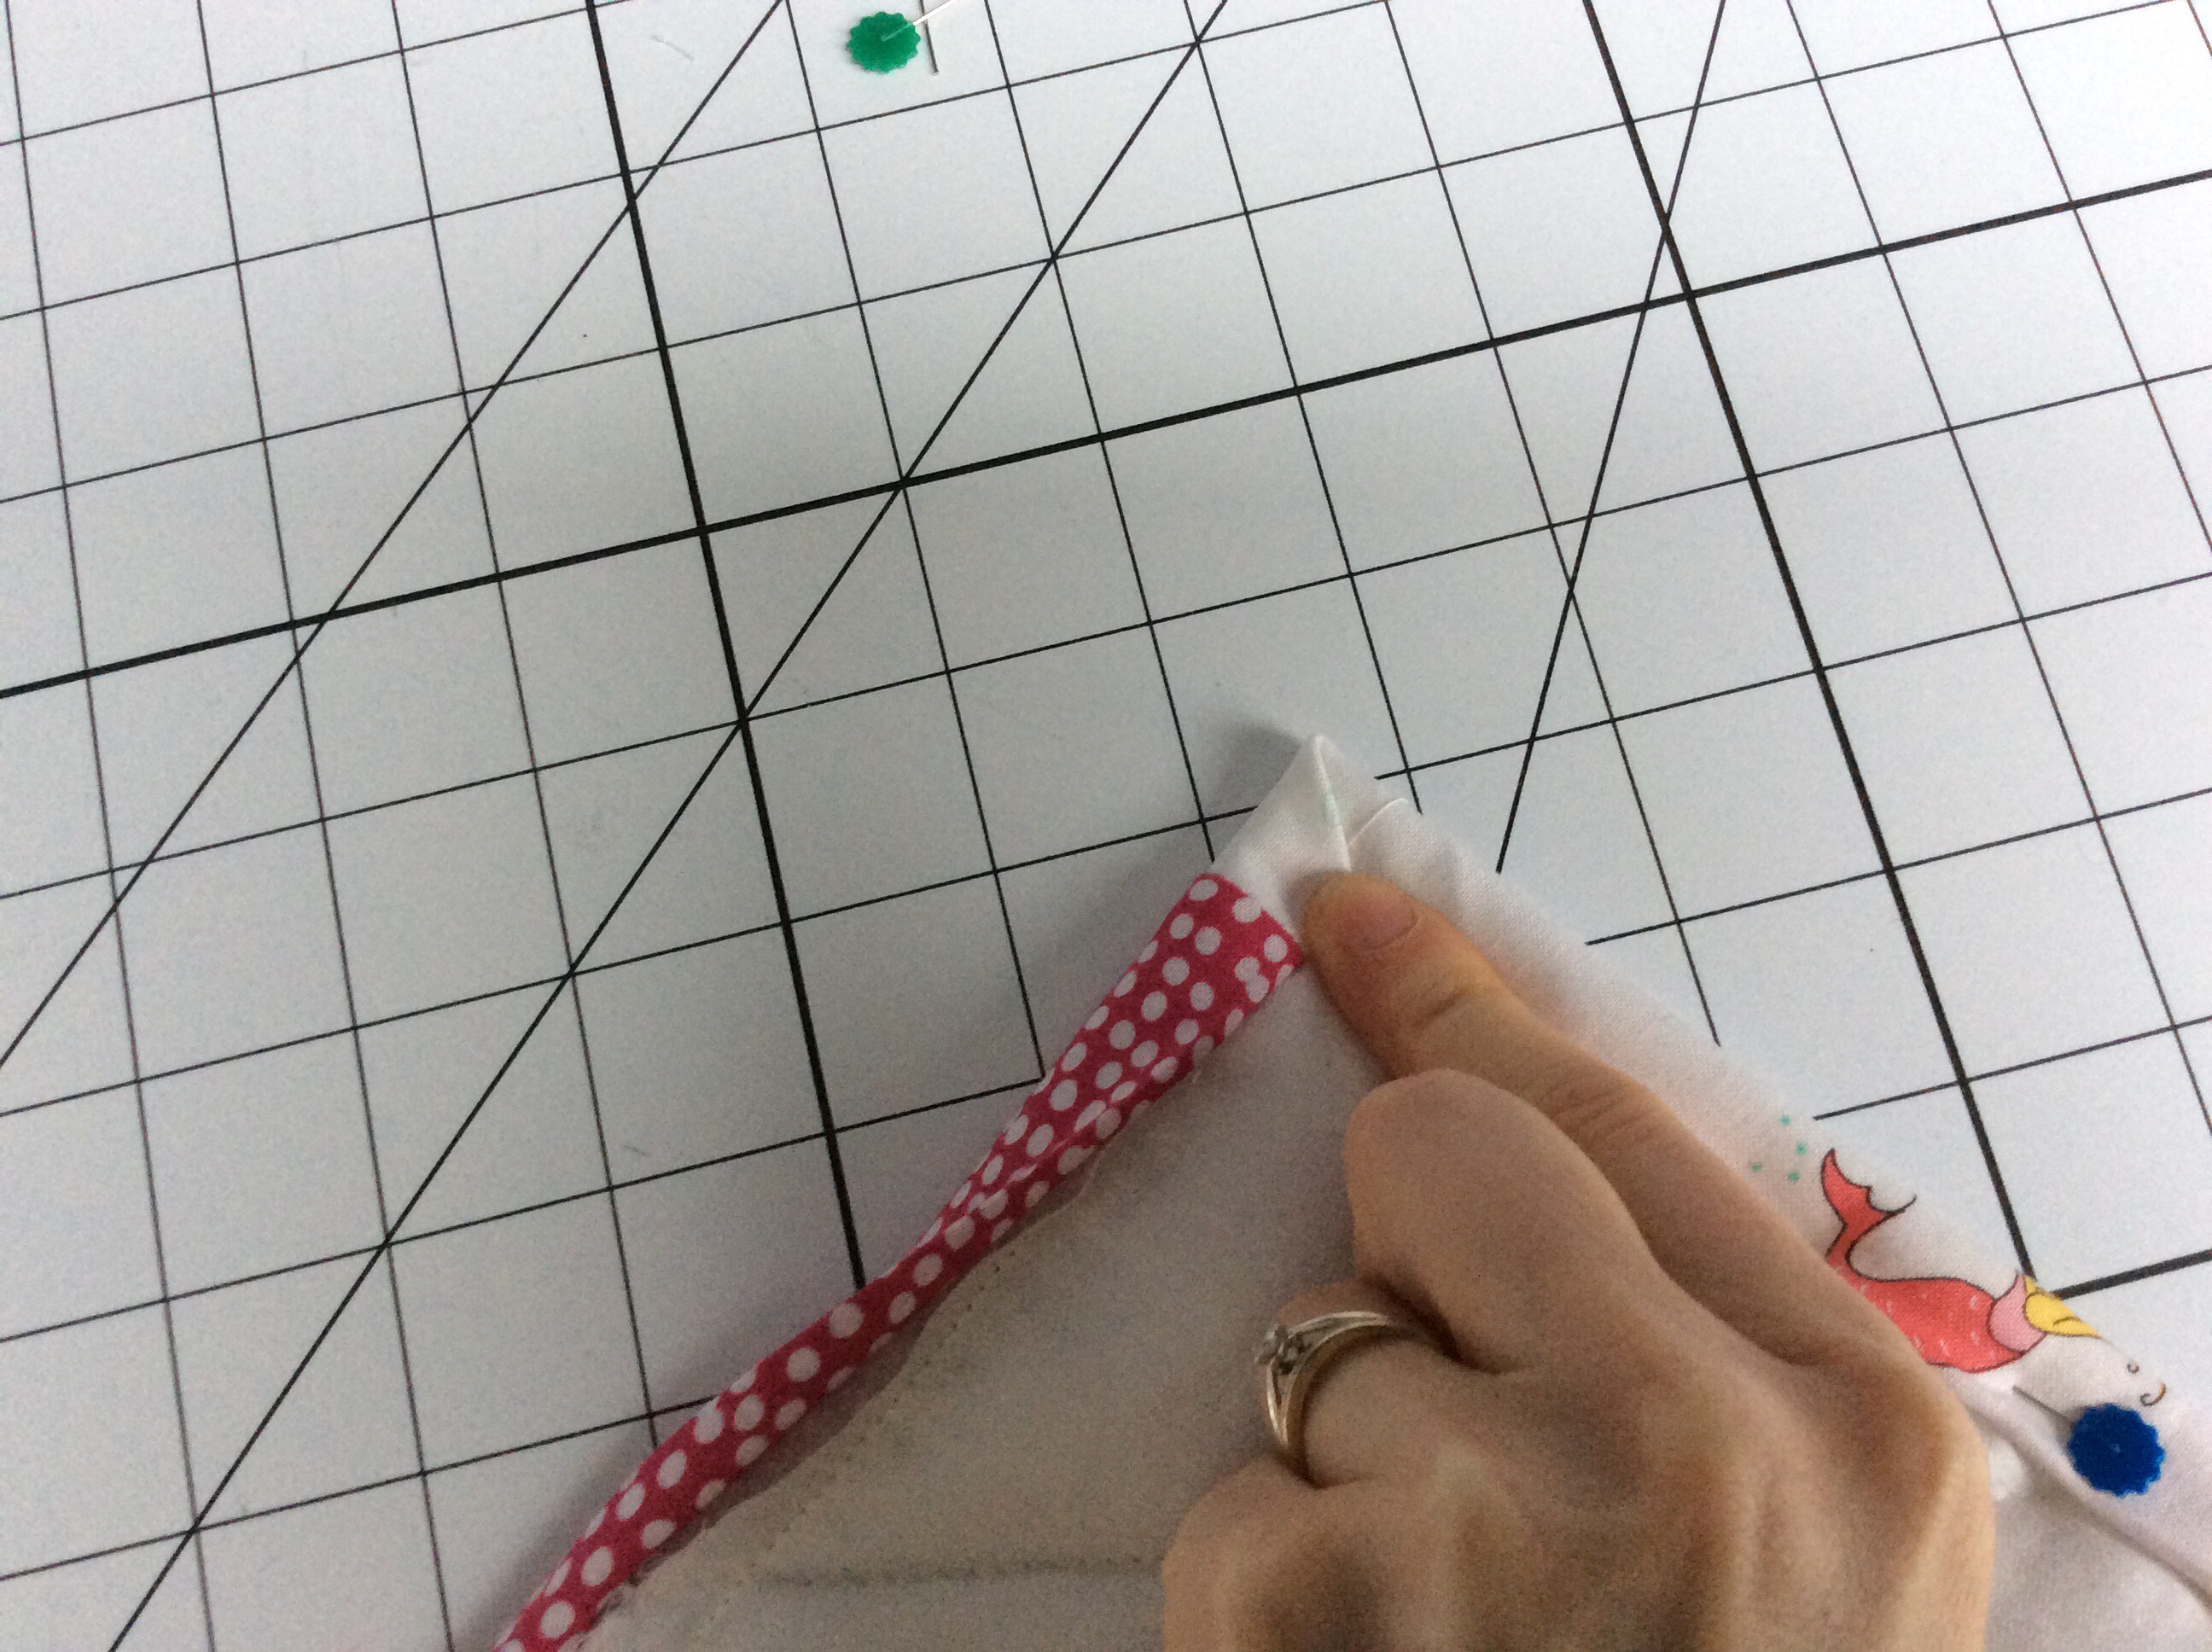
Lay the quilt on a flat surface (I usually use my ironing table) Fold the strip up, so that it is in line with the opposite edge,
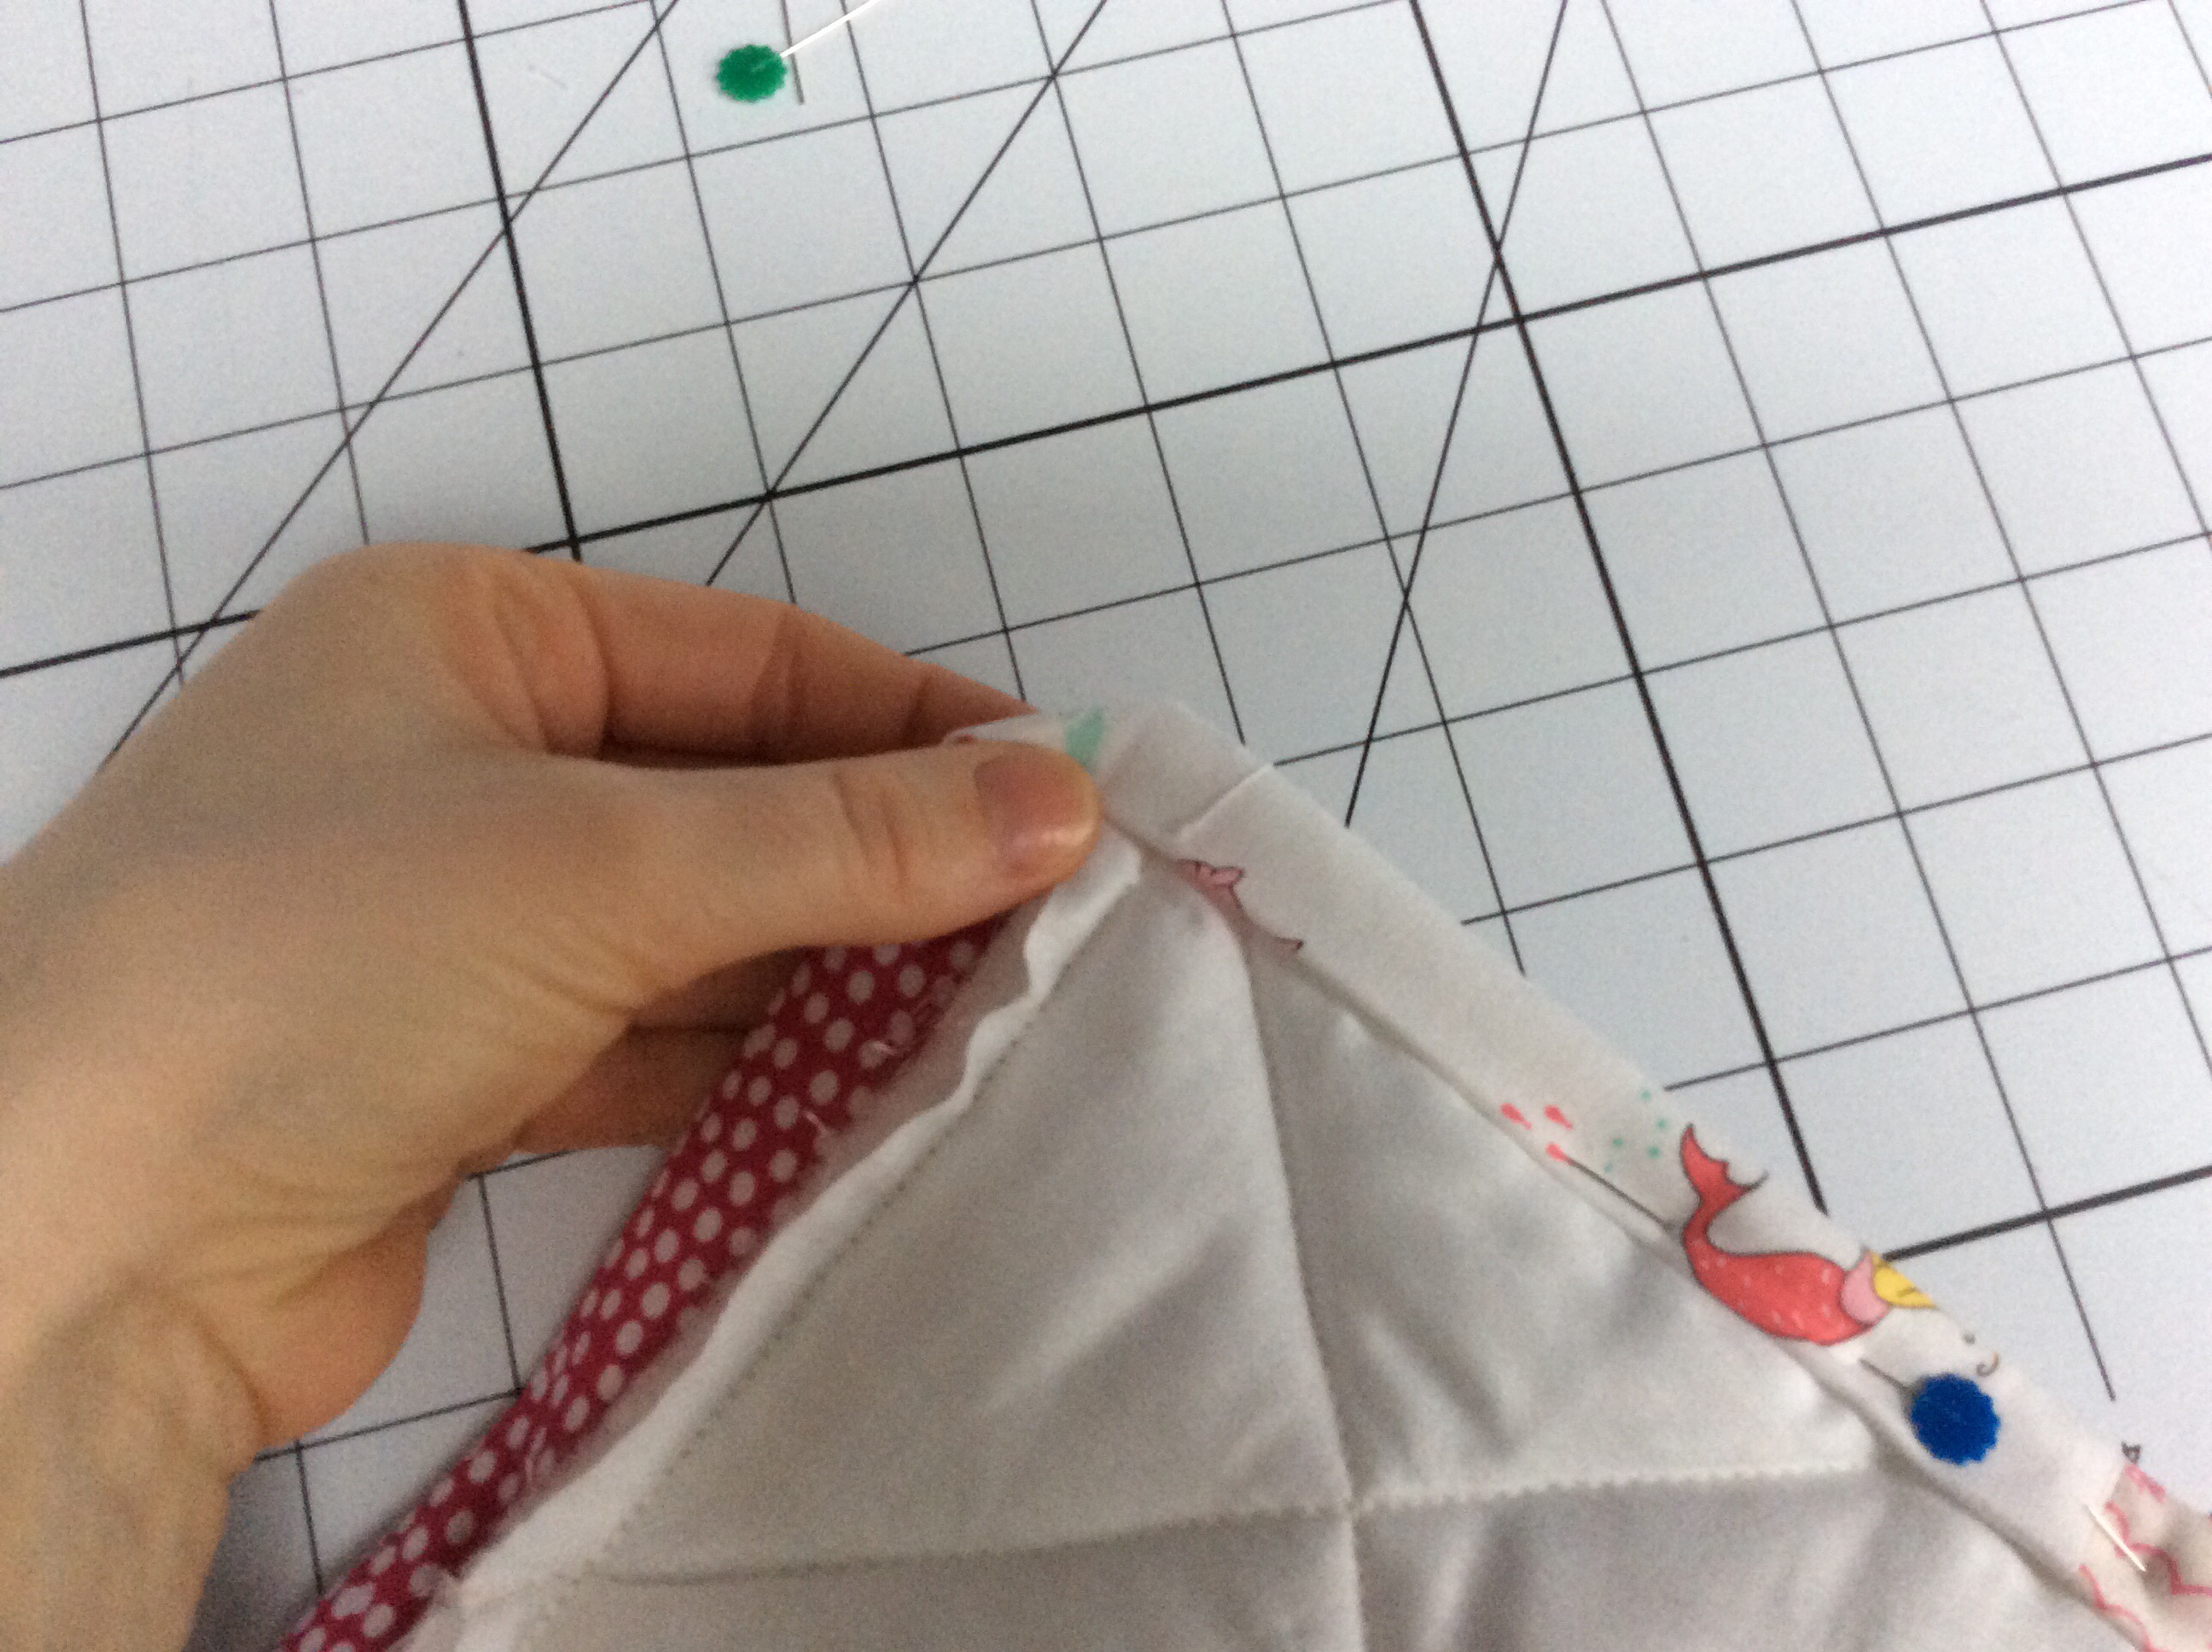
fold down again so that now the strip is against the edge of quilt,
you should have this kind of fold now,
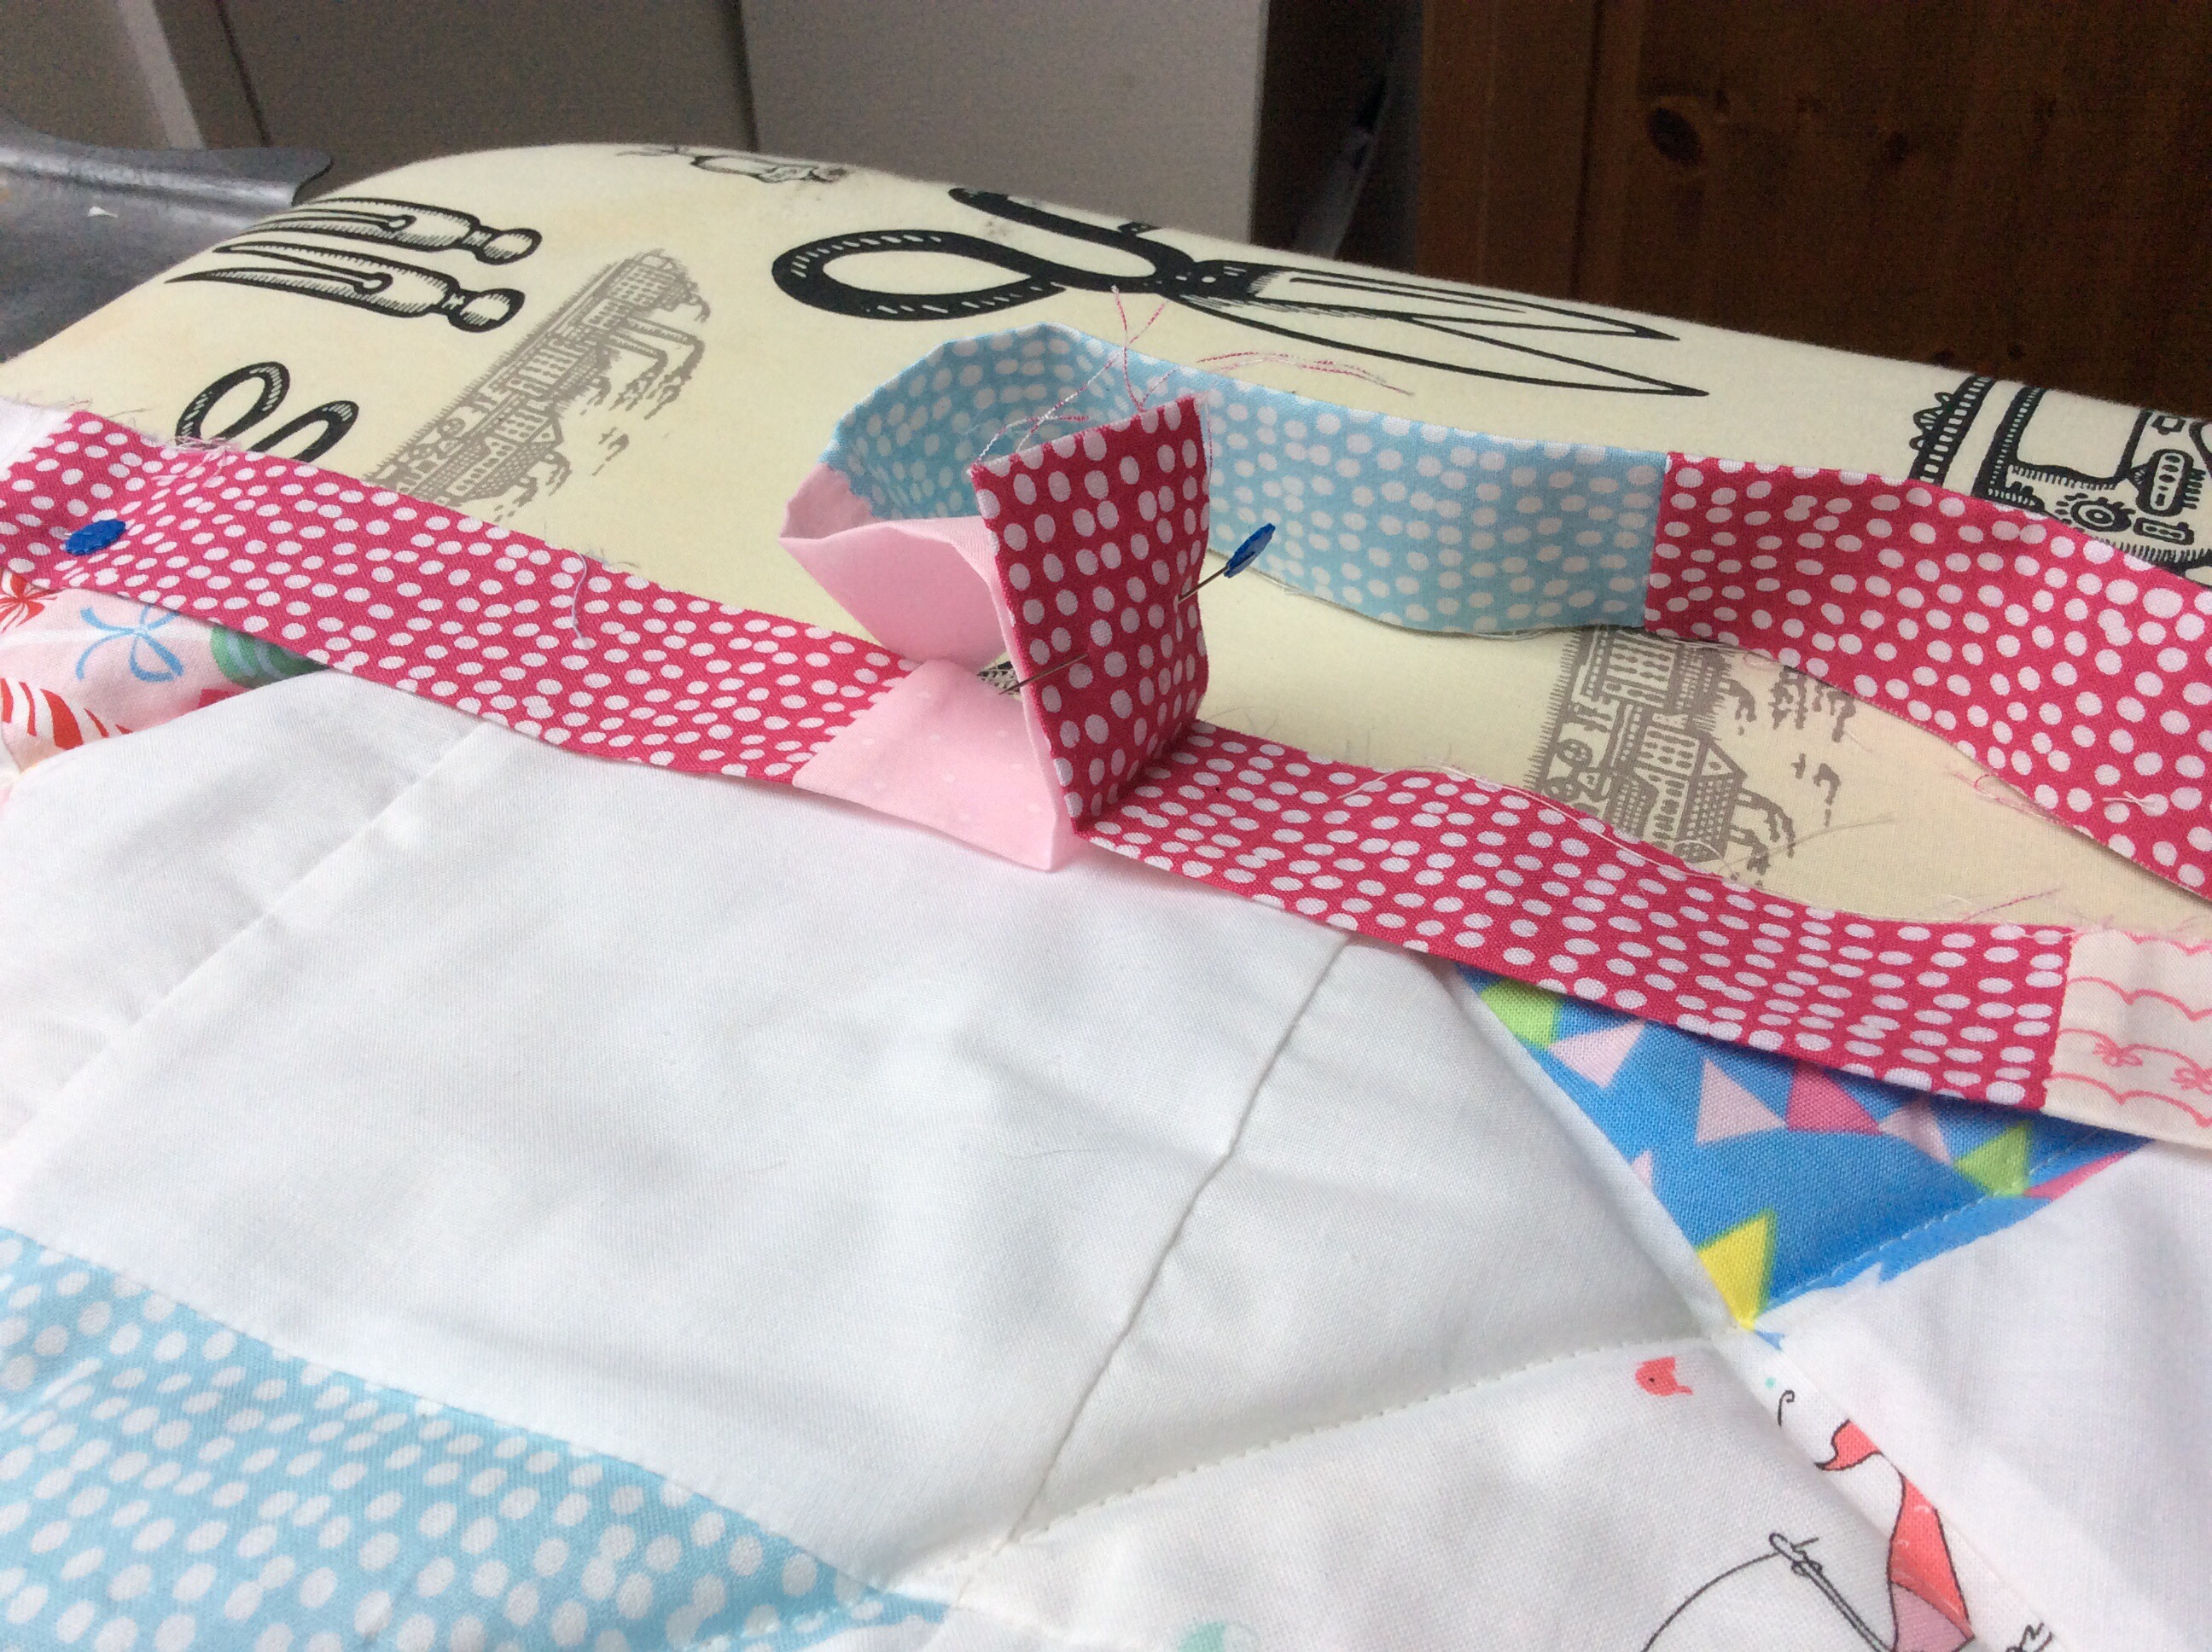
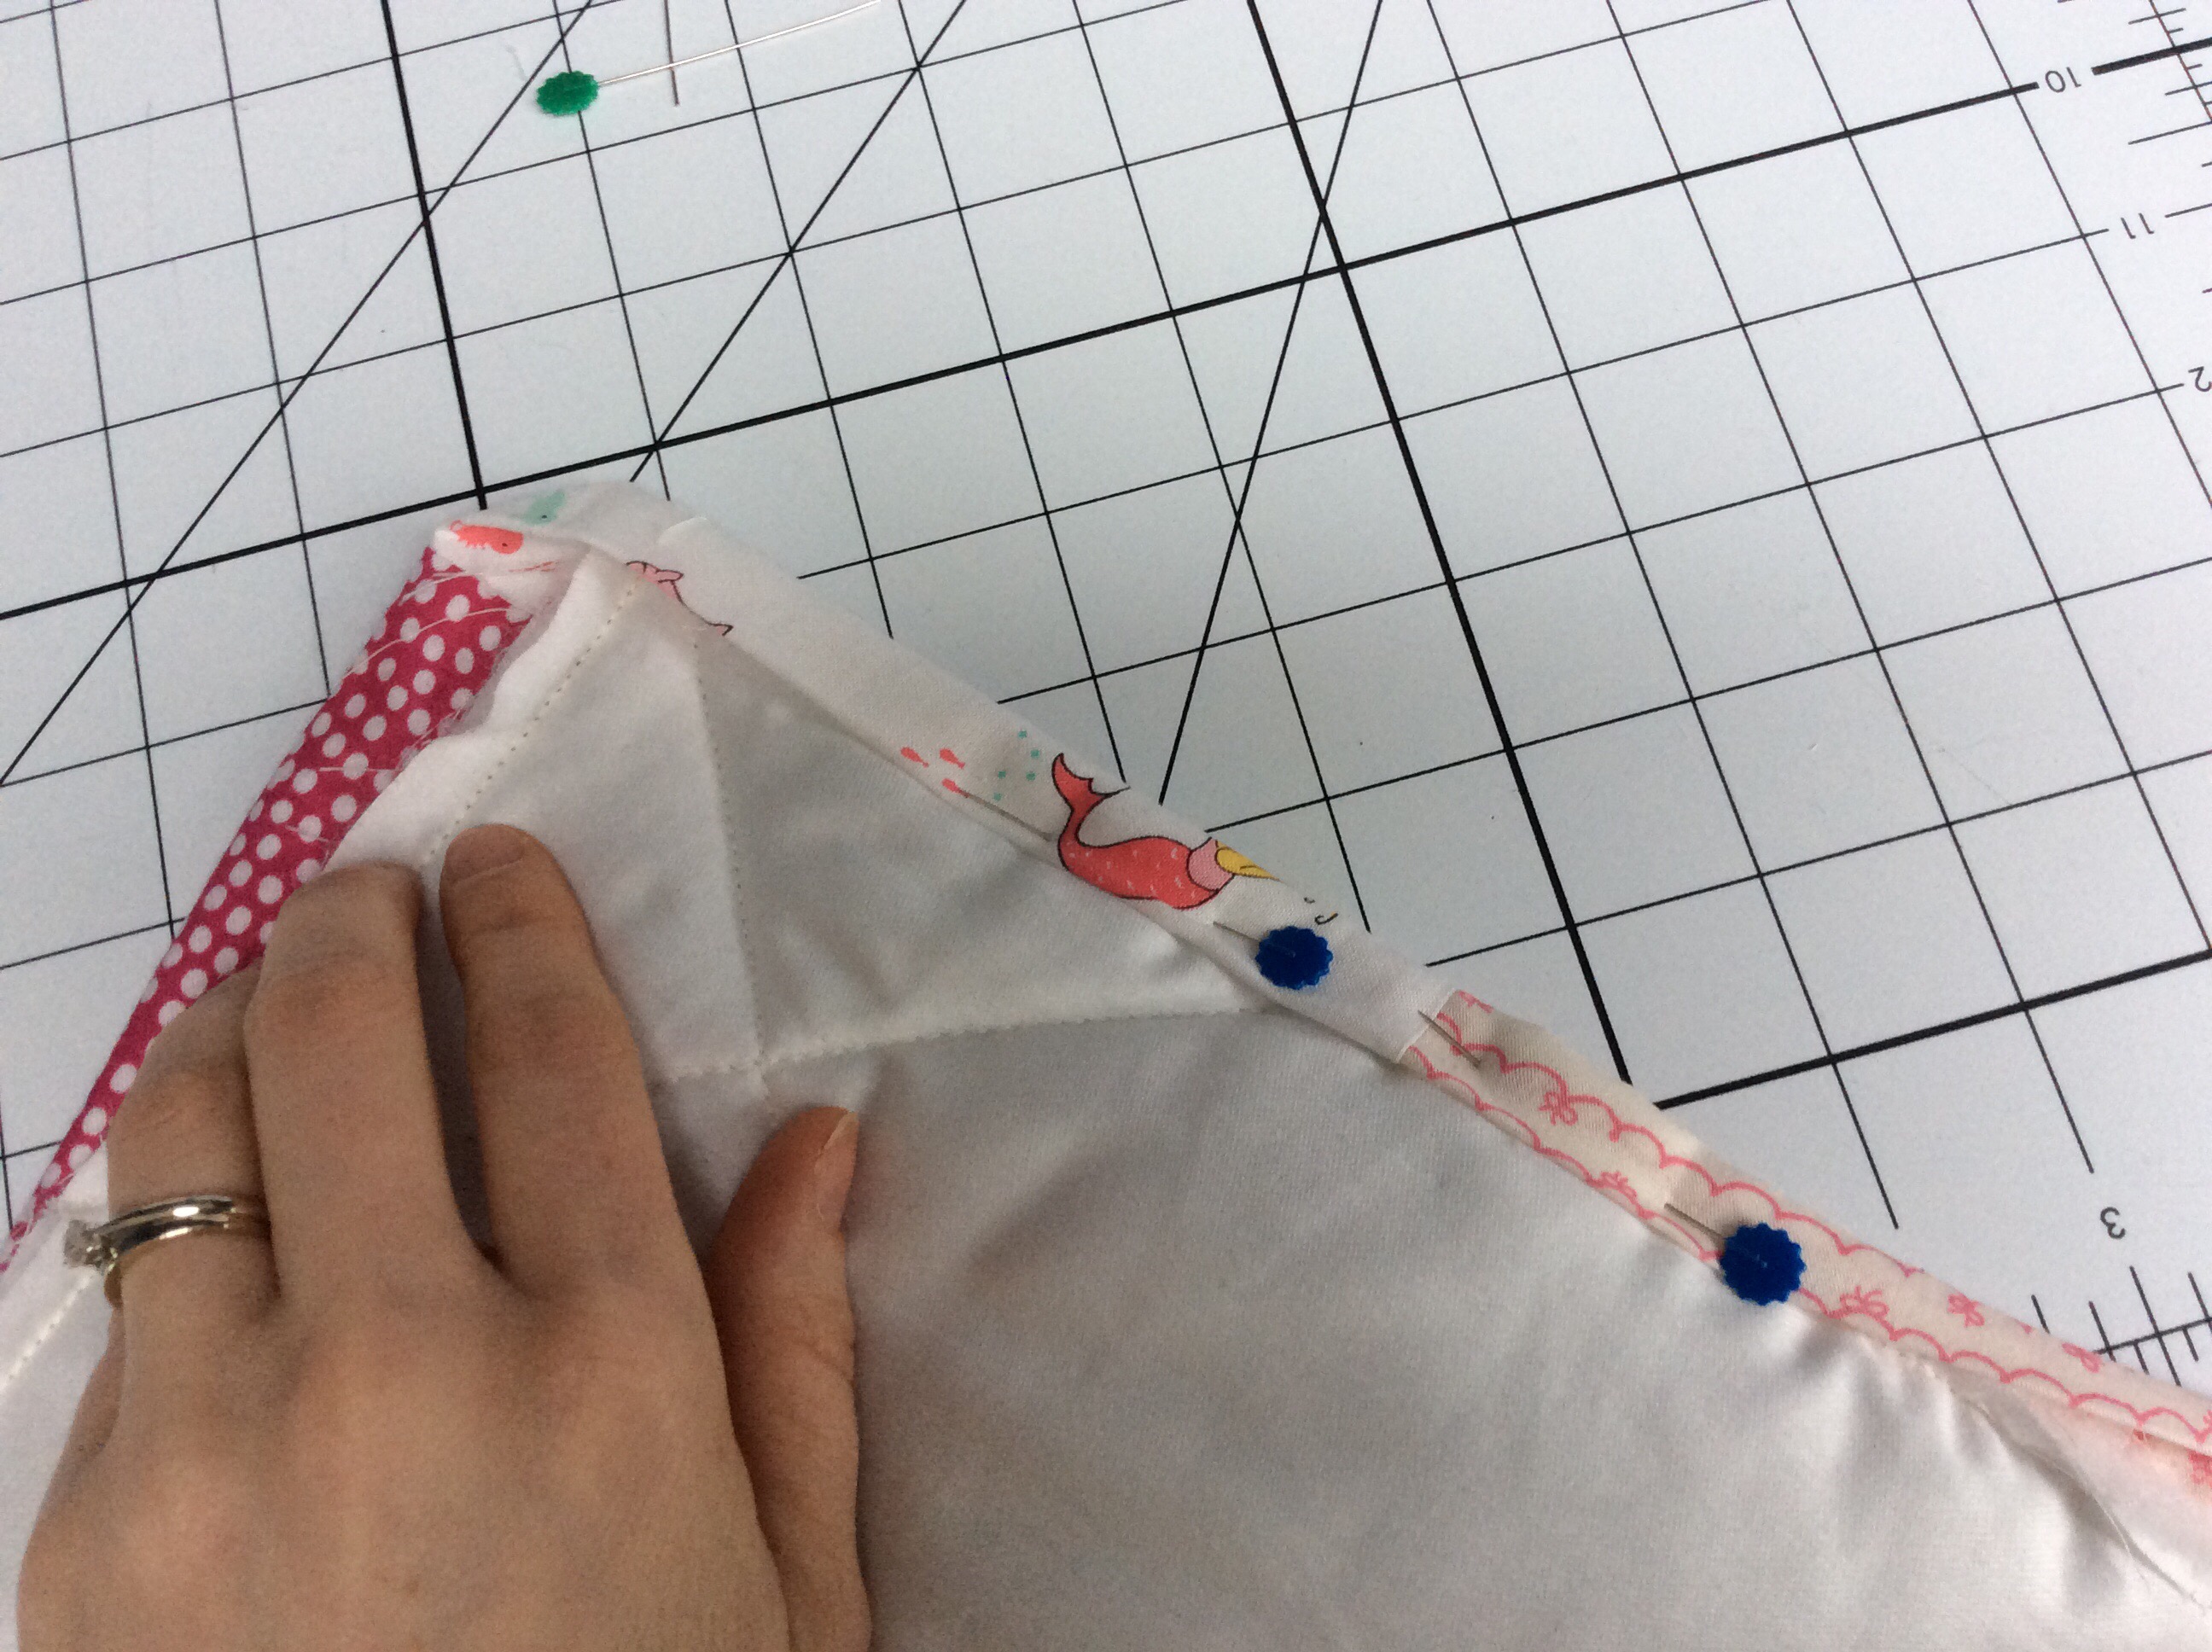
pin it in place

Pin the rest of the strip to the edge of quilt
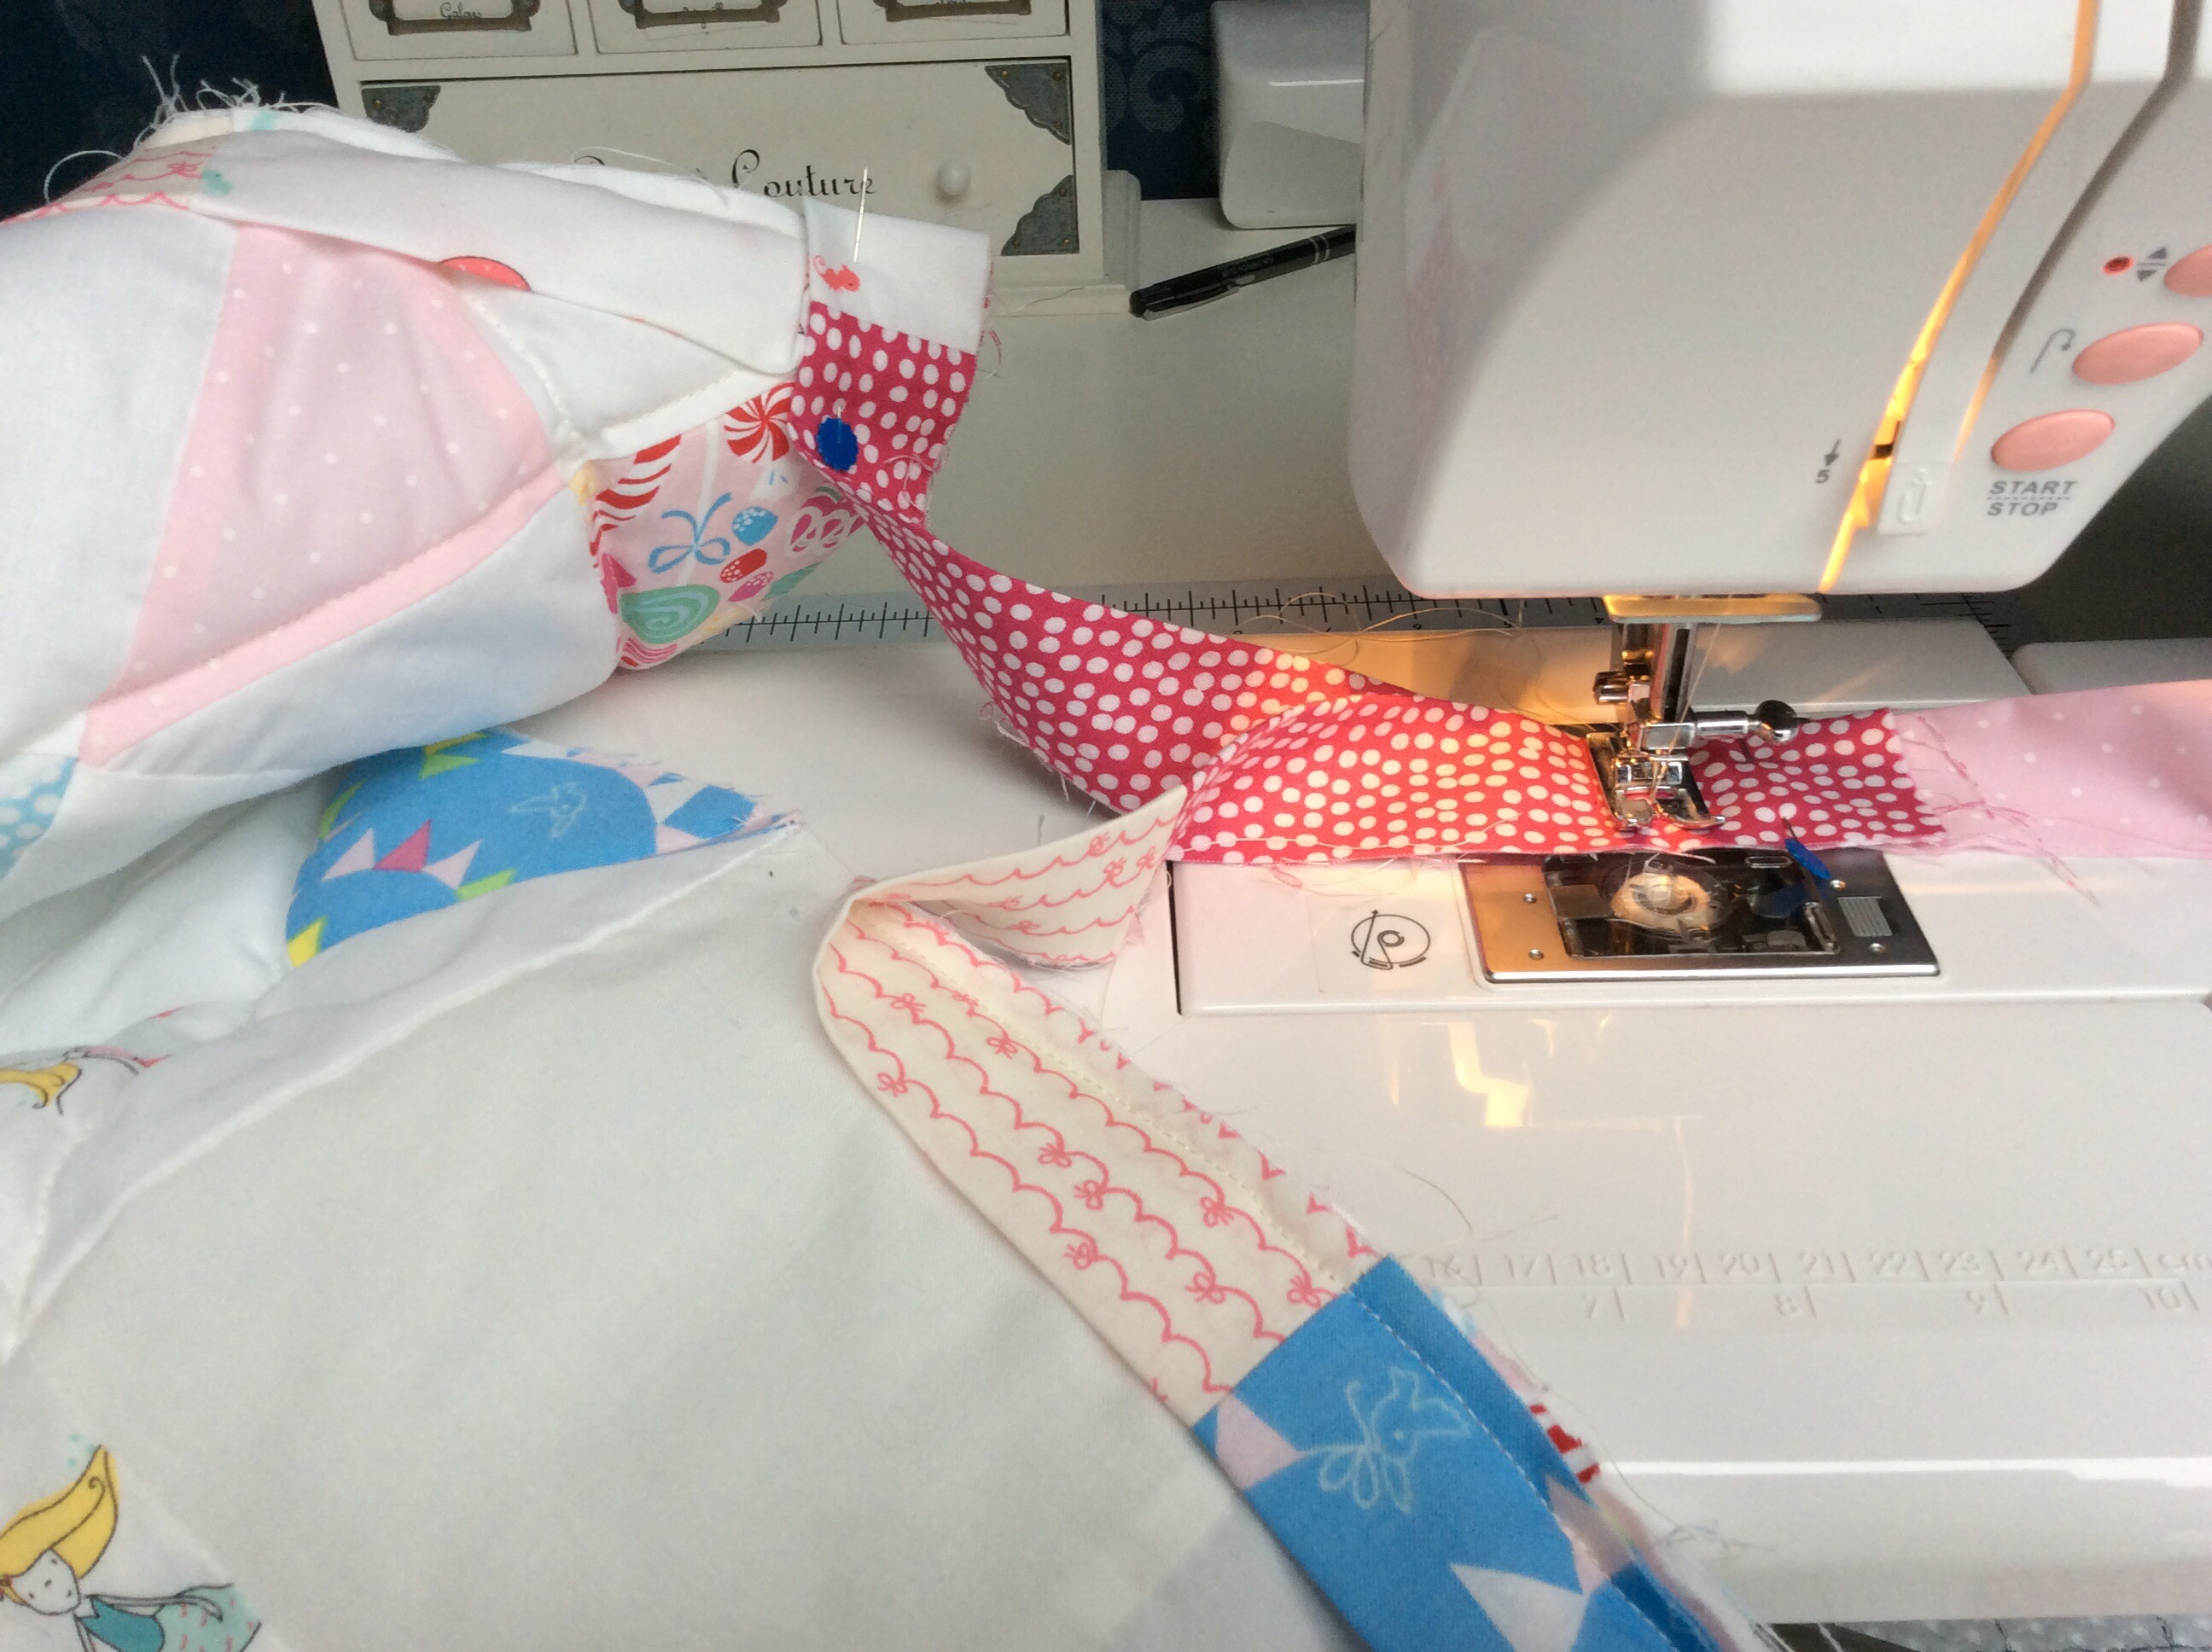
Sew a quarter of an inch from the top corner and from the side too, to the end of that side of quilt but stop a quarter of an inch away from the end. Don’t forget to backstitch at the start and at the end.
Reapeat the folding procession all three corners (the fourth corner we will sew when we join the end strips together)sewing the edges a quarter of an inch from the side and the top and the bottom.
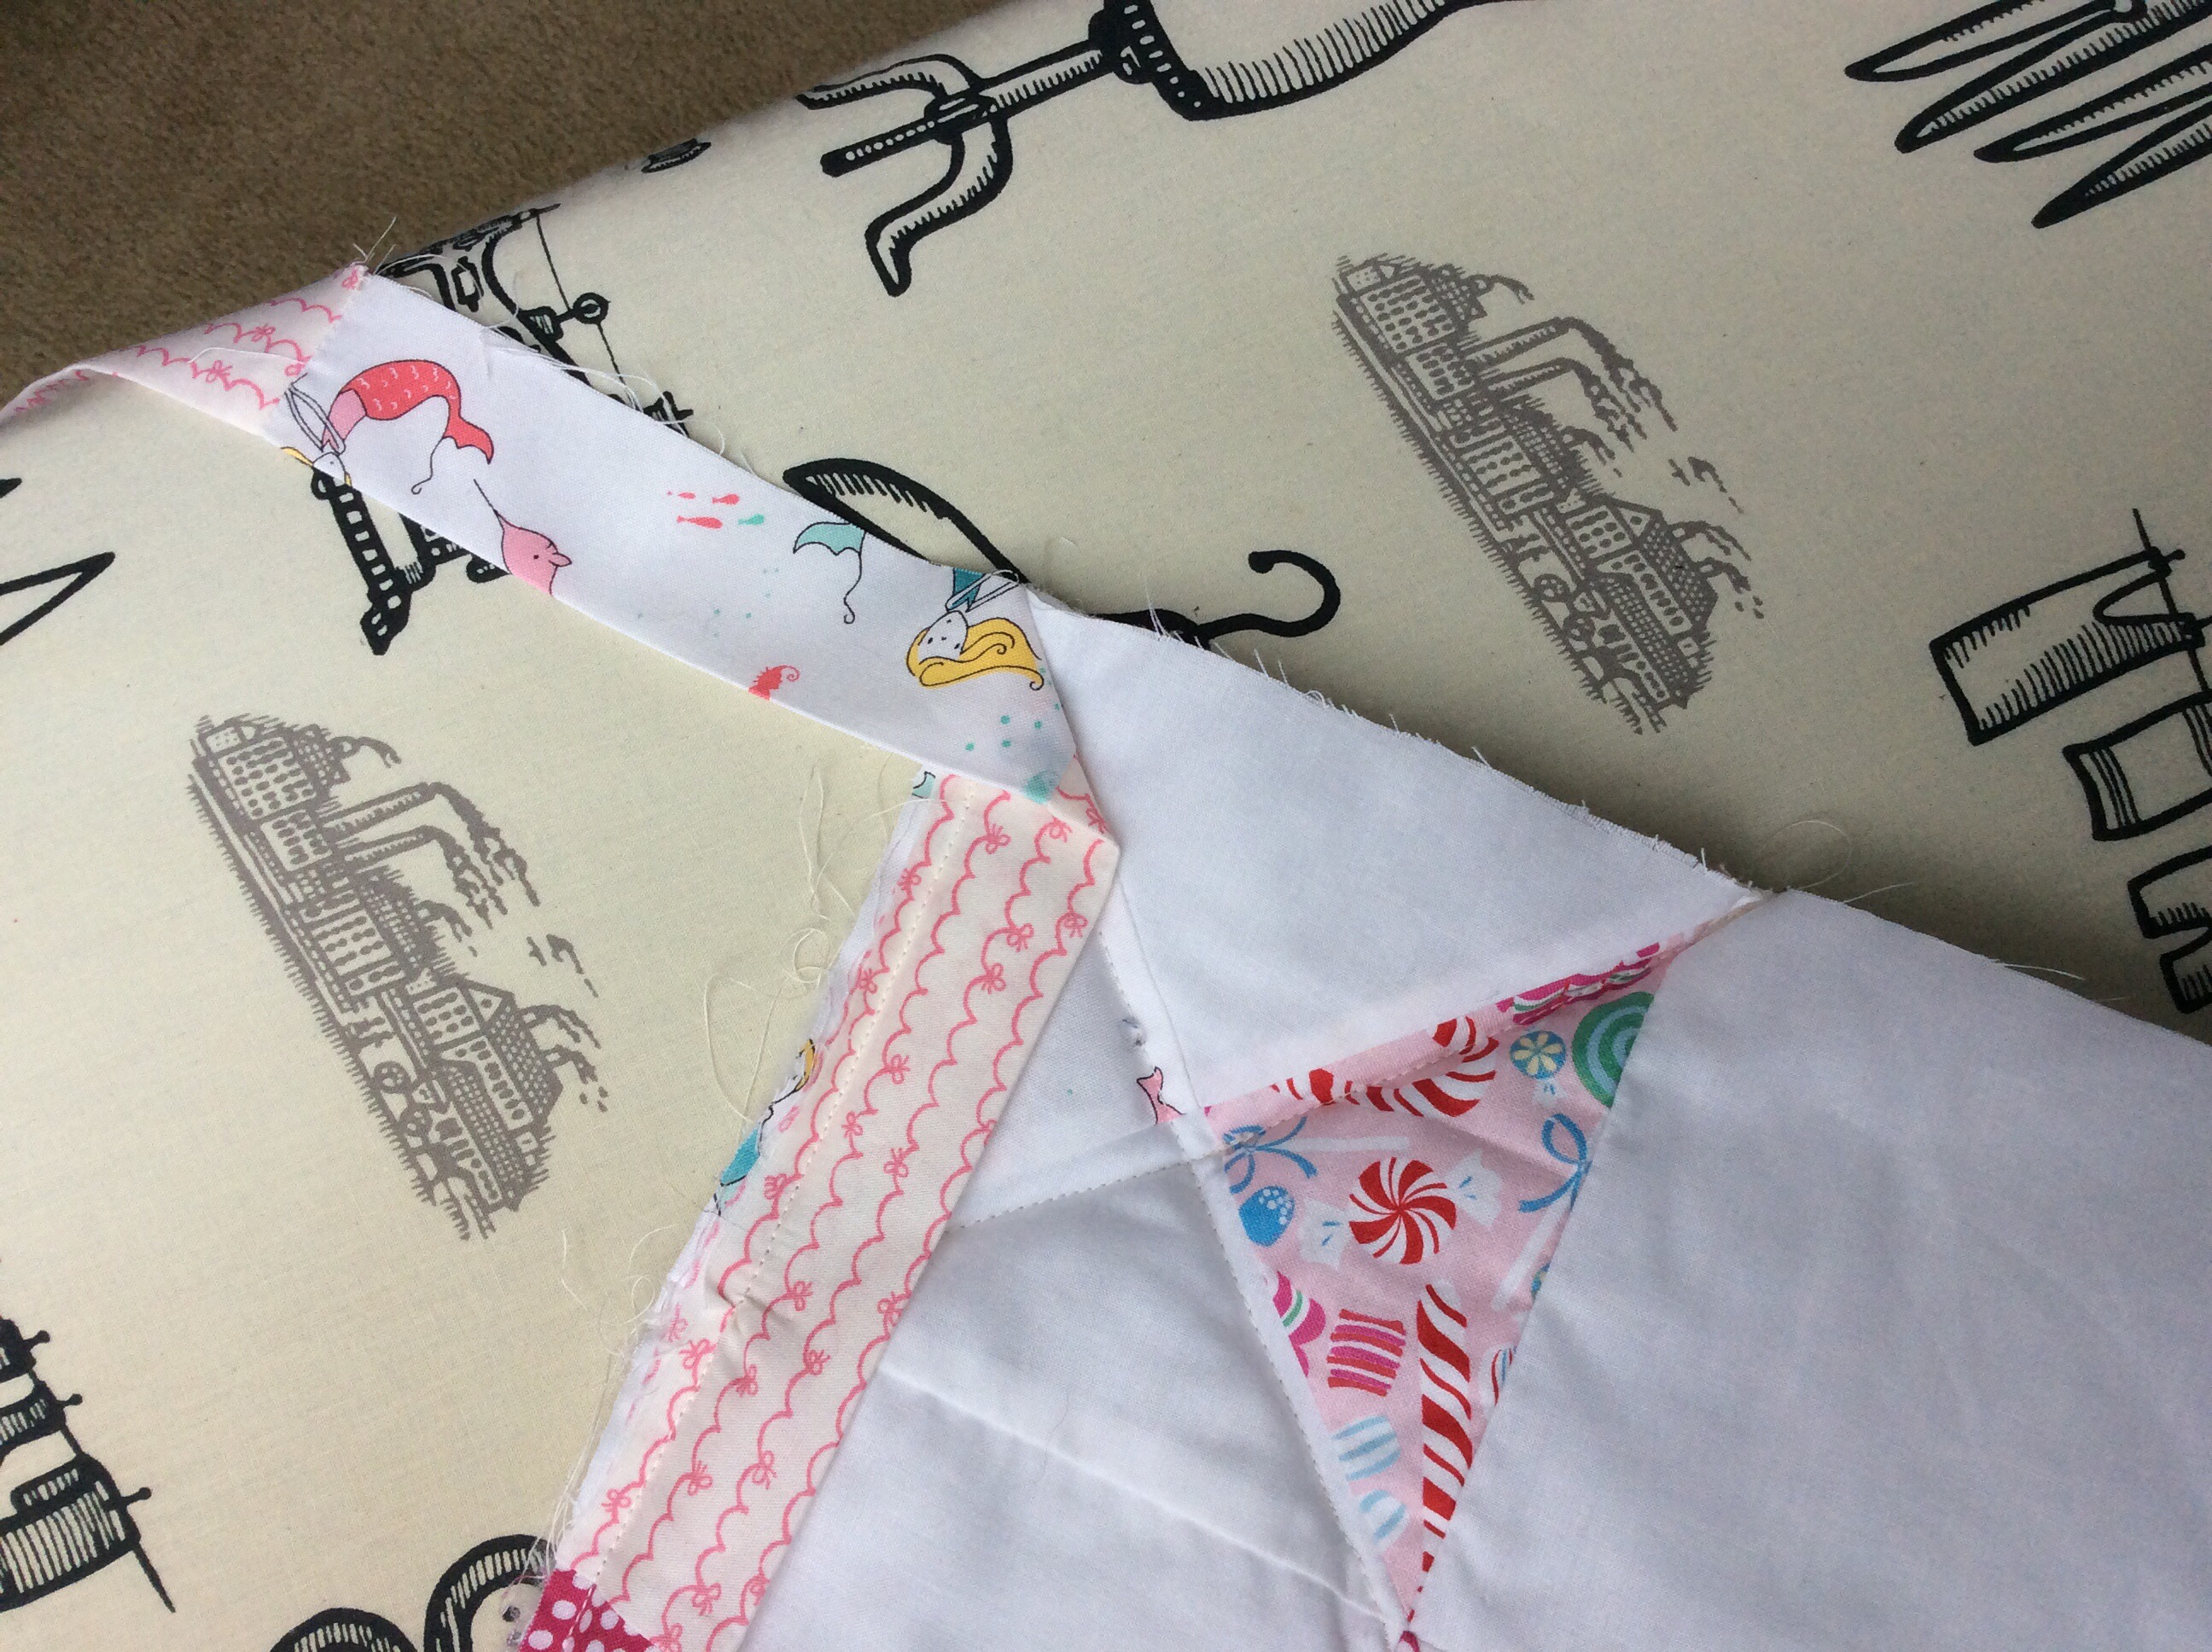
Once you have sewn all side, you need to join the two end of the strip together. That is the most tricky part. So first fold your corner like the previous time and hold it in place by pining it. You will end up with two strips of binding not pinned.
Then you join the two strips and fold to one side. make sure when they meet they lay nicely flat on the quilt other wiseree won’t be enough strip to end the binding.
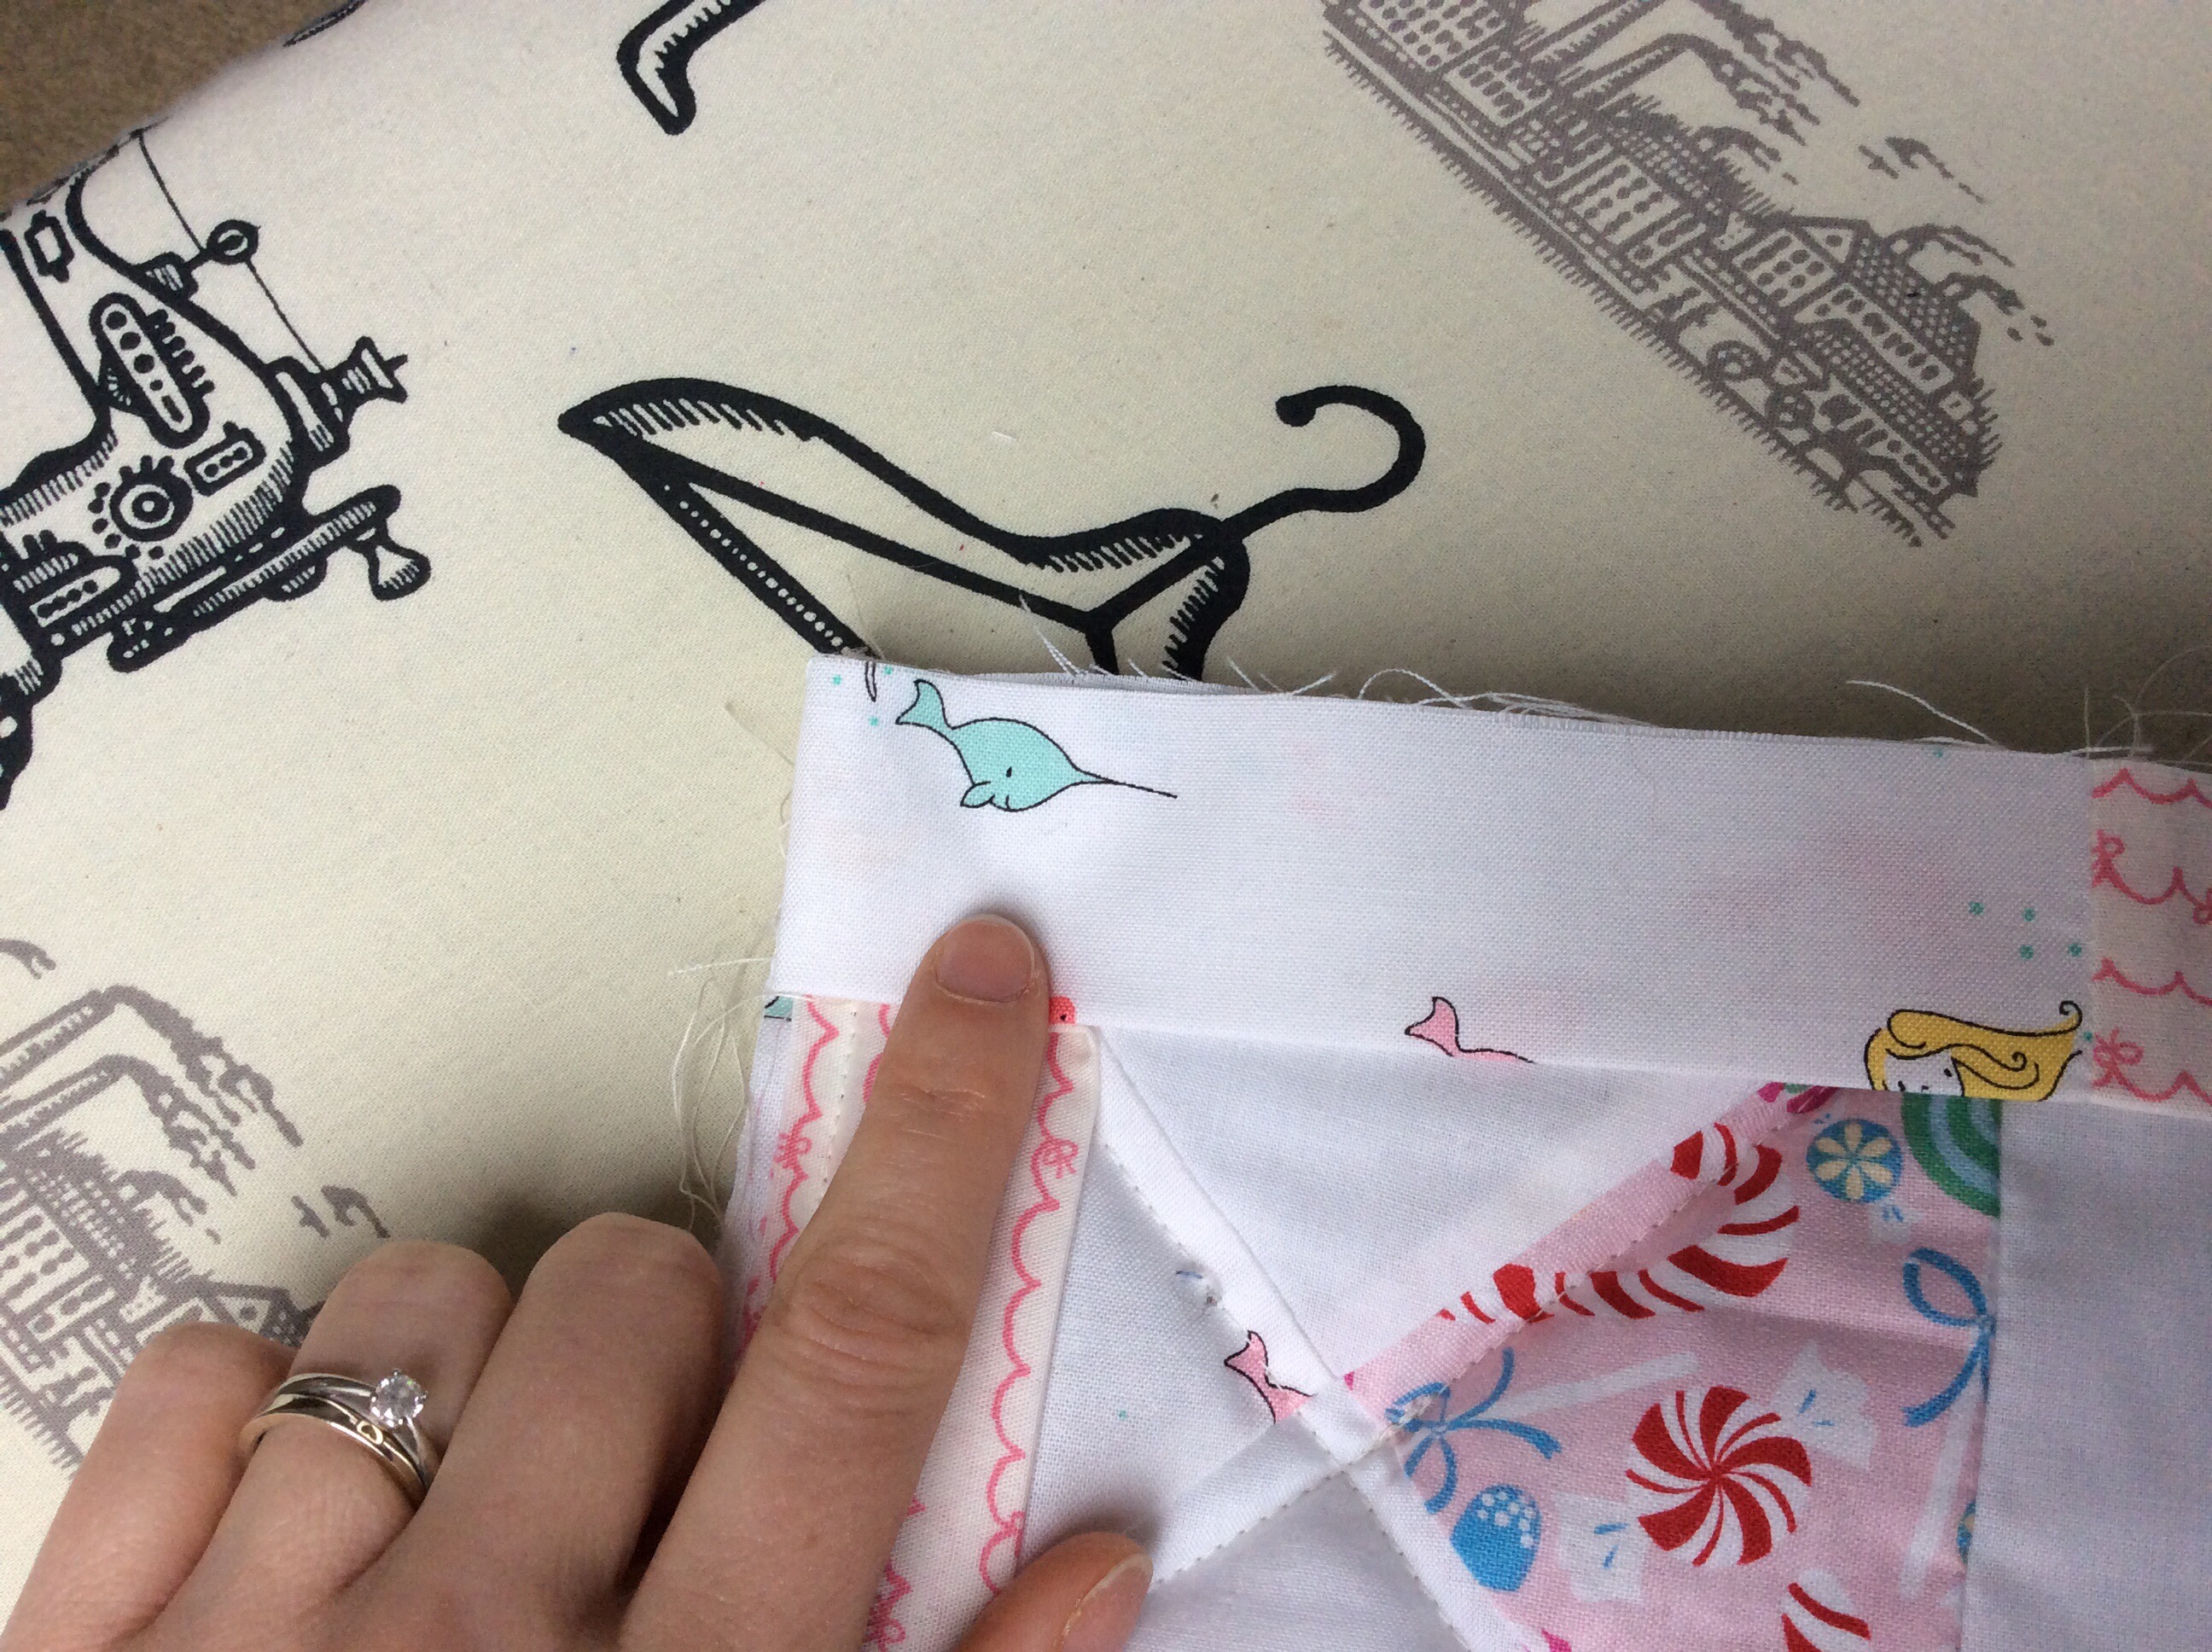
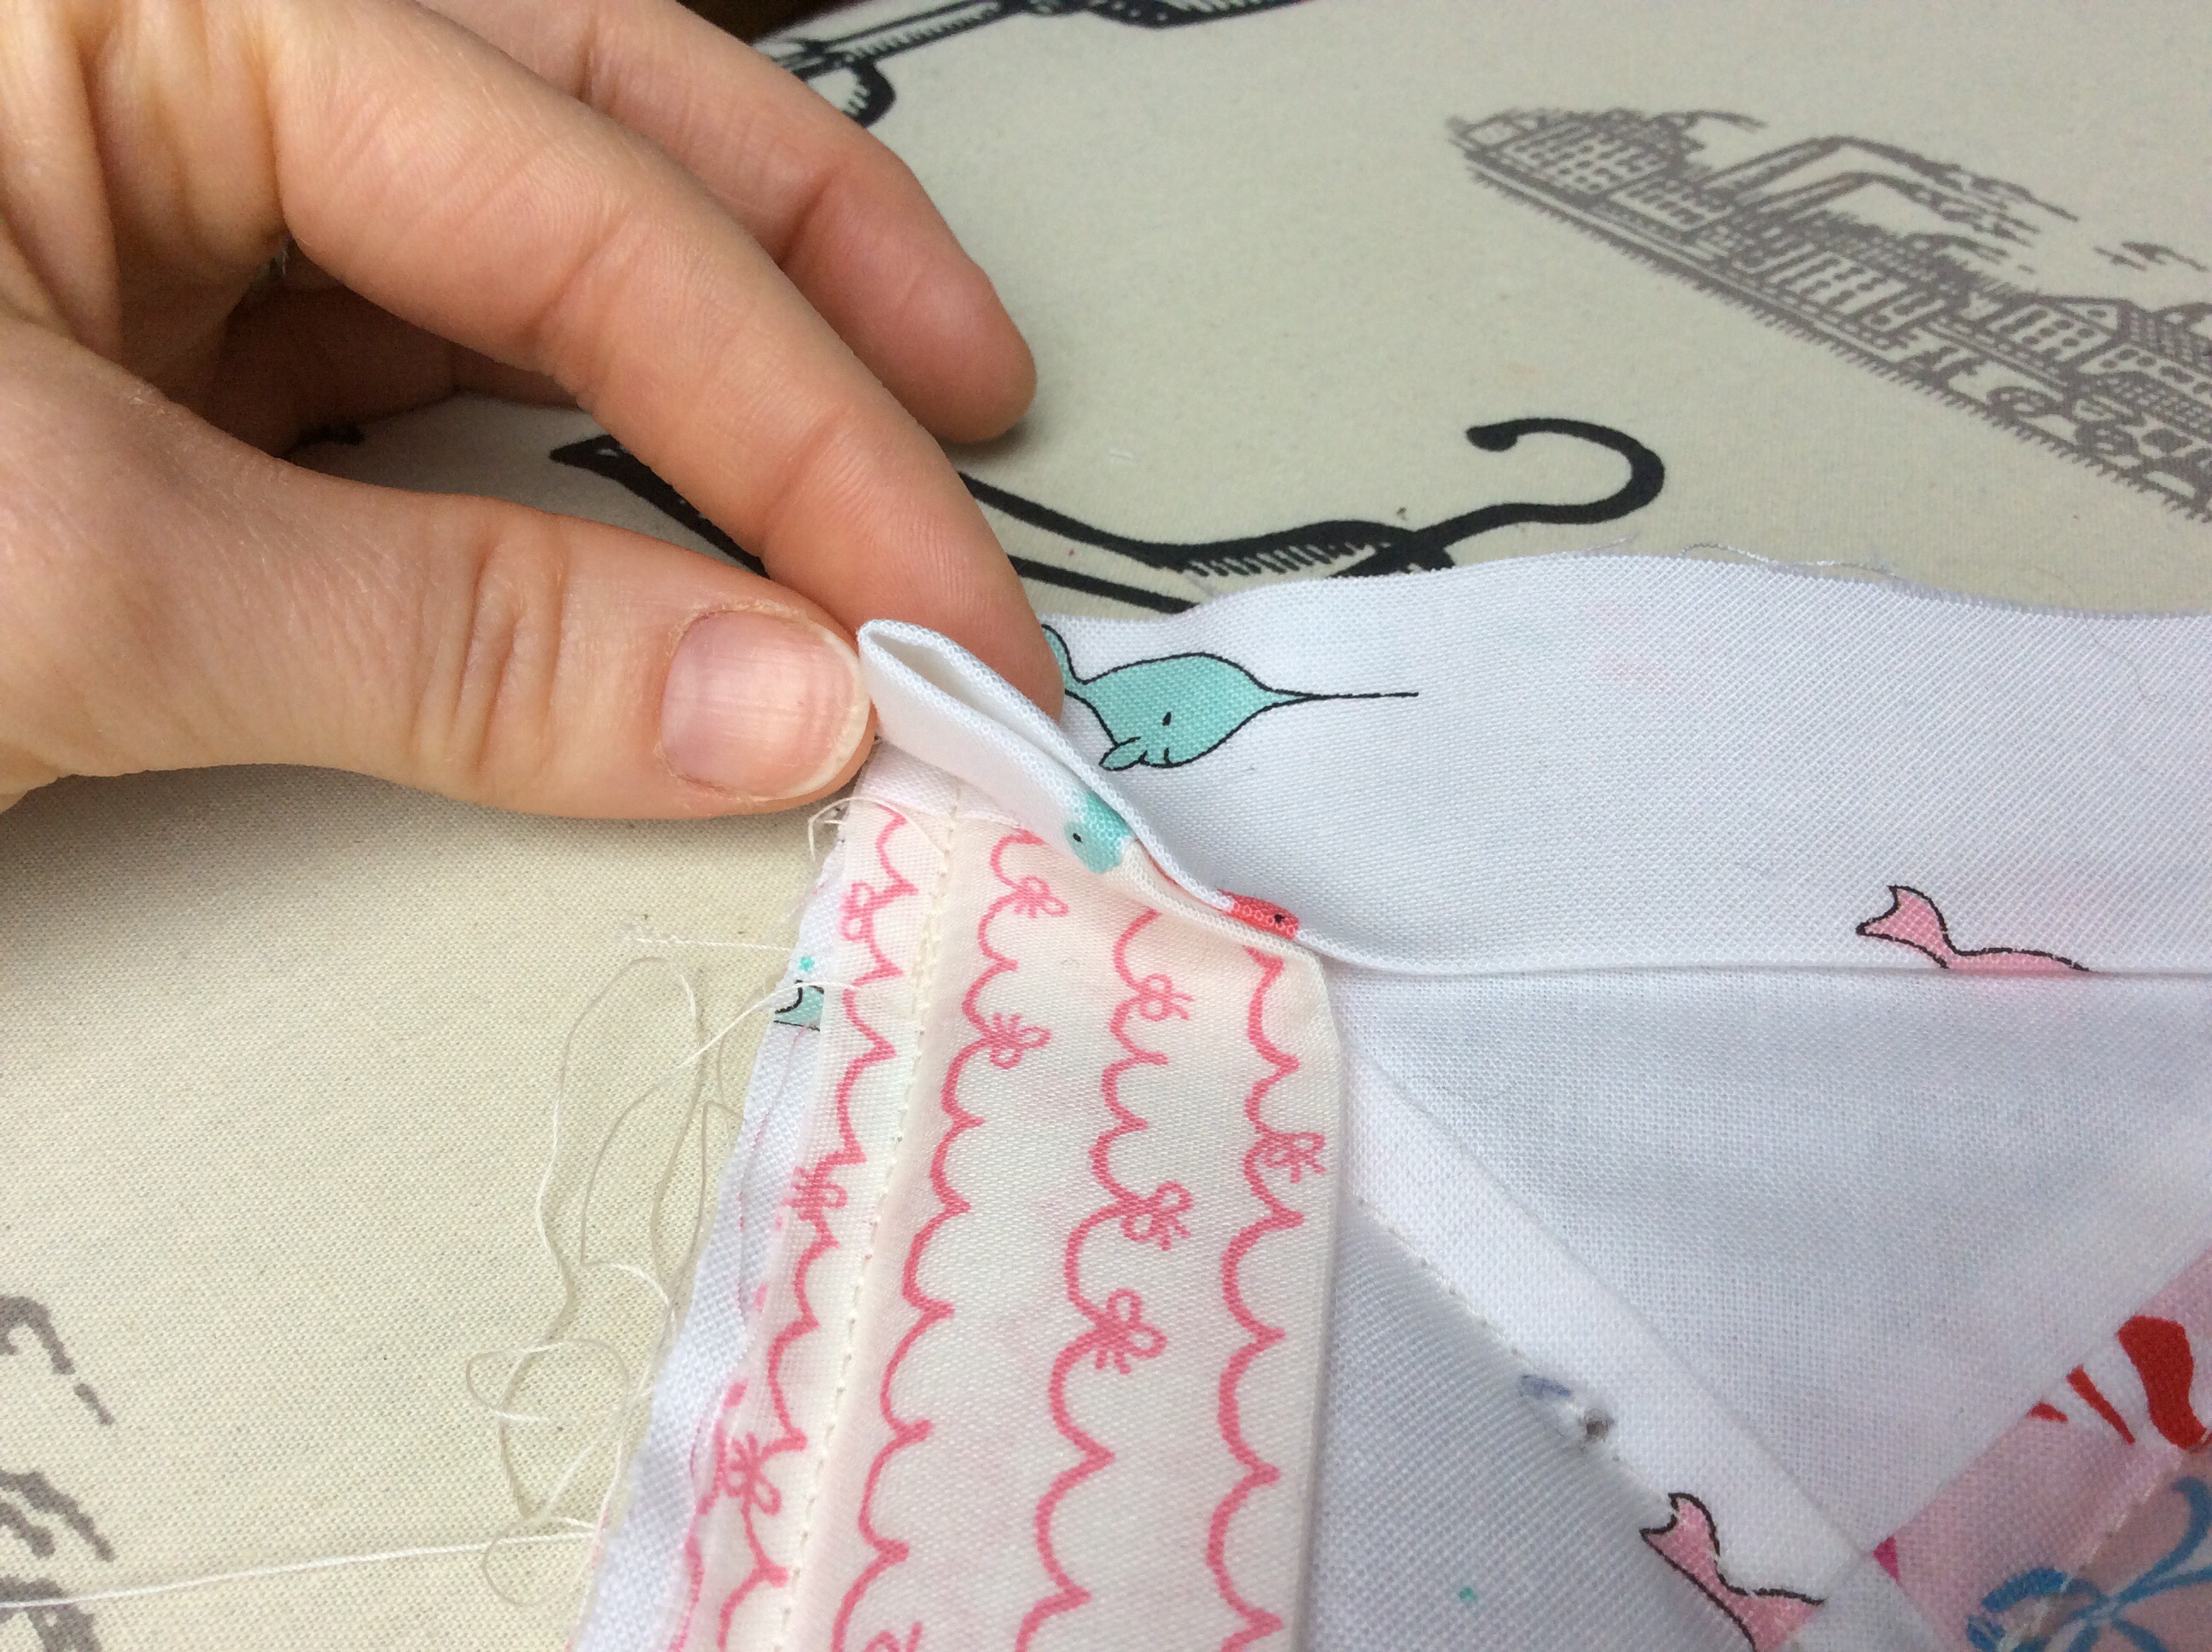
I press with the iron to leave a mark where I will s
pin the two strips together above the ironed mark:
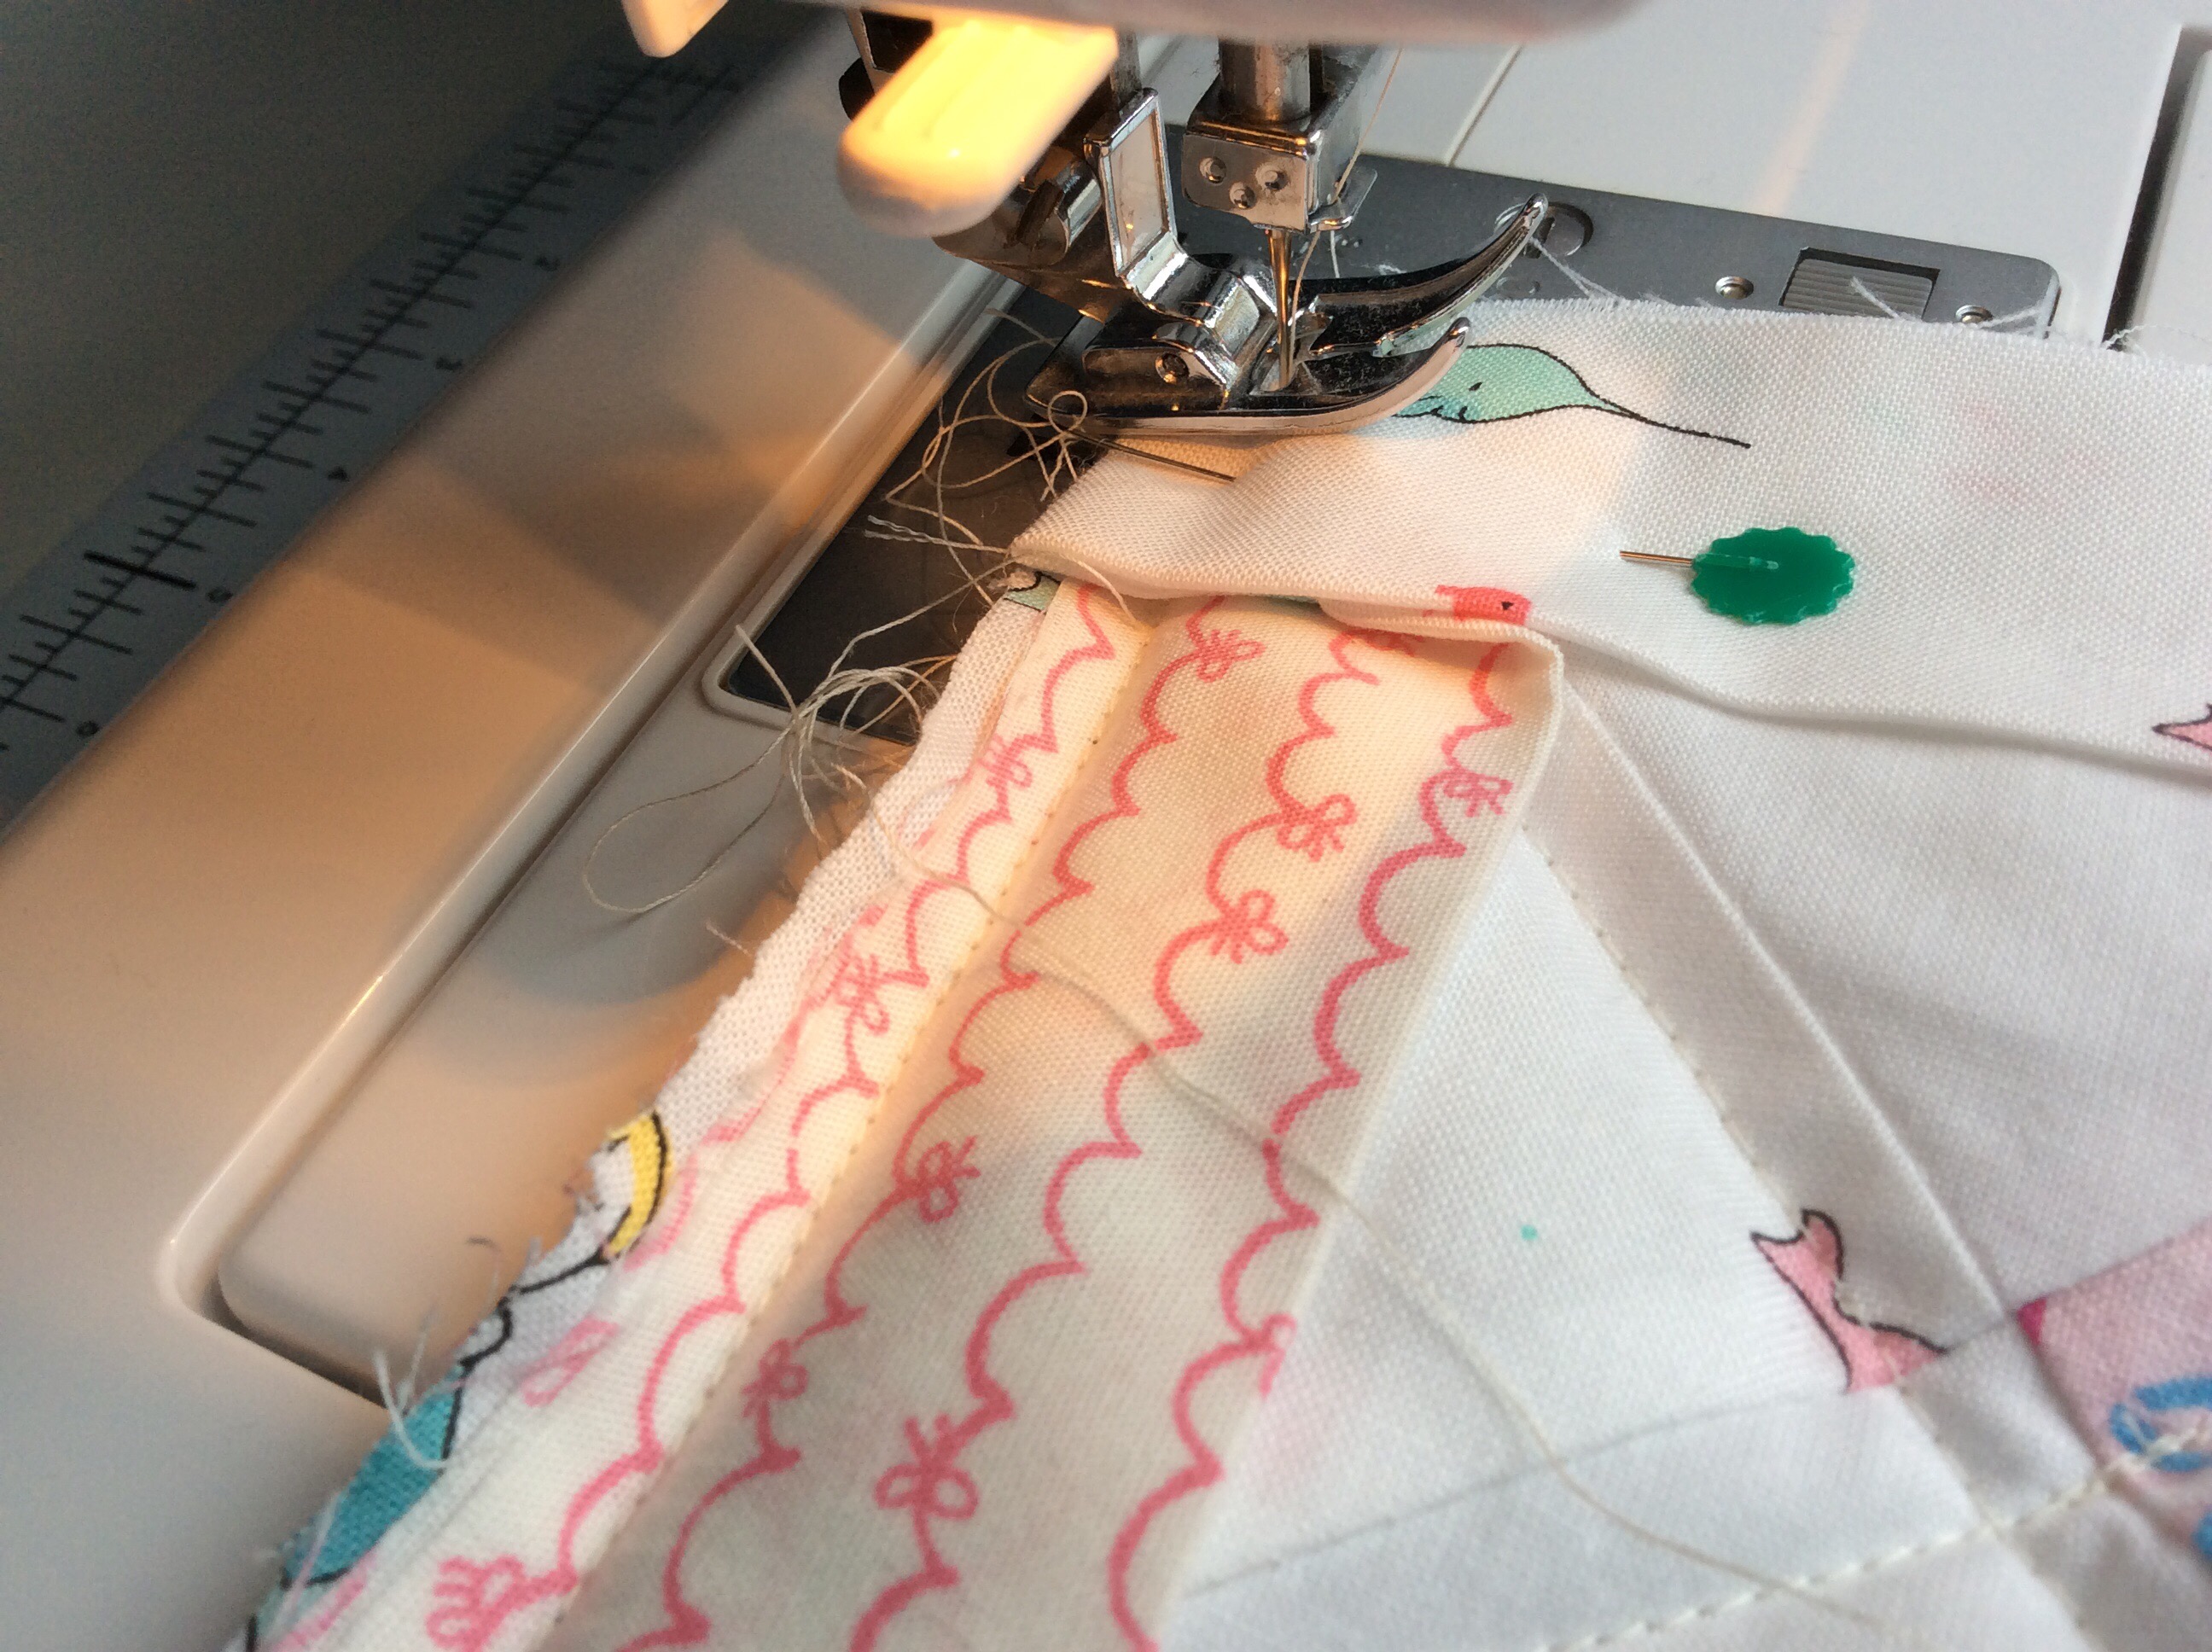
sew on the ironed mark:
cut the surplus of fabrics
Pin the last bit of strip onto the quilt and sew in place. You have finished half of the binding!
Turn the binding onto the back side of he quilt, don’t worry about the corners they will follow the fold:
I like to iron the binding so that it stays in place once iIhave turned it to the other side of the quilt, but purist will scream at the thought of ironing a binding… I go for what works for me, otherwise you can pin it like so:
and fold the corner like this:
Repeat on each corner at the back of quilt and using an invisible stitch, sew by hand. Some prefer to sew with the sewing machine in the ditch (where you sew excactly on the same path as where you have previously sewn. I prefer to sew by hand, I find it relaxing, less noisy and stressful. The reason why i prefer to i the nding into place is because I always end up being pricked by the needles and it just isn’t nice!
So grab a quilting needle (my preference) and quilting thread (I find it to hold the fabrics better and stronger together) and make a quilting knot:
and this bis how you make an invisible stitch:
Et voilà! I hope this helped! happy binding everyone!